21 Outdoor Halloween Decorating Ideas That Actually Hold Up in Wind and Rain
I’ve decorated for Halloween outside for almost two decades now, and I can tell you exactly how I learned most of these lessons — by walking outside the morning after a storm to find my “graveyard” scene scattered three yards down the block. A tombstone in the neighbor’s rose bed. A skeleton face-down in a puddle. It’s not a great feeling.
What changed things for me wasn’t buying fancier decorations. It was figuring out how to anchor, weatherproof, and light things so they’d survive whatever late-October weather decided to throw at us. Some of these tricks I stumbled into by accident. A few I only figured out after replacing the same $20 inflatable pumpkin three years in a row.
The other thing that genuinely changed how smooth my whole festive season runs — Halloween through Christmas and into New Year — was finally sitting down and mapping out timing and spending ahead of time instead of winging it every single month. I actually built my own Digital Halloween Outdoor Decor Planning & Budget Tracker for exactly this, since I couldn’t find one that covered Halloween, Christmas, and New Year in one place without feeling like a generic spreadsheet. It’s the first thing I fill out now before a single stake goes in the ground, because knowing what I’m spending and when saves me from the last-minute scramble every year.
If you’ve ever set up a beautiful display on a Friday and woken up Saturday to a mess on your lawn, this one’s for you. I’m not going to give you generic “just use tape” advice — I’m going to walk through what actually held up for me, what looked good on Pinterest but failed in real life, and how to build a setup that survives the whole season, not just one calm evening.
Let’s get into it — starting with the stuff that trips people up first: keeping things anchored down in the first place. Early on, I underestimated how much wind funnels between houses, and that’s usually where the trouble starts.
Disclosure: This post contains affiliate links. As an Amazon Associate, I earn from qualifying purchases at no extra cost to you.
Quick Picks (Top 5)
If you only have an hour this weekend, start here. These five give you the most visible payoff for the least effort and the least risk of losing anything overnight.
- Weight your inflatables at the base, not just with the built-in stakes. The stakes that come in the box are almost never enough on their own.
- Swap paper or thin-plastic lanterns for battery-operated LED versions — rain ruins the originals within one bad night.
- Anchor anything tall (scarecrows, fake tombstones, pumpkin towers) into the ground, not just propped against something.
- Run your outdoor lighting off a single weatherproof cord setup instead of daisy-chaining multiple indoor-rated cords.
- Bring in anything made of paper, cardstock, or unsealed foam before rain is even in the forecast — don’t wait for the first drop.
Now let’s get into the details, idea by idea.
1. Stake Everything Down — Properly, Not with the Included Plastic Pegs
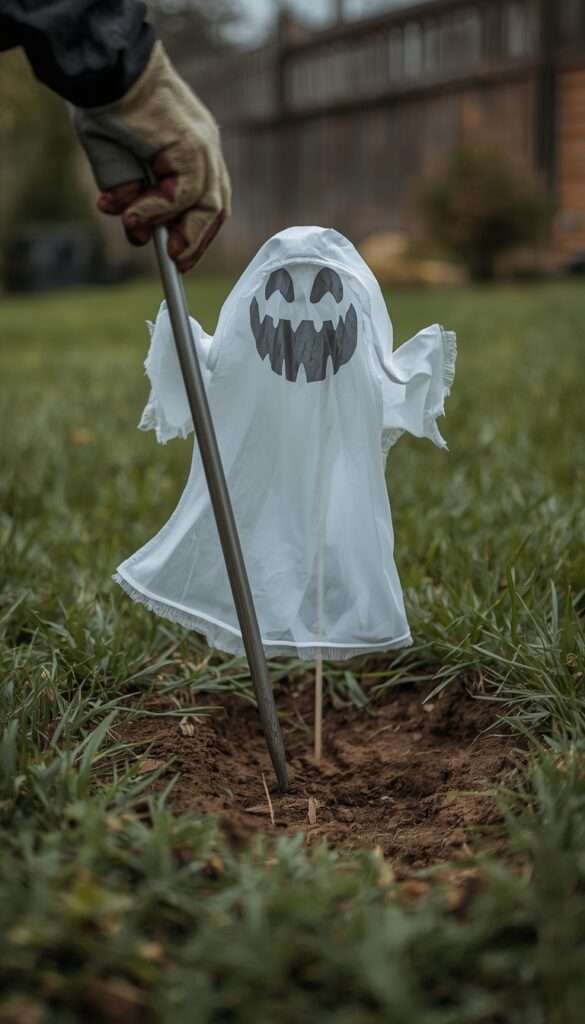
This is the one I wish someone had told me on year one. Almost every inflatable, fabric ghost, or lightweight prop comes with these flimsy little plastic stakes that bend the second the ground has any clay in it. They’re basically decorative — they’ll hold your decoration in place on a still evening, and that’s about it.
What actually works is swapping them for real metal ground stakes, the kind you’d use for landscape edging or securing a tarp. I keep a bundle of Heavy-Duty Galvanized Landscape Staples in the garage year-round at this point, not just for October — they work for securing tarps, garden fencing, and outdoor rugs too. For anything with grommets or loops (most fabric props have these sewn in), thread a stake straight through and drive it into the ground at a slight angle, away from the decoration. The angle matters more than people think — a straight-down stake pulls out much more easily than one driven at 30-45 degrees.
Common Mistake: people stake straight down and call it done. If the ground is soft from an earlier rain, a straight stake will slide right back out with the first strong gust.
2. Weigh Down Inflatables from the Bottom, Not Just the Sides
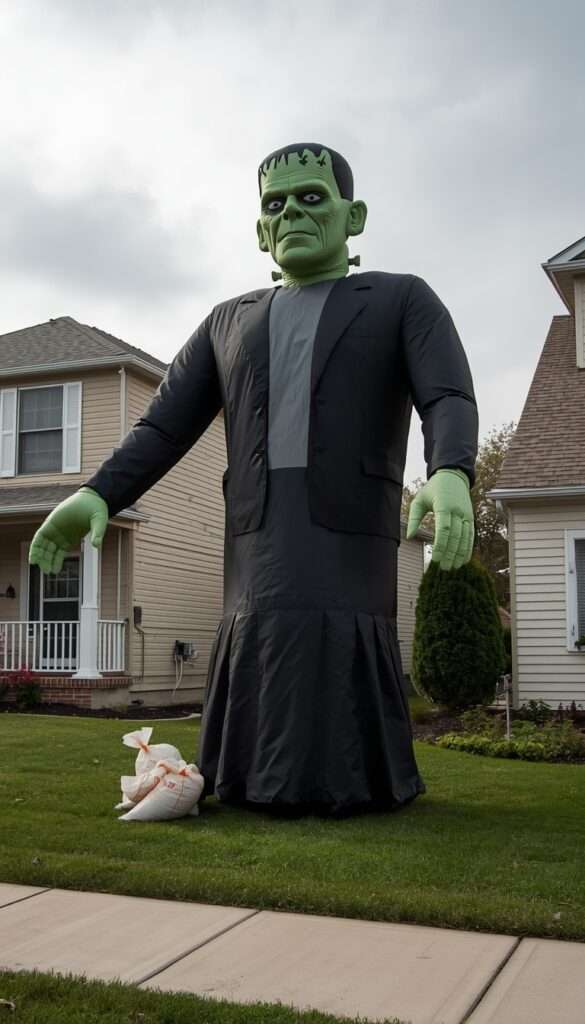
Inflatables are probably the single most common casualty of an October storm — I’ve seen more toppled twelve-foot Frankensteins than I can count. The problem is that most people rely entirely on the tie-down loops on the sides, which pull the shape sideways but don’t do anything to stop it from lifting.
What worked for me was adding sandbags directly around the base, inside the inflatable’s built-in skirt if it has one. A few 15-20 lb bags spaced evenly around the perimeter keeps the whole thing grounded even in gusty conditions, because you’re adding weight low and centered rather than pulling from the sides. If you don’t want to deal with sand, actual gallon water jugs work in a pinch, though they’re not as stable in wind as sand is.
The best part? Once you’ve got sandbags in place, you can actually loosen the side tie-downs slightly, which reduces strain on the fabric and cuts down on tears at the seams.
3. Fabric Ghosts Need to Be Sealed, Not Just Sewn
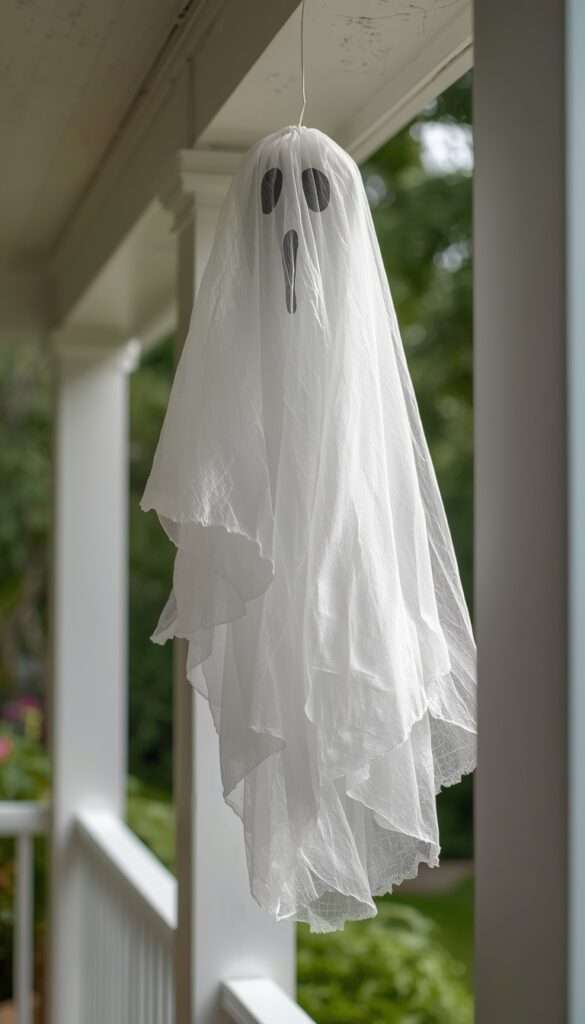
If you make your own fabric ghosts (cheesecloth, muslin, an old bedsheet — I’ve used all three), the fabric itself is the weak point in rain. It soaks up water, gets heavy, sags, and eventually the whole shape collapses on the wire frame underneath.
I learned this one the hard way, honestly. My first cheesecloth ghost looked incredible for about four hours, then rain rolled in and by morning it looked like a wet paper towel draped over a coat hanger. Now I stiffen the fabric first with a fabric stiffener spray, let it dry completely into shape, and then go over it with an exterior-grade waterproof sealant spray before it ever goes outside. A Clear Outdoor Fabric & Craft Sealant Spray does the job well — a couple of light coats, letting each one dry fully, makes a real difference in how the fabric holds up over weeks outside rather than just one night.
Small Pro Tip: seal it in a well-ventilated spot at least 24-48 hours before you plan to display it. The smell fades but it needs time.
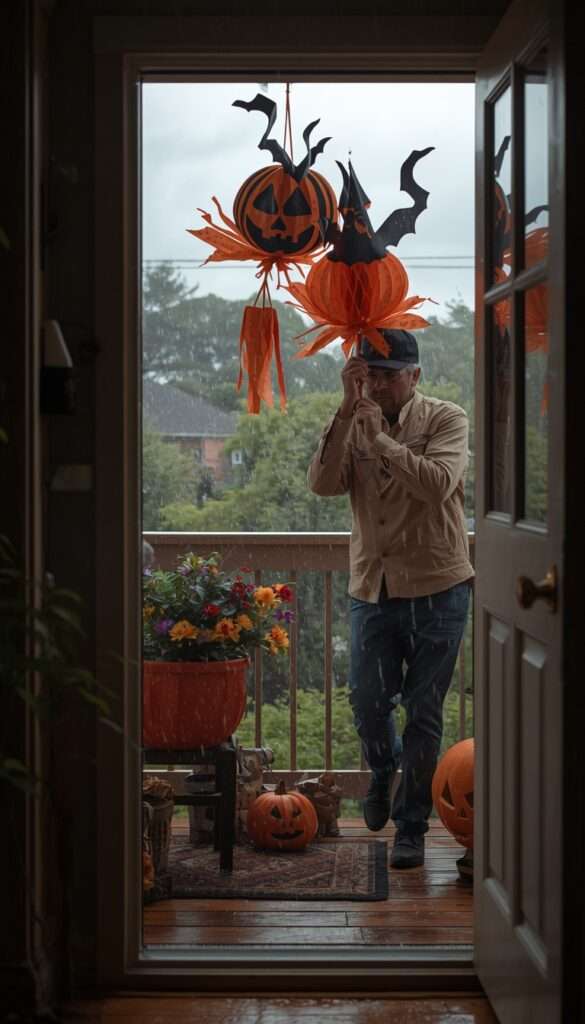
4. Skip Paper Lanterns Entirely — Go Battery LED Instead
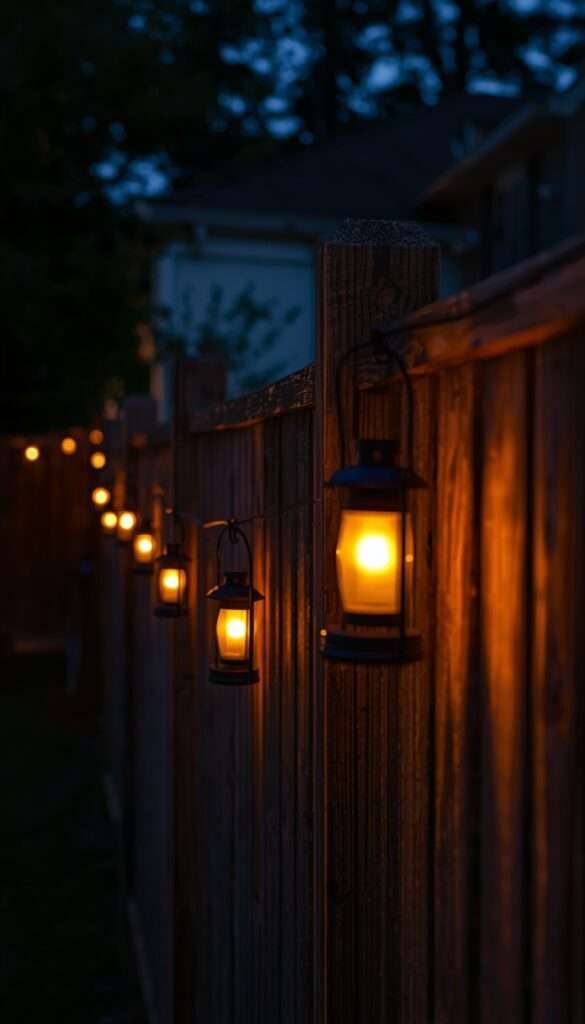
I used to love the look of paper lanterns strung along a fence line, and they photograph beautifully for that first Pinterest pin. But paper and any amount of humidity, let alone actual rain, do not mix. Within one damp evening mine had started sagging and staining.
The fix that actually holds up: battery-operated LED lanterns made from weather-resistant plastic or resin. They give you almost the same warm, glowing look, but they don’t disintegrate, and you’re not swapping out candles or worrying about an open flame near dry leaves, which is its own hazard this time of year.
5. Build Tombstones from PVC or Sealed Foam, Not Cardboard
Cardboard tombstones are a rite of passage for a lot of us starting out, and they’re fine for a single dry evening. But if they’re going to sit in your yard for the whole month, cardboard turns to mush the first time it gets properly wet, even with a tarp thrown over it overnight.
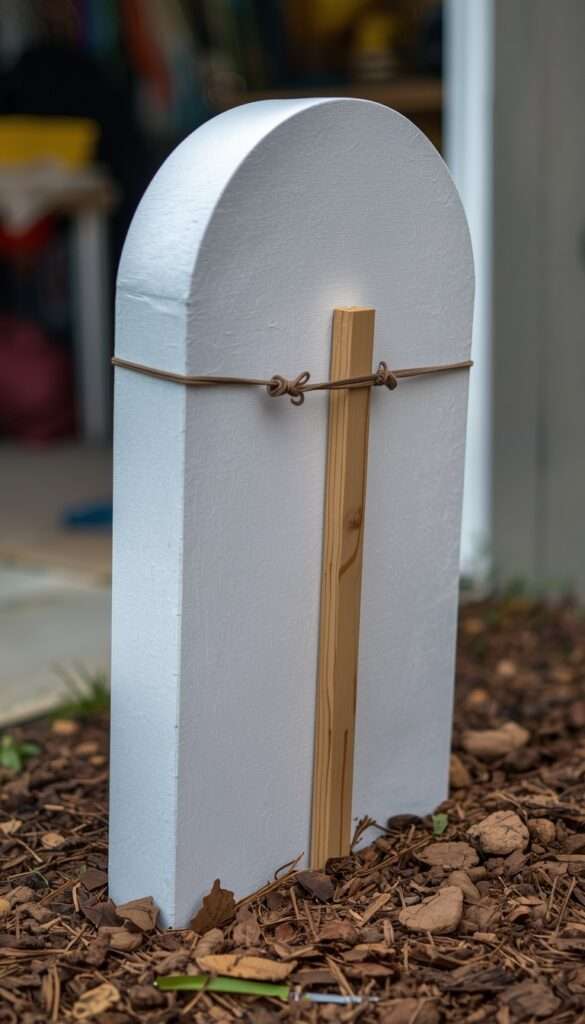
What holds up: thin PVC sheeting or sealed rigid foam board, both of which you can cut into tombstone shapes with a utility knife or jigsaw, paint with regular acrylic or spray paint, then finish with an outdoor sealant. PVC in particular shrugs off rain completely and doesn’t warp in the sun the way foam sometimes can if it’s left unsealed. If you want the engraved-stone look, carving shallow letters into foam board before sealing it gives a surprisingly convincing texture once painted with a dry-brush technique.
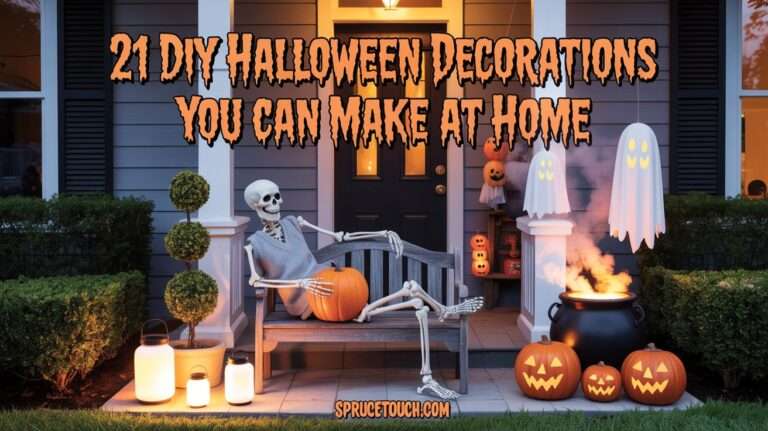
For more full builds like this, I’ve got a whole roundup of spooky, creative DIY Halloween decorations you can actually make at home that covers a handful of similar weatherproofing tricks for different props.

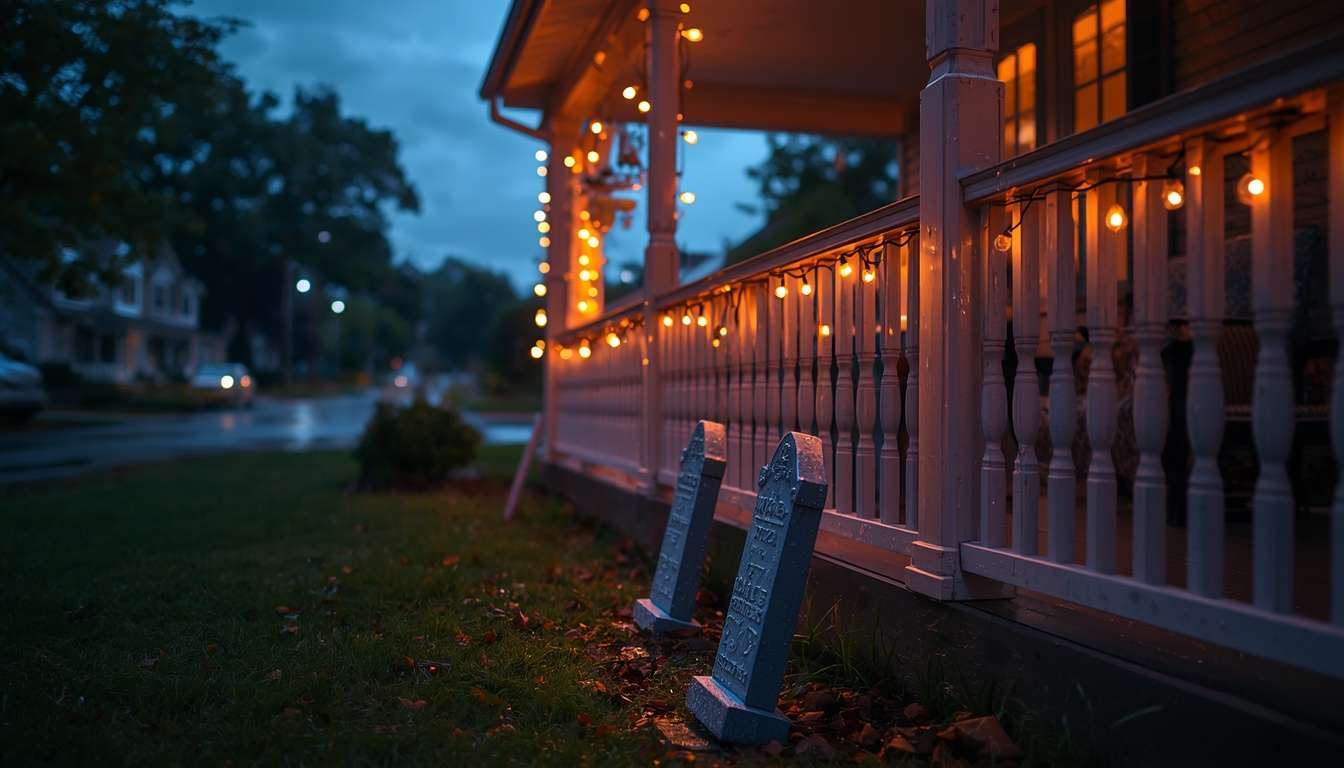
6. Anchor Tombstones Into the Ground, Not Just Leaned Against Something
Even a weatherproof tombstone is only as good as how it’s anchored. Leaning them against a fence or planter looks fine until wind gets underneath and knocks the whole row down like dominoes — which, embarrassingly, happened to my entire “graveyard” row two years ago in about four seconds flat.
The trick is attaching a wooden or metal stake to the back of each tombstone before it ever goes outside — zip ties or wood screws both work — so the stake extends a foot or so below the bottom edge. Drive that stake into the ground and the tombstone becomes essentially a small sign post rather than a leaning prop. It also lets you angle each one slightly differently for a more natural, “settled over time” graveyard look, rather than a row of identical uprights.
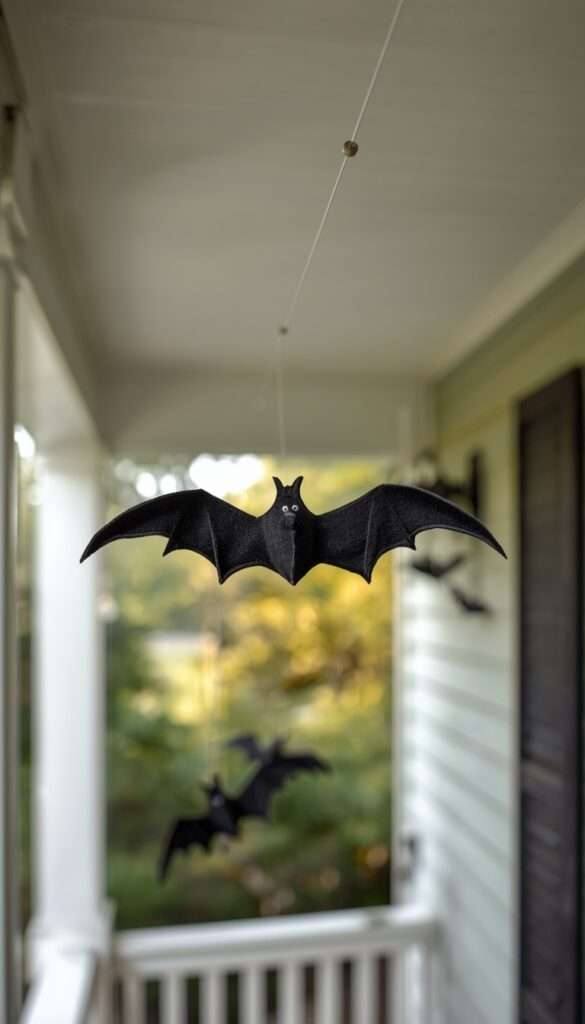
7. Rethink Hanging Bats and Ghosts to Work With the Wind
Here’s one thing most people ignore: you don’t actually need to fight the wind on every prop. For lightweight hanging decorations like paper bats or small hanging ghosts, movement in the breeze can actually look better, not worse, as long as the decoration itself isn’t going to be damaged by swinging around.
I switched my hanging bats from fixed string to fishing line with a small weight (a metal washer works fine) sewn or glued into the bottom hem. That keeps them hanging relatively straight but still lets them sway naturally instead of tangling or slamming into the porch railing every time the wind picks up. It’s a small change but it cut down on torn wings and snapped strings considerably.
8. Weatherproof Spider Web Material Before It Rains, Not After
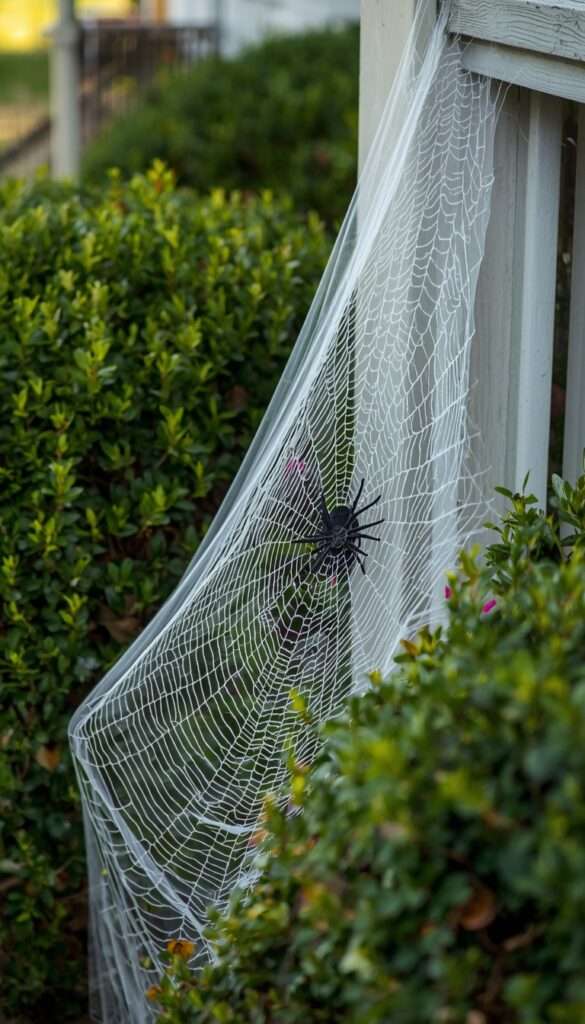
Standard stretchy Halloween cobweb material is cheap and looks great freshly pulled apart, but once it gets soaked it clumps into stringy little balls that look worse than having no webbing at all. If you’re using it outdoors and expect any rain, a light misting of the same outdoor sealant spray mentioned earlier, applied before it goes up, helps it keep some structure even after getting wet, rather than collapsing completely. It won’t be perfect after a heavy downpour, but the difference is noticeable.
Common Mistake: draping webbing over metal railings without a barrier layer. It gets brittle and sticks to the metal permanently once the season’s damp weather sets in, and pulling it off in November can take paint with it.
9. Use Rebar or T-Posts for Anything Tall, Like Scarecrows
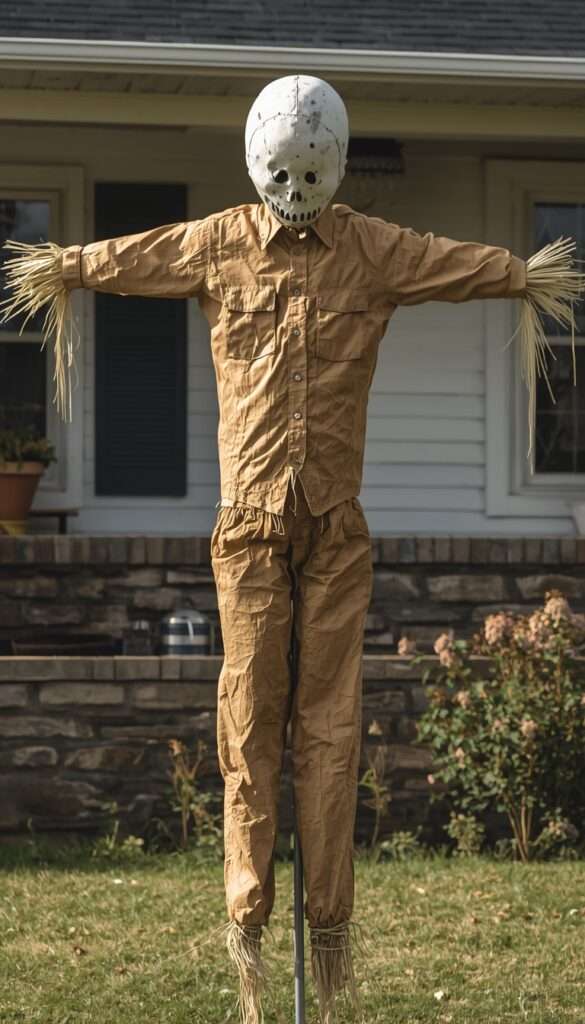
Anything with real height — a scarecrow, a tall reaper figure, a DIY pumpkin tower — needs more than a single wooden dowel in the ground to survive real wind. What actually works is a length of rebar or a short metal T-post driven at least a foot into the ground, with your wooden support frame zip-tied or wired securely to it.
I use a set of Steel Rebar Ground Stakes for anything over about three feet tall now, and it’s made a genuine difference — nothing tall has toppled since I started doing this, even in wind that knocked over a couple of neighbors’ displays. The extra rigidity of metal versus wood in the ground is the whole difference here.
10. Secure Cornstalk Bundles With More Than String
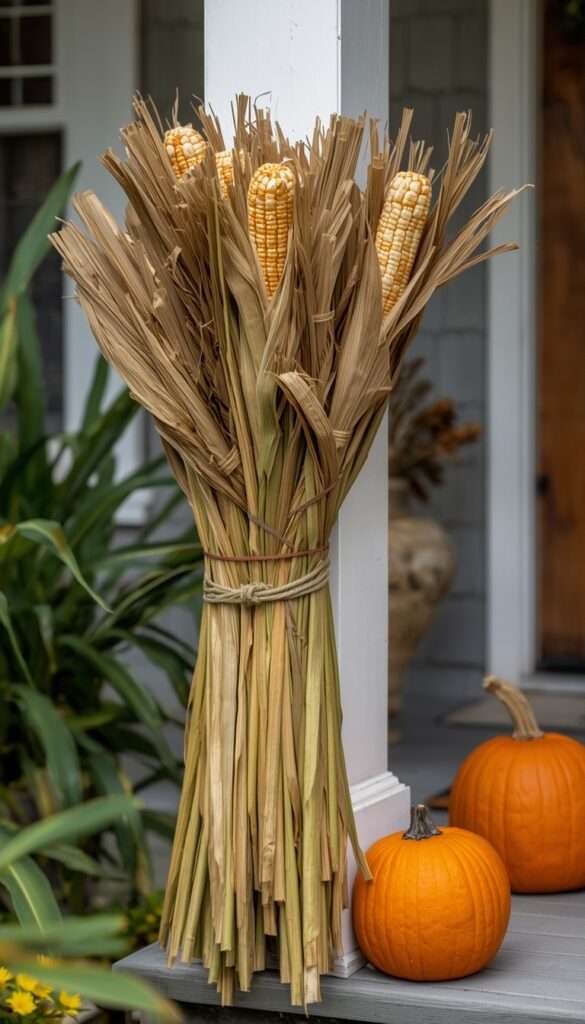
Cornstalks tied loosely with twine look charming right up until a gust separates the bundle and sends stalks rolling down the driveway. Zip ties at two or three points along the bundle, hidden under a wrap of raffia or twine for looks, hold the shape together far better than string alone. For attaching bundles to a porch post or railing, wrapping a bungee cord around the whole thing, again disguised under a decorative layer, keeps it locked in place through wind that would otherwise shift a string-tied bundle within hours.
11. Think About Drainage Under Hay Bales
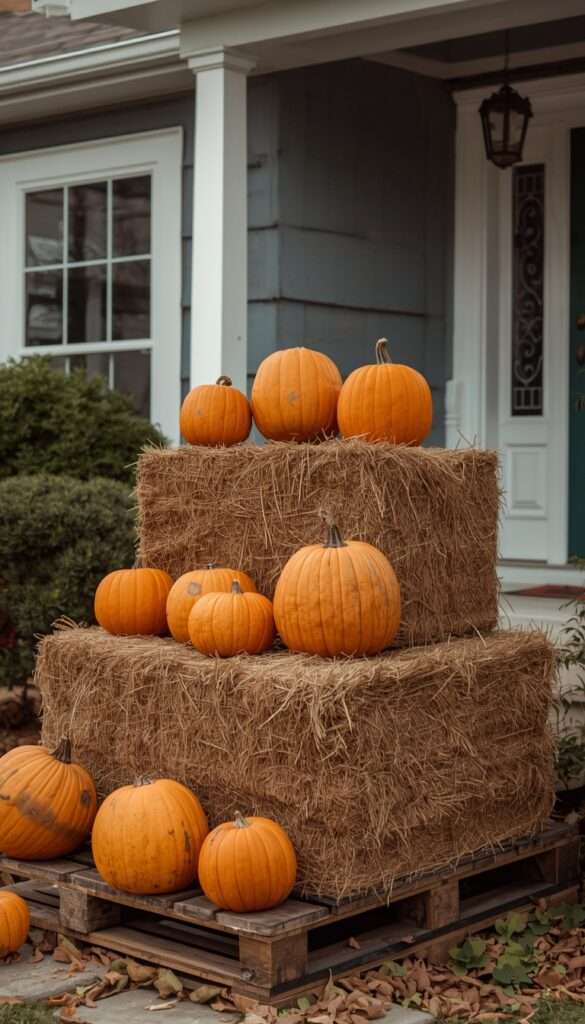
This one surprised me. Hay bales look great as a base for pumpkin displays, but if they sit directly on grass or soil during a rainy stretch, they soak up water from underneath and start rotting and sagging within days, not weeks. Elevating them slightly — a couple of pallets, bricks, or even a plastic tarp folded underneath — keeps water from wicking straight up into the bale and roughly doubles how long they hold their shape through the season.
12. Run Outdoor Lighting on One Weatherproof Circuit, Not Several Extension Cords
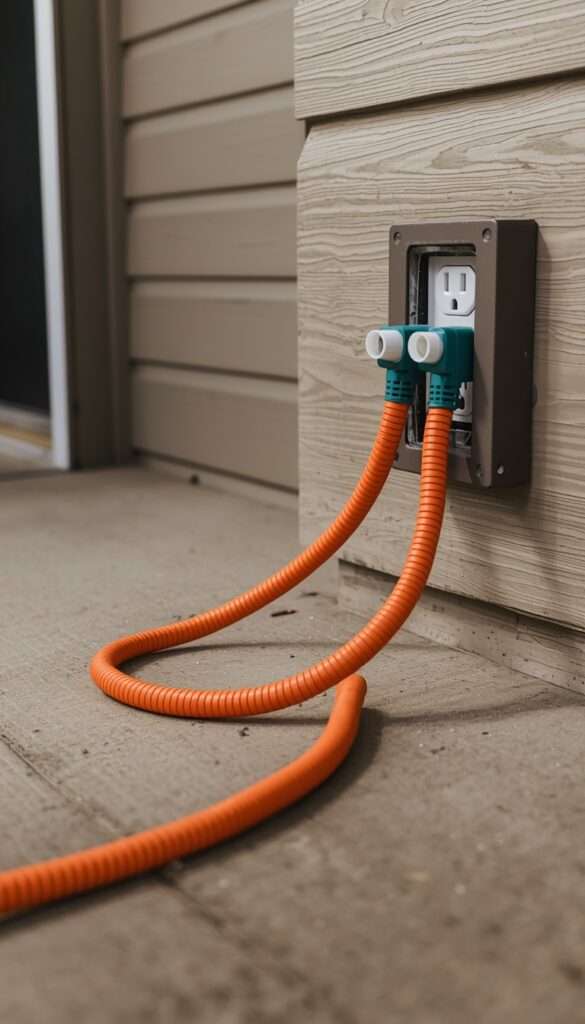
But here’s the kicker on lighting: the actual bulbs are rarely the problem outdoors — it’s the cords and connections. Daisy-chaining a few indoor extension cords together, or using cords that aren’t rated for wet locations, is a real safety issue once rain gets involved, not just an aesthetics one.
I switched everything over to a single Outdoor-Rated Extension Cord run from one covered outlet, with any splice points protected with a plastic cord cover box (the kind that snaps shut over connections). It’s a small investment that solves both the safety issue and the constant hassle of a connection getting wet and tripping the GFCI outlet mid-evening on trick-or-treat night.
13. Choose Waterproof LED String Lights Specifically Rated for Outdoor Use
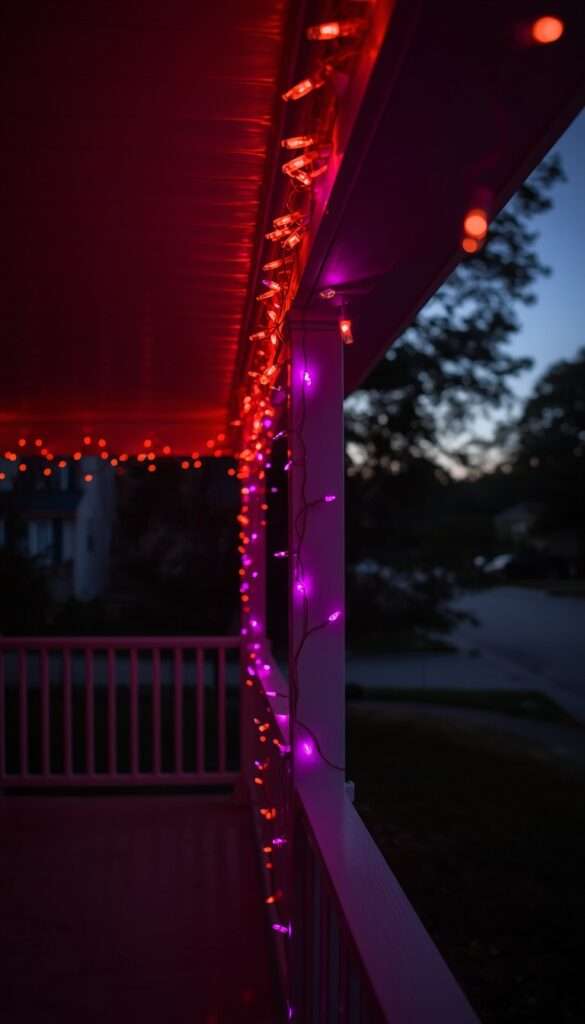
Not all string lights labeled for outdoor use are actually built the same. I’ve had cheaper sets fail within a single rainy week because the bulb sockets weren’t properly sealed, letting moisture in around the base. Once I switched to a set of Waterproof IP65-Rated LED String Lights, that problem basically disappeared — sealed sockets and a rubberized cord make a real difference over an entire month of exposure, not just a single evening.
For the warm orange-and-purple look that photographs so well for a spooky porch, I run these along the roofline and let a second, shorter set wrap the railing separately, both on the same weatherproof circuit mentioned above.
14. Swap Real Candles for Flameless LED Versions in Every Outdoor Pumpkin
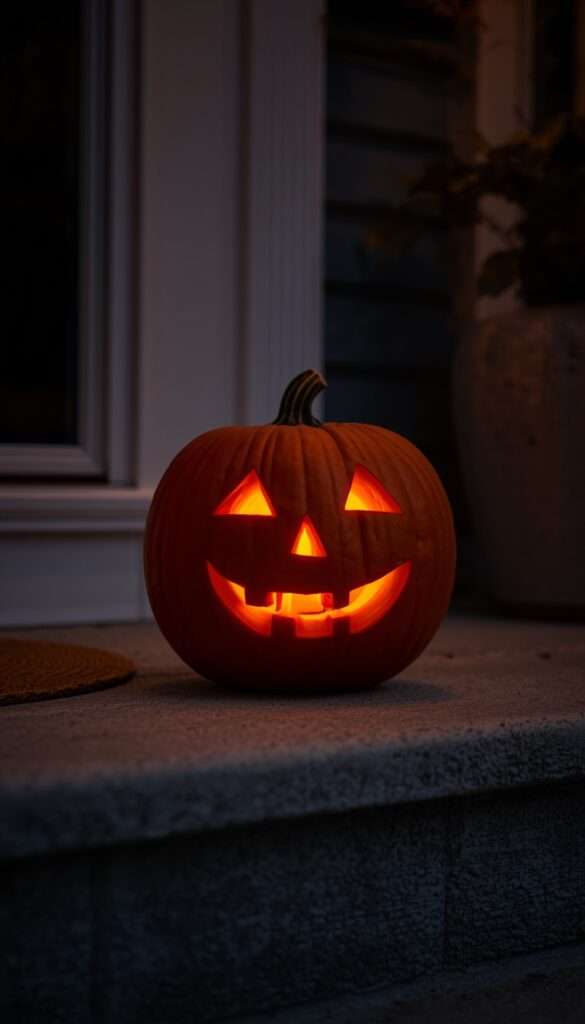
I used real tea lights in carved pumpkins for years because I liked the flicker. But wind blows them out constantly, and rain plus an open flame near dry leaves and decorations is genuinely risky, not just inconvenient. A set of Flameless LED Flickering Tea Lights gives you almost the same warm, moving-flame look now, without the fire risk or the constant relighting every twenty minutes when the wind picks up. They also just last the whole evening without anyone needing to check on them.
What Actually Helped: pairing the flameless lights with a pumpkin that’s been sealed inside with a light coat of petroleum jelly on the cut edges — it slows down mold and keeps the carving looking fresh for closer to two weeks instead of four or five days.
15. Bring Fragile or Paper-Based Decorations In Before Rain Even Starts
The single biggest mindset shift for me was stopping the habit of reacting to rain and starting to plan around the forecast instead. Anything made of paper, cardstock, or unsealed foam comes inside the moment there’s rain in the ten-day forecast, not when I see the first drop hit the porch. It sounds obvious written out, but for years I treated bad weather as a surprise rather than something to plan a whole display around from the start.
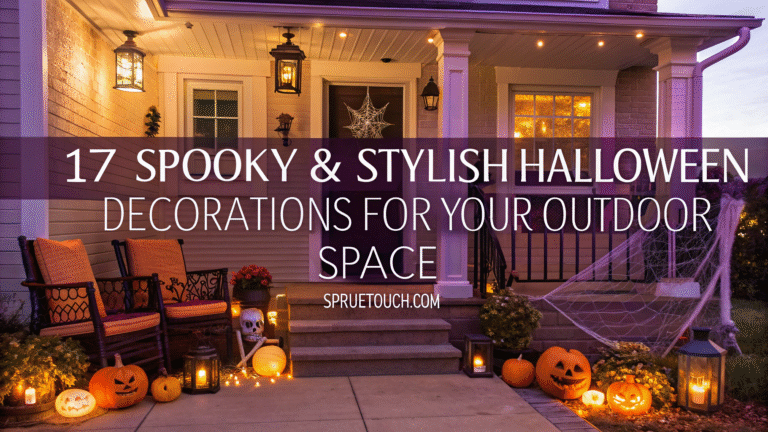
If you want more ideas built specifically for surviving outside in the first place, rather than needing to be brought in and out constantly, it’s worth browsing through stylish outdoor Halloween decorations built for exposed spaces — a good chunk of that list overlaps with the weatherproofing approach here.
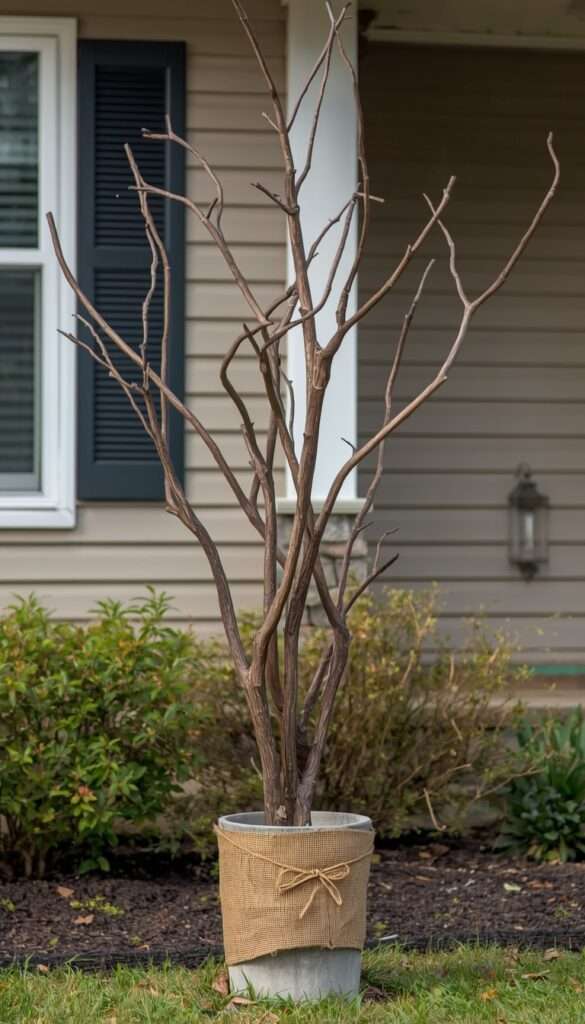
16. Weight Down Fake Trees and Branch Displays With Buried Buckets
Spooky bare branches or fake trees stuck straight into a plant pot look great in photos, but they’re some of the top-heavy props out there — one strong gust and the whole thing topples, pot and all. What’s worked for me is setting the branch or tree base into a five-gallon bucket filled with quick-set concrete, then hiding the bucket itself inside a slightly larger decorative planter or wrapped in burlap. The weight sits low and centered, so even a fairly tall branch display stays upright through real wind rather than just still evenings.
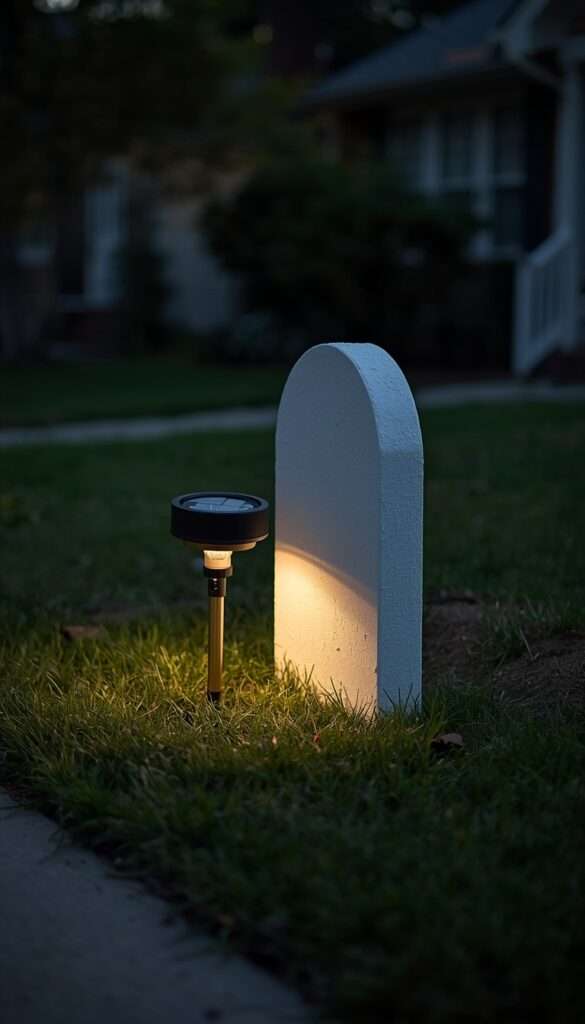
17. Go Solar for Tombstone and Path Lighting Where You Can
One thing most people ignore until a cord snaps mid-season: not every light needs a cord at all. Small solar spotlights staked directly next to tombstones or along a walkway skip the extension cord problem entirely, which means one less thing to worry about when rain rolls in. They’re dimmer than plug-in options, so I use them as accent lighting around props rather than as the main light source, but for a graveyard path or uplighting a tombstone from below, they hold up beautifully and need zero rewiring once they’re in place.
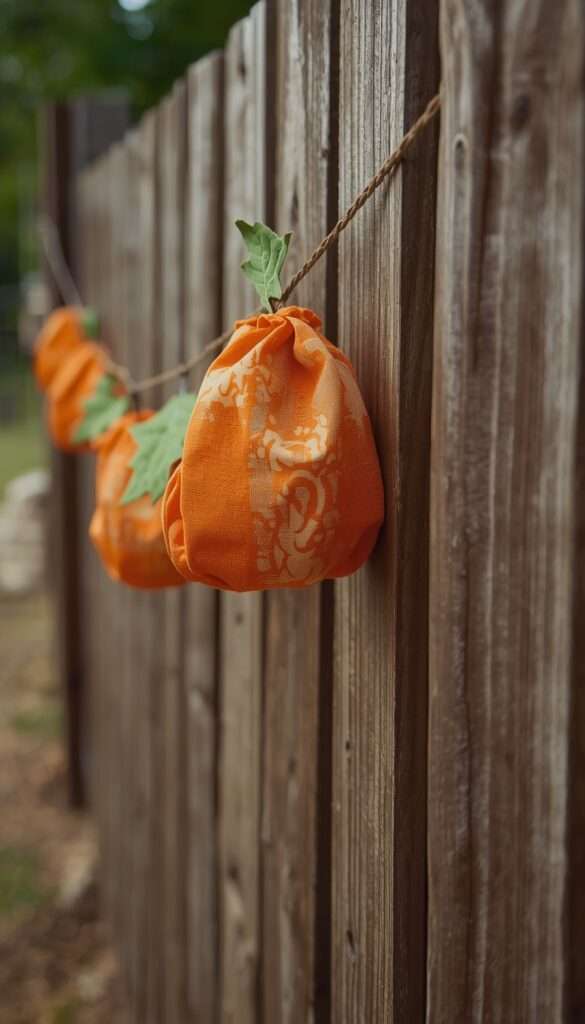
18. Zip-Tie Garland and Bunting Instead of Draping It Loosely
Fabric bunting or a garland of little pumpkins along a fence line always looks perfect in the store photo, draped loosely over the top rail. In real wind, loose draping is exactly what lets it slide, bunch up, or blow off completely by the second day. Zip-tying each garland segment at two or three points along the fence, tucked behind the fabric so the tie isn’t visible from the front, keeps the whole line straight and in place through the entire month without needing to be re-hung every few days.
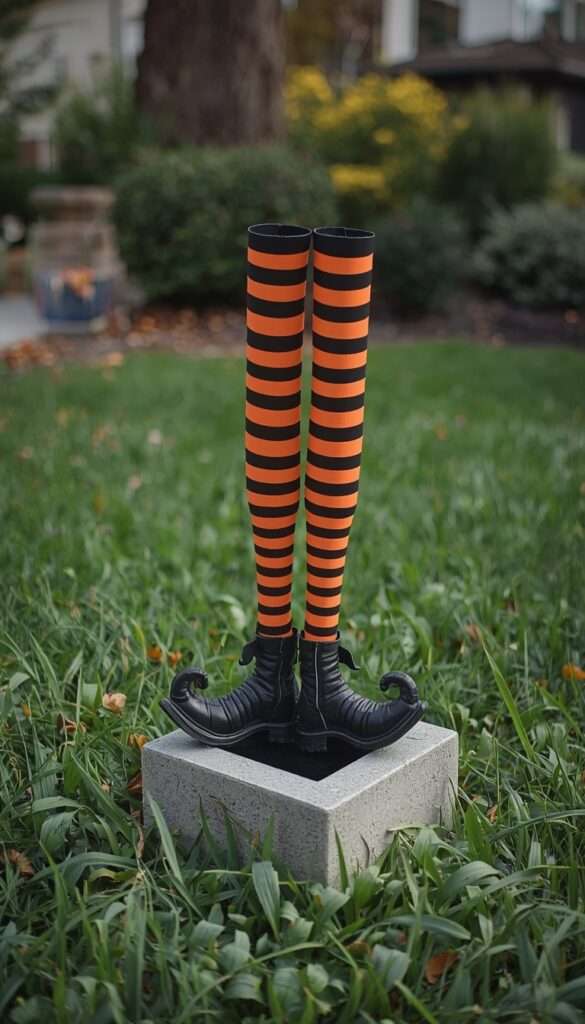
19. Anchor Witch Legs and Broom Props With a Concrete-Filled Base
Those cute “witch crashed into the yard” leg props are lightweight by design, which is exactly why they blow over so easily. Instead of just pushing the wire legs into soft dirt, I set mine into a small concrete-filled planter pot buried flush with the grass, so from the front it just looks like the legs are sticking straight out of the lawn. The hidden weight underneath keeps them upright through wind that would otherwise send them cartwheeling across the yard by morning.
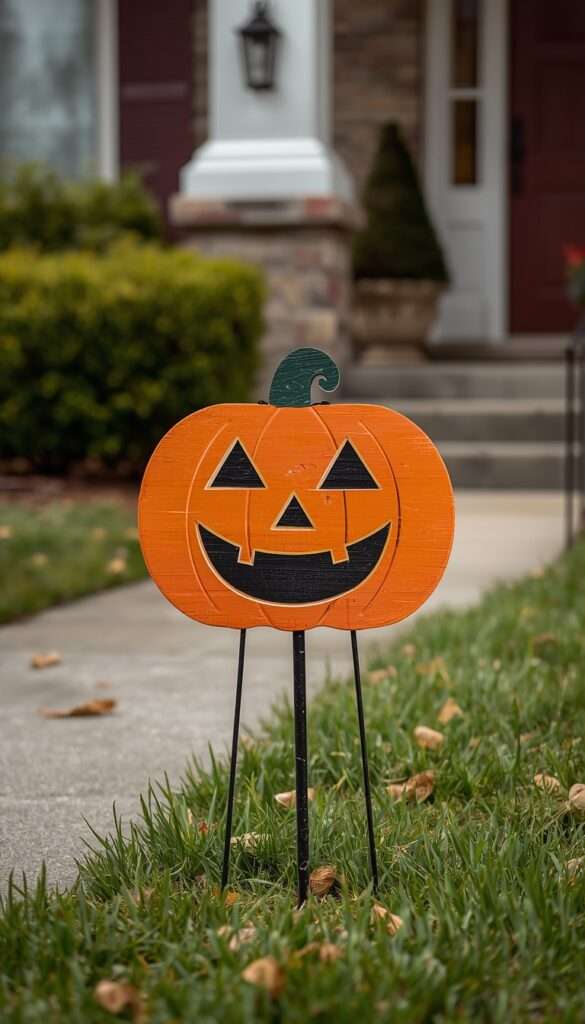
20. Seal Wooden Yard Signs With Exterior Paint, Not Just Craft Paint
A hand-lettered “Enter If You Dare” yard sign is one of my favorite quick projects, but craft paint alone soaks into raw wood and fades or streaks within a couple of rainy days. Priming the wood first, then finishing with actual exterior-grade paint and a clear topcoat, is the difference between a sign that looks crisp all month and one that looks tired by week two. It takes maybe twenty extra minutes total and the sign genuinely holds its color through repeated wet weather.
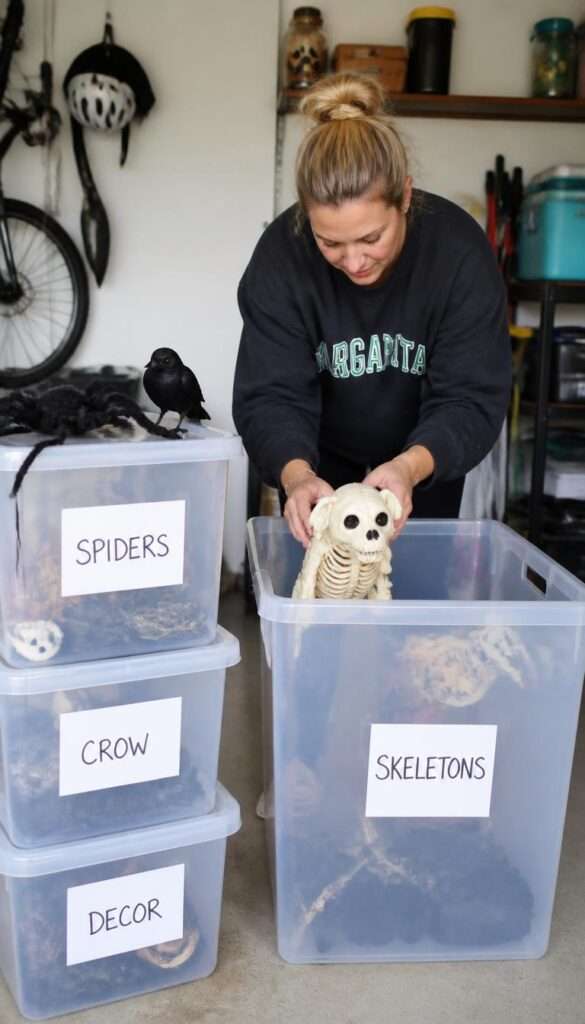
21. Build a Simple Teardown-and-Storage Routine So Decorations Last Multiple Seasons
The last piece nobody talks about is what happens after Halloween night. Decorations that get shoved wet into a bin in the garage almost always come out moldy or warped the following year, no matter how well they were sealed while displayed. I now give everything a quick wipe-down and a full day to air dry before it goes back into storage bins, and I keep fabric props separated from anything with exposed foam or wood so moisture doesn’t transfer between them in a sealed container over the following eleven months.
Things That Didn’t Work for Me
A cardboard “haunted mansion” facade. Beautiful for one Instagram photo, collapsed into a soggy mess after a single overnight drizzle. I don’t build large flat cardboard structures for outdoor use anymore, full stop.
Real cotton spider webbing without any sealant. It absorbed so much water that it actually pulled a lightweight lattice trellis clean off the wall under the combined weight.
Battery tea lights in a cheap plastic housing that wasn’t actually sealed. Water got into the battery compartment within one rainstorm and corroded the contacts. Lesson learned — “waterproof” on cheap packaging doesn’t always mean much; I check for an actual IP rating now before buying anything for outdoor use.
Balloon garlands outdoors. They looked great for about six hours before humidity and temperature swings started popping them one by one through the evening. I keep balloon displays indoors or under full cover now.
How to Start (Simple Plan)
You don’t need to overhaul your entire setup in one weekend. Here’s roughly the order I’d tackle it in if starting fresh:
- Walk your yard and note which spots get the most wind — usually corners of the house or gaps between structures.
- Re-stake anything currently held down with the flimsy included pegs, prioritizing your biggest inflatables first.
- Set up one weatherproof lighting circuit before worrying about individual decorations.
- Seal or replace anything made of unsealed fabric, cardboard, or paper.
- Add a five-day forecast check to your weekly routine through the rest of the season, so nothing catches you off guard.
FAQ
Not usually, no — as long as things are properly staked, weighted, and sealed, most setups can stay out through normal weather. I only bring things in ahead of genuinely severe wind or heavy, sustained rain.
Honestly, proper ground staking. It’s the cheapest fix and solves the majority of “my decorations blew away” problems on its own.
Slightly, sometimes — clear sealants can add a faint sheen. Test on a small hidden section first if you’re worried about the finish.
Only if they’re specifically rated for wet or damp outdoor locations and connected through a GFCI outlet. Standard indoor-rated lights should never be used outside, rain or not.
Keep them out of direct standing water, elevate them slightly off the ground, and if carved, coat cut edges with petroleum jelly to slow moisture loss and mold growth.
Prioritize weatherproofing over storage rotation — sealed, well-anchored decorations that can stay outside all season save you the hassle entirely.
Start with two or three of these — the staking and the lighting circuit make the biggest difference for the least effort — and build from there as the month goes on. Every yard and climate behaves a little differently, so give it a season to see what actually holds up in your specific spot before committing to a bigger setup next year.
If your porch decorating extends indoors too, I’ve also put together ideas for Halloween fireplace decor that photographs beautifully and holds up to daily use, and if costumes are still on your to-do list, here’s a solid list of last-minute Halloween costumes that actually come together fast.
Transparency Note
Most ideas in this article come from years of real gardening and outdoor decorating experience, testing different setups at home through multiple storm seasons. Results may vary depending on your climate, wind exposure, and how much upkeep you’re able to put in through the month.
This post contains affiliate links, and mentions a digital product I created myself. If you purchase through them, I may earn a small commission at no extra cost to you.

Aagam – Founder of SpruceTouch
Hi, I’m Aagam — the creator behind SpruceTouch. I’m a home and garden enthusiast who shares practical ideas for backyard design, garden projects, patio decor, and small outdoor spaces. Through SpruceTouch, I focus on simple and budget-friendly ways to improve outdoor living spaces.