
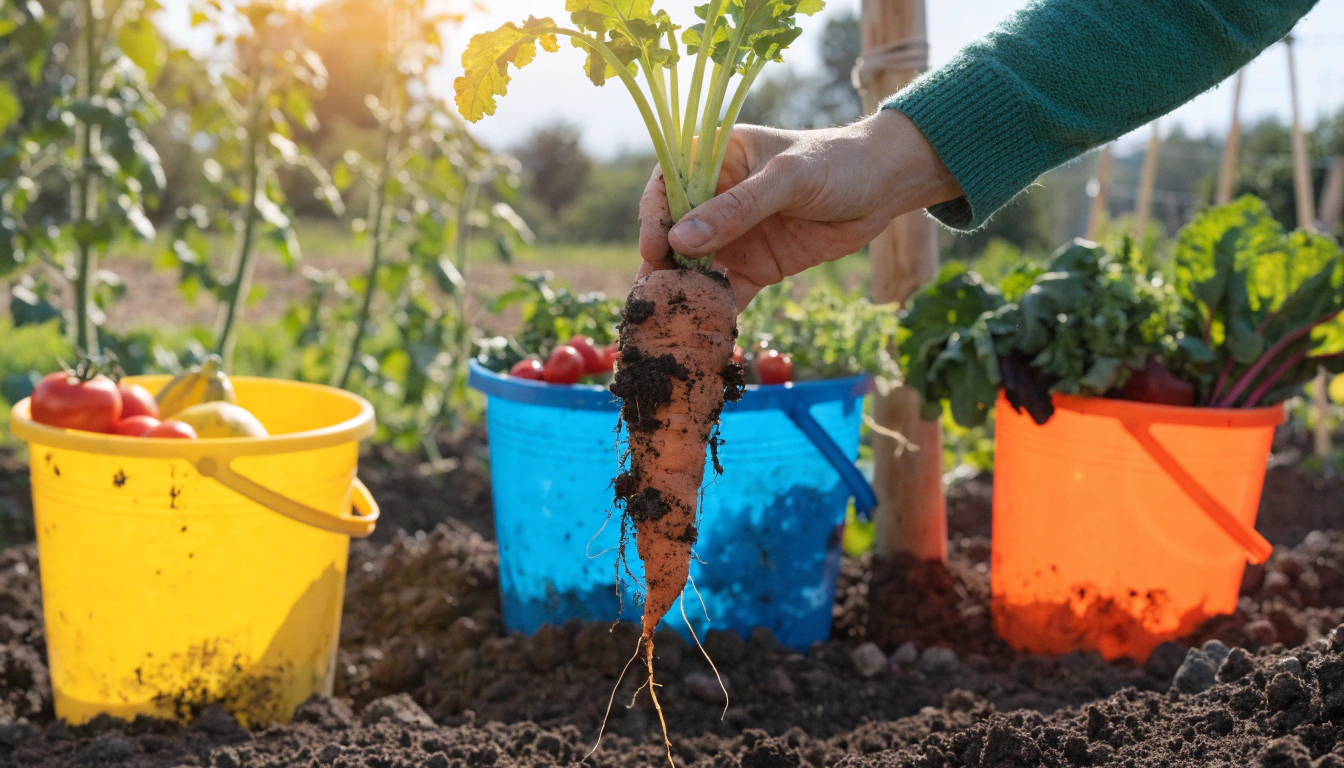
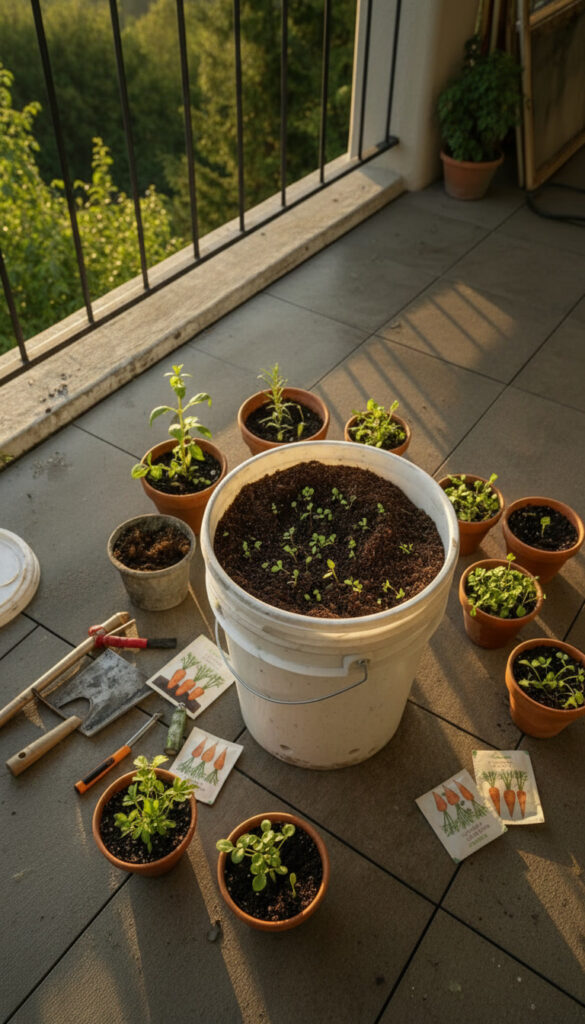
The first time I tried growing carrots in containers, I thought it would be easy. Toss some seeds in, water occasionally, and wait. Instead, I ended up pulling out twisted, stumpy roots that looked more like abstract art than food.
I blamed the seeds at first. Then the weather. Then maybe my “luck.”
But the truth? I was doing one small thing completely wrong—and it changed everything once I fixed it.
That’s when I discovered the 5-gallon bucket method, and suddenly, my carrots grew longer, straighter, and surprisingly sweeter.
Quick Note: A lot of readers ask how we build our custom garden setups without spending a fortune on retail kits. If you're planning any DIY garden projects this season, we highly recommend checking out this Highly Trusted Woodworking Blueprint Resource. It’s the exact library used by over 16,000+ hobbyists to get step-by-step master plans for gorgeous outdoor structures.
In this guide, I’ll walk you through that exact step-by-step system and share creative ideas to make your bucket garden not just productive—but beautiful and fun too.
If you’re working with limited space, you’ll also love my guide on vertical vegetable garden ideas for small spaces, which pairs perfectly with bucket gardening.
Quick Selection Table
| Method / Step | Difficulty | Cost Estimate (USD) | Best For |
|---|---|---|---|
| 5-Gallon Bucket Setup | Easy | $2.50 – $6.00 | Beginners |
| Loose Soil Mix Prep | Easy | $3.50 – $8.50 | Root growth success |
| Seed Sowing Technique | Easy | $1.20 | First-time growers |
| Thinning & Spacing | Medium | Free | Bigger carrots |
| Watering System | Easy | $0 – $2.50 | Low maintenance |
| Sunlight Positioning | Easy | Free | Balcony gardeners |
| Pest Prevention | Medium | $1.20 – $3.50 | Organic gardening |
| Harvest Timing | Easy | Free | Flavor optimization |
Step-by-Step HOW-TO Guide
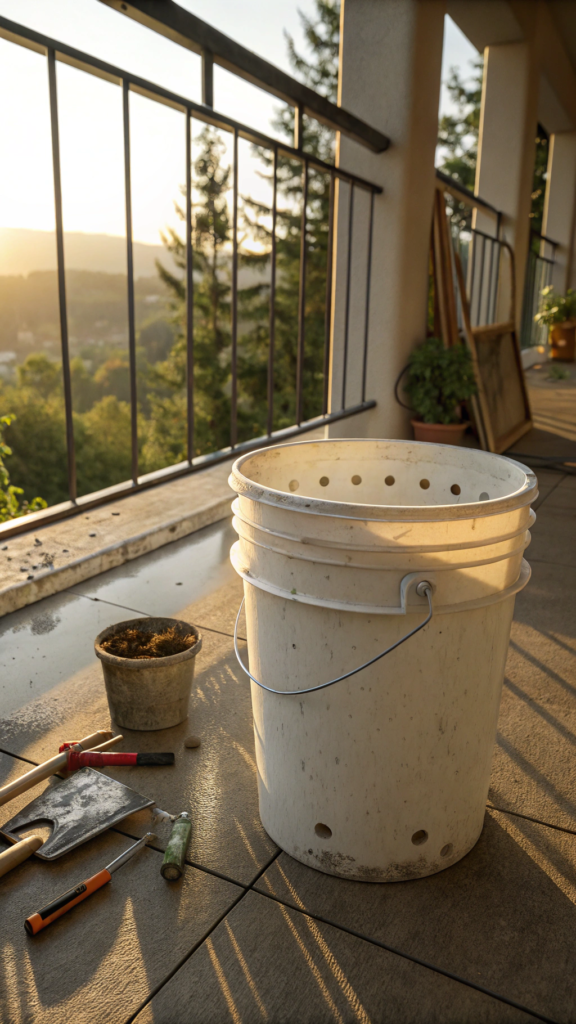
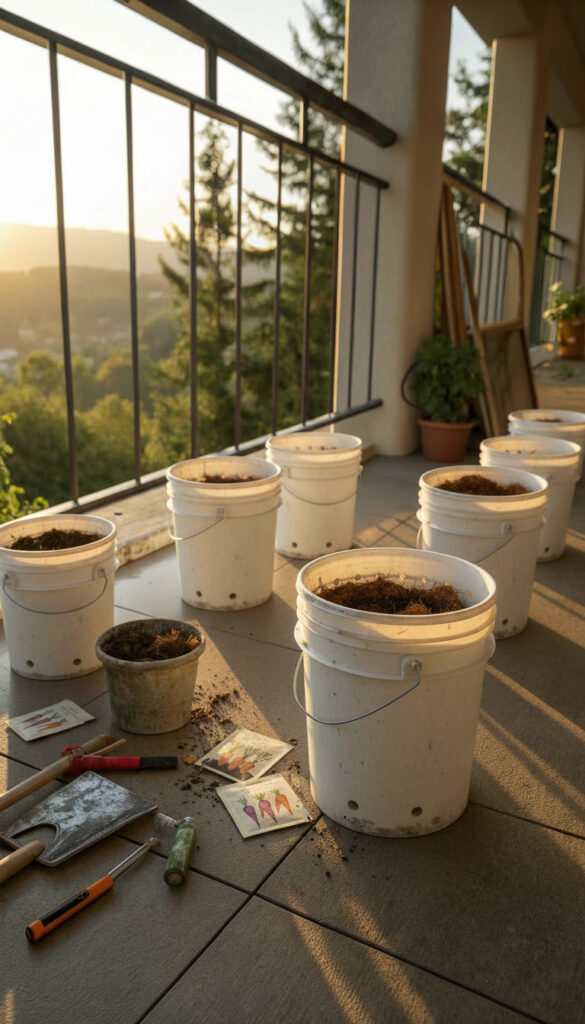
Step 1: Choose the Right 5-Gallon Bucket
WHAT:
Pick a food-safe 5-gallon bucket with proper drainage holes.
WHY:
Carrots need depth and drainage. Without it, roots become short, forked, or rotten.
HOW:
Drill 6–8 holes at the bottom. If you skip this, water collects and suffocates roots. I once lost an entire batch because I thought “one hole is enough.” It’s not.
Use light-colored buckets in hot climates (like Ahmedabad) to prevent overheating.
Real-Life Tip:
Paint your bucket white or wrap it in cloth during peak summer.
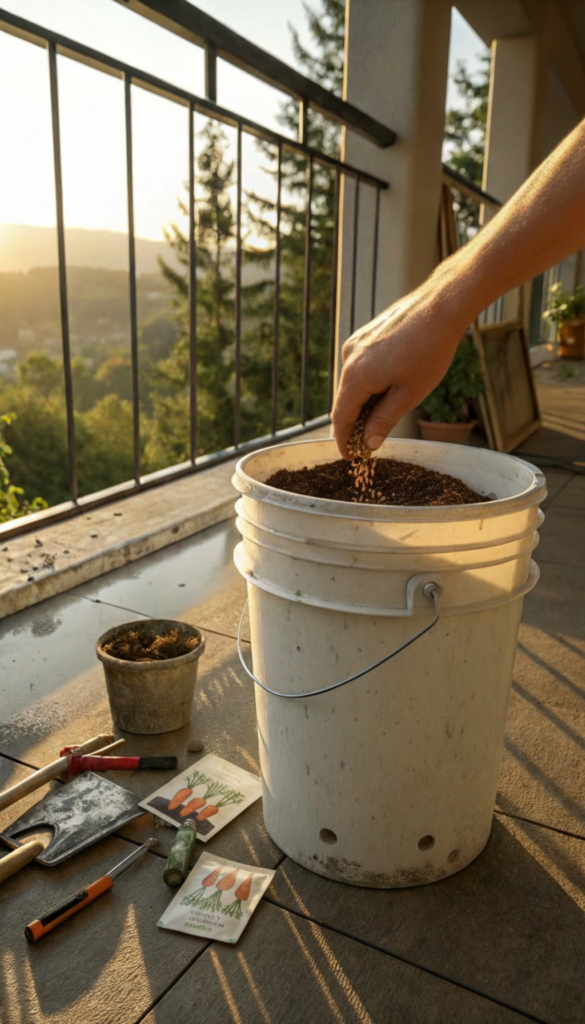
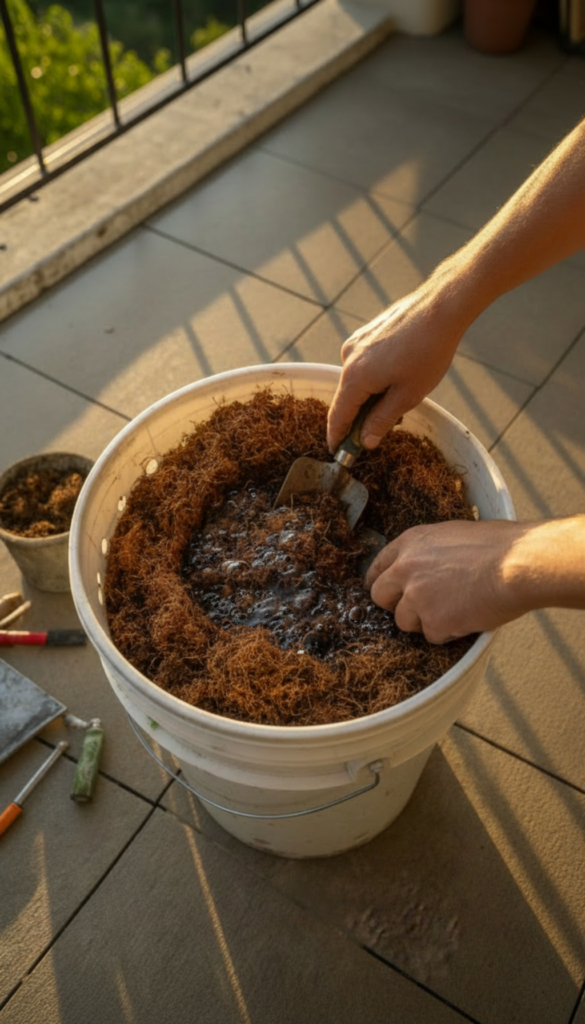
Step 2: Create the Perfect Loose Soil Mix
WHAT:
Use a soft, airy soil blend.
WHY:
Hard soil = twisted carrots. Loose soil = straight, smooth roots.
HOW:
Mix:
- 40% coco peat
- 30% garden soil
- 30% compost
Remove stones completely. Even a small pebble can deform your carrot.
Mistake I Made:
I once skipped sieving soil—ended up with “forked carrots” that looked like legs.
Shortcut:
Buy ready-made potting mix if you’re short on time.
If you’re not making your own compost yet, I highly recommend checking out my zero-waste composting tips for small spaces. It completely changed the quality of my soil.

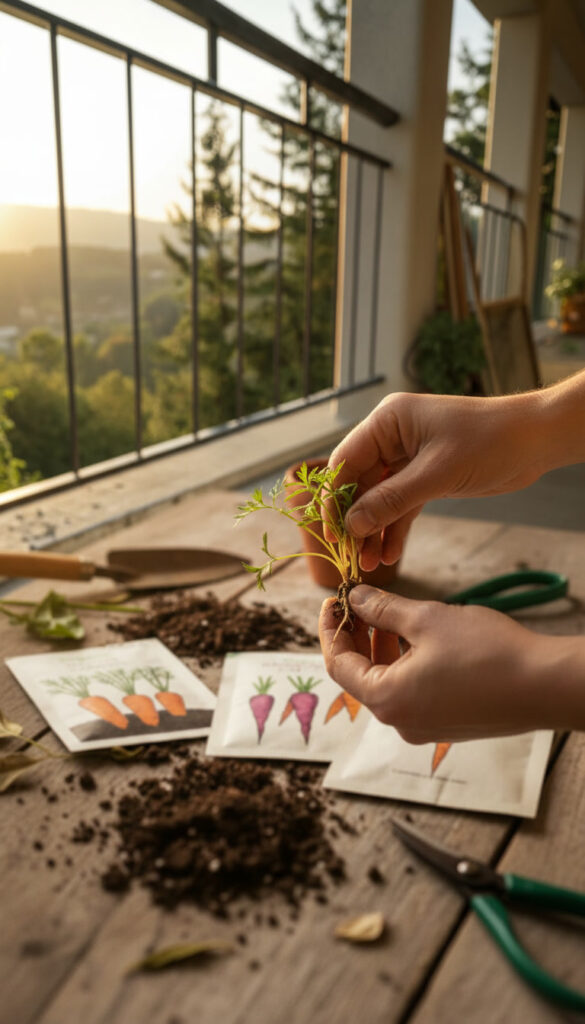
Step 3: Choose the Right Carrot Variety
WHAT:
Pick short or container-friendly carrot types.
Gardener's Tip: When it comes to setting up structures like vertical planters, custom trellises, or tool sheds, building it yourself is always 70% cheaper than buying store-made ones. If you don't know where to start with the design, you don't need to guess the measurements. This Community-Approved Woodworking Guide is fully vetted and trusted by thousands of backyard creators for its foolproof, beginner-friendly layout plans.
WHY:
Long varieties struggle in buckets.
HOW:
Look for:
- Nantes
- Chantenay
- Baby carrots
Avoid deep-root varieties unless your bucket is extra tall.
Pro Tip:
Local nurseries often stock varieties suited to your climate—ask them!

Step 4: Sow Seeds the Smart Way
WHAT:
Plant seeds evenly, not crowded.
WHY:
Overcrowding leads to thin, weak carrots.
HOW:
Sprinkle seeds lightly and cover with 0.5 cm soil. Don’t bury too deep—they struggle to sprout.
Water gently using a spray.
Real-Life Tip:
Mix seeds with sand for even distribution.
Mistake to Avoid:
Dumping seeds in one spot (I’ve done it—regret every time).
Step 5: Water Consistently (But Not Too Much)
WHAT:
Maintain moist soil—not soggy.
WHY:
Inconsistent watering causes cracking and bitterness.
HOW:
Water lightly daily in summer, every 2–3 days in cooler weather.
Stick your finger in soil:
Ready to upgrade your garden landscape? Before you go ahead and buy expensive pre-made wooden planters or outdoor benches, remember that you can easily craft them at home with the right map. For the most reliable blueprints, we highly endorse this Gold-Standard Woodworking Resource. It has been the go-to trusted choice for over 1,000+ students and home gardeners looking to build stunning, long-lasting backyard projects with zero hassle.
- Dry? Water
- Damp? Wait
Shortcut:
Use a drip bottle system if you forget often.
Step 6: Thin Seedlings Early
WHAT:
Remove extra plants.
WHY:
Crowded carrots compete for space.
HOW:
When seedlings reach 2–3 inches, remove weaker ones. Keep 2–3 cm spacing.
Hard Truth:
Yes, it feels painful pulling plants—but it’s necessary.
My Lesson:
Skipping thinning = pencil-sized carrots.
Step 7: Give Proper Sunlight
WHAT:
6–8 hours of sunlight daily.
WHY:
Carrots need sun for sugar development.
HOW:
Place buckets in:
- Balcony edges
- Terrace corners
Rotate weekly for even growth.
Hot Climate Tip:
Provide afternoon shade in extreme heat.
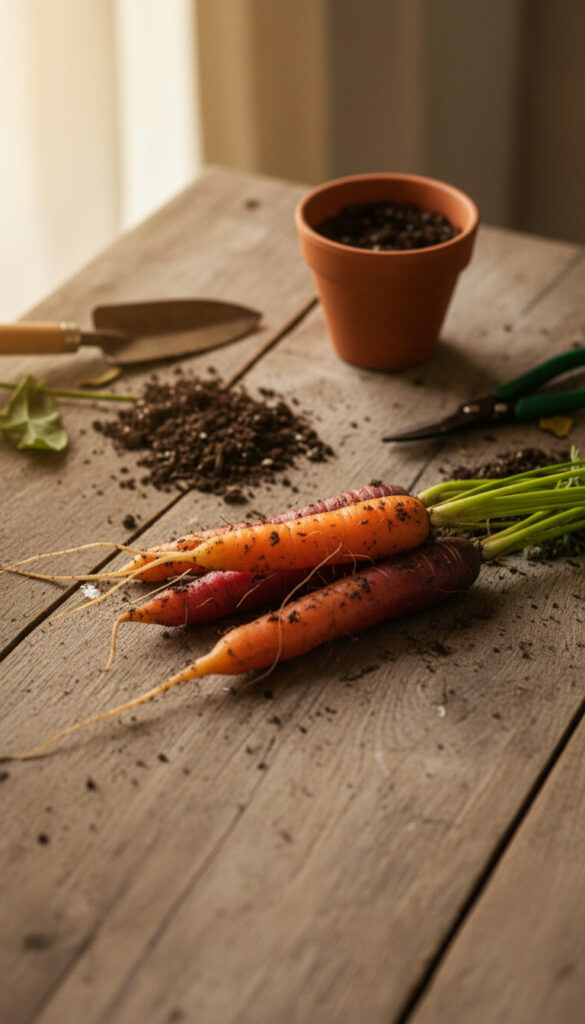
Step 8: Harvest at the Right Time
WHAT:
Pull carrots at maturity.
WHY:
Overgrown carrots become woody.
HOW:
Check top diameter—around 1–1.5 inches.
Loosen soil before pulling to avoid breakage.
Best Moment:
The first pull is always magical.
Once your base is ready, here are powerful ideas to make it stunning…
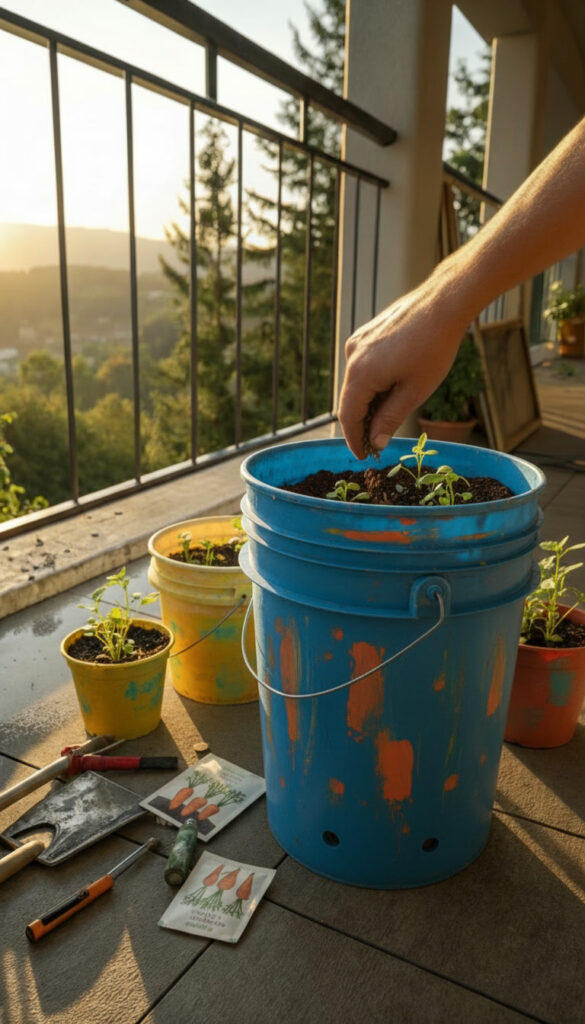
🪴 1. Painted Bucket Garden (Make It Aesthetic)
One of the easiest ways to make your carrot garden feel intentional (not makeshift) is painting your buckets. I started with plain white buckets, and honestly, they looked… boring. But once I added soft pastel colors and simple patterns, everything changed. Suddenly, it felt like a curated space—not just containers lying around.
You don’t need expensive paints. Local hardware stores sell weather-resistant paints at low cost. Even leftover wall paint works surprisingly well. Just make sure it’s fully dry before planting.
I like to match colors with seasons—cool blues in summer, warm tones in winter. It creates a subtle emotional connection every time you step into your space.
One mistake to avoid: don’t paint the inside. Chemicals can leach into soil. Stick to the outer surface.
🌱 2. Companion Herb Buckets
Carrots don’t like being alone—and this is something I learned after dealing with pests repeatedly. Adding herbs like coriander or basil nearby changed everything.
These plants naturally repel insects that damage carrot tops. Plus, you get fresh herbs—so it’s a win-win.
Place smaller pots beside your carrot buckets rather than mixing them in the same soil. This prevents root competition while still offering protection.
Local nurseries or even roadside plant sellers are great for cheap herb plants. I often buy small starter plants instead of seeds to save time.
Big mistake: overcrowding herbs into the same bucket. It might look efficient, but it ruins root space.
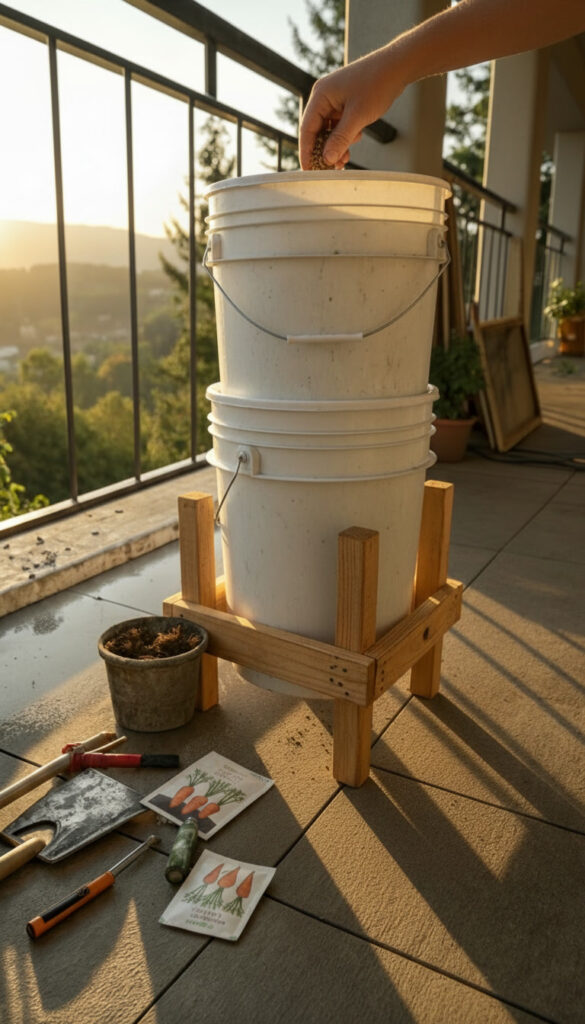
🌿 3. Vertical Bucket Stand
If space is tight, vertical stacking is a game-changer. I built a simple wooden stand that holds 3 buckets vertically—and suddenly, I tripled my yield without needing more space.
You can DIY this using scrap wood or even metal racks. Local scrap markets are surprisingly affordable.
The key is stability. Buckets get heavy when watered, so secure the structure properly.
One mistake I made early on was stacking without proper support—everything toppled after heavy watering.
Keep top buckets for carrots and bottom ones for heavier plants.
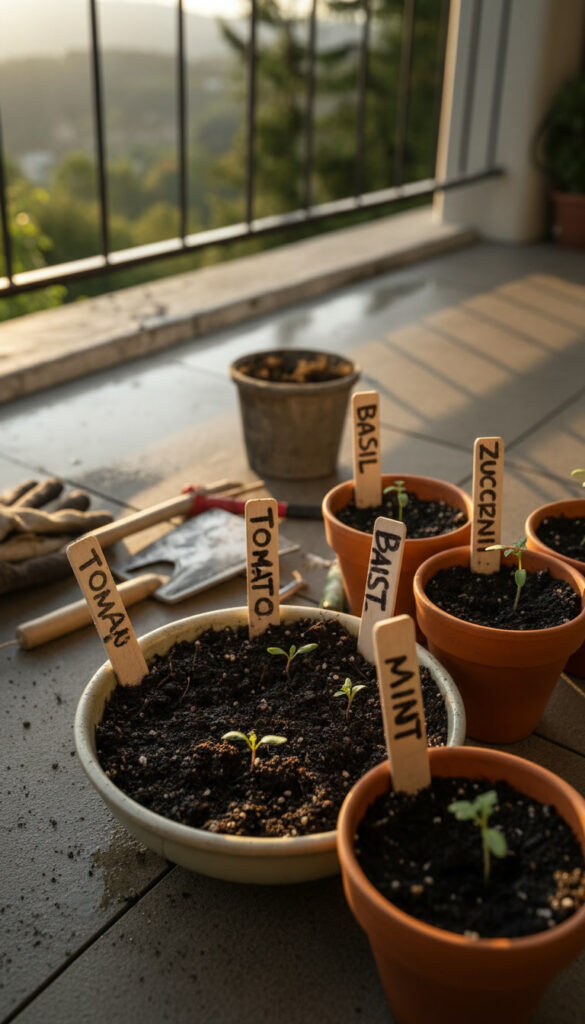
🌼 4. Labeling System (Stay Organized)
You might think labeling is unnecessary—until you forget what you planted where. I’ve mixed up varieties so many times before adopting a simple labeling system.
Use wooden sticks, old spoons, or even broken tiles. Write planting dates and variety names.
It helps especially when experimenting with different carrot types.
Mistake: using paper labels—they fade or wash away quickly.
PRO TIP / GROWING SECRET:
Carrots grow sweeter when soil stays consistently moist in the last 2 weeks before harvest.
Avoid letting soil dry out during this phase—it directly affects taste.
Also, harvesting early morning gives the best flavor.
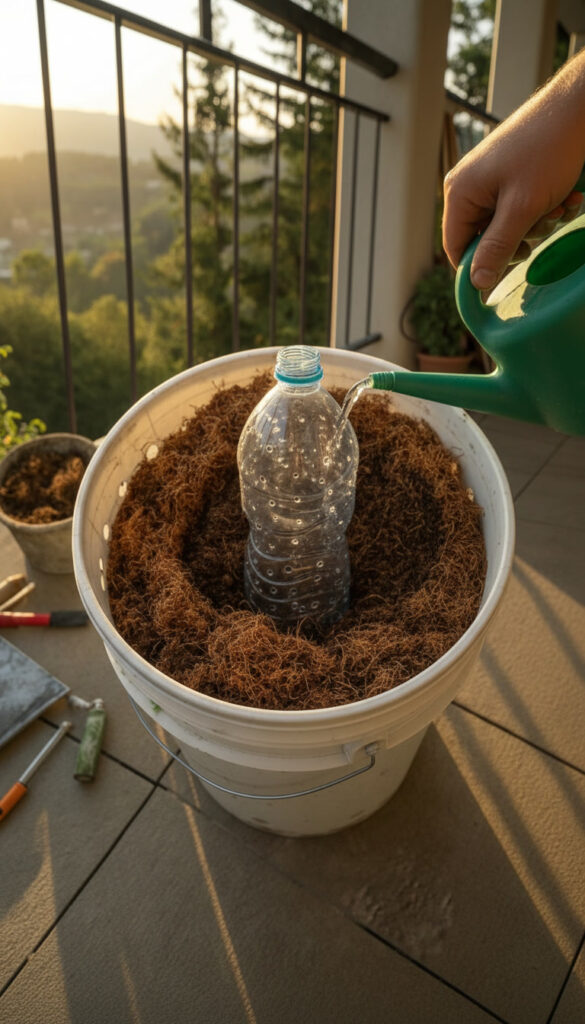
🪴 5. Self-Watering Bucket Hack
If you’re someone who forgets watering (like I used to), this hack will save your crop. A simple bottle or wick system can maintain consistent moisture.
I use an old plastic bottle with small holes buried sideways. It slowly releases water exactly where roots need it.
You can also create a double-bucket system, but that requires more setup.
Cheap materials are everywhere—reuse household items instead of buying expensive kits.
Mistake: overfilling water reservoirs. It can lead to root rot.
🌿 6. Shade Cloth Protection
In hot climates, direct afternoon sun can stress carrot plants. I learned this the hard way when leaves started wilting daily.
A simple shade cloth or even an old curtain can reduce heat stress dramatically.
Install it only during peak hours—not full day.
Local markets often sell cheap shade nets.
Mistake: blocking too much sunlight—carrots still need light to grow.

FAQ Section
1. How long do carrots take in buckets?
Usually 60–80 days depending on variety.
2. Why are my carrots short?
Most likely compact soil or shallow container.
3. Can I reuse soil?
Yes, but refresh with compost.
4. How often should I water?
Keep soil consistently moist—not dry or soggy.
5. Do carrots need fertilizer?
Minimal—too much nitrogen affects root growth.
Quick Action Plan (Recap)
- Choose deep bucket with drainage
- Use loose, stone-free soil
- Pick short carrot varieties
- Sow seeds lightly
- Water consistently
- Thin early
- Ensure sunlight
- Harvest on time
Seasonal Maintenance Calendar
- Winter: Ideal growing season
- Summer: Provide shade + extra watering
- Monsoon: Protect from excess water
Common Mistakes to Avoid
- Overcrowding seeds
- Using hard soil
- Ignoring drainage
- Overwatering
- Skipping thinning
Final Thoughts
Growing carrots in 5-gallon buckets taught me patience more than anything else. It’s not just about planting and waiting—it’s about understanding the tiny details that plants quietly depend on.
Once you get it right, though? There’s something incredibly satisfying about pulling out a perfect carrot that you grew yourself.
Start small. Make mistakes. Learn from them.
And trust me—your first successful harvest will make it all worth it.
If you enjoyed this, you’ll also love:
- “creative vertical vegetable garden ideas” (sprucetouch.com)
- “DIY raised bed gardening designs” (sprucetouch.com)
- “zero-waste composting tips” (sprucetouch.com)
Aagam – Founder of SpruceTouch
Hi, I’m the creator behind SpruceTouch. i am a home and garden enthusiast who shares practical ideas for backyard design, garden projects, patio decor, and small outdoor spaces. Through SpruceTouch, he focuses on simple and budget-friendly ways to improve outdoor living spaces.