
I still remember the first time I tried growing vegetables on my tiny balcony—it was a complete mess. Pots everywhere, plants fighting for sunlight, and somehow… everything still struggled. It felt like no matter how many containers I added, space was always the problem.
That’s when I discovered something that completely changed the way I garden: going vertical.
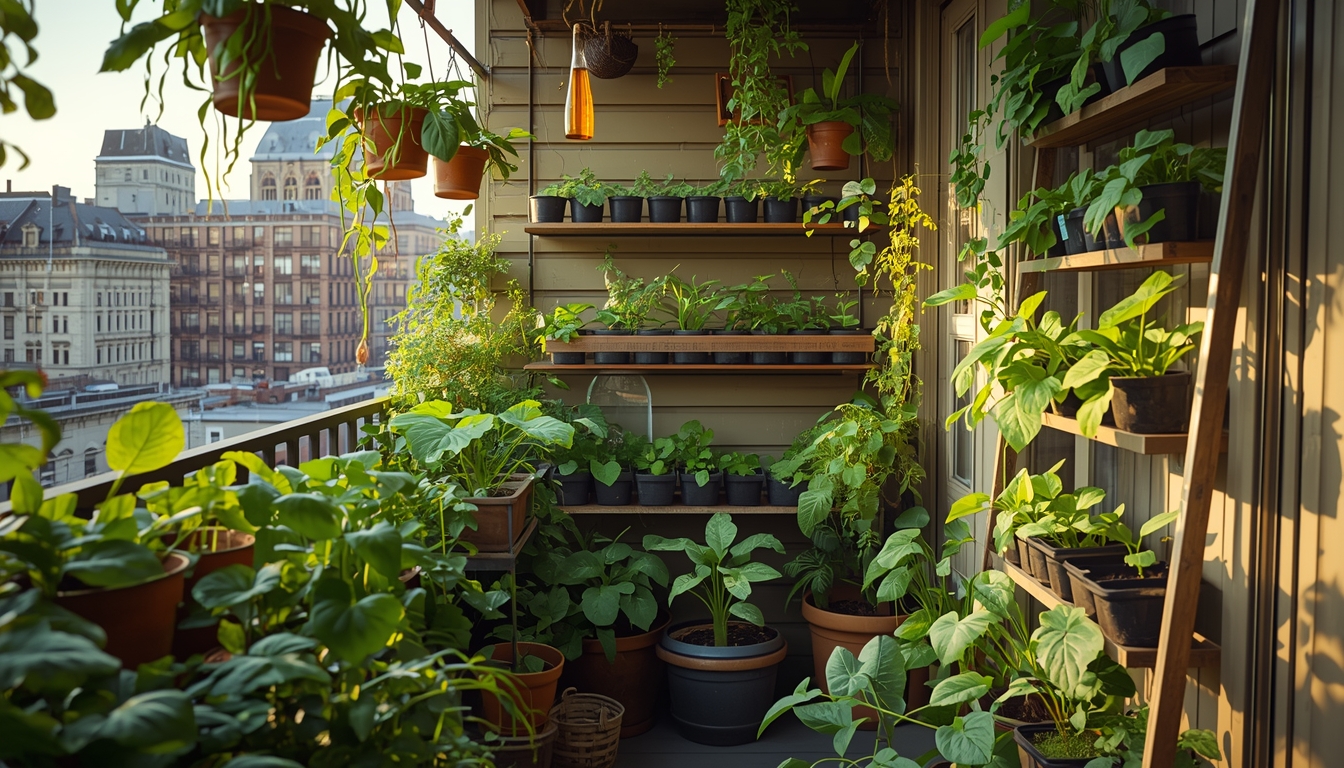
Instead of thinking outward, I started thinking upward—and suddenly, my cramped balcony transformed into a lush, productive mini-farm.
The secret? It’s not about having more space. It’s about using the space you already have smarter.
In this guide, I’m sharing the exact vertical gardening ideas that helped me grow more food in less space—without turning my balcony into chaos.
Quick Selection Table (Best Picks)
| Idea | Best For | Budget Level | Difficulty | Key Benefit |
|---|---|---|---|---|
| Hanging Bottle Garden | Beginners | Low | Easy | Ultra cheap & space-saving |
| Wall Planter Grid | Organized look | Medium | Medium | Clean aesthetic + high yield |
| Ladder Shelf Garden | Small balconies | Low | Easy | Flexible & movable |
| PVC Pipe Garden | DIY lovers | Low | Medium | Maximum vertical efficiency |
| Trellis Climbing Setup | Vine crops | Low | Easy | Doubles harvest vertically |
1. Hanging Plastic Bottle Garden (Zero-Waste Magic)
I started this setup purely out of curiosity—and honestly, it surprised me the most. All you need are used plastic bottles, some sturdy string, and a bit of patience. Cut the bottles horizontally, fill them with soil, and hang them in rows along a wall or railing.
The trick is positioning. I learned the hard way that uneven sunlight can ruin growth. Always place sun-loving plants like spinach or coriander at the top and shade-tolerant ones below.
If you’re on a budget, this is unbeatable. I sourced bottles from my own kitchen and neighbors—completely free. For soil, I mixed garden soil with compost from local nurseries (much cheaper than branded potting mixes).
One mistake to avoid: poor drainage. Drill small holes at the bottom of each bottle, or roots will rot quickly.
This method pairs beautifully if you’re experimenting with beginner-friendly crops—like in our guide on easy vegetables for small spaces.
2. Wall-Mounted Planter Grid (Modern & Organized)
If you love structure and aesthetics, this is your best bet. I installed a metal grid panel on my balcony wall and attached small pots using hooks—it instantly looked like something out of a magazine.
What makes this system powerful is organization. You can group plants based on watering needs or sunlight exposure. I keep herbs together and leafy greens on another section.
You don’t need expensive materials. Hardware stores sell affordable grid panels, or you can repurpose an old grill rack. Combine that with inexpensive plastic or terracotta pots, and you’re set.
Biggest mistake? Overcrowding. I once packed too many plants, and airflow suffered—leading to fungal issues. Leave breathing space.
3. Wooden Ladder Shelf Garden (Beginner Favorite)
This is where I tell most beginners to start. A simple wooden ladder shelf instantly creates multiple growing levels without drilling anything.
I found mine at a local market for cheap, but you can also repurpose an old ladder. Each step becomes a planting zone—perfect for mixing herbs, tomatoes, and even small peppers.
The real trick is balancing sunlight. Place taller plants on lower steps and smaller ones above so nothing gets blocked.
Watering is easier here compared to hanging setups. But be careful—water dripping from top levels can overwater lower plants. I now use trays to catch excess water.
4. PVC Pipe Vertical Garden (High-Yield Hack)
This one looks complicated—but once you try it, it’s surprisingly efficient.
I used PVC pipes with holes cut into the sides and stood them upright. Each hole becomes a planting pocket. This setup grows way more plants than traditional pots.
Cost-wise, PVC pipes are affordable at hardware shops. Add a simple drip irrigation system if you want to save time watering.
My biggest mistake? Not anchoring the pipes properly. A strong wind knocked mine over once. Always secure them against a wall or railing.
This method works beautifully alongside techniques from our compact vegetable gardening systems guide.
5. Trellis for Climbing Vegetables (Double Your Harvest)
Climbing plants changed everything for me. Instead of spreading horizontally, they grow upward—saving tons of space.
Install a simple trellis using bamboo sticks, wires, or even old curtain rods. Crops like beans, cucumbers, and cherry tomatoes thrive here.
The key is training your plants early. Gently guide vines as they grow, or they’ll become tangled.
One mistake I made was underestimating weight. Mature plants can get heavy, so always use strong supports.
PRO TIP
Don’t treat all vertical systems the same. Each setup has different watering and sunlight needs. Mixing systems (like shelves + trellis) creates a more balanced and productive balcony ecosystem.
6. Hanging Fabric Pocket Garden (Soft & Space-Saving)
This was one of my “why didn’t I try this earlier?” setups. Fabric pocket organizers (the kind used for shoes or storage) can be turned into instant vertical gardens.
I hung one behind my balcony door first—and it worked surprisingly well for herbs like mint, coriander, and spinach. The fabric allows good drainage, which reduces root rot risks.
You can find these organizers cheaply online or even at local markets. If you’re DIY-inclined, stitch one using old denim or cloth—it’s durable and eco-friendly.
The biggest learning curve for me was watering. Fabric dries faster than plastic, especially in summer. I now lightly water twice a day instead of soaking once.
Mistake to avoid: Overfilling pockets with heavy soil. It strains the fabric and causes sagging. Use a lightweight potting mix instead.
7. Vertical Basket Garden (Rustic Balcony Charm)
There’s something about hanging baskets that instantly makes a balcony feel alive.
I started with just two baskets—and within weeks, I added five more. They’re incredibly versatile and perfect for shallow-root vegetables like lettuce and herbs.
The trick is lining the basket properly. I use coconut coir liners—they hold moisture better and are budget-friendly. Without liners, soil tends to fall out or dry too quickly.
Placement matters a lot here. Hang them where they get good sunlight but not harsh afternoon heat. I once fried my lettuce by hanging it in direct west-facing sun.
One mistake to avoid: ignoring weight limits. When fully watered, baskets become heavy. Always secure hooks properly.
You can even mix edible plants with decorative ones for a Pinterest-worthy look.
8. Window Grill Planters (Hidden Space Hack)
This idea came out of pure necessity. I ran out of space—and then realized my window grill was just sitting there unused.
I added small rectangular planters to the grill using hooks, and suddenly I had an entire extra growing zone.
This setup works best for herbs and microgreens since they don’t need deep soil. I grow basil and fenugreek here regularly.
The key is safety. Make sure your planters are securely attached—especially if you live in a windy area.
Cost-wise, this is very affordable. Basic railing planters are widely available and last for years.
Mistake to avoid: blocking airflow. Don’t overcrowd the grill—plants need ventilation just as much as sunlight.
This setup works great if you’re also experimenting with growing herbs indoors and outdoors together.
9. Stackable Vertical Planters (Compact Powerhouse)
If you want maximum output with minimal effort, this is it.
Stackable planters are designed to sit on top of each other, creating a tower of plants. I use mine for strawberries and leafy greens—and the yield is surprisingly high.
The biggest advantage? Water efficiency. When you water the top layer, excess water flows down to lower levels—saving time and effort.
You can buy ready-made ones or DIY using stacked pots with cut-outs. Either way, it’s beginner-friendly.
My mistake here was placing it in a windy corner. Tall structures can tip over easily—so always stabilize the base.
10. Rail-Mounted Planter Boxes (Instant Upgrade)
This is probably the easiest upgrade you can make.
Balcony railings are prime real estate—and adding planter boxes instantly expands your growing area without taking up floor space.
I started with just two boxes and grew spinach and coriander. It felt like my balcony suddenly doubled in size.
Choose sturdy planters with good drainage holes. Plastic ones are cheaper, but metal or wooden ones look more premium.
The biggest lesson I learned? Wind exposure. Rail-mounted plants are more exposed, so choose hardy crops or provide support.
Mistake to avoid: overwatering. Since these planters are exposed, drainage needs to be perfect—or roots will suffer.
GROWING SECRET
Always observe your balcony’s microclimate. Corners, railings, and walls all receive different amounts of sunlight and wind. Matching plants to these zones dramatically improves growth and reduces failures.
11. Vertical Pallet Garden (Reclaimed Wood Beauty)
This is hands-down one of the most satisfying DIY projects I’ve done.
I found an old wooden pallet, cleaned it, added landscape fabric at the back, and filled it with soil—it instantly became a vertical planting wall.
It’s perfect for herbs, lettuce, and even small flowering plants. The rustic look adds character to any balcony.
The key is securing it properly. Lean it against a wall or mount it securely to prevent tipping.
Cost-wise, pallets are often free if you ask local दुकानदार or warehouses.
Mistake to avoid: using untreated wood. Some pallets contain chemicals—always check before using.
12. Rope Hanging Pot System (Minimalist Look)
This idea is simple but looks incredibly stylish.
I used thick jute ropes and tied multiple pots vertically—almost like a hanging chain of plants.
It’s great for trailing plants like cherry tomatoes or herbs that spill over the edges.
You can DIY this easily with basic knots, or buy pre-made versions online.
The biggest challenge is balance. Uneven weight can tilt the entire structure, so distribute plants evenly.
Mistake to avoid: weak knots. Always double-knot and test before adding soil.
13. Tiered Plant Stand (Compact Organization)
If your balcony is too small for experiments, this is the safest option.
Tiered stands create multiple levels without any installation. I use mine for herbs and leafy greens—it keeps everything organized and accessible.
They’re widely available and affordable. Even a simple metal rack works perfectly.
The key is rotation. Turn your plants every few days so all sides get sunlight.
Mistake to avoid: placing it in a dark corner. Even vertical setups need proper light.
14. Hydroponic Vertical Garden (Future-Ready Growing)
This is where things get exciting.
Hydroponic systems allow you to grow plants in water with nutrients—no soil needed. And vertically, they become incredibly efficient.
I started small with a DIY setup using bottles and a nutrient solution. The growth speed was noticeably faster.
The main investment is the nutrient mix and setup—but long-term, it saves space and water.
Mistake to avoid: ignoring pH levels. Plants are sensitive, and imbalance can ruin growth quickly.
This connects well with advanced techniques from modern urban farming methods.
15. Vertical Tomato String System (High Yield Trick)
This method completely changed how I grow tomatoes.
Instead of cages, I tie strings from the top of my balcony and let the plants climb upward. It saves space and keeps plants neat.
The trick is pruning. Remove excess side shoots so the plant focuses on upward growth.
This method also improves airflow, reducing disease risk.
Mistake to avoid: weak support. Tomatoes get heavy—always use strong strings and anchors.
If you’re serious about productivity, this pairs perfectly with high-yield vegetable growing techniques.
16. Shoe Organizer Vertical Garden (Unexpected Genius)
This idea honestly felt a bit weird at first—but it works ridiculously well.
I used an old hanging shoe organizer (the fabric kind with pockets) and filled each slot with soil. It instantly gave me 15–20 planting spaces without using any floor area.
What surprised me most was how well herbs adapted to it. Mint, coriander, and even small lettuce varieties thrived because the pockets naturally controlled soil depth.
The best part? It’s extremely cheap. You can reuse an old organizer or buy one at a very low cost.
But here’s the catch—watering needs attention. Water tends to flow down unevenly, so I now water slowly from top to bottom to ensure each pocket gets enough moisture.
Mistake to avoid: placing heavy plants like tomatoes here. The fabric can’t handle the weight long-term.
This setup is perfect if you’re testing ideas from beginner-friendly vegetable gardening systems.
17. Vertical Crate Garden (Modular & Expandable)
This setup is perfect if you like flexibility.
I started with just two wooden crates stacked sideways—and over time, I kept adding more. It’s like building your garden piece by piece.
Each crate acts as a planting box, and you can arrange them however your space allows. I even rearranged mine twice when I changed my balcony layout.
You can find crates cheaply at local fruit markets or reuse old ones. Just make sure to line them with plastic or fabric to retain soil.
One key lesson I learned: stability matters. Once I stacked three levels, it became slightly wobbly. Now I secure them with simple brackets.
Mistake to avoid: skipping drainage holes. Without them, water buildup becomes a serious issue.
18. Gutter Garden System (Slim & Efficient)
This is one of the smartest space-saving hacks I’ve used.
Old or new rain gutters can be mounted horizontally on walls in layers, creating a slim vertical growing system.
I use mine mainly for lettuce and spinach because they don’t need deep soil. It’s incredibly space-efficient—perfect for narrow balconies.
The setup is affordable. PVC gutters are easy to find at hardware shops and last long.
But here’s something I learned quickly—gutters dry out fast. Because of shallow soil depth, you’ll need to water more frequently.
Mistake to avoid: growing deep-root plants like carrots. They simply won’t thrive here.
This system pairs beautifully with fast-growing leafy vegetable strategies for continuous harvest.
19. Corner Vertical Garden Rack (Dead Space Turned Productive)
Corners are often ignored—but they’re pure gold for vertical gardening.
I added a corner rack in a spot I used to completely overlook—and it became one of my most productive areas.
These racks are designed to fit snugly into corners, creating multiple growing levels without crowding the main space.
You can buy ready-made ones or repurpose a triangular shelf. Either way, it’s a smart way to maximize space.
The biggest lesson? Light matters. Corners sometimes get less sunlight, so choose shade-tolerant plants if needed.
Mistake to avoid: placing tall plants at the top—they block light for everything below.
If you’re optimizing small areas, this aligns perfectly with small balcony space maximization ideas.
20. Vertical Grow Bag Wall (High-Yield Fabric System)
Grow bags are already popular—but going vertical with them takes things to another level.
I attached multiple fabric grow bags to a wall frame, creating a full vertical growing system. It’s surprisingly productive and very beginner-friendly.
These bags are affordable and widely available. Plus, they provide excellent drainage and root aeration.
The trick is spacing. Leave enough gap between bags so plants don’t compete for sunlight.
One mistake I made early on was overloading the wall with too many bags—it reduced airflow and increased humidity.
This setup works great alongside container vegetable gardening methods for higher yields.
PRO TIP
Rotate and refresh your vertical garden every season. Don’t grow the same crops in the same spots continuously. Switching plants improves soil health and reduces pest problems naturally.
21. Vertical Strawberry Tower (Compact & Rewarding)
Ending with one of the most rewarding setups—strawberry towers.
I built my first one using stacked pots with side openings, and within weeks, I had strawberries growing at multiple levels.
It’s incredibly satisfying because strawberries grow well vertically and don’t take much space.
You can buy ready-made towers or DIY using pots or PVC pipes.
The biggest learning? Sunlight is everything. Strawberries need at least 5–6 hours of sun to produce well.
Mistake to avoid: ignoring pests. Birds and insects love strawberries—consider netting if needed.
If you’re aiming for edible balcony beauty, this pairs well with fruit-growing in small spaces techniques.
FAQs
1. What vegetables grow best in vertical gardens?
Leafy greens, herbs, beans, cucumbers, and cherry tomatoes perform best due to their compact or climbing nature.
2. How often should I water vertical gardens?
More frequently than ground gardens. Vertical setups dry out faster—check daily in summer.
3. Can I grow root vegetables vertically?
Limited success. Stick to shallow-root crops like radishes or small carrots.
4. Do vertical gardens need special soil?
Yes—use lightweight, well-draining potting mix with compost.
5. Is sunlight a problem on balconies?
Yes. Observe sunlight patterns before placing plants.
Seasonal Maintenance Calendar
Spring: Start seeds, set up structures
Summer: Daily watering, shade protection
Monsoon: Watch drainage, prevent root rot
Winter: Reduce watering, grow leafy greens
Common Mistakes
- Overcrowding plants
- Ignoring drainage
- Using weak structures
- Poor sunlight planning
- Overwatering lower levels
Final Wrap
By now, you’ve probably realized something important—there’s no single “perfect” vertical garden.
The magic happens when you mix and match these ideas based on your space, sunlight, and lifestyle.
Some setups will work beautifully. Others might fail—and that’s okay.
Every mistake teaches you something your next plant will thank you for.
Start with one idea. Then build your balcony garden step by step.
And before you know it… you won’t just have plants—you’ll have your own little food ecosystem growing right outside your door.
Aagam – Founder of SpruceTouch
Hi, I’m the creator behind SpruceTouch. i am a home and garden enthusiast who shares practical ideas for backyard design, garden projects, patio decor, and small outdoor spaces. Through SpruceTouch, he focuses on simple and budget-friendly ways to improve outdoor living spaces.