Budget Landscaping: My $100 frontyard makeover (Before & After).
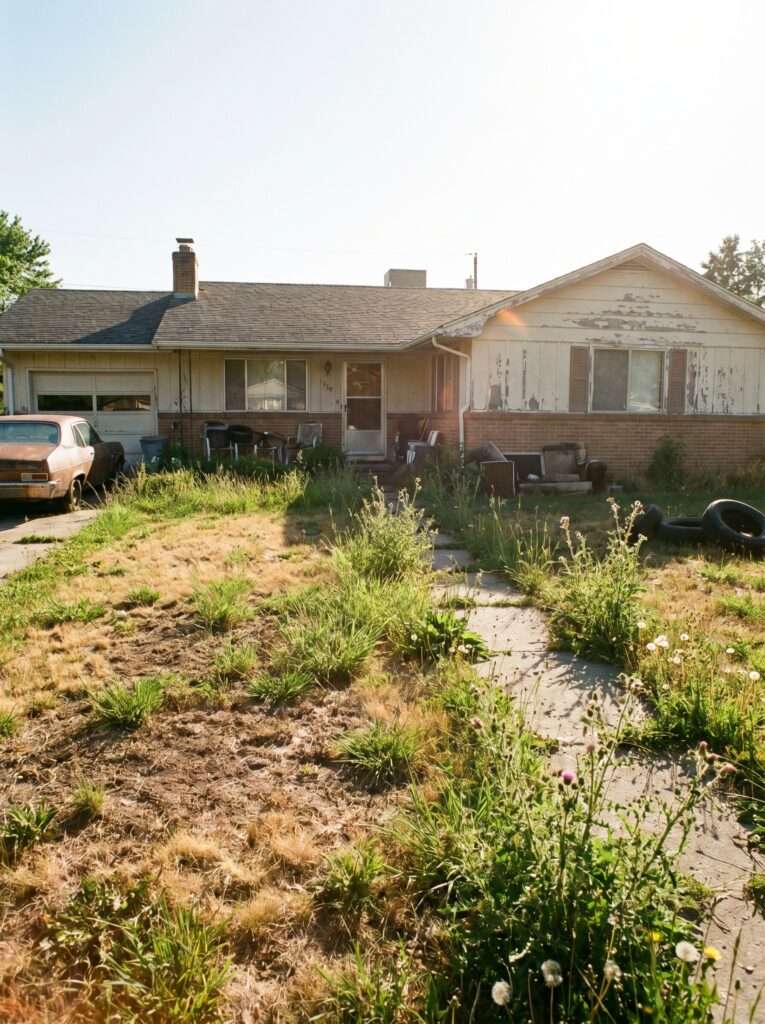
My front yard used to look completely pathetic. Every time I pulled into the driveway, I just stared at this patchy, sad stretch of weeds and wondered how a piece of dirt could look so incredibly uninviting. The local nursery chain quoted me nearly twelve hundred dollars for a basic refresh, which honestly made me laugh out loud because my budget was exactly a hundred bucks.
After experimenting with plants for nearly two decades, I knew there had to be a way to flip the script without draining my bank account. I spent weeks scrounging for cheap materials, splitting overgrown perennials, and scoring clearance rack finds that looked half-dead but just needed a little attention.
I made some incredibly dumb mistakes along the way, like buying three “cheap” groundcovers that ended up trying to swallow my porch, but the end result completely changed how the house looks from the street.
Let me walk you through how I pulled off this transformation so you can do the exact same thing without spending a fortune.
The Reality of a Hundred-Dollar Budget
Most home improvement shows are lying to you. They show a “budget” makeover where the host magically finds twenty free terra-cotta pots, three mature Japanese maples in a dumpster, and has a team of four contractors working for free.
When you only have a hundred dollars in cash, reality looks very different.
You cannot afford mature plants. You cannot afford to buy twenty bags of designer dyed mulch from the big box store. You definitely cannot afford to hire anyone to dig a single hole.
One thing most people ignore is the sheer power of sweat equity and patience. If you are willing to buy the smallest plant sizes available or wait for things to grow from seed, your money goes five times further.
I started by taking a brutal look at what I already had. The old grass was mostly crabgrass and dandelions, the walkway was obscured by overgrown, leggy shrubs, and the dirt was as hard as concrete.
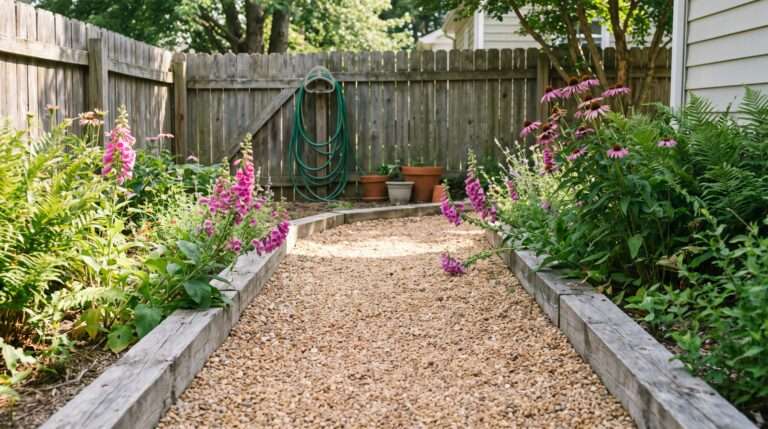
Instead of trying to fix the entire lawn, which would have eaten my whole budget in seed and fertilizer alone, I decided to focus entirely on creating one high-impact garden bed right along the front foundation and cleaning up the edges of the existing path.
But here’s the kicker: you don’t need a perfect lawn to have great curb appeal. If your garden beds look sharp, intentional, and full of life, people don’t even notice that your grass is sixty percent clover.
Clearing the Canvas Without Power Tools
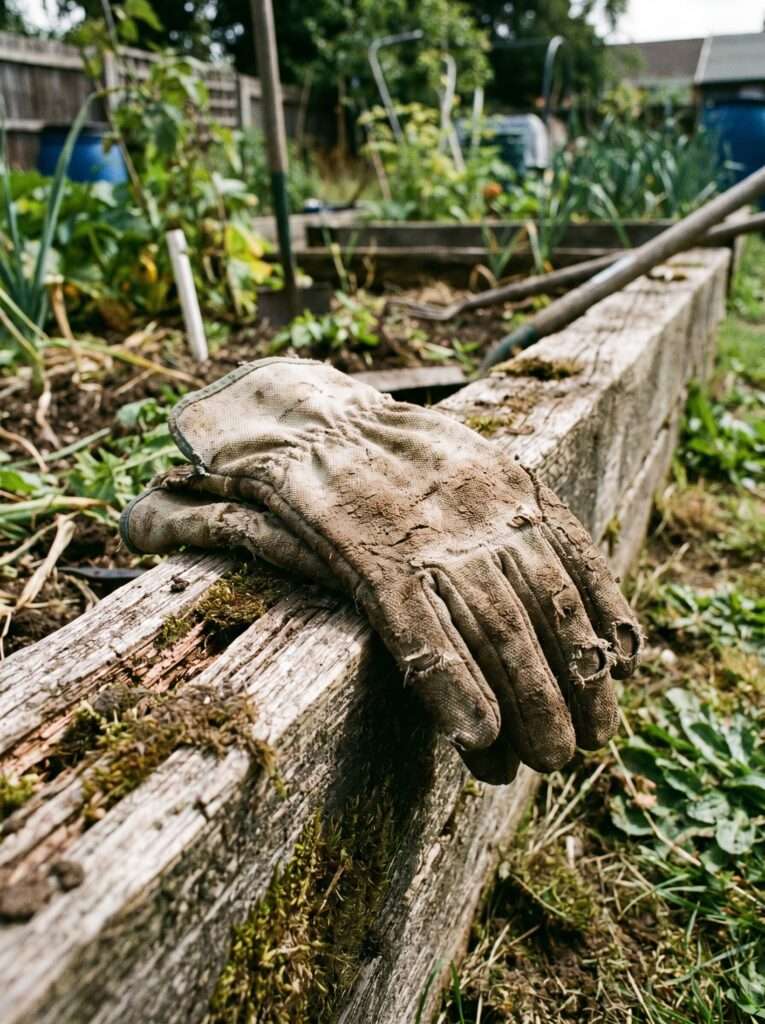
Before spending a single penny, I needed to get rid of the junk. I borrowed an old spade from my neighbor and spent three evenings cutting clean, deep edges along the walkway and the new bed outline.
This cost exactly zero dollars but immediately made the yard look like someone actually cared about it.
I pulled out two massive, woody shrubs that had turned into spider havens. Digging them out by hand was a total nightmare, and I definitely pulled a muscle in my lower back, but removing that heavy, dark overgrowth instantly let more light hit the front of the house.
If you have old, ugly shrubs, don’t try to save them just because they are there. Get rid of them.
Once the old shrubs were gone, I looked at the soil. It was terrible. It looked like grey dust and didn’t have a single earthworm in it.
Instead of buying expensive bags of garden soil, I used a trick I learned years ago during my off-season prep. You can actually improve the structure of your soil naturally over time, similar to how using cover crops for beginners keeps your dirt alive during the winter months. For this project, I needed a fast fix, so I gathered up a massive pile of fallen leaves from the neighborhood curb, chopped them up with my old lawnmower, and worked them straight into the top few inches of the dirt.
It didn’t look amazing right away, but it added instant organic matter for free.
Scoring the Plants on a Literal Shoestring
This is where the budget usually falls apart. If you walk into a fancy garden center and buy five perennial plants in three-gallon pots, your hundred dollars is gone before you even hit the checkout counter.
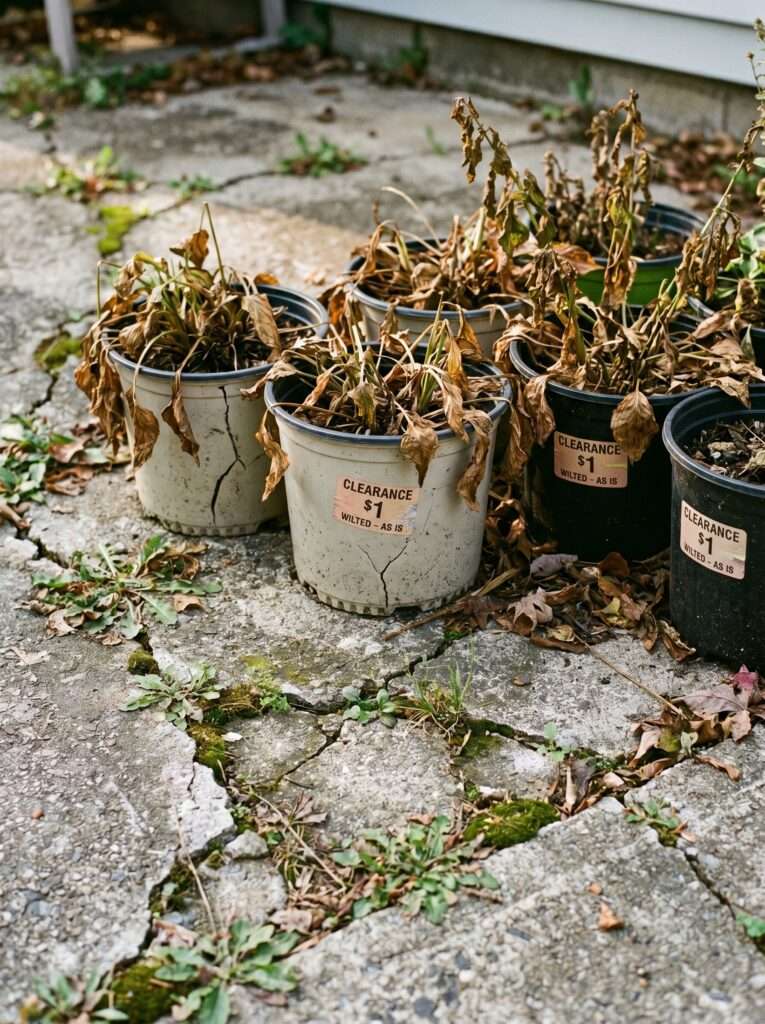
I had to be strategic. I spent thirty-five dollars of my budget on the clearance racks at two different big-box home improvement stores.
Most people walk right past these racks because the plants look absolutely miserable. They have dry leaves, broken stems, and look like they are ready for the compost bin.
But here is a secret most gardening blogs never mention this: if the roots are healthy, the plant will almost always bounce back. I looked for perennials that were marked down by seventy percent just because they had finished blooming for the season. I found three purple coneflowers, two hostas, and a sad-looking salvia that just needed a good soak in a bucket of water.
The next twenty dollars went toward buying seeds for fast-growing annuals.
I picked up packets of Zinnias and Cosmos. These are incredibly forgiving, grow like weeds in poor soil, and provide massive hits of color within about six weeks.
The remaining portion of my plant budget didn’t cost me anything at all. I went to a friend’s house with a trowel and asked if I could split some of her overgrown perennial ornamental grasses and daylilies.
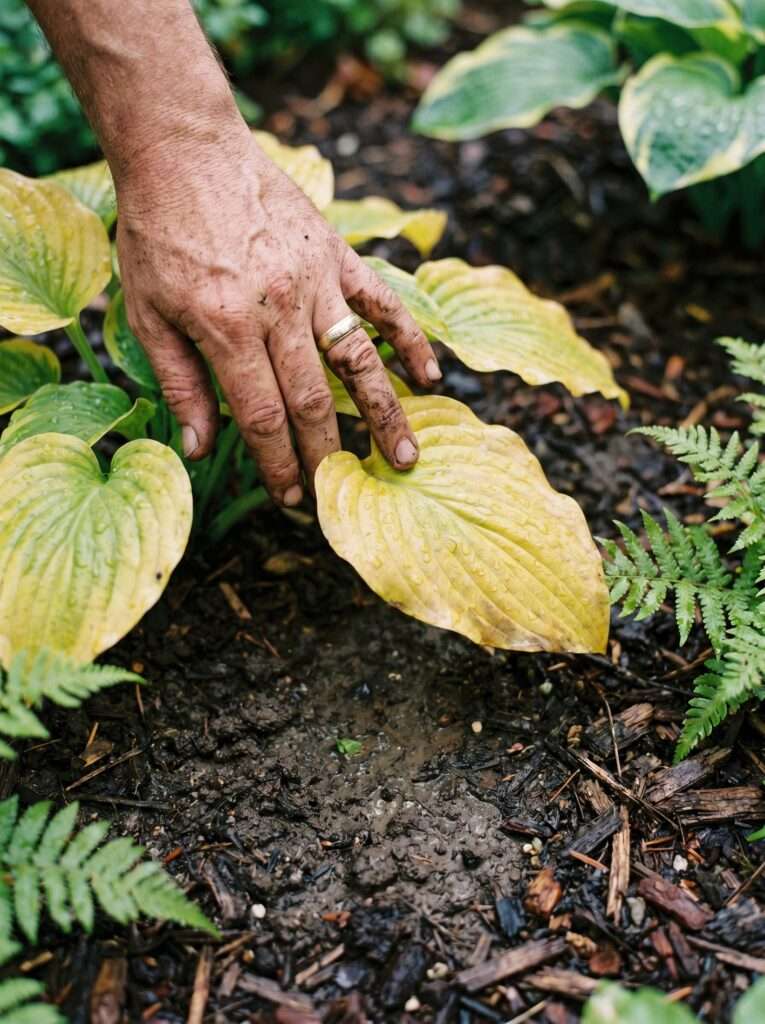
Most gardeners are secretly desperate to get rid of extra plants because their beds are overcrowded. She was happy to let me dig up a few chunks of variegated liriope and a massive hosta that was encroaching on her air conditioning unit.
When you split perennials, you get mature root systems for free. I chopped the big hosta into three separate plants using the edge of my spade and planted them in the shady spot right under my front windows.
The Art of Cheap Mulching and Edging
A garden bed without mulch looks unfinished, and weeds will take it back over in less than two weeks. But buying fifteen bags of mulch would have destroyed what was left of my hundred dollars.
I learned this the hard way years ago: never pay full price for wood chips if you can avoid it.
I called up a local tree trimming service that was working down the street and asked if they would drop off a small portion of their wood chip load in my driveway. They were thrilled because it saved them a trip to the local dump.
The chips weren’t perfectly uniform or dyed that bright artificial red color, but they were free, smelled amazing, and looked completely natural.
Before putting down the wood chips, I laid down three layers of old newspapers and cardboard boxes that I collected from my basement. This creates an organic barrier that suffocates the existing weeds underneath without costing a cent.
I soaked the cardboard with a hose until it was completely saturated, then piled about three inches of the free wood chips right on top.
For the border, I didn’t buy plastic landscape edging or expensive concrete pavers. Instead, I used a natural “English edge,” which is just a deep, V-shaped trench cut directly into the dirt between the lawn and the garden bed.
It keeps the grass roots from crawling into your flowers, looks incredibly clean, and only requires a sharp shovel and about an hour of physical labor every spring.
Working with Structural Crutches
When your plants are small and you don’t have money for expensive stone retaining walls, you have to find creative ways to fill the visual space so your front yard doesn’t look empty.
I found two large, mossy logs near a wooded area behind my house and dragged them into the front yard. I tucked them into the back of the garden bed to give the space some instant height and structure.
Placing plants around natural elements like old wood or large fieldstones makes the garden look like it has been there for a decade, even if you just planted it yesterday.
This surprised me honestly: the old logs actually started attracting beneficial insects within a few days, which helped naturally keep the pest population down around my new plants.
I also utilized some old terra-cotta pots that were sitting cracked in my garage. Instead of throwing them away, I buried them halfway into the soil at an angle, making it look like they were spilling out a wave of cheap alyssum flowers that I grew from a ninety-nine-cent seed packet.
What Actually Works: The Five-Step Budget Bed Setup
If you want to duplicate this project without losing your mind or your money, stick to this specific order of operations:
- Map the Line: Use an old garden hose to lay out a curved shape for your new front bed. Curves look much more expensive and professional than rigid straight lines.
- The Cardboard Layer: Don’t waste energy digging up every single weed. Cut the tall weeds down to the ground, lay down thick cardboard directly over them, and overlap the edges by at least six inches so weeds can’t creep through the gaps.
- Plant Tucking: Cut an “X” into the cardboard exactly where you want to place your plants. Dig your hole right through that opening, amend the hole with a handful of chopped leaves or old compost, and set your plant in place.
- Free Mulch Application: Cover the entire area with three inches of free wood chips or shredded leaves, keeping the material an inch away from the actual stems of your plants to prevent rot.
- Deep Soak: Water the entire bed deeply for at least twenty minutes. Small, cheap plants need consistent moisture for the first three weeks to establish their root systems in their new home.
Watching the Transformation Unfold
The first month was honestly a little discouraging. The clearance plants looked thin, the annual seeds were just tiny green specks in the dirt, and my neighbor’s professionally landscaped yard looked lightyears ahead of mine.
But by week six, things started to shift.
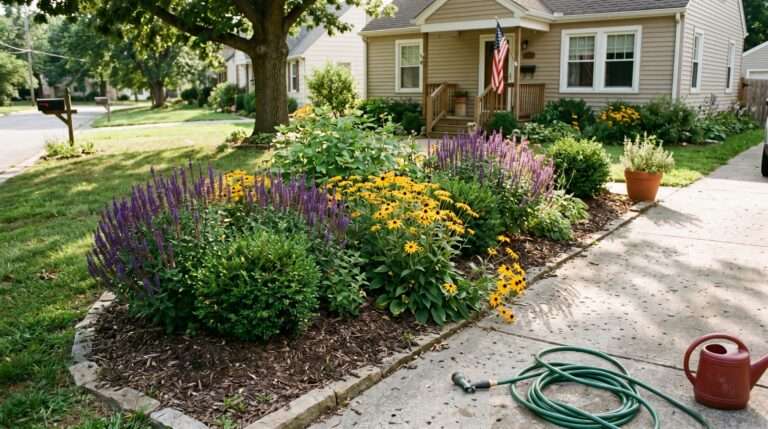
The Zinnias exploded into bright pink and orange blooms, completely hiding the empty spaces between the slower-growing perennials. The hostas I split adjusted to their new shady home and pushed out beautiful, wide green leaves that covered the bare ground near the foundation.
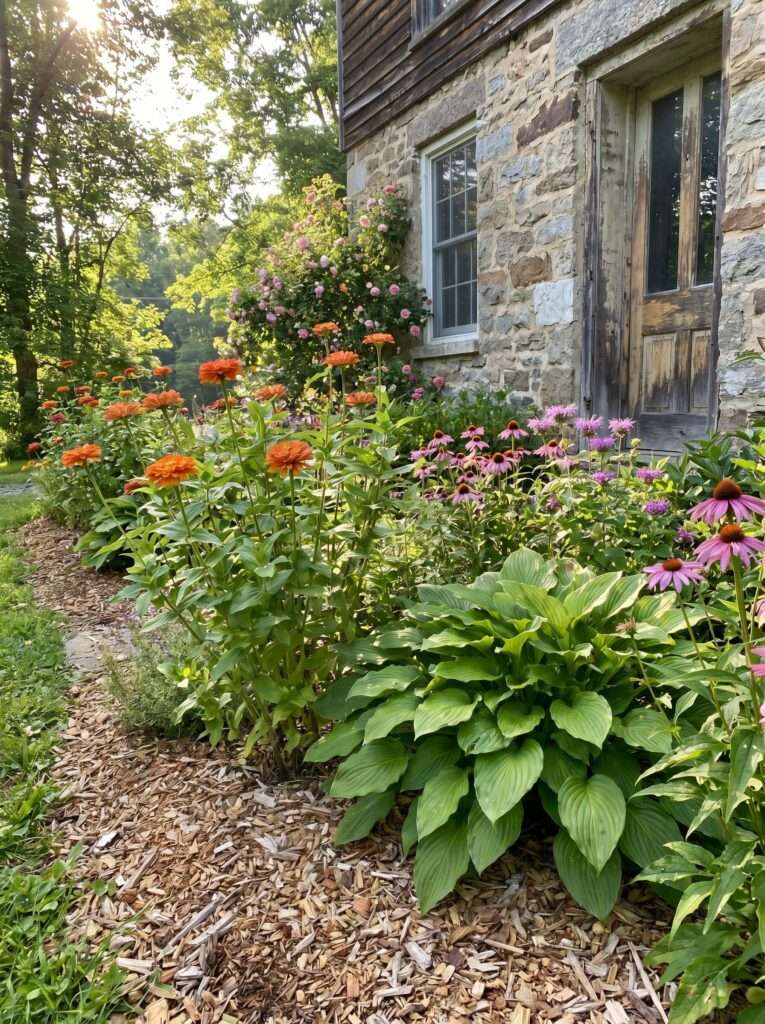
The front of the house no longer looked like an abandoned property. It looked like a living, breathing cottage garden.
I realized that by focusing my limited funds entirely on one concentrated area instead of spreading twenty dollars here and there across the entire property, the visual impact was massive. The deep trench edge gave the lawn a sharp frame that made even the patchy grass look intentional.
Planning for the Long Game
When you landscape on a tight budget, you aren’t just building a garden for this month; you are setting up a system that pays dividends next year.
As the summer began to wind down, I started thinking about how to add structure for the following spring without spending more money. This is the perfect time to think ahead, much like how analyzing your fall bulb guide early in the season lets you secure the best varieties before prices jump or inventory runs out completely.
I managed to save five dollars from my original hundred-dollar budget, which I kept specifically for end-of-season clearance bulb sales later in the year.
Perennials will continue to grow larger every single year. The small three-dollar coneflowers I planted this season will double in size next summer, meaning I won’t need to buy annual seeds to fill those gaps in the future.
Our front yards are dynamic, changing systems. You don’t need to buy perfection all at once when you can let nature do the heavy lifting for you over time.
Things That Didn’t Work for Me
I am definitely not a master gardener who does everything perfectly. This budget project had its fair share of annoying disasters because I tried to cut corners where I shouldn’t have.
- Using Fresh, Hot Grass Clippings: I thought I could use fresh clippings from my lawnmower as a free mulch layer to save time. It turned into a slimy, stinking, mat within three days that smelled like a garbage dump right under my living room window. I had to scrape it all out with a rake and start over.
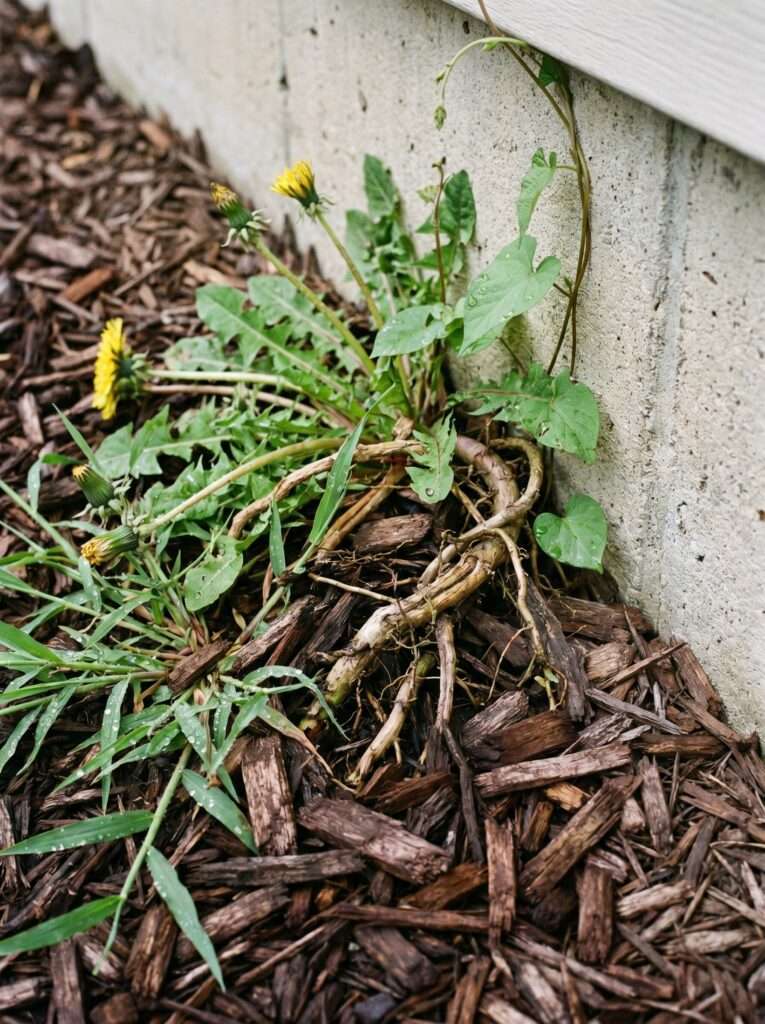
- Trusting “Free” Mint Starts: A neighbor offered me some free groundcover starts that turned out to be variegated mint. I planted them thinking they would fill the empty spaces quickly. They did, but then they started running everywhere, under the walkway and into the lawn. I’ve spent hours digging it out since then.
- Skipping the Cardboard Overlap: In one section near the porch, I got lazy and left gaps between the cardboard pieces. The persistent nutsedge and crabgrass found those exact spots within a week and pushed right through my wood chips like they weren’t even there.
Maximizing Vertical Real Estate
One thing I noticed during the makeover was that the wall space behind the garden bed looked completely blank and boring. Since I couldn’t afford a large trellis or an architectural feature, I had to think about how to use height to my advantage.
If you are dealing with a tiny front yard or a narrow bed against your home, you have to utilize the vertical space to make the area feel larger than it actually is. It’s a similar concept to using clever vertical gardening hacks to maximize your harvest when you only have a few square feet of physical dirt to work with.
I found an old wooden ladder at a yard sale for two dollars, leaned it against the brick wall, and used it to elevate some of my cheap potted annuals.
This simple trick drew the eye upward and made the entire front entry look grander and more layered without requiring me to plant a mature, expensive tree.
Small Things That Make a Big Difference
- Keep your edges sharp: Re-cutting your lawn edge with a simple spade twice a summer takes twenty minutes but keeps the entire yard looking professionally maintained.
- Water early in the morning: Watering during the heat of the day wastes half your water to evaporation and can stress out small, sensitive clearance plants.
- Deadhead your annuals consistently: Pinching off the old, dying blooms on your zinnias and marigolds forces the plant to keep producing new flowers all summer long.
- Collect your own seeds: At the end of the season, let a few of your best flowers dry out completely on the stem, bag the seeds, and you’ll have zero plant costs next year.
Managing Life and the Garden Busy Season
There were weeks during this project where my regular job got incredibly hectic, and I didn’t have time to spend hours fussing over my new front yard setup.
When you are busy, you need setups that can survive without you. It reminded me of the time I had to figure out ways to keep office plants alive during a period when I was working sixty hours a week and couldn’t check on them daily.
The thick cardboard and wood chip layer was my saving grace here. It held the moisture in the soil so well that even when I ignored the front yard for four days during a heatwave, the young plants didn’t shrivel up and die.
If you don’t build resilience into your garden from day one by protecting the roots, a single busy week will wipe out your entire investment.
Spotting Problems Before They Kill Your Investment
When you are working with cheap or stressed plants, you have to monitor them closely for signs of trouble. About three weeks into the project, we hit a period of heavy, non-stop rain that lasted for five days straight.
I noticed the leaves on my split hostas were starting to turn a sickly yellow color, and the stems felt slightly mushy at the base.
My first instinct was to panic, but my experience with indoor plants helped me spot the issue immediately. Knowing how to handle root rot recovery when a plant is drowning is crucial whether you are working with a potted fern or a newly installed outdoor perennial.
The heavy clay soil under my free wood chips was holding too much water because I hadn’t loosened the dirt deep enough before planting.
I quickly used a small hand fork to gently lift the plants slightly higher in the soil bed and mixed in some coarse sand and chopped leaves around the root zone to improve the local drainage.
The plants stopped yellowing within a week and pushed out fresh, healthy new growth.
FAQ
Check behind local grocery stores, appliance stores, or bicycle shops. They usually have massive, clean boxes without too much colorful ink that they are happy to give away for free if you ask nicely.
It’s a small risk, but generally, chips from healthy tree trimmings are perfectly fine for ornamental beds. Avoid using them right against bare wood siding if you are worried about termites, and keep the layer a few inches away from your home’s foundation.
Gently pull the plant out of its plastic pot and look at the roots. If the roots are white, firm, and intact, the plant is healthy and just stressed from lack of water. If the roots are black, slimy, or smell rotten, leave it on the rack.
You can, but you will have to water your new plants much more frequently. The best times for a budget makeover are early spring or early fall when the weather is mild and nature helps you with the watering duties.
It will look clean and organized on day one thanks to the new mulch and defined edges. It usually takes about six to eight weeks for the seeds to bloom and the small plants to fill out enough to look mature.
The Final Transformation Check
When I look back at the old photos of that sad, grey front yard, it’s hard to believe it’s the same house. The entire project cost me exactly ninety-six dollars and forty cents, a few blisters, and a handful of evenings spent digging in the dirt.
By skipping the expensive design elements, avoiding premium store-bought amendments, and sourcing materials creatively, I created a space that looks inviting and natural.
Your front yard doesn’t need to look like a page from a luxury architecture magazine to be beautiful. It just needs to look like someone lives there, cares for the dirt, and enjoys the process of watching things grow.
Once you understand how to utilize free local resources and give your plants a solid foundation, the budget stops being a limitation and starts being a fun challenge.
Most advice in this article comes from years of real gardening experience and trial-and-error in home gardens. Results may vary depending on your local climate, soil type, and unique growing conditions.
Aagam – Founder of SpruceTouch
Hi, I’m Aagam — the creator behind SpruceTouch. I’m a home and garden enthusiast who shares practical ideas for backyard design, garden projects, patio decor, and small outdoor spaces. Through SpruceTouch, I focus on simple and budget-friendly ways to improve outdoor living spaces.