Root Rot Recovery: How to Tell if Your Plant is Drowning (and Save It)
Most beginners think yellow leaves mean the plant needs more water. Half the time, that actually makes the problem worse. You see a drooping leaf, you grab the watering can, and you unknowingly sign your plant’s death warrant.
I learned this the hard way years ago with a beautiful pothos that I completely loved to death. I thought I was being a great plant parent by keeping the soil constantly damp.
The truth is, most internet advice fails because it tells you to just “water less” without explaining how to fix the rotten mess hidden beneath the dirt. In this guide, we are going to look at how to spot true root rot, the exact steps to rescue a drowning plant, and how to make sure it never happens again.
It takes a bit of dirt under your fingernails, but saving a drowning plant is entirely possible if you catch it before the roots turn completely to mush.
Let’s get right into how to read your plant’s warning signs.
The Silent Warning Signs Most Beginners Miss
This is where beginners usually panic. Your plant looks sick, so you assume it needs a quick dose of fertilizer or a heavy soaking.
But if the roots are drowning, adding more water or nutrients is like throwing a heavy blanket over someone who is already suffocating. You have to know what to look for before the whole plant collapses.
The Soil Stays Wet for Over a Week
If you watered your container plant eight days ago and the top inch of soil still feels like a soggy sponge, something is wrong. Healthy soil should drain and dry out slightly as the plant drinks. When it stays wet, it means the roots have stopped functioning.
A Musty, Swampy Odor
If you lean close to your pot and it smells like a stagnant ditch instead of fresh earth, bacteria are already winning. Healthy soil has a clean, earthy scent. A foul smell means decomposition is actively happening right under the surface.
Yellowing Leaves Starting From the Bottom
When a plant cannot breathe through its roots, it can no longer support its oldest leaves. They turn a pale, sickly yellow and drop off with the slightest touch.
Wilting Despite Wet Dirt
This is the ultimate paradox that breaks a beginner’s brain. The plant is drooping, so it looks thirsty. But when you touch the soil, it’s completely wet. The roots are too damaged to pull moisture up into the stems, leaving the top of the plant completely dehydrated.
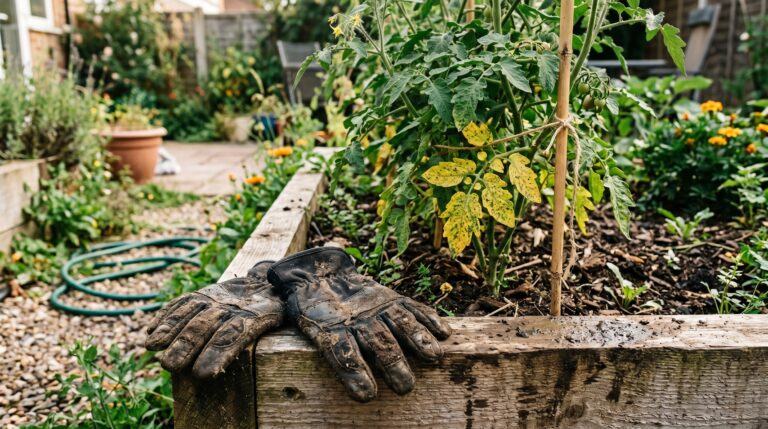
Stems Feeling Soft and Mushy Near the Base
Take your thumb and gently press the main stem right where it meets the soil line. If it feels firm, you still have time. If it feels slippery, spongy, or soft, the rot has traveled up from the roots into the main structure of the plant.
Why Roots Actually Turn to Mush
Most gardening blogs never explain this properly. They make it sound like water itself is the enemy. Water isn’t the killer here; a total lack of oxygen is what actually destroys the root system.
Roots need to breathe just as much as they need water. When soil is constantly saturated, every single tiny air pocket in the dirt fills up with liquid.
The roots are essentially trapped underwater. Without oxygen, the root tissues begin to die and decompose. Once those tissues weaken, naturally occurring soil fungi take over and turn the healthy roots into a black, slimy mess.
But wait, there’s a catch.
It is rarely just about how often you pour water from your watering can. The environment plays a massive role in how fast that water disappears.
Bad drainage is the number one accomplice. If your container doesn’t have holes at the bottom, that water has nowhere to go. It just sits at the base of the pot, creating a permanent underground pool.
Poor soil structure is another hidden issue. Cheap, heavy potting soil packs down over time like concrete. It lacks the coarse chunks of bark or perlite needed to keep the dirt loose and airy.
Then there is the issue of low light. A plant sitting in a dark corner of a room doesn’t photosynthesize quickly. Because it isn’t growing fast, it barely drinks any water from the soil, leaving the roots to sit in moisture for weeks on end.
The Overwatering vs. Underwatering Confusion
I see this debate constantly in online gardening groups, and the bad advice out there is exhausting. People often assume that a drooping plant always needs a drink.
The quickest way to tell the difference is to use your finger. Stick it two inches deep into the dirt.
If the soil is bone-dry and crispy, the plant is simply thirsty. The leaves will feel thin, dry, and paper-like. Once you give it a good soak, it will usually perk back up within a few hours.
If the soil is wet and the plant is drooping, you are dealing with root rot or severe overwatering. The leaves will often feel soft, limp, and slightly heavy rather than crispy.
Adding fertilizer to a plant in this state is a huge mistake. Many beginners think a sick plant needs “food” to recover. But fertilizer salts will burn the remaining healthy roots if they are already damaged and unable to process nutrients.
The Real Core Solution: Pulling the Plant Out
The fix is actually simpler than you think, but you have to be willing to get your hands dirty. You cannot fix root rot while the plant is still sitting inside the pot. You have to perform a little bit of plant surgery.
First, take the plant outside or lay down some old newspapers on your kitchen counter. Gently grip the base of the plant and slide it out of its container. If it’s stuck, tap the sides of the pot to loosen the root ball.
Don’t yank it by the stems or you might snap what little healthy structure is left.
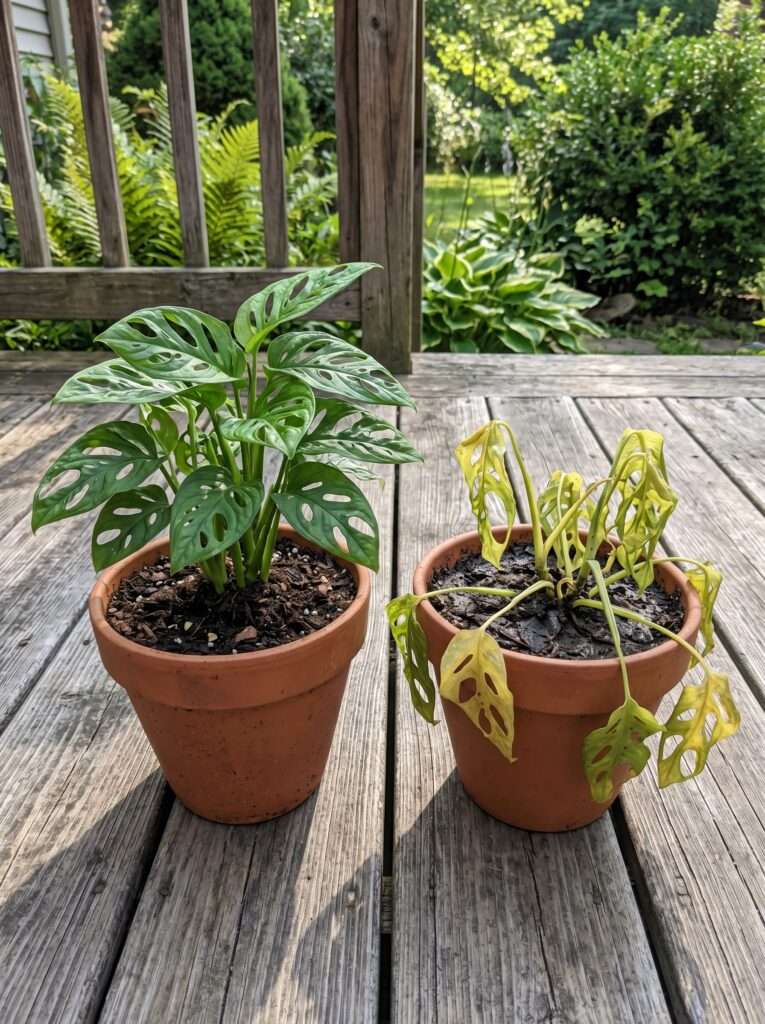
Once it’s out, look closely at the roots. This is where you see the truth.
Healthy roots are firm, tough, and usually white or light tan. Rotten roots look like old, wet noodles. They are black or dark brown, slimy to the touch, and they will literally slide right off their central core if you pull on them gently.
Take the plant to a sink or use a garden hose on a gentle setting to wash away all the old, contaminated soil. You want to see the entire root system clearly so you know exactly what you are dealing with.
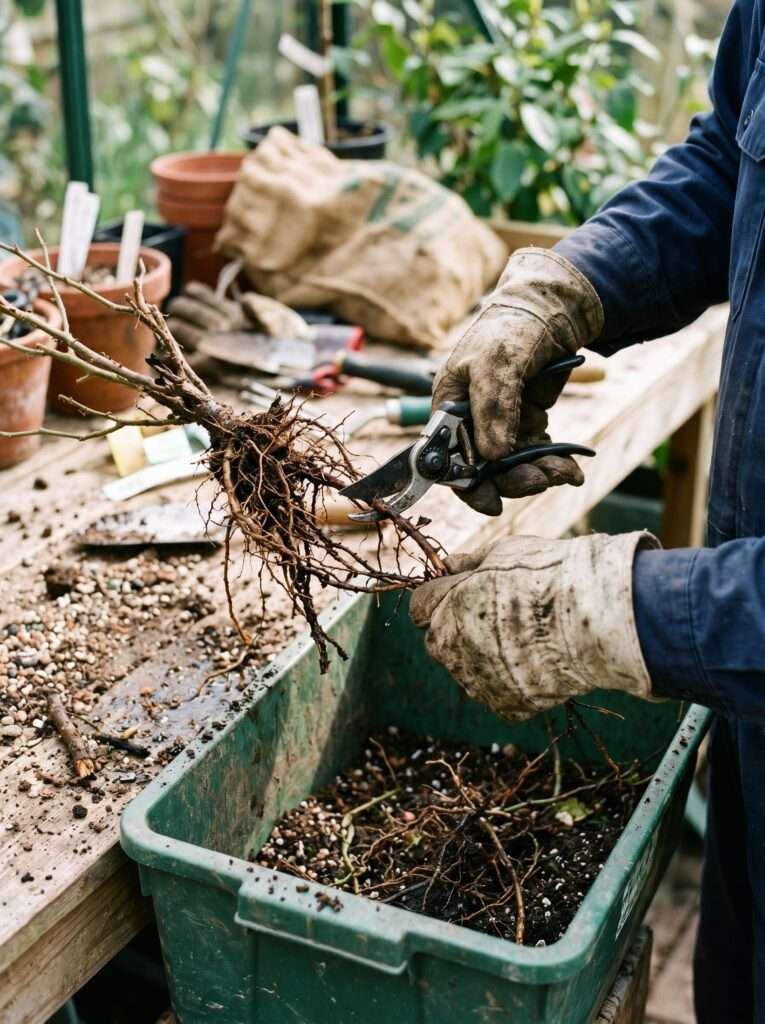
Grab a sharp pair of scissors or pruners. Wipe the blades down with rubbing alcohol first to ensure you don’t introduce more bacteria.
Cut away every single piece of black, slimy root. Don’t be timid here. If you leave even a small piece of rotten root behind, the fungus will continue to spread once you put it back in new soil. Only keep the firm, healthy, clean sections.
If you had to cut away more than half of the root system, you must prune back some of the top foliage too. A tiny, damaged root system cannot support a massive canopy of leaves. Trimming back some of the top growth relieves stress on the plant while it tries to rebuild its root base.
The Step-by-Step Recovery Setup
Now that your plant is cleaned up, you need to give it a completely fresh start. Do not put it back into the same old soil, and do not use the dirty pot without washing it first.
Step 1: Clean the Container
Scrub the old pot thoroughly with hot water and dish soap. If you have some bleach handy, mix a small splash into the water to completely kill off any remaining fungal spores. Let the pot dry completely.
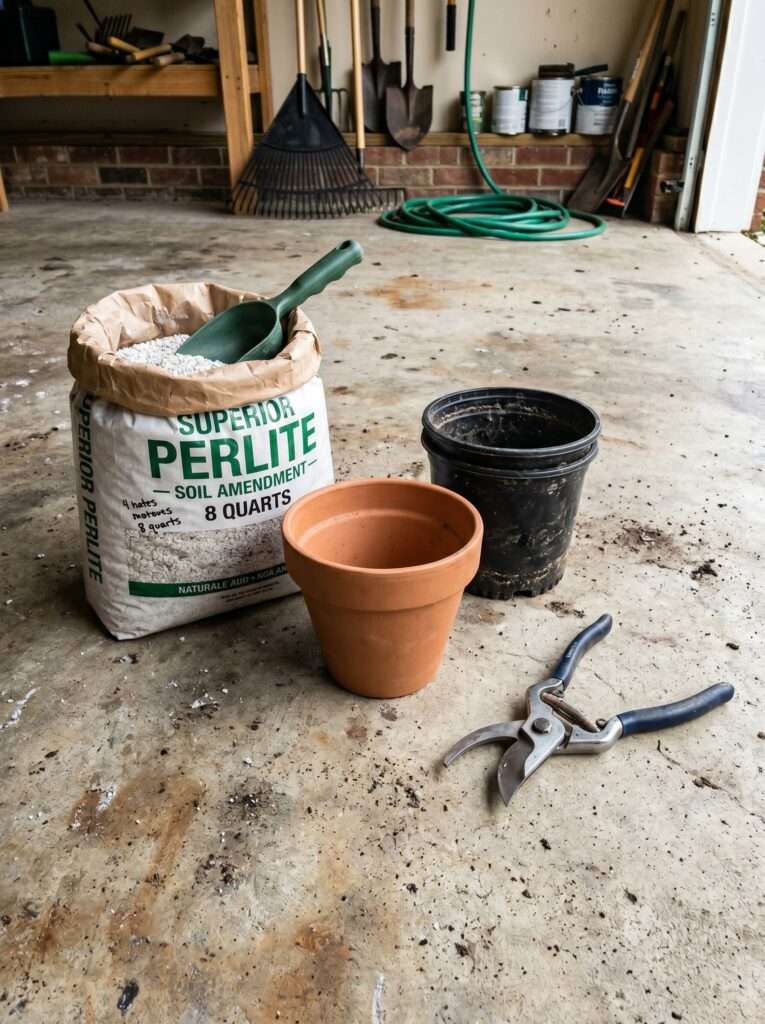
Step 2: Mix Fresh, Airy Soil
Never use plain garden dirt or cheap, heavy potting mixes straight from the bag. Mix in a generous handful of perlite or orchid bark. This creates large air spaces in the soil so water can drain out instantly, allowing the roots to breathe.
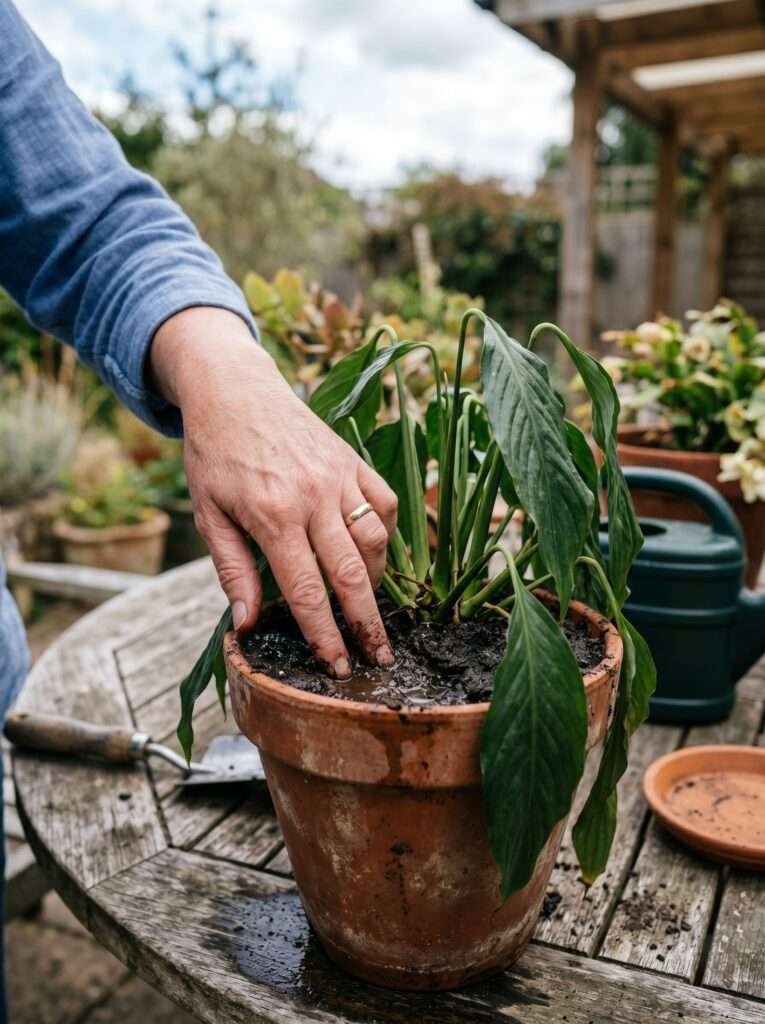
Step 3: Re-pot Gently
Place a small amount of your new soil mix at the bottom of the clean pot. Hold the plant in the center and fill in around the sides with fresh dirt. Press down very gently with your fingers just to keep the plant stable, but do not pack it down tightly.
Step 4: Hold Off on Heavy Watering
Since the roots are damaged, they cannot absorb much water yet. Lightly moisten the soil, but do not soak it completely. Place the plant in a spot with bright, indirect sunlight. Keep it out of direct, hot sun while it recovers from the shock.
How Root Rot Behaves in Different Environments
One thing most people miss is that root rot doesn’t look the same everywhere. A plant sitting on your living room coffee table faces completely different challenges than a plant growing outside in a raised bed.
Indoor Houseplants
Indoor environments lack the intense heat and wind that help dry out soil naturally. Houseplants in plastic pots are the most common victims of root rot. Without excellent air circulation, soil can stay wet for weeks, especially during the darker winter months. If you are struggling with this indoors, check out these genius ways to keep office plants alive for setups that handle neglect much better.
Outdoor Containers
Potted plants on a patio or porch can drown quickly if they get hit by three days of heavy summer rain. If your patio containers don’t have large drainage holes, the water builds up fast. The intense heat can also cause the wet soil to literally cook the roots, accelerating the rot.
Raised Garden Beds
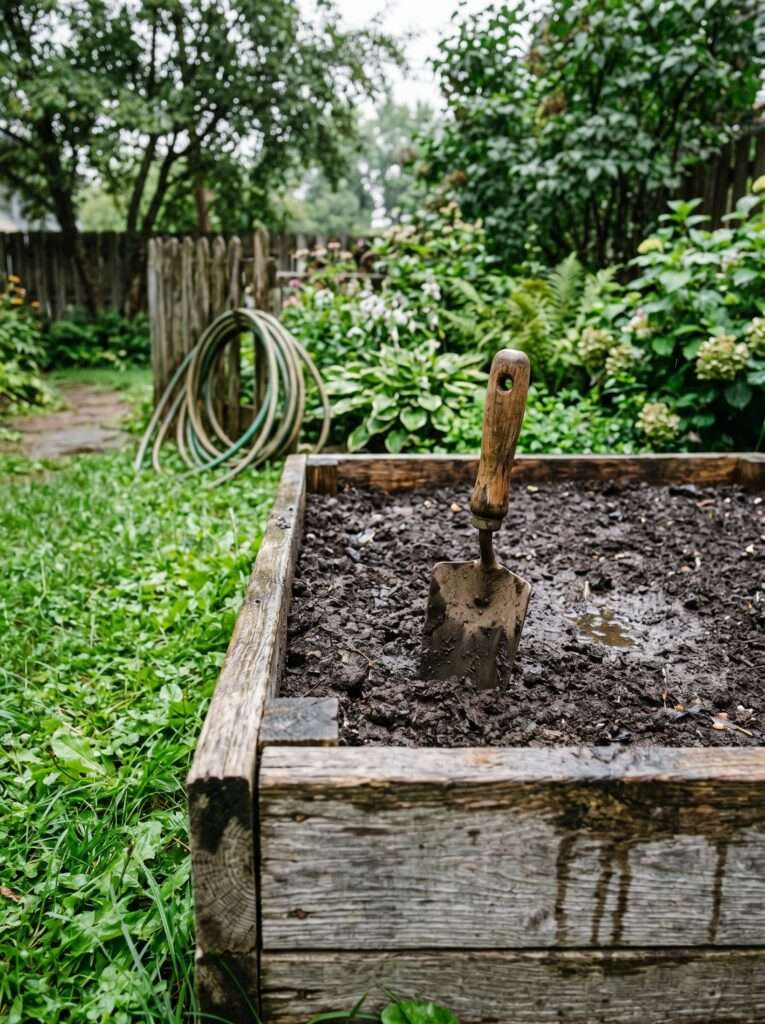
It’s harder to get root rot in a raised bed, but it happens if the bed was filled with cheap, dense topsoil instead of loose organic compost. If water pools on top of your raised bed after a rainstorm, the drainage is poor, and your vegetable roots are likely struggling for air underneath.
Traditional In-Ground Gardens
Heavy clay soils are notorious for trapping water. If you dig a hole in solid clay, fill it with nice potting soil, and drop a plant in, you have essentially created an underground bucket with no drainage holes. The water will collect in that hole and rot the roots of your garden plants within weeks.
Seasonal Factors and the US Climate Impact
The risk of root rot changes dramatically depending on the time of year and where you live in the United States. Your watering routine needs to adapt to these shifts, or you will eventually run into trouble.
During the hot, humid summer months in places like the South or the Midwest, the air is already thick with moisture. Soil stays damp longer on humid days, even when it’s warm.
However, the real danger zone for indoor plants is late fall and winter. As the days get shorter, plants slow down their growth and enter a semi-dormant state. They stop drinking.
If you keep watering your houseplants with the same frequency in December as you did in July, you are guaranteed to cause root rot. The water will just sit in the cold dirt, creating the perfect environment for fungus to thrive.
In early spring, outdoor gardeners often rush to plant their new crops as soon as the ground thaws. But early spring rains can keep the soil completely saturated for weeks.
Planting tender roots into cold, muddy soil is a recipe for disaster. It is always better to wait until the soil dries out enough that it crumbles in your hand rather than sticking together like modeling clay.
If you want to protect your garden soil from getting completely compacted and waterlogged during these wet, cold seasons, look into how cover crops for beginners can naturally open up the soil structure and improve drainage over the winter months.
Real Mistakes I Made in My Own Garden
When I started out, an old neighbor told me that putting an inch of gravel or broken pottery at the bottom of a holeless pot would create drainage. It sounded logical.
But it’s completely false. Water doesn’t move easily from fine soil into coarse gravel. It actually pools right above the rocks, creating a high water table that rots the roots even faster. Always use a pot with a real hole.
Panic-Watering a Sick Plant
Every time a plant looked sad, I assumed it was thirsty. I would see a yellow leaf on my prized Monstera, panic, and immediately pour a whole quart of water into the pot. I was basically kicking the plant while it was down, turning a mild drainage issue into a fatal case of rot.
Trusting the “Calendar Method”
I used to have a rigid schedule where I watered every single plant every Tuesday morning. Plants don’t care about our calendars.
They care about cloud cover, humidity, and temperature. Watering on a strict schedule without actually checking the moisture level of the dirt first is the fastest way to drown your collection.
Reusing Dirty Fungal Soil
I once had a pepper plant die of root rot in a container. I pulled the dead plant out, left the old, muddy soil in the pot, and immediately planted a new tomato seedling into the exact same dirt. Within two weeks, the tomato was dead too. The soil was completely infested with the rot fungus, and I handed it a fresh victim.
Simple Setup Tools and Budget Reality
You don’t need to spend a fortune on high-end gadgets to keep your plants from drowning. A few basic, budget-friendly items will save you hundreds of dollars in dead plants over the long run.
| Tool / Material | What It Does | Estimated Cost (USD) |
| Plastic Nursery Pots (with holes) | The safest inner container for any plant. | $5 – $10 (for a multi-pack) |
| Coarse Perlite | Lightweight volcanic rock that keeps soil loose. | $6 – $12 (per bag) |
| Orchid Bark Chunks | Adds large air gaps to heavy potting mixes. | $8 – $15 (per bag) |
| Wooden Chopsticks | The cheapest way to test underground soil moisture. | Free (or $2 for a pack) |
| Rubbing Alcohol (Isopropyl) | Cleans and sanitizes your pruners between cuts. | $3 – $5 (per bottle) |
Instead of buying an expensive, unreliable digital moisture meter, just use a plain wooden chopstick or a bamboo skewer. Push it deep into the soil, leave it for ten seconds, and pull it out. If it comes out dark with bits of moist dirt clinging to it, the soil is still wet. If it comes out clean and dry, your plant is ready for a drink.
If you are looking ahead to future seasons and want to plan your garden purchases wisely without overspending on impulse buys, take a look at our fall bulb guide to see how timing your buys can save you money and keep your garden thriving.
Common Root Rot Questions Answered
If every single root is completely black, mushy, and falls apart when touched, the plant is likely gone. However, if the main stem is still firm, you can try cutting the top of the plant off above the rot and rooting it in water or moist perlite to start a brand-new root system from scratch.
Yes, a diluted mixture can help in mild cases. Mix one part of 3% hydrogen peroxide with four parts water and pour it through the soil. The peroxide releases oxygen molecules that can kill off soil bacteria and help aerate the dirt, but it works best after you have removed the heavily damaged roots manually.
It takes time. Once you have cleaned the roots and re-potted the plant in fresh soil, expect it to sit completely still for three to six weeks. It won’t produce new leaves because all its energy is being spent underground growing new hair-thin roots. Don’t move it around or fertilize it during this delicate time.
It doesn’t jump through the air, but it can absolutely spread if you use the same watering can drainage tray for multiple plants or if you reuse contaminated pruners without cleaning them first. If two pots are sitting in the same pool of stagnant water on a shared tray, the fungus can easily travel between them.
No, this usually doesn’t work once the rot has actively started. The dead, mushy root tissue will just sit in the dry soil and harden, preventing any new root growth from breaking through. The fungus can survive in a dormant state in the dry dirt and will wake right back up the next time you water.
When roots die from overwatering, they can no longer transport moisture or nutrients to the very edges of the leaves. The furthest tips of the leaves dry out and turn crisp and brown, making it look like the plant is thirsty when it is actually drowning. Always check the soil before adding more water.
Making Root Rot a Thing of the Past
Once you understand what’s actually causing the problem, fixing it gets much easier. You stop guessing, you stop panic-watering, and you start paying attention to what is happening beneath the soil surface.
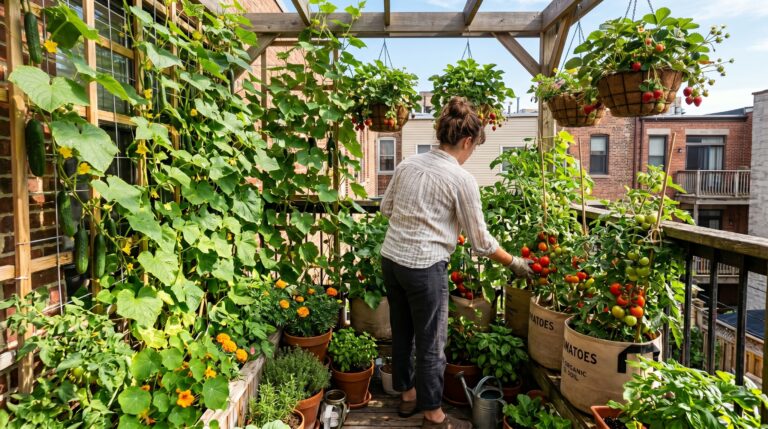
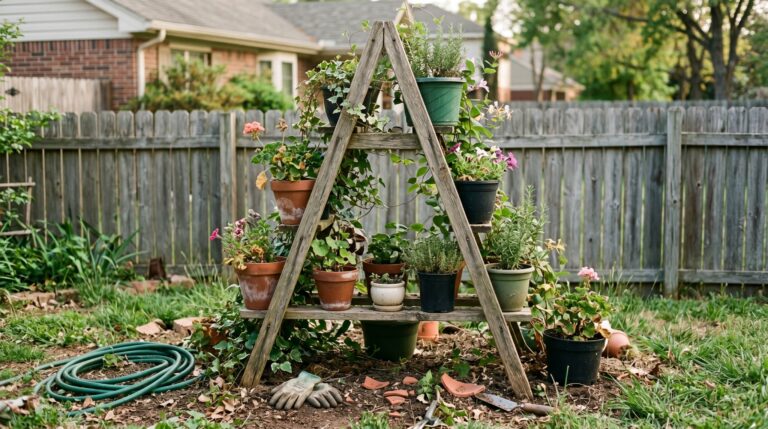
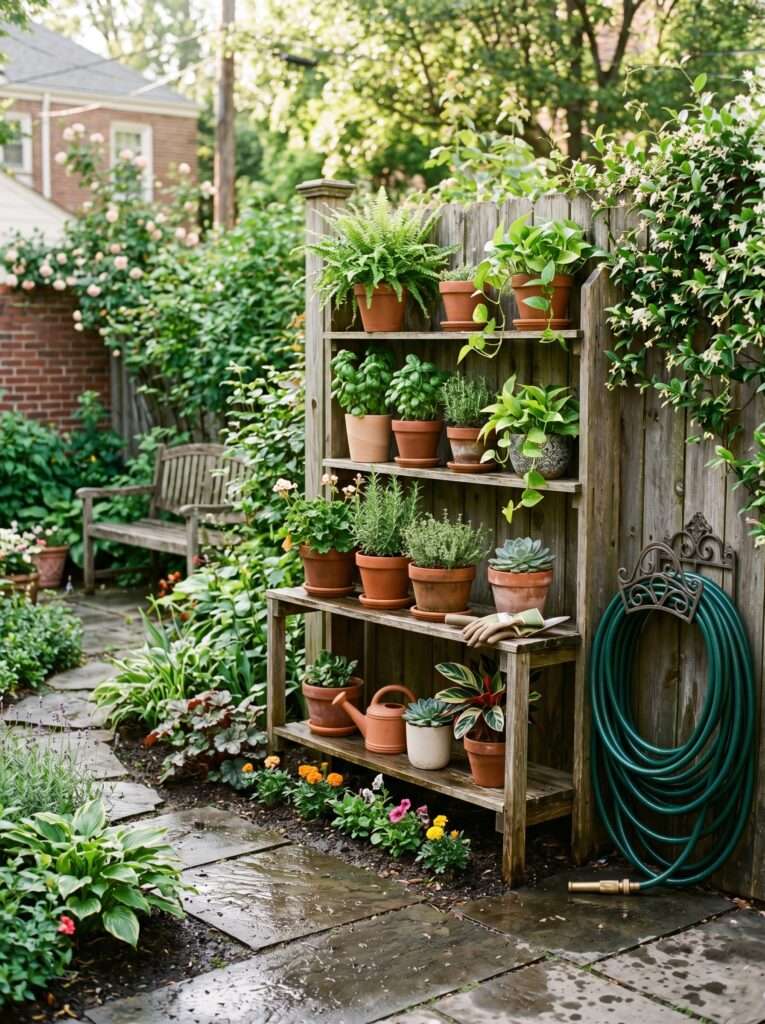
If your garden space is tight and you find that traditional pots are always staying too wet, changing the way you grow can make a massive difference.
Using vertical setups allows air to circulate around your plants much more naturally, preventing the stagnant conditions that lead to fungal issues. If you want to maximize your harvest while avoiding heavy, waterlogged pots on the ground, check out these practical vertical gardening hacks for small spaces.
Gardening is mostly just a long series of mistakes that you learn from over time. Don’t get discouraged if you lose a few plants along the way; every experienced gardener has a pile of dead plants in their past.
Keep your soil loose, make sure your pots can drain, and always check the dirt before you grab the watering can. Your plants will thank you for it.
Most advice in this article comes from years of hands-on gardening experience and trial-and-error in real home gardens. Results can vary depending on your local climate, humidity levels, and specific plant varieties. Always observe your unique environment before making major changes to your plant care routine.
Aagam – Founder of SpruceTouch
Hi, I’m Aagam — the creator behind SpruceTouch. I’m a home and garden enthusiast who shares practical ideas for backyard design, garden projects, patio decor, and small outdoor spaces. Through SpruceTouch, I focus on simple and budget-friendly ways to improve outdoor living spaces.