Cover Crops for Beginners: Protecting your soil during the off-season.
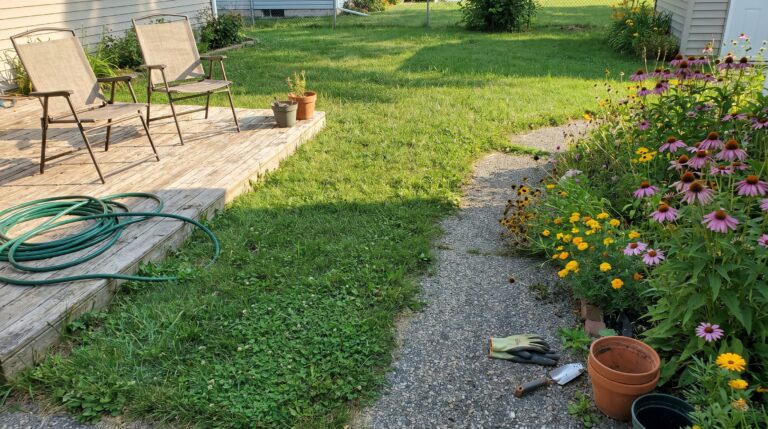
If you look at your garden beds right now, they might be looking a bit tired after a long summer of pushing out tomatoes, squash, and peppers. It’s tempting to just pull the dead vines, walk inside, and forget about the dirt until April.
I used to do exactly that for the first four or five years of my gardening journey. I thought winter was just a time for the ground to sleep, but I was completely wrong. Leaving your soil bare all winter is like leaving the front door of your house wide open during a blizzard.
One spring, after a particularly brutal, rainy winter, I walked out to my raised beds and found the soil packed down as hard as concrete, with half of my topsoil literally washed into the grass. That was the year I finally stopped ignoring cover crops and actually started using them.
Once you see what a simple bag of clover or rye can do for your spring planting, you’ll never leave your soil naked again. Let’s talk about how to actually do this without overcomplementing the whole process.
Quick Check: Is Your Soil Ready for Winter?
- The Bare Dirt Test: If you can see dark brown soil right now, wind and rain are stealing your nutrients every single day.
- Weed Takeover: If you don’t plant something useful now, winter weeds like henbit and chickweed will happily claim the space.
- Hardpan Warning: Packed-down, crusty autumn soil means your roots won’t be able to breathe next spring.
- The Nutrient Drain: Heavy rain washes nitrogen deep into the ground, way past where your future tomato roots can reach.
What Most Gardening Blogs Never Tell You About Cover Crops
When I first started reading about “green manure”—which is just a fancy term for cover crops—the articles made it sound like you needed an agricultural science degree just to plant some seeds. They talked about nitrogen fixation ratios, biomass calculations, and massive tilling equipment.
But here’s the kicker: you don’t need a tractor, and you don’t need to be a scientist to make this work in a standard backyard suburban plot.
Cover cropping is literally just planting a temporary crop that you have absolutely no intention of harvesting. You’re growing plants purely to feed the dirt.
Over the years, I’ve noticed that people get terrified of the termination process—which is just a dramatic word for killing the cover crop before it turns into a weed. We’ll get into that later, but don’t let it scare you off. It’s actually incredibly satisfying.
The Big Three: Choosing What to Plant Right Now
You don’t need to overthink the varieties. If you walk into a local feed store or look online, you’ll see dozens of options, but for home gardeners, you really only need to look at three basic categories.
1. The Nitrogen Fixers (Legumes)
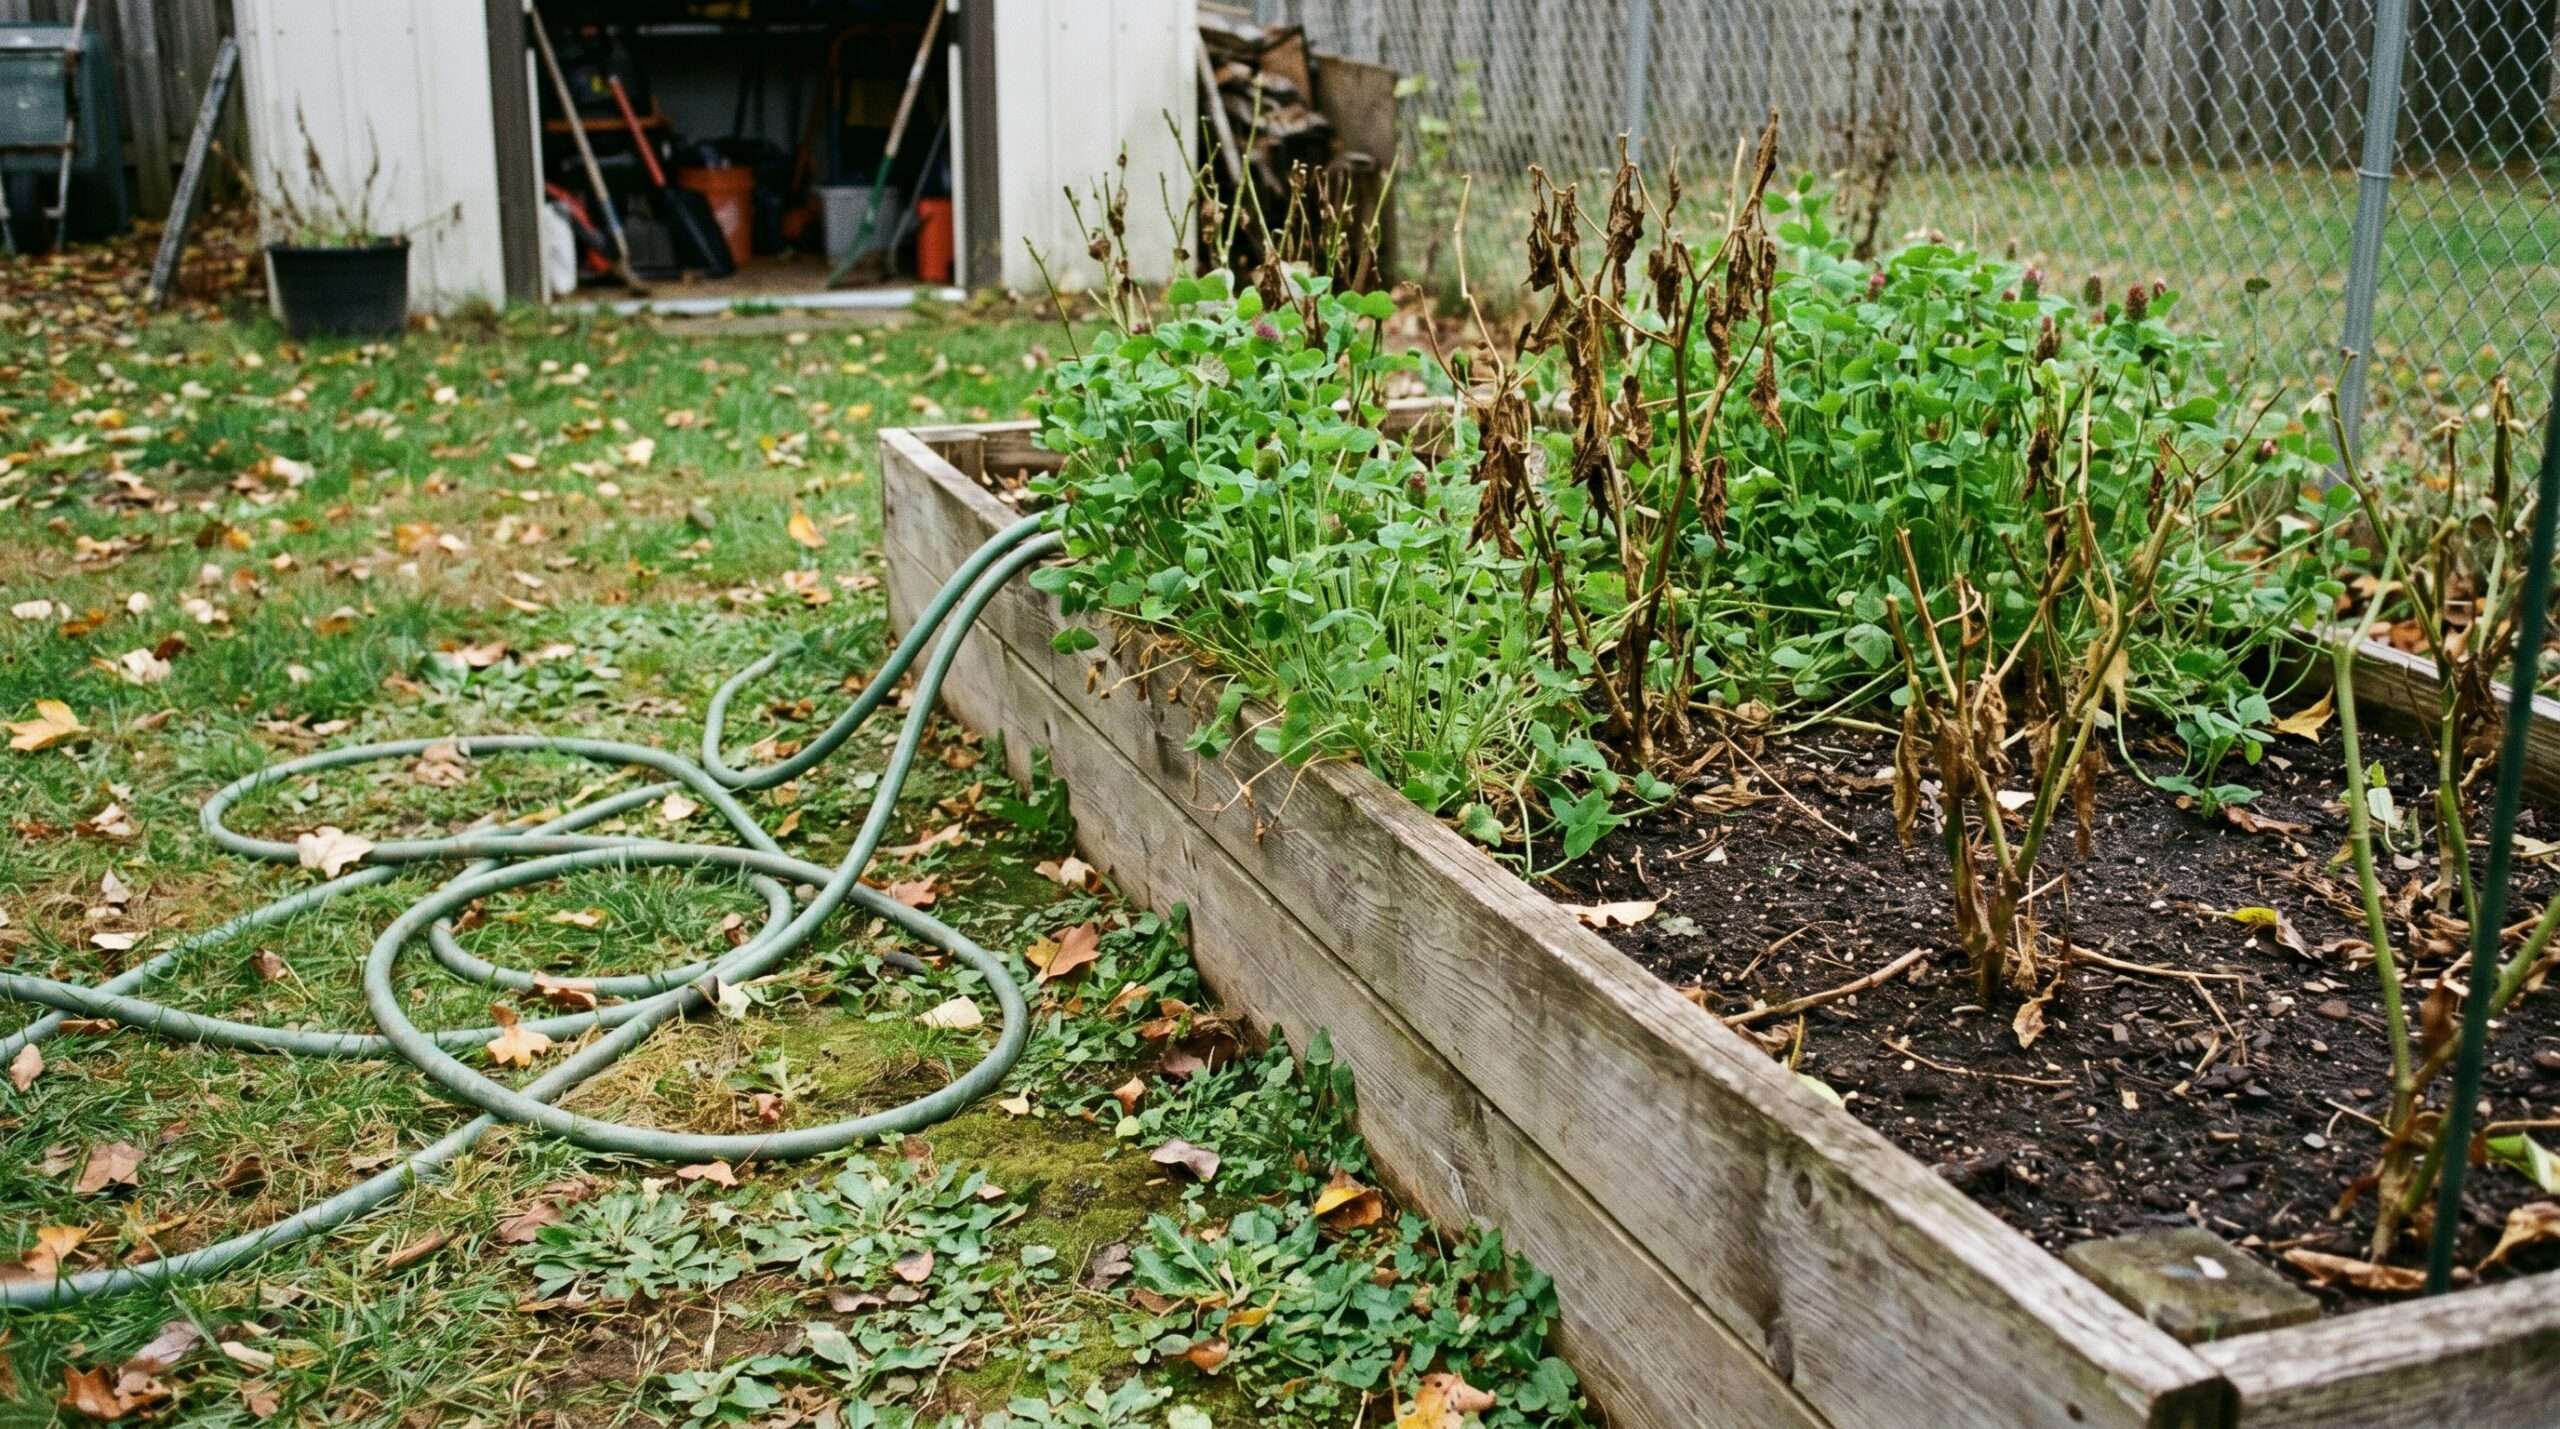
These are your clovers, vetches, and field peas. They have a weirdly cool superpower: they pluck nitrogen out of the air and store it in little nodules on their roots.
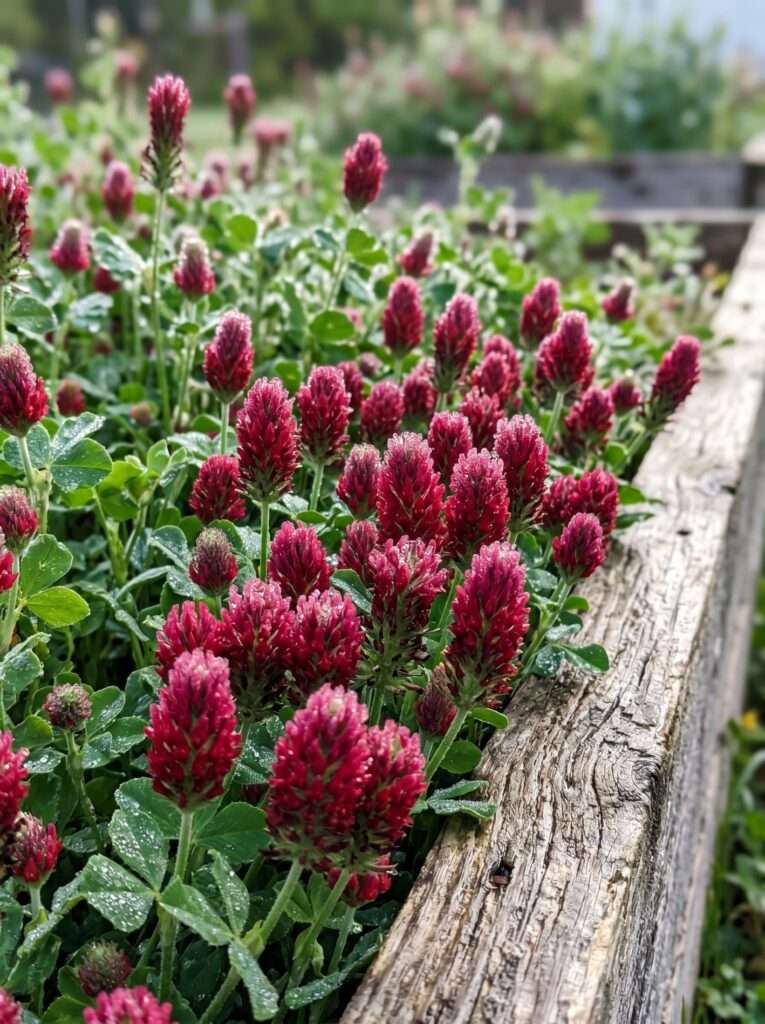
I learned this the hard way: if you don’t grow legumes, you’ll end up spending a fortune on bagged organic fertilizers every single spring. Crimson clover is my absolute favorite here. It grows easily, and if you let it go just long enough in spring, it produces beautiful red flowers that the early bees love.
Legumes (Clover, Peas) ---> Pull Nitrogen from Air ---> Store in Soil Roots2. The Soil Breakers (Daikon Radishes)
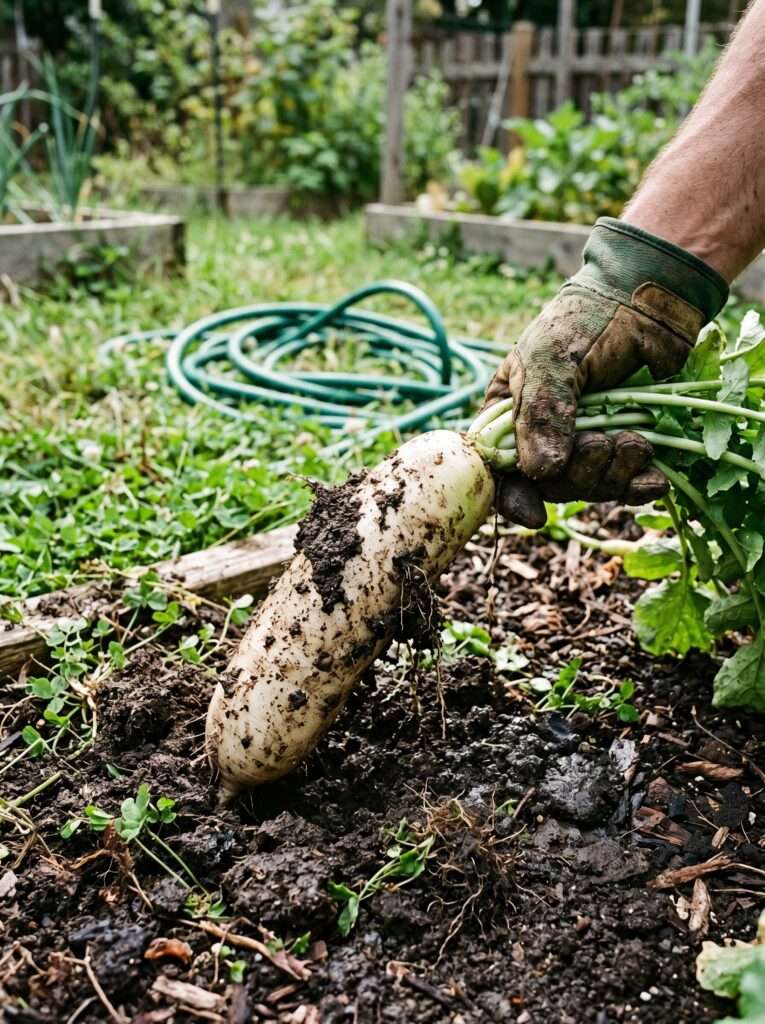
If you have heavy clay soil that feels like bricks in August, you need forage radishes, often called “tillage radishes” or Daikon.
These aren’t the cute little red radishes you put in a salad. These things grow into massive, thick white monsters that drill three feet straight down into the earth.
The best part? When the winter freeze hits, the radish dies, rots inside the ground, and leaves a massive hole. It’s like a natural aeration system that costs pennies compared to renting a machine.
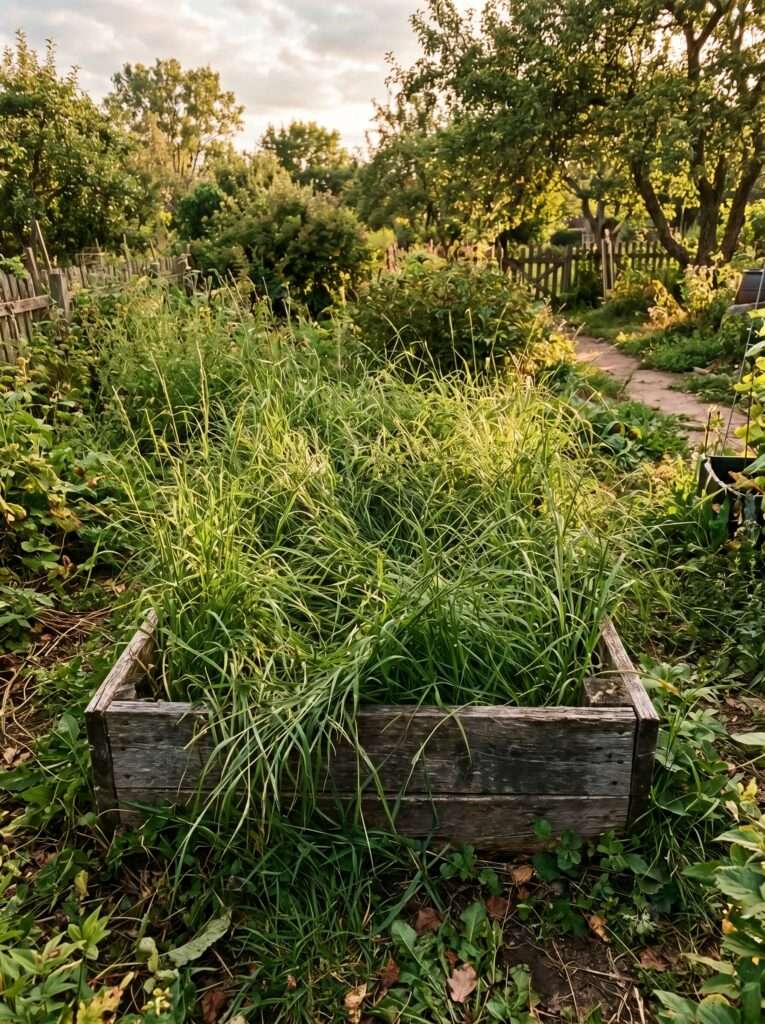
3. The Erosion Protectors (Grasses)
Winter rye, oats, and barley fall into this bucket. They grow fast, they have massive networks of tiny, thread-like roots, and they hold your soil in place like a tight net.
If your garden has a slight slope, or if you live somewhere with high winter winds, you need a grass. Just be careful with winter rye—it’s tough as nails, which means killing it in the spring takes a bit of muscle.
One Thing I Noticed Over the Years About Timing
Here’s where most people go wrong: they wait until their summer garden is completely dead and buried under frost before they think about cover crops.
But wait, there’s a catch: if the ground is freezing, your cover crop seeds are just going to sit there and get eaten by fat backyard birds.
You want to get these seeds into the ground about 4 weeks before your first expected hard frost. For most folks in the mid-US, that means September or early October.
If you still have peppers producing in October, that’s fine! You don’t have to rip them out. I often just broadcast clover seeds right underneath my standing pepper plants. By the time the frost kills the peppers, the clover is already established and ready to take over the bed.
If you are still working on your overall setup, checking out some basic beginner gardening tips can help you time your transitions better between seasons.
What Actually Works: The Lazy Gardener’s Sowing Guide
You don’t need to dig up your whole yard to plant these. In fact, digging up the soil right before winter defeats the entire purpose of protecting it. Here is the exact, zero-till method I use every single autumn.
Step 1: Clear the Big Debris
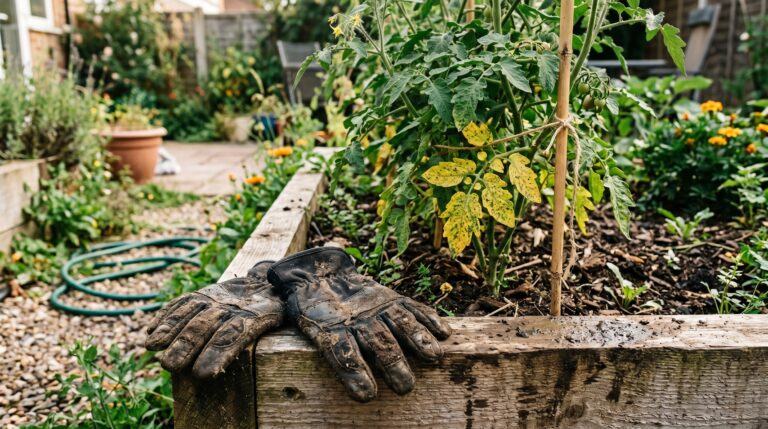
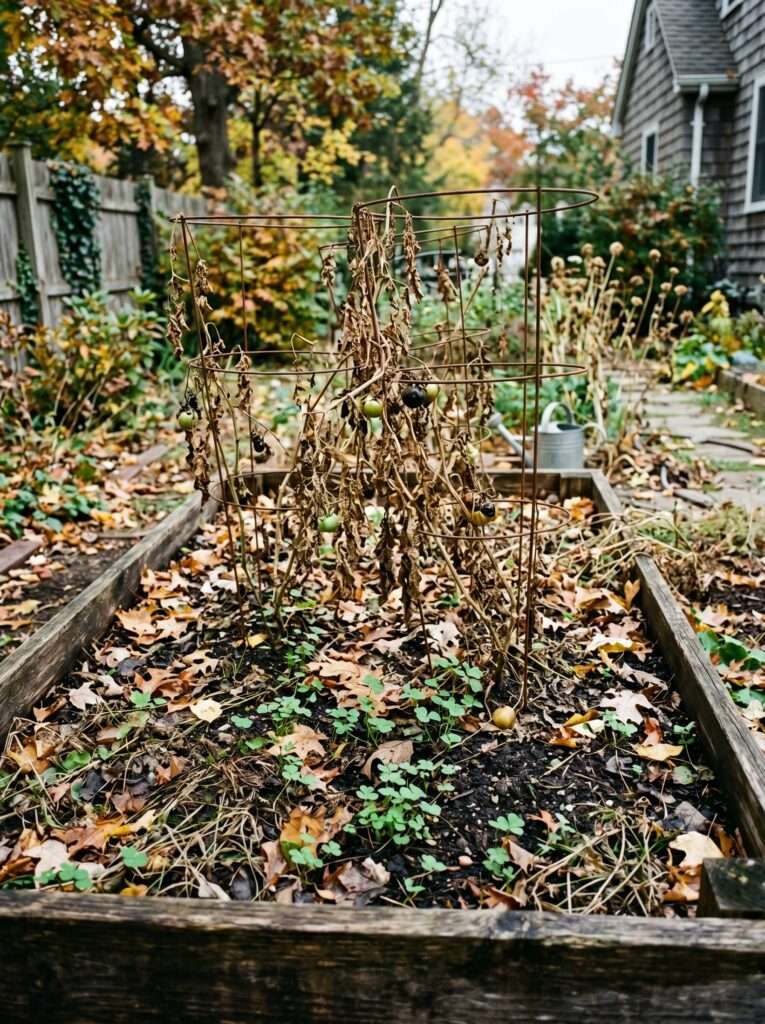
Pull out any diseased plants. If your tomatoes had blight, get them out of there and throw them in the trash—not the compost pile. Leave the healthy roots in the ground if you can, just snip the stalks at soil level.
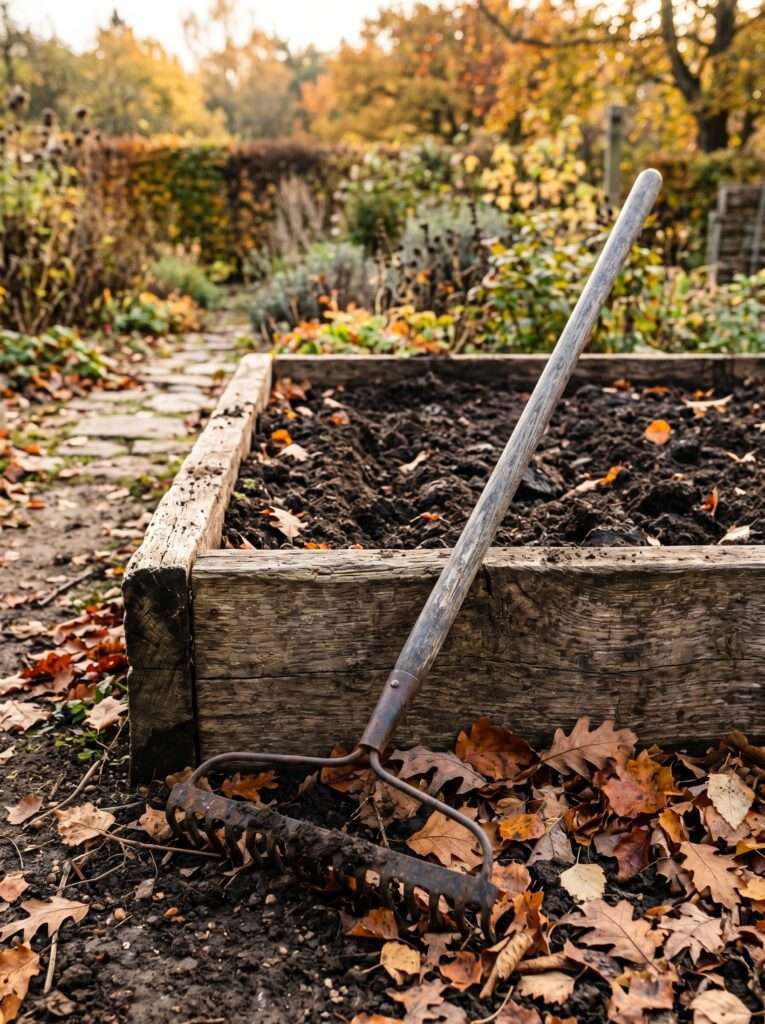
Step 2: Rake the Surface Gently
Take a simple hard-toothed garden rake and scratch the surface of the soil just enough to loosen the top half-inch. You just want to give the small seeds a place to lodge themselves.
Step 3: Broadcast the Seed
Grab a handful of seed and fling it across the bed. You want it to look like you’re feeding chickens. Don’t worry about perfect spacing. For small beds, sowing a bit thickly is better than sowing too thinly.
Step 4: Pat It Down
Walk on it, press it down with the back of your rake, or use a piece of cardboard to press the seeds into the dirt. Seed-to-soil contact is everything. If the seed is just floating on top of loose fluff, it won’t germinate well.
Step 5: Water Gently
Set your hose nozzle to mist or shower and soak the bed. Keep it damp for the first week until you see those little green needles popping up through the soil.
Why Soil Health Isn’t Something You Can Buy in a Bag
We’ve been conditioned by big-box stores to think that every garden problem can be solved by buying a plastic bag of synthetic fertilizer. But long-term fertility is built through biology, not chemistry.
When you grow a cover crop, you’re keeping the soil microbes alive through the winter. Those tiny fungi and bacteria need living roots to feed on. If you let the ground go bare, those microbes die off or go dormant deep underground.
When spring comes, a bare bed takes weeks to “wake up.” A bed that had a cover crop living in it all winter is already teeming with life the day you clear it. It’s like having a head start on the entire growing season.
Building up this organic matter naturally is the core of any solid soil health guide, and it saves you immense amounts of work down the line.
Mistakes I Made (So You Don’t Have To)
Letting Rye Go to Seed
My first year using winter rye, I got busy in April and forgot about it. By May, it was four feet tall and looked like a wheat field.
When I finally went to cut it down, the stalks were as tough as bamboo, and my lawnmower kept getting tangled. Kill your grasses while they are still soft, green, and juicy—well before they start growing actual seed heads.
The Radish Smell Incident
Nobody told me that when Daikon radishes die and rot in the winter freeze, they smell exactly like sulfur and old garbage.
I planted them right under my kitchen window. That January, my wife was convinced we had a massive sewer leak in the backyard. Plant your radishes in the beds further away from the back porch if you have a sensitive nose!
Planting Too Late
I once tried throwing clover seed down in late November in Zone 6. The seeds just sat there, got waterlogged, turned into mush, and roted. Waste of fifteen bucks and an afternoon. If you miss the autumn window, just throw straw mulch down instead and wait for spring.
How to Kill Your Cover Crop in Spring (Without a Tractor)
This is the part that terrifies beginners. You’ve grown this gorgeous green carpet of plants all winter, and now it’s April, you want to plant tomatoes, and you’re looking at a bed full of weeds you grew on purpose.
How do you get rid of it without ruining your back?
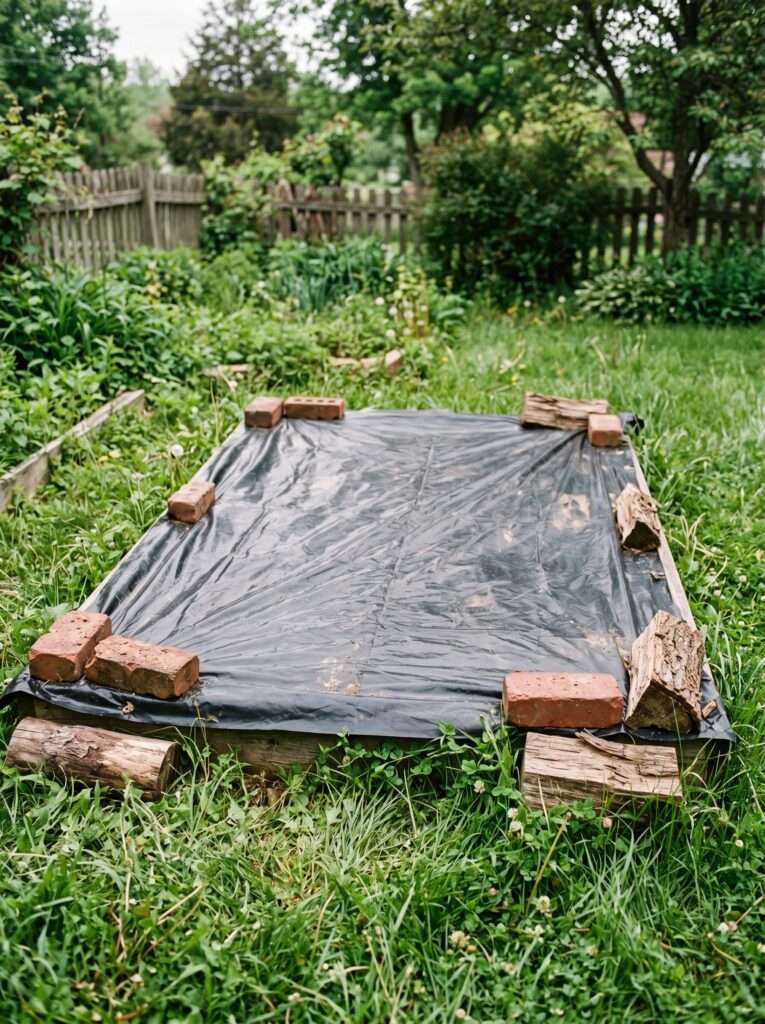
Method A: The Tarp Trick (Occultation)
This is my absolute favorite method because it requires almost zero physical labor. In early spring, about 4 weeks before you want to plant your veggies, take a simple black silage tarp or even a cheap black plastic painter’s tarp from the hardware store.
Cut the cover crop down as low as you can with a weed whacker or string trimmer. Leave the clippings right there on the dirt. Then, throw the black plastic over the top and weigh the edges down with bricks or logs.
The black plastic traps the sun’s heat, cuts off all light, and bakes the plants underneath. In three to four weeks, you pull the tarp off, and you’ll find nothing but beautiful, dark, crumbly soil covered in a thin layer of dead, composted organic matter. You can plant your seeds directly through it.
Method B: Chop and Drop
If you grew something that dies easily, like field oats or field peas, you can just chop them down at the soil line with a sharp spade or hand shears.
Leave the green tops right there in the bed to act as a natural mulch layer. You can push the dead debris aside with your hands to dig small holes for your tomato transplants.
Over the summer, those chopped leaves will break down completely, performing a natural form of composting at home right on top of your growing zones.
The Real Cost: A Breakdown for Average Homeowners
Gardening can get wildly expensive if you buy into every gadget, but cover cropping is genuinely cheap. Here is what a realistic budget looks like for a typical suburban yard with 3 or 4 raised beds (roughly 100-150 square feet of growing space).
| Item | Real Cost Range (USD) | Where to Buy | Notes |
| Crimson Clover Seed (1 lb) | $6 – $10 | Local feed store / Online | 1 pound will easily cover 300+ square feet. |
| Daikon Radish Seed (1/2 lb) | $5 – $8 | Garden center / Online | A little goes a long way; seeds are tiny. |
| Cheap Black Plastic Tarp | $10 – $15 | Hardware store | Reusable for 4–5 years if handled gently. |
| Hand Rake | $0 (Use what you have) | – | No need for fancy tools here. |
| Total Estimated Investment | $21 – $33 | Cheaper than buying three bags of quality compost. |
Small Observations from Fifteen Years in the Dirt
You begin to notice patterns when you spend enough time watching plants live and die. I’ve noticed that gardens with cover crops seem to suffer far less from pest pressure during the heat of June and July.
I don’t have scientific data to prove it, but my theory is that the diverse root systems encourage a wider variety of beneficial predatory insects to overwinter in the soil. When the bad bugs show up in spring, the good guys are already there waiting for them.
Also, your watering needs will drop significantly. Soil that is rich in decayed organic matter acts like a sponge. Bare soil allows moisture to evaporate almost instantly, making watering plants correctly a constant uphill battle during summer droughts.
Crimson Clover vs. Hairy Vetch: The Showdown
If you’re torn between the two most common winter legumes, let me save you some headache.
Hairy vetch is an incredible nitrogen fixer, but it grows like a wild vine. It will climb up your fences, tangle itself into your raspberry bushes, and try to take over the world if you look away for a weekend.
Crimson clover, on the other hand, behaves itself. It grows in a neat, tidy clump that stays exactly where you put it. If you are operating a small yard or a clean cottage garden design, stick to crimson clover. Your sanity will thank you.
Frequently Asked Questions From Real Beginners
No! Please don’t. Tilling or digging up the dead roots ruins the soil structure you spent all winter building. Just cut the tops off and let the roots rot naturally inside the ground. They will leave behind tiny tunnels for air and water to travel through.
You absolutely can. Throwing a pinch of clover seed into your 15-gallon tomato pots over winter works beautifully. It keeps the potting mix from becoming a brick of useless dust by spring.
If you get an unusually warm winter and your crops start flowering early, cut them down immediately. You want to kill them before they form actual seeds. If they drop seeds, your cover crop turns into next year’s persistent weed problem.
Grasses like winter rye and legumes like crimson clover will survive deep freezes and heavy snow blankets. They will look dead and frozen, but as soon as the ground thaws in March, they will green right back up and start growing again.
Straw or leaf mulch is great for protecting soil from heavy rain, but it doesn’t do anything to break up deep clay layers like a radish root does, and it doesn’t add nitrogen to the soil like clover does. Mulch is good; cover crops are better.
Avoid buying those tiny 2-ounce packets meant for salad sprouts—they are wildly overpriced. Look for local farm supply stores, co-ops, or dedicated online seed houses that sell cover crops by the pound.
Keeping It Simple for the Long Haul
At the end of the day, gardening shouldn’t feel like a series of chores you dread completing before the weather turns foul.
Don’t worry about getting a perfect, uniform lawn of clover on your first try. If you end up with patchy spots or if some of your radishes don’t grow bigger than a carrot, it’s still a win for your dirt.
Every single root that goes into the ground is doing a tiny bit of work to fix your soil so you don’t have to struggle as hard next year. Once you understand the basics, this gets much easier.
Aagam – Founder of SpruceTouch
Hi, I’m Aagam — the creator behind SpruceTouch. I’m a home and garden enthusiast who shares practical ideas for backyard design, garden projects, patio decor, and small outdoor spaces. Through SpruceTouch, I focus on simple and budget-friendly ways to improve outdoor living spaces.