
The “Chaos Gardening” Experiment: My real results from May seed sowing.
If you have spent any time scrolling through gardening videos recently, you have probably run across the term “chaos gardening.” The idea sounds incredibly liberating: instead of meticulously measuring rows, starting delicate seeds under pricey grow lights, and obsessing over structural layouts, you just throw all your leftover seed packets into a bucket, mix them up with some handfuls of soil, and fling them across a bare patch of dirt.
But does it actually work, or are you just feeding the local bird population an expensive multi-seed lunch?
After about 17 years of managing my own patch of earth, dealing with clay that dries like concrete, and trying out every “trend” that makes its way down the grapevine, I decided to put this completely unstructured method to the test. In early May, I took a messy stack of half-empty vegetable and flower seed packets, mixed them together, and threw them into an untamed corner of my backyard.
Here is exactly what happened over the following weeks—including the glorious successes, the frustrating tangles, and the honest, unedited mistakes I made along the way.
The Big Idea: Breaking Every Classic Gardening Rule
We are conditioned to think that successful gardening requires perfect linear organization. Every single seed packet you buy comes with a tiny, rigid instruction manual printed on the back: plant one-quarter inch deep, space six inches apart, thin to twelve inches, maintain perfect moisture levels. If you are a beginner, reading those back panels can make you feel like you are studying for a high-stakes botany exam rather than trying to grow a few backyard snacks.
I used to be incredibly strict about my spacing. I would sit out there with a measuring tape and wooden stakes, making sure my carrot rows were perfectly parallel to my lettuce blocks. It looked great for about three weeks, but the second life got busy, the weeds moved into those empty spaces anyway, and I spent half my summer fighting nature to keep my geometric layout intact.
Chaos gardening flips that script. The core logic is simple: in the wild, plants do not grow in straight, nicely weeded lines. A mature wildflower head dries out, drops hundreds of seeds directly into the dirt at its feet, and whatever survives the winter sprouts up naturally when the ground warms up. By scattering a diverse blend of seeds all at once, you are letting the plants compete, cooperate, and decide among themselves who gets to own that specific patch of soil.
Setting Up My Sowing Experiment in May
I picked the first week of May for my experiment because our local soil temperature had finally settled into a stable range. Throwing seeds out too early when the ground is cold and soggy just results in rot, while waiting until June means the intense summer sun will bake the tiny sprouts before they can push down a reliable root system. May is that perfect sweet spot where the soil is awake but not yet scorching.
For my seed mix, I cleared out a plastic storage container filled with leftover packets from previous seasons. Some of these packets were three years old; others were bought on clearance at the end of last summer.
[My Chaotic Seed Inventory Mixture]
├── Vegetables: Radishes, Bush Zinnia, Loose-leaf Lettuce, Spinach, Bush Beans
├── Herbs: Cilantro, Slow-bolt Dill, Sweet Basil
└── Wildflowers: Cosmos, Calendula, Nasturtiums, Sunflower (Dwarf variety)
I did avoid putting aggressive, sprawling vining plants like standard pumpkins or winter squash into the mix, as those will easily swallow a small plot in a matter of days.
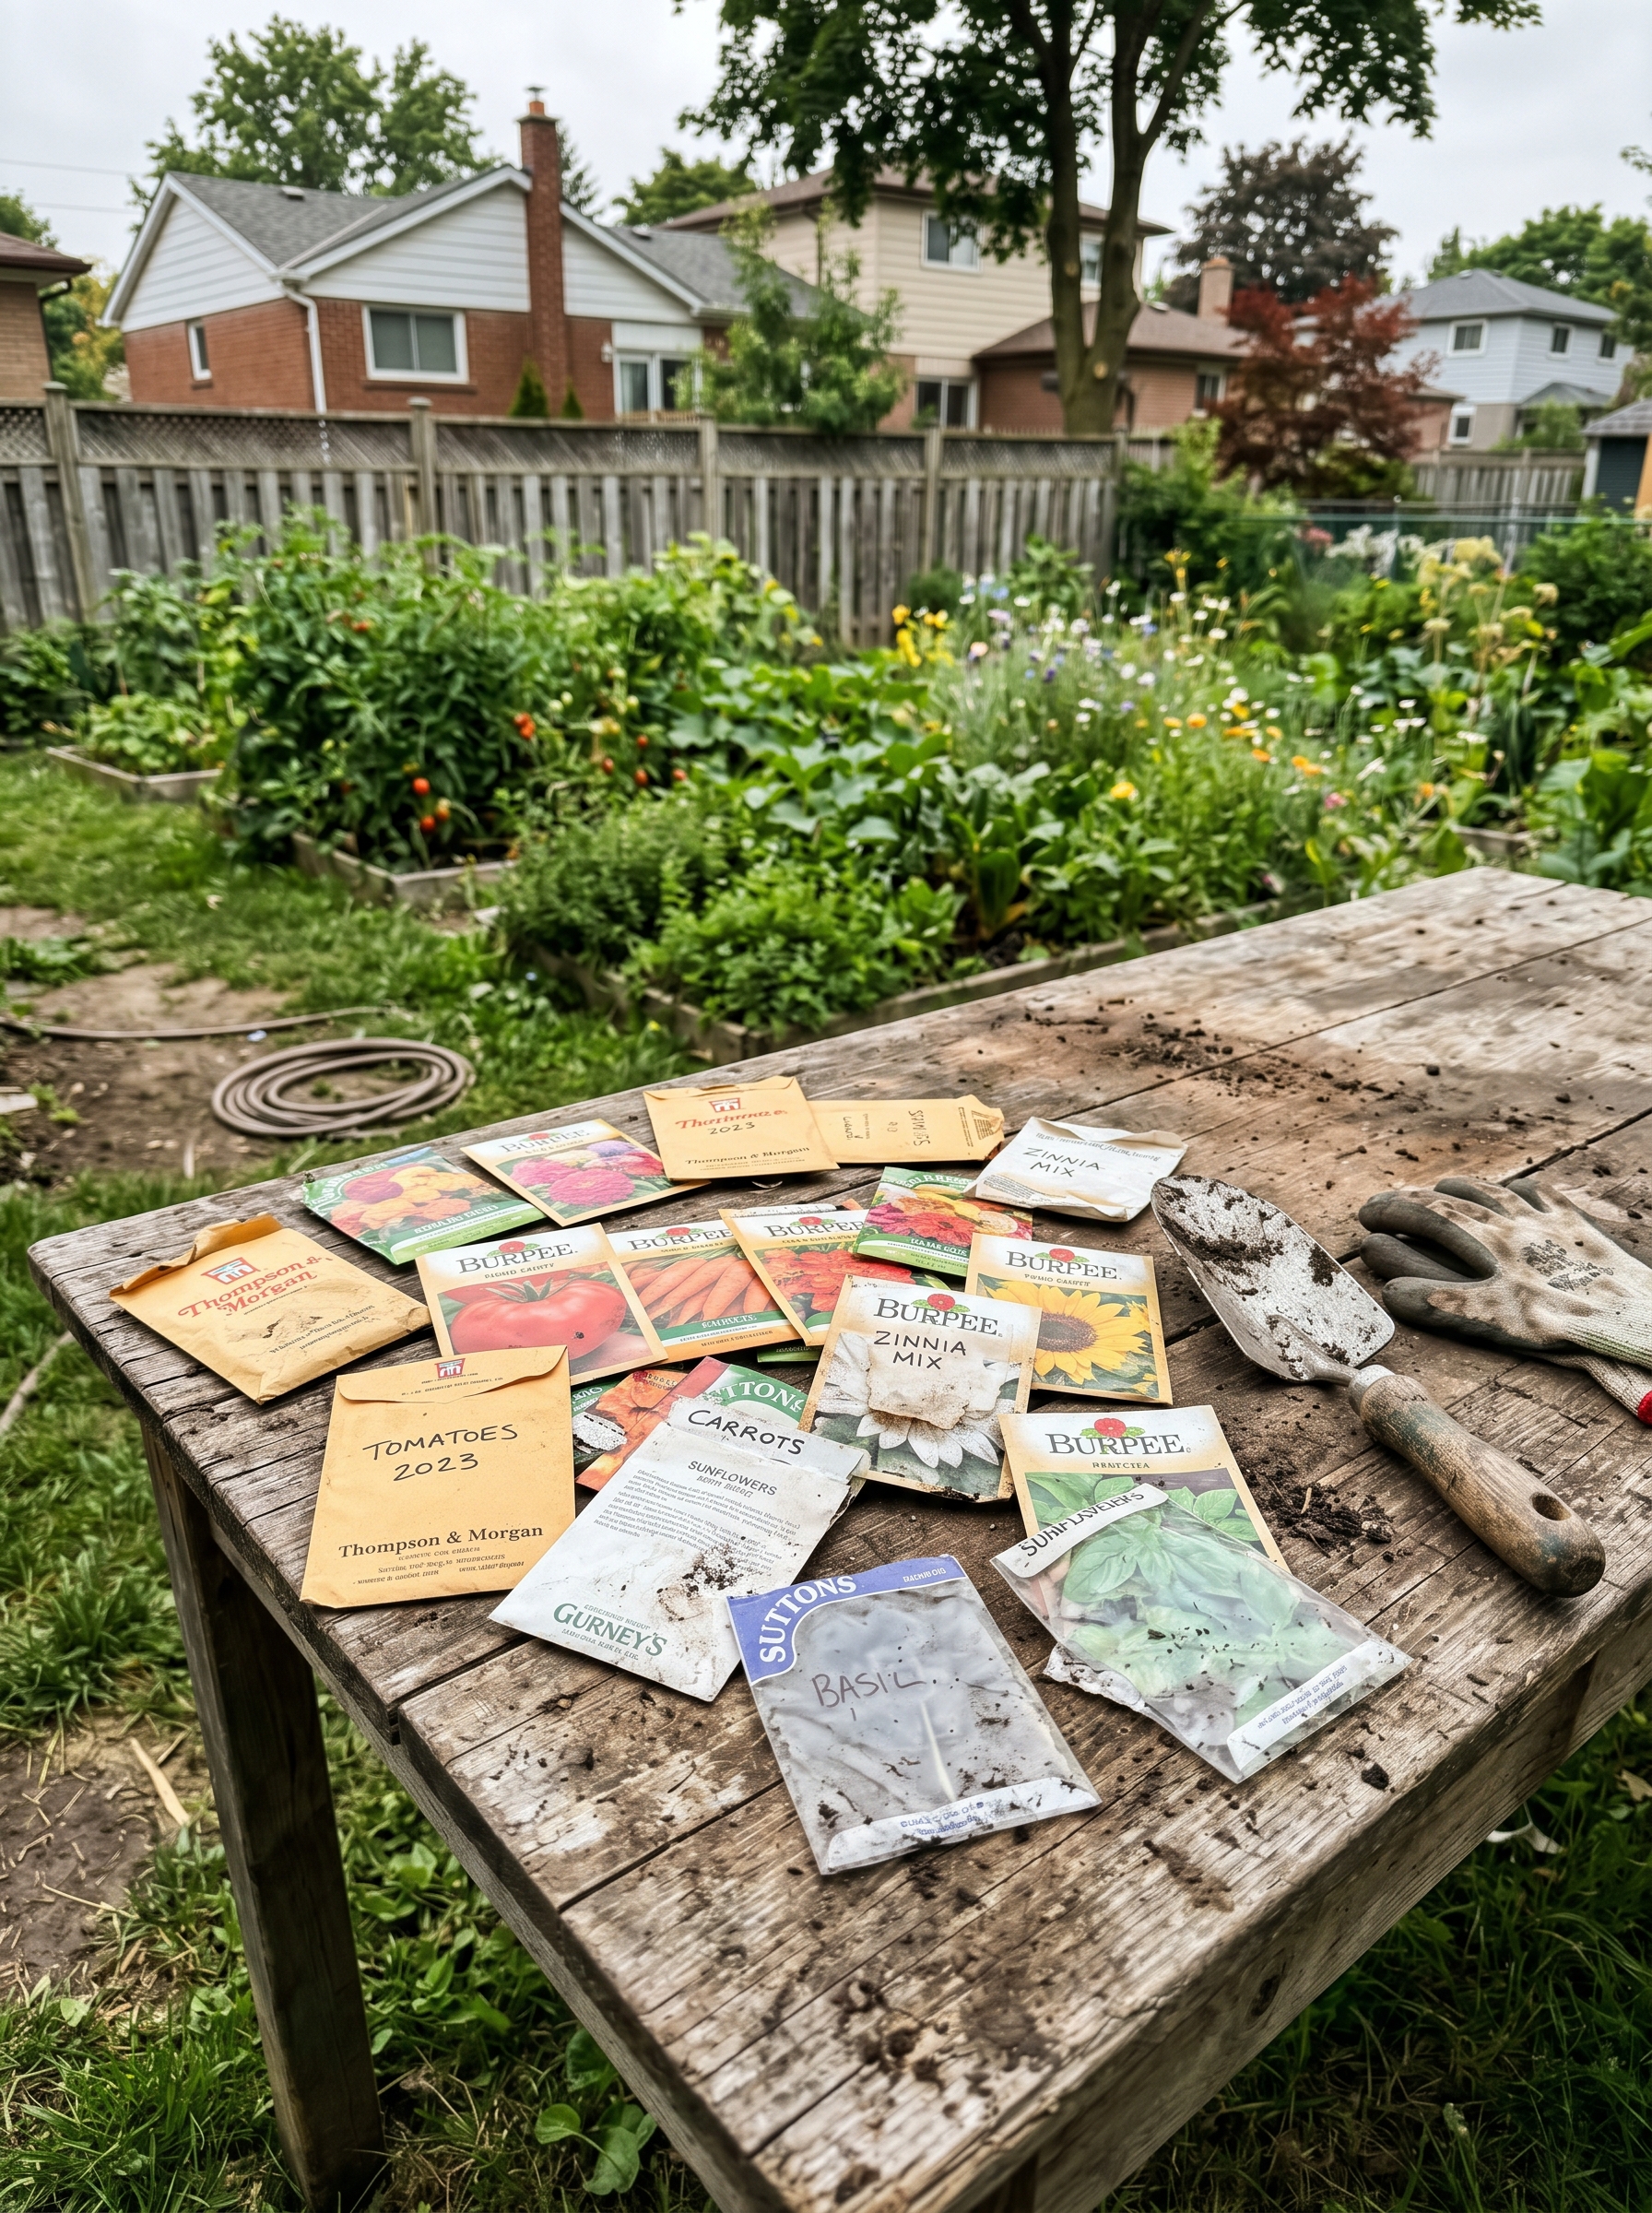
Before throwing anything, I had to prepare the ground just a little bit. True chaos gardening does not mean throwing seeds onto solid, unweeded lawn grass and hoping for a miracle—cultivating an existing lawn requires a lot more aggressive site prep. I chose an old, under-used flower bed that had spent the winter covered in dead leaves and a light smattering of chickweed.
I pulled out the largest weeds by hand, scraped the top inch of soil with a standard hand garden rake to loosen up the crust, and scattered a light two-inch layer of home compost over the area. This was not about making it look pristine; it was just about creating a soft, welcoming landing pad where the scattered seeds could actually make direct contact with loose, crumbly dirt. If you want to make sure your soil has enough natural energy to support a heavy, dense root system, it helps to check out a practical soil health guide before you get started.
The Hand-Sowing Method That Worked for Me
Once my bed was prepped, I took my big bowl of mixed seeds and added about four cups of dry, sifted garden soil and a couple of handfuls of coarse sand to the mix.
One thing most people ignore: if you try to throw tiny flower seeds entirely by themselves, they will either stick to your fingers, blow away in a light breeze, or drop in one dense clump. Mixing the seeds thoroughly into a bucket of dry soil or sand adds bulk and weight, which lets you distribute the tiny seeds evenly across the entire surface area.
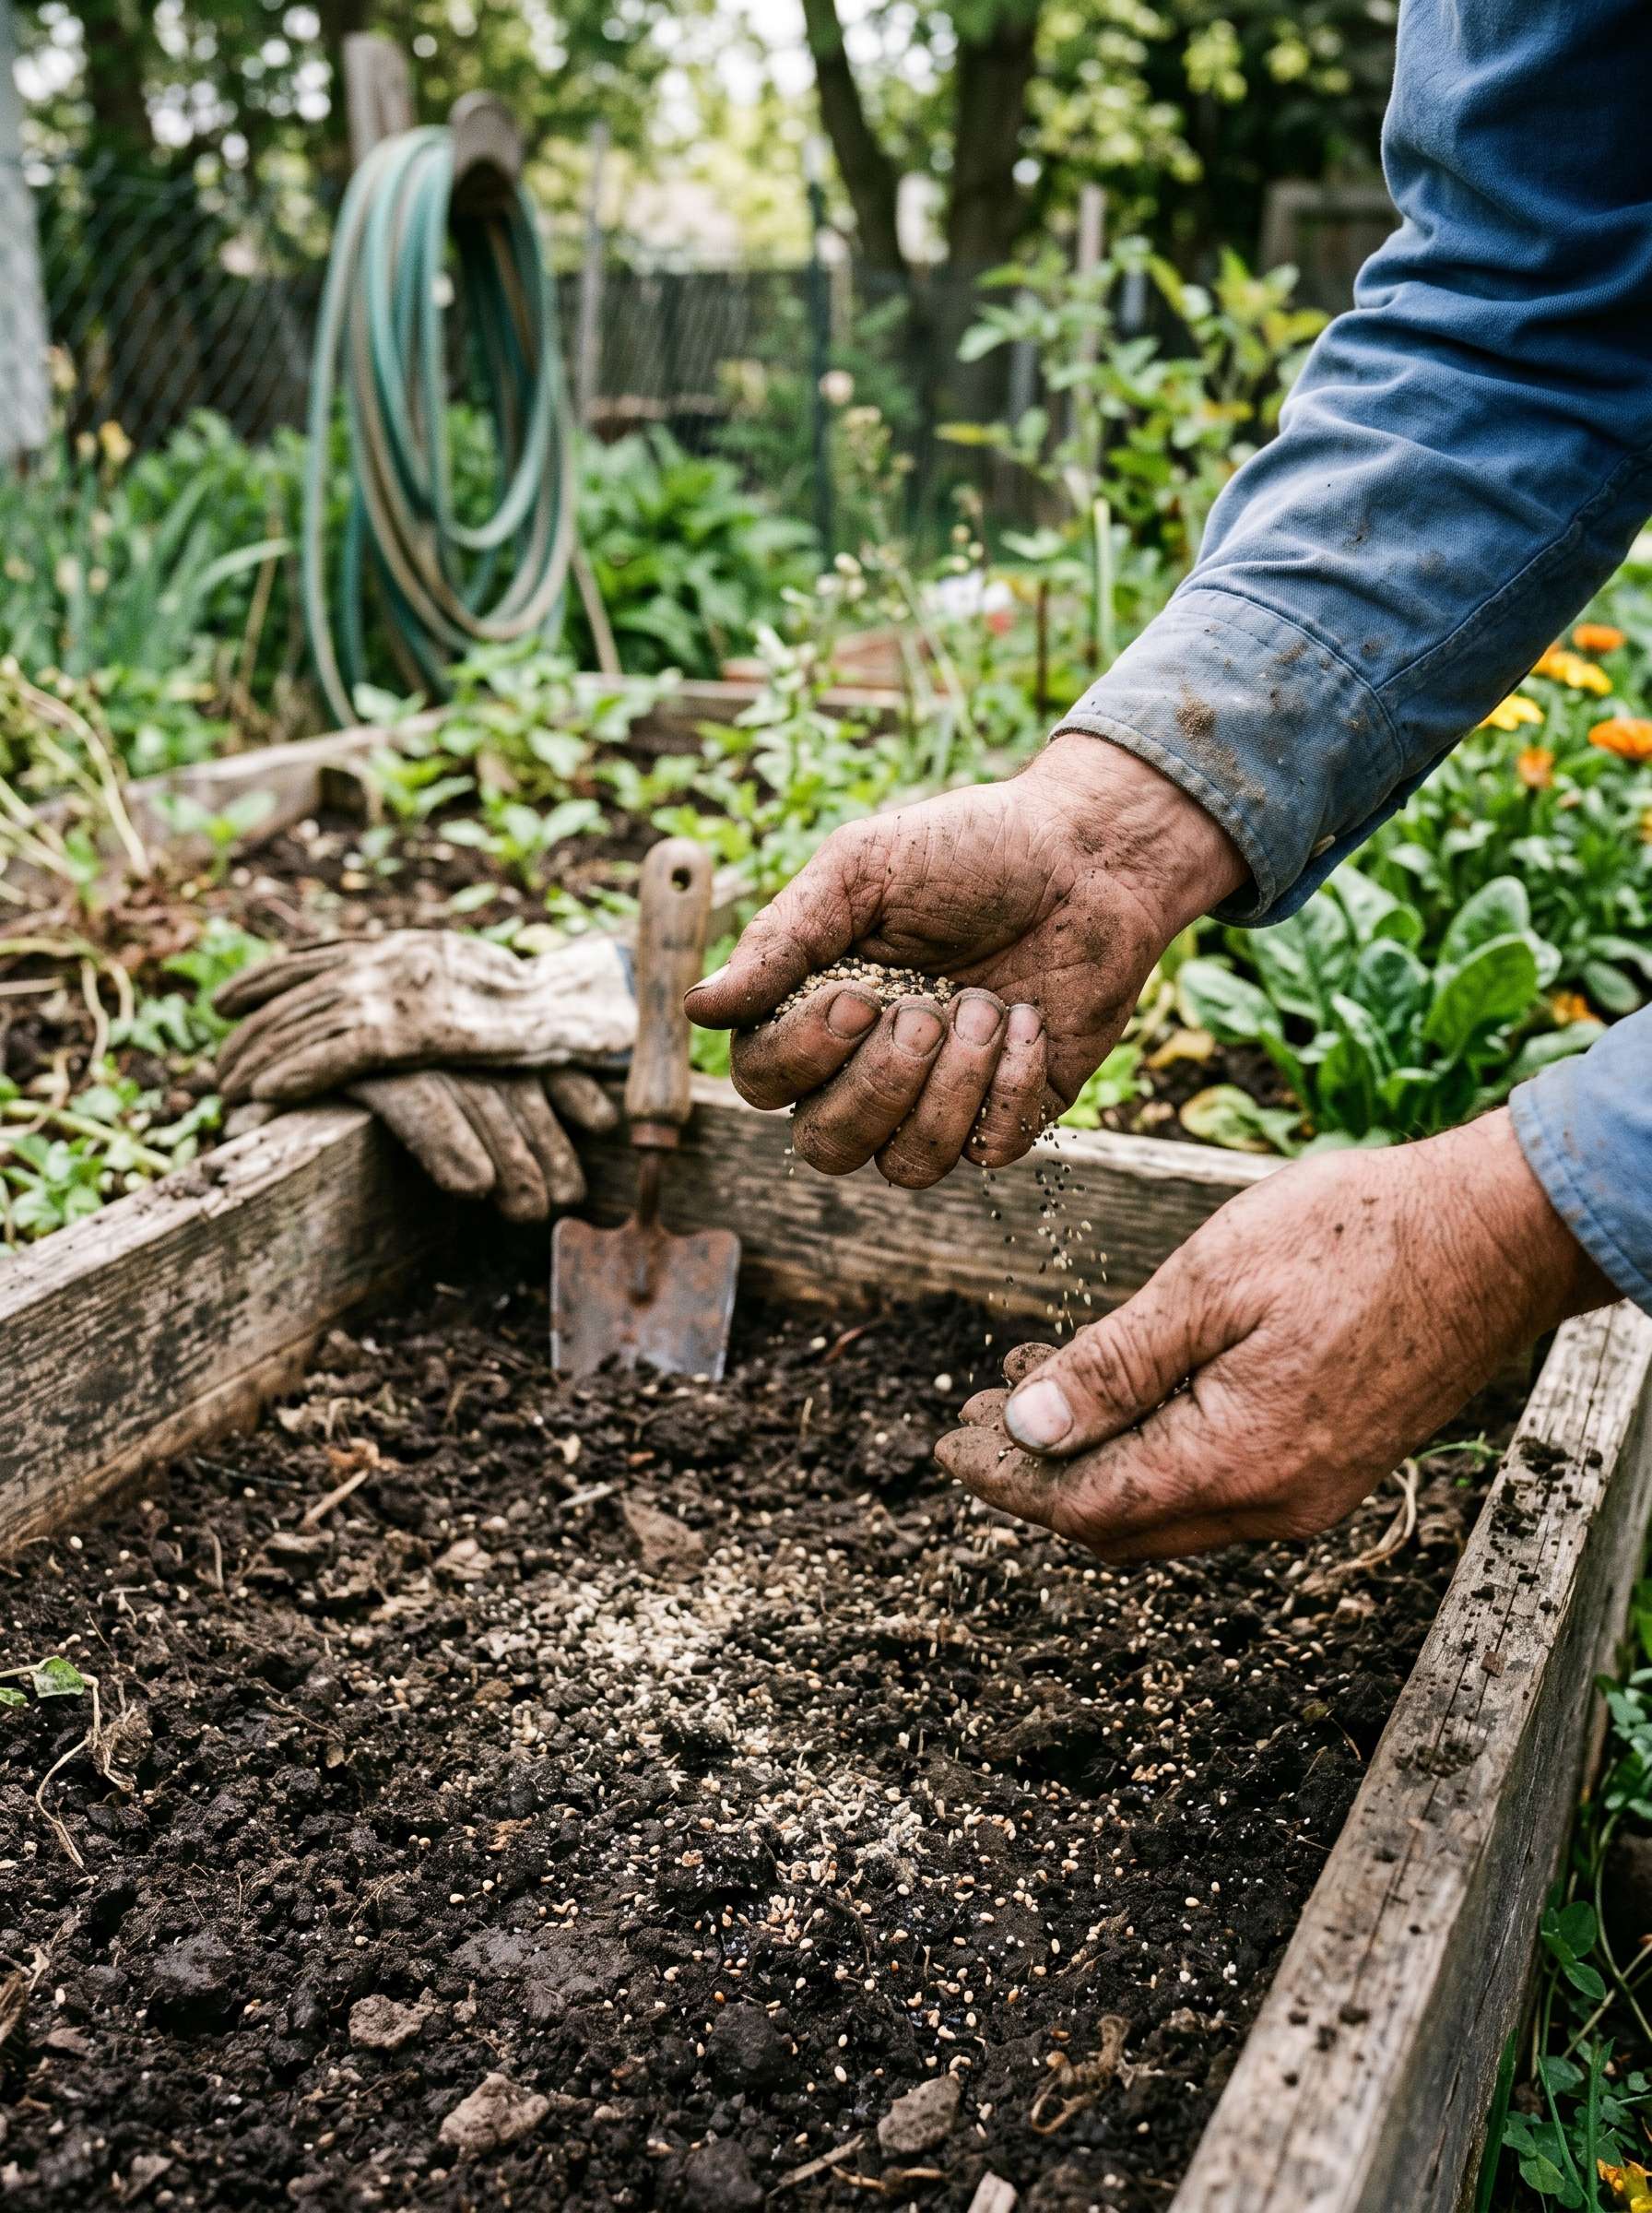
I stood back and threw the mixture across the bed using a gentle, sweeping underhand motion, trying to cover every open square foot. After the seeds were scattered, I did not bury them with a shovel. Instead, I took the flat back of my garden rake and lightly tapped the entire surface of the bed to press the seeds down.
This step is absolutely critical: seeds need good “seed-to-soil contact” to absorb moisture and sprout, but if you bury tiny varieties too deeply, they will exhaust all their energy storage before they can reach the light. To finish up, I set my garden hose nozzle to a very fine mist setting and thoroughly soaked the bed until the top two inches felt like a wrung-out sponge, being careful not to blast the water so hard that it washed my newly scattered seeds into muddy puddles.
Week 2: The Green Carpet Emerges
By day ten, the bed looked completely alive. It did not look like a traditional garden; it looked like a solid, bright green shag carpet breaking through the soil.
The radishes were the absolute first to show up, popping open their thick, heart-shaped cotyledons (the very first leaves a seedling puts out) within just four days. Right behind them were the bush beans and the sunflowers, pushing up heavy heads of soil as they forced their way into the sunlight.
But here’s the kicker: when you plant this densely, you cannot tell the difference between your prized seedlings and the local weed seeds that were already resting in the soil. Because I had scattered everything in a random pattern, I could not use a standard weeding hoe to clean up the space. I had to sit on the edge of the bed and wait until the plants developed their first set of “true leaves” so I could identify what was an actual vegetable or flower and what was just opportunistic wild grass.
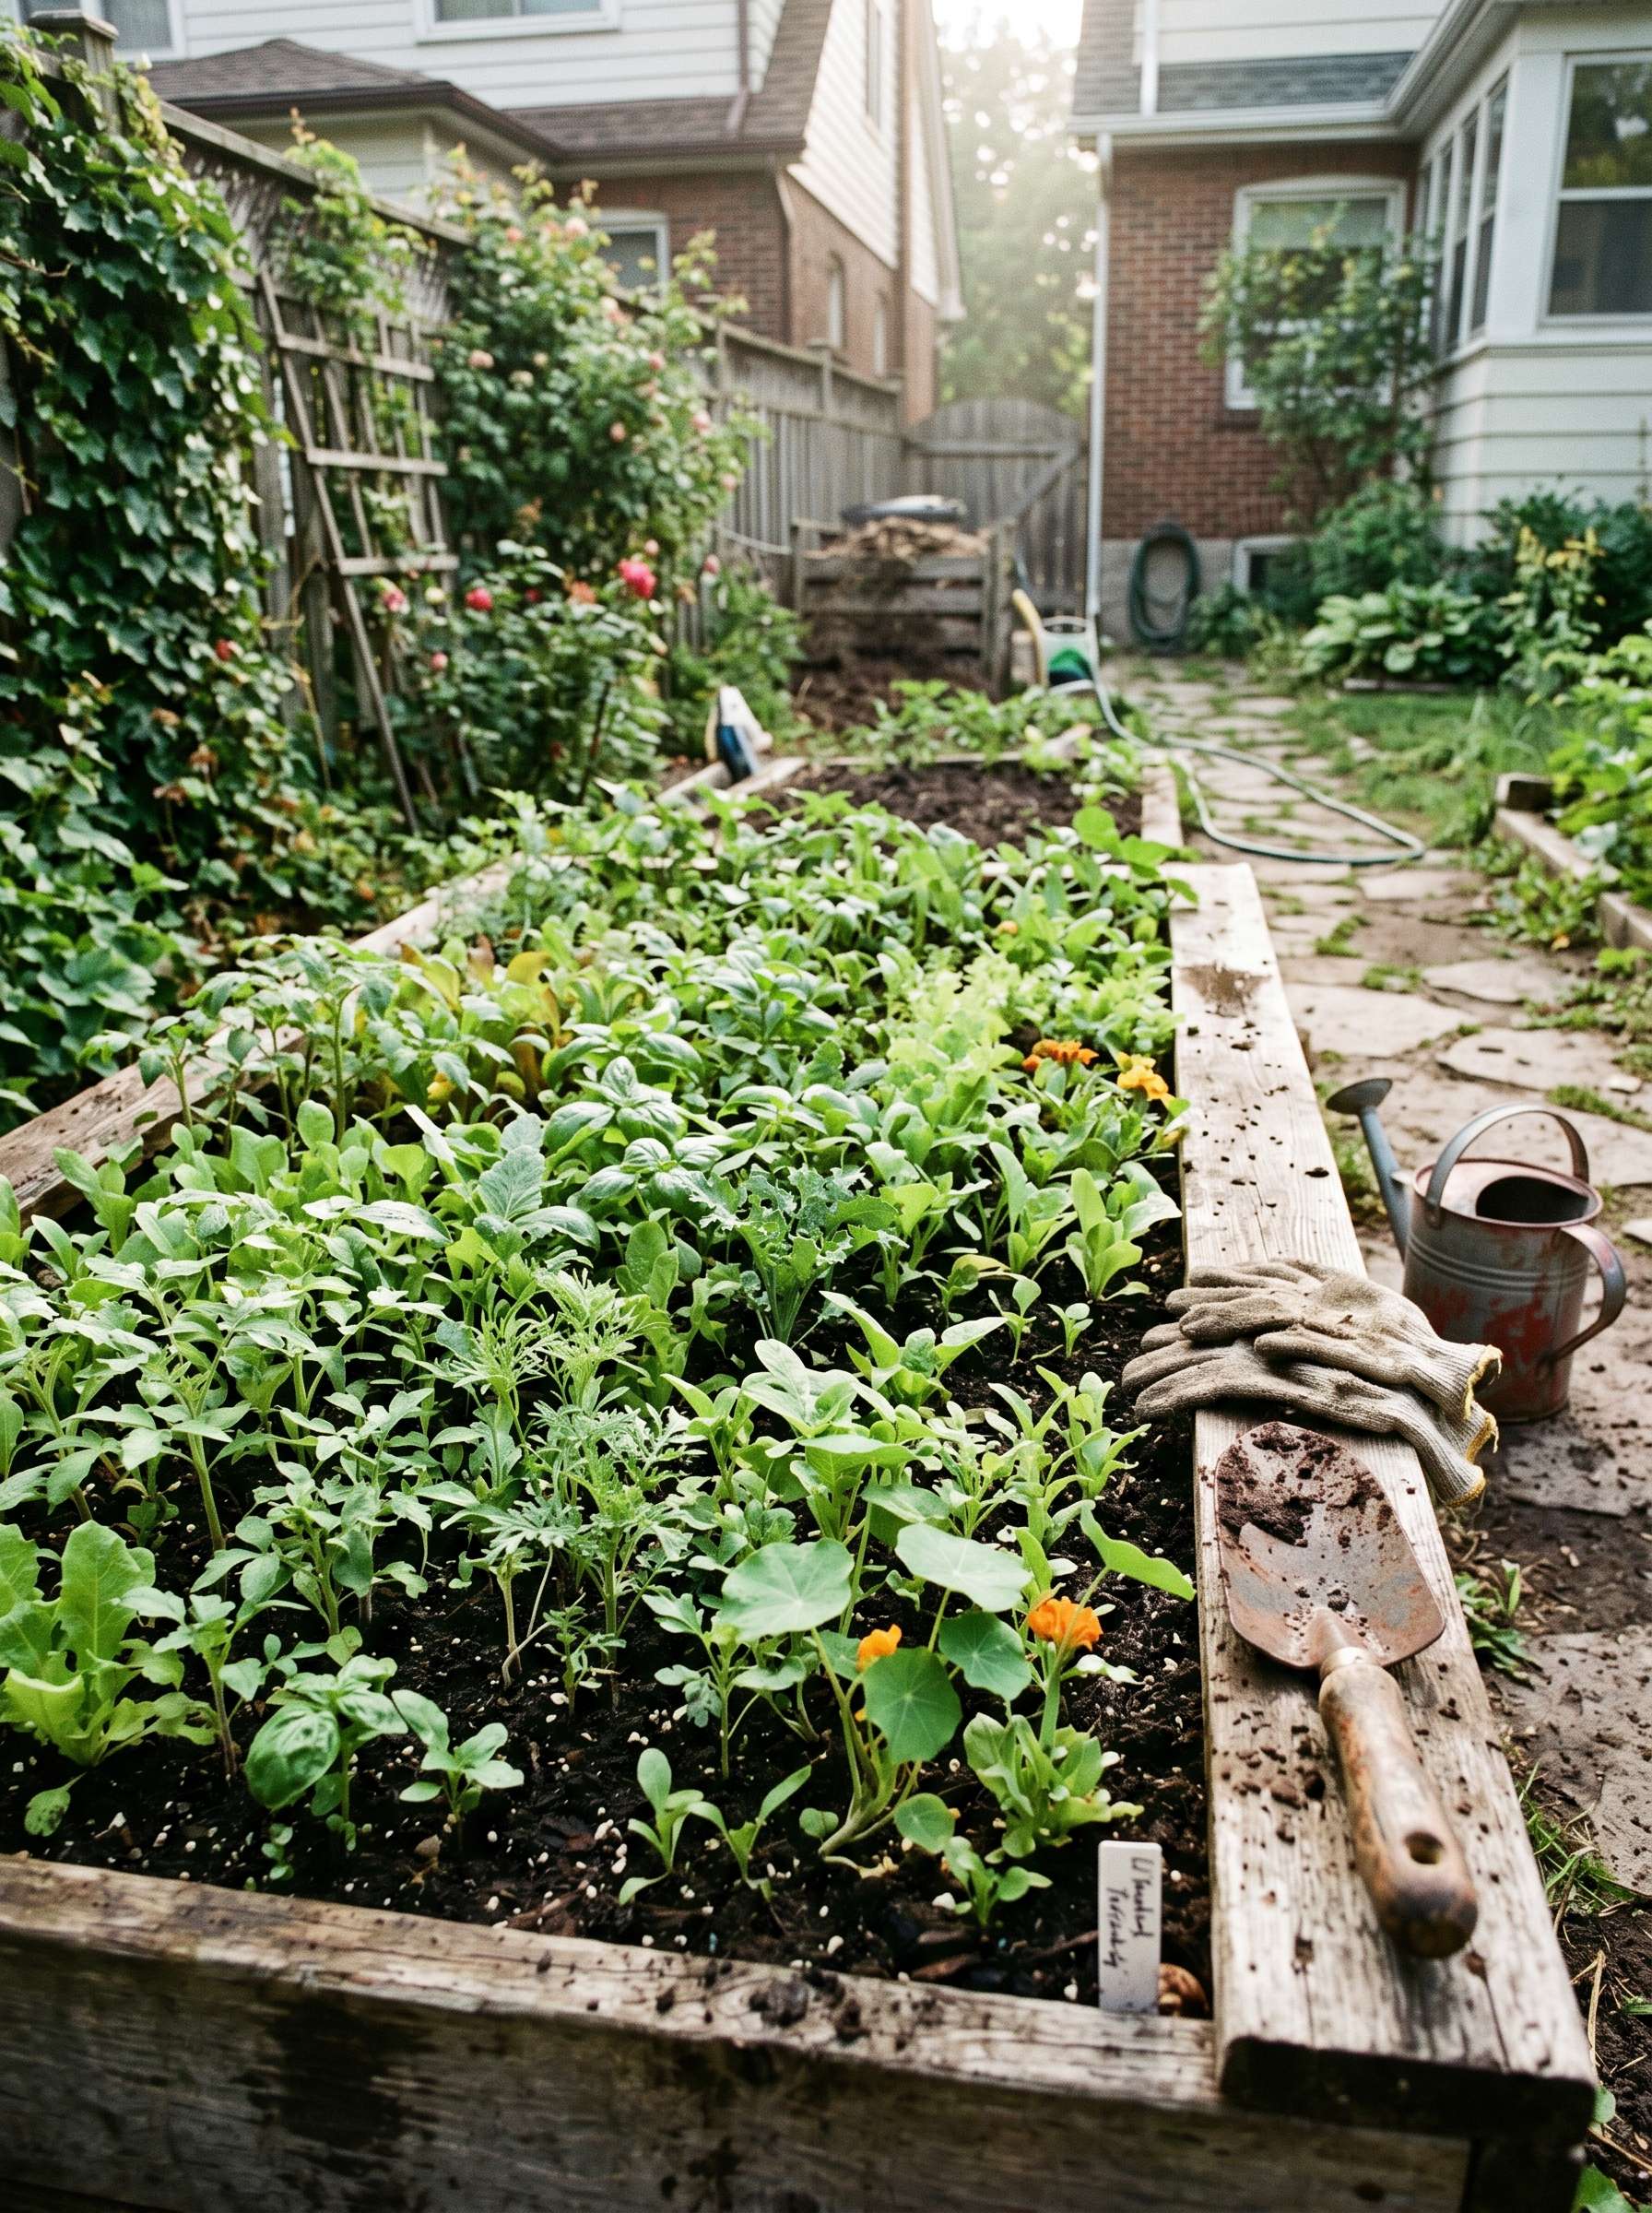
During this second week, I realized that my watering routine had to change completely. In a standard row garden, you can water the base of each plant and leave the surrounding soil dry to discourage weeds. In a chaos bed, every single square inch is crammed with thirsty young roots.
If the top inch of soil dried out for even a single afternoon in the May sun, the tiniest seedlings—like the lettuce and basil—would wilt immediately. I found myself watering lightly every single morning, ensuring the entire block stayed consistently damp without becoming an oversaturated swamp. If you are looking for general strategies on keeping young beds happy without spending a fortune on tools, skimming through some beginner gardening tips can give you some great baseline ideas.
Week 5: The Survival of the Fittest
By mid-June, the experiment transitioned from a cute green carpet into a highly competitive, low-stakes botanical wrestling match. The plants were growing at wildly different speeds, and a clear hierarchy began to emerge in the bed.
The radishes and spinach completely dominated the lower layer early on, casting a dense shade that naturally suppressed a lot of the late-summer crabgrass seeds. Rising above them were the cosmos and the zinnia seedlings, reaching up to grab the midday sun.
I noticed that the plants were naturally forming their own mini-ecosystem. The bush beans, which fix nitrogen into the soil through their root systems, were completely intertwined with the leafy cilantro and dill. The dill acted like a delicate green canopy, filtering the harsh afternoon sun just enough to keep the sensitive loose-leaf lettuce from bolting (turning bitter and running to seed prematurely).

But wait, there’s a catch: overcrowding is a real issue if you do not step in eventually. While the visual aesthetic was beautifully wild, some of my favorite plants were getting completely suffocated out by their more aggressive neighbors.
The nasturtiums, which I had hoped would trail nicely along the front edge, got completely buried under a massive explosion of radish leaves. I had to make a tough choice: let the chaos run completely wild, or step in with some selective hand-thinning to give the slower growers a fighting chance.
My Honest Evaluation: The Pros and Cons of Chaos Gardening
Now that I have lived with this patch for a solid chunk of the season, I can give you a completely unfiltered look at whether this method is worth your time, seeds, and garden space.
The Good Stuff
- Zero Planting Stress: You do not need a string line, a ruler, or an expensive layout plan. It takes less than ten minutes to actually plant an entire bed.
- Natural Weed Suppression: Because the plants grow so tightly together, they create a living mulch. Once the canopy closed up around week four, I barely had to pull any weeds because light could not reach the soil surface.
- Incredible Pollinator Activity: The mixture of flowering companion plants like cosmos and companion herbs like flowering dill right next to my vegetables brought in an absolute army of native bees and predatory insects.
- High Visual Appeal: It creates a gorgeous, informal look that feels very alive. If you are a fan of an organic, romantic backyard style, this approach easily mimics a classic cottage garden design without all the formal structural planning.
The Hard Truths
- Harvesting Is a Treasure Hunt: Finding your vegetables becomes a literal game of hide-and-seek. I would have to carefully part heavy walls of cosmos flowers just to see if my bush beans had produced any pods.
- Fungal Vulnerability: Because air cannot circulate easily through a dense, chaotic block of plants, moisture stays trapped on the leaves for a long time. My basil developed a light case of powdery mildew by mid-summer because the plants were packed too tightly to dry out properly after a heavy rainstorm.
- Lower Individual Yields: A radish that is fighting three zinnias and a sunflower for root space will not grow as large or as juicy as a radish given its own dedicated three inches of clear soil. You get more total variety, but your individual crops will likely be smaller.
What Actually Works: A Step-by-Step Chaos Bed Setup
If you want to try this out in your own yard without creating a massive, unmanageable mess, I highly recommend using a dedicated, contained space rather than an open-ended field. Here is the exact routine I will be using next spring based on what I learned from this year’s experiment.
1. Clear and Prep a Defined Boundary
Pick a small, dedicated space—a $4 \times 4$ foot raised bed or a cleanly edged flower border works best. Do not try this across a massive, unmapped area for your first attempt. Remove all visible perennial weeds, grass clumps, and large rocks.
2. Formulate Your Custom Seed Blend
In a large bucket, combine your seeds. For a standard small bed, use a simple ratio that balances structure and heights so nothing gets completely blanketed too early.
| Plant Type | Ideal Varieties for Chaos Beds | Purpose in the Bed |
| Ground Covers | Radishes, Spinach, Leaf Lettuce | Cools the soil, stops early weed growth |
| Mid-Height Sprouters | Bush Beans, Calendula, Basil, Basil Varieties | Fills the middle space, fixes soil nitrogen |
| Tall Architectural Stars | Dwarf Sunflowers, Cosmos, Dill | Creates a high canopy, attracts beneficial pollinators |
3. Add Your Distribution Medium
Pour four to five cups of dry, cheap sand or loose potting soil directly into your seed bucket. Stir the mixture thoroughly with your hand until the seeds are completely distributed throughout the medium.
4. Broadcast and Firm the Bed
Scatter the seed and sand mixture across your prepped soil using an even underhand motion. Once scattered, walk over the soil gently with flat shoes or use the back of a shovel to press the seeds firmly into the earth.
5. Establish a Mist-Only Watering Routine
Water the bed using a gentle shower or mist attachment twice a day for the first ten days. Keep the surface consistently dark and damp until you see a uniform carpet of green sprouts breaking through the dirt.
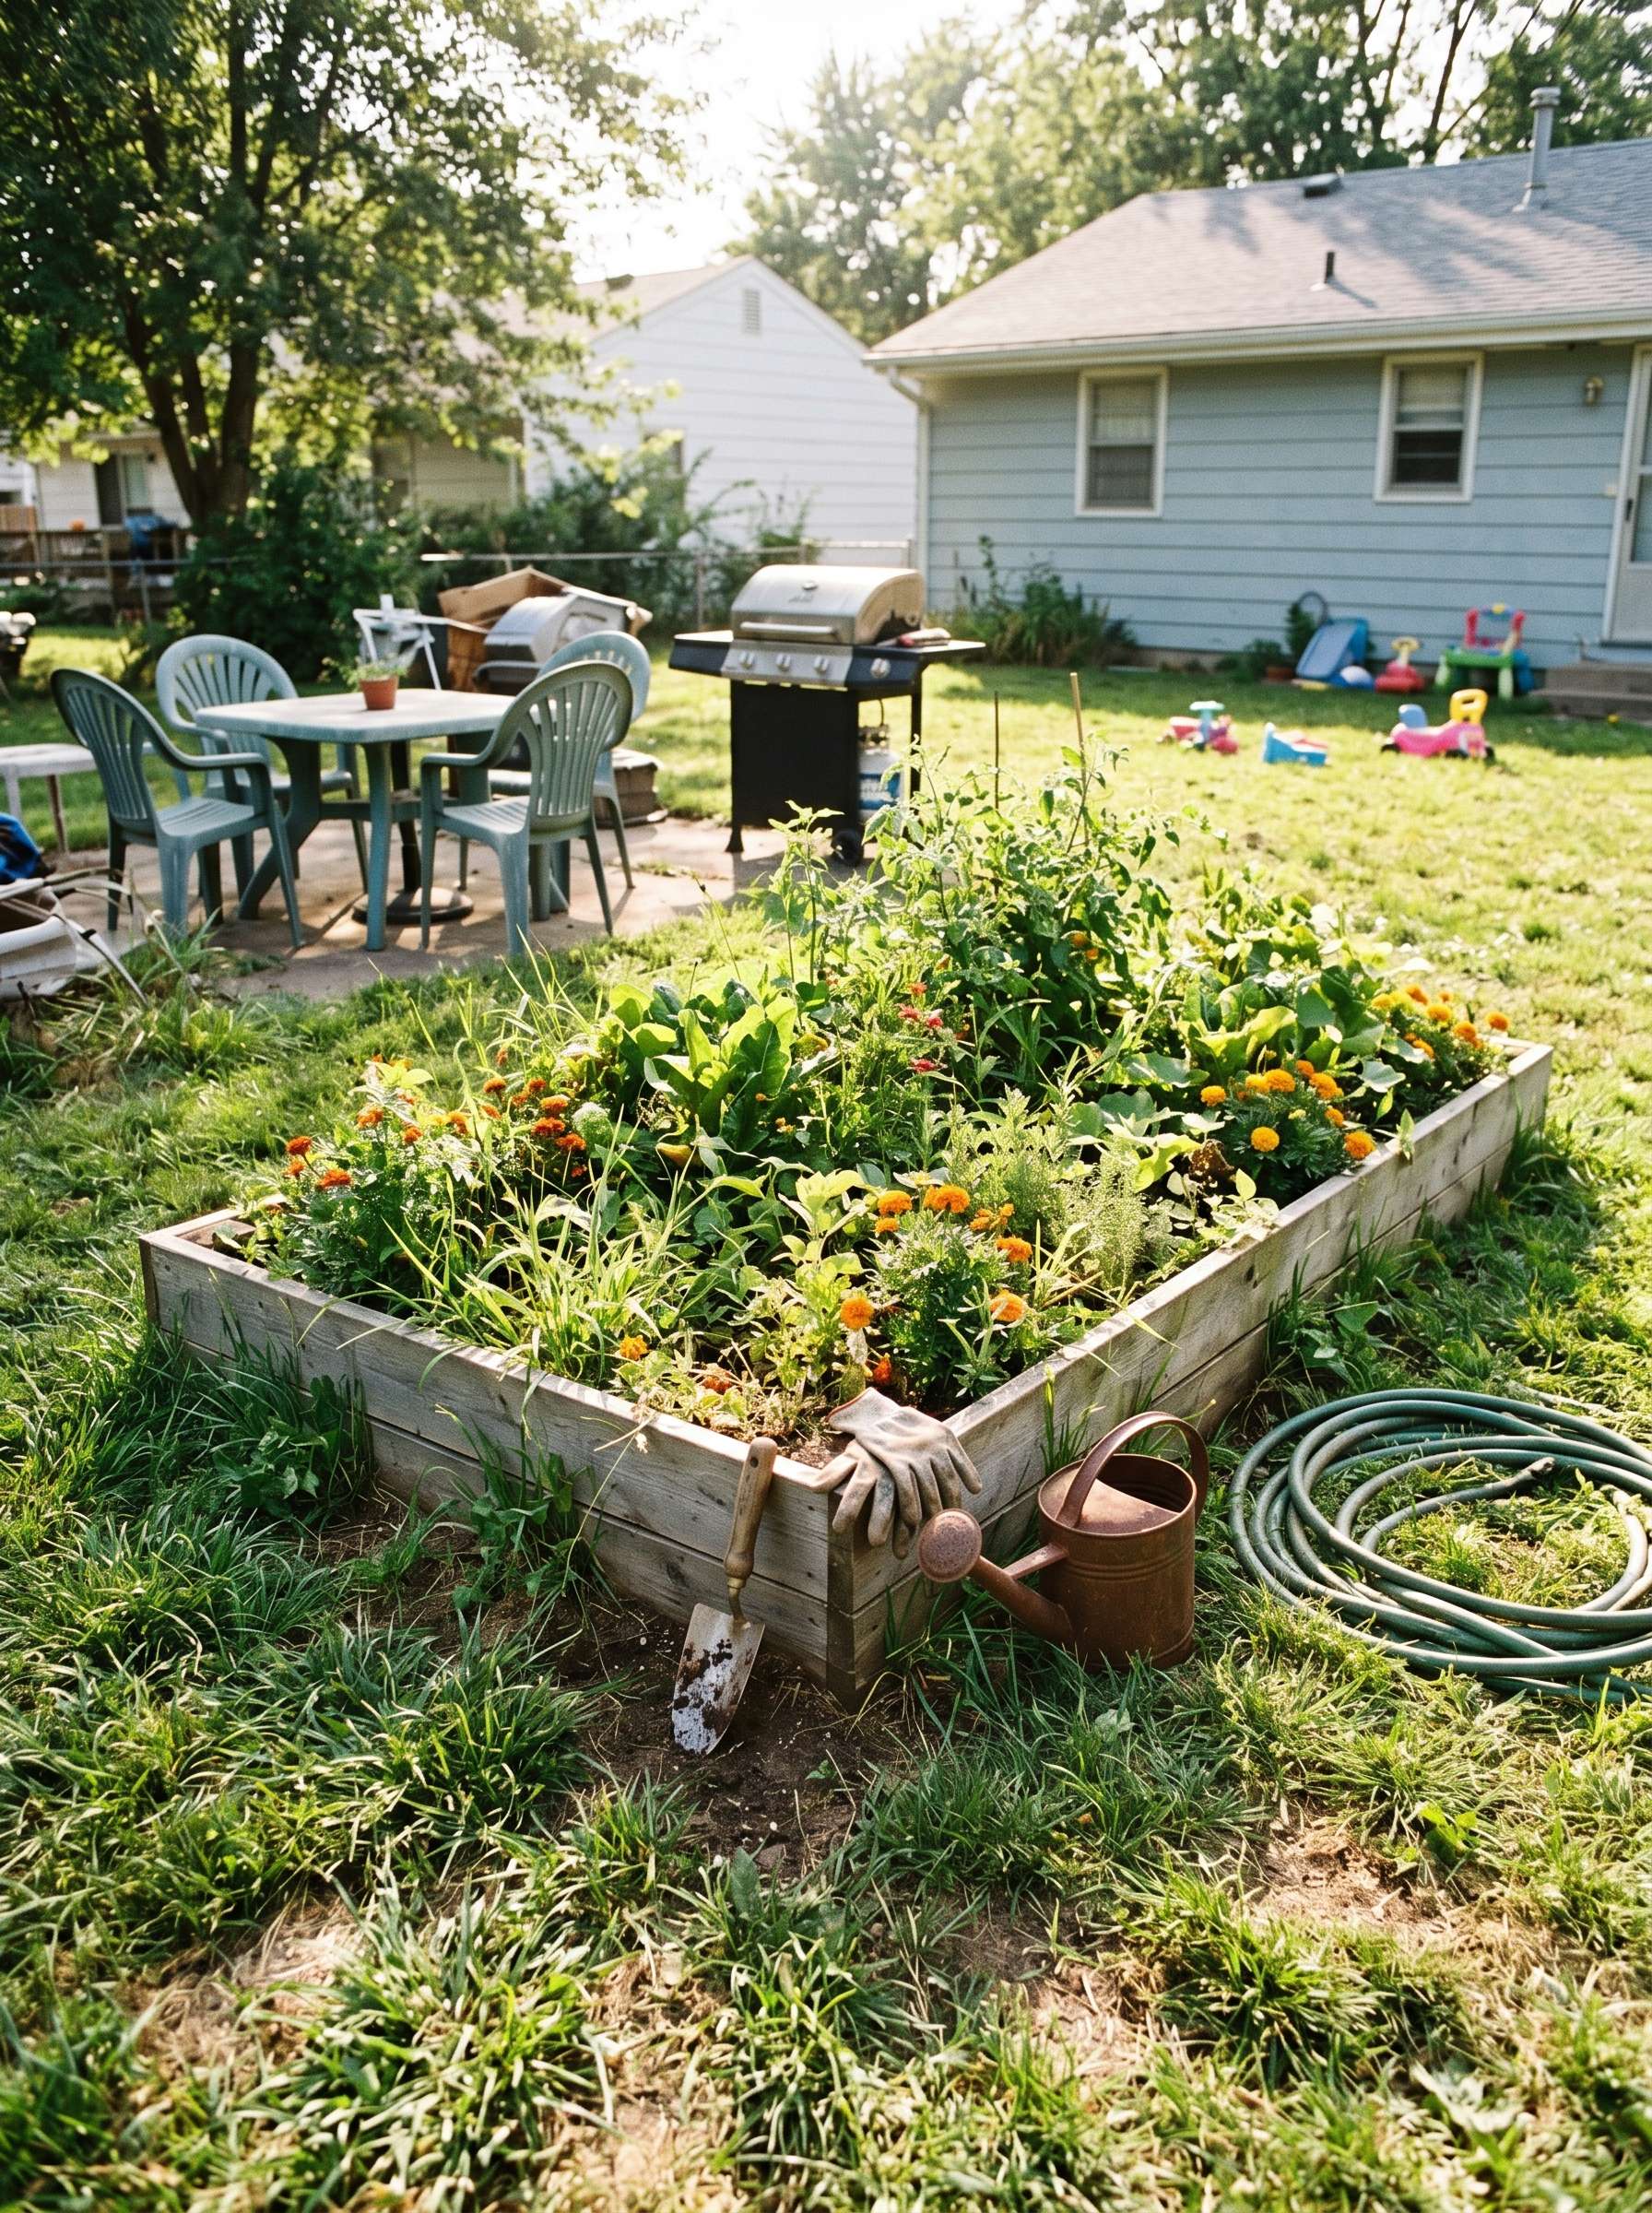
Things That Didn’t Work for Me: My Real Failures
I am not going to sit here and pretend every single seed I threw turned into a perfect picture-postcard harvest. I made a few distinct mistakes during my May planting that cost me some good plants.
I learned this the hard way: never include heavy vining root crops or heavy climbers in a seed mix without a trellis. I accidentally left a few nasturtium seeds of a heavy trailing variety in my mix, along with some competitive pole beans instead of bush beans. Without a designated structural trellis to climb, the pole beans simply grabbed onto my young cosmos stems and dragged them down into the mud, creating a tangled, mat-like knot of vegetation that was incredibly difficult to clean up or harvest without snapping healthy plants.
Another major issue was neglecting early-stage thinning. About three weeks in, I noticed a spot where a massive clump of dwarf sunflower seeds had dropped all in one place. They sprouted like a tight bundle of grass. I felt bad pulling them up, so I left them alone to see if they would sort themselves out.
They didn’t. They grew up incredibly weak, spindly, and stunted because they were constantly fighting each other for the exact same pocket of root nutrients. I ended up with zero flowers from that specific cluster. I should have been brave enough to take a pair of scissors and snip out two-thirds of those crowded sprouts at the soil line during week three. If you want to see how managing plant selections can make a massive difference for local backyards over time, take a look at our guide on choosing native keystone plants.
Small Things That Make a Big Difference
If you are going to give this method a shot, here are a few tiny, unglamorous adjustments that will significantly improve your overall success rate:
- Snip, Don’t Pull: When you need to thin out crowded seedlings, do not pull them up by their roots. Pulling them up will disturb the delicate root systems of the desirable plants growing right next to them. Always use a small pair of scissors to snip the unwanted seedlings off right at the soil level.
- Watch the Wind Direction: It sounds incredibly obvious, but check the wind before you throw a handful of tiny seeds. If you broadcast fine flower seeds on a gusty afternoon, half of your budget will end up growing in your neighbor’s gravel driveway or your own lawn.
- Trim the Finished Layers: Once your early crops like radishes or spinach are done and starting to bolt, do not hesitate to cut them down completely. Removing their spent leaves opens up a fresh pocket of light and airflow for the mid-summer flowers waiting underneath.
Common Questions About Chaos Gardening
Yes, but your germination rate will naturally be lower. If you are using seed packets that have been sitting in your shed for three or four years, simply double the amount of seed you mix into your sand bucket to compensate for the seeds that have lost their vitality over time.
Do not use targeted granular fertilizers because you cannot control exactly where those nutrients land. Your best bet is to top-dress the entire bed with a rich, two-inch layer of organic compost before you sow your seeds, or apply a mild, liquid fish-emulsion fertilizer evenly across the entire plot using a standard watering can once every three weeks.
Absolutely. It actually works wonderfully in large fabric grow bags or wide patio planters. Just make sure you scale down your seed quantity so you do not end up creating an unusable, choked-out root ball. A pinch of lettuce, basil, and calendula seeds mixed together can turn a standard patio pot into a beautiful, productive little jungle.
This is why site preparation and selecting relatively compatible varieties matters. By using a light, water-holding compost base and choosing tough, summer-hardy varieties like zinnias, beans, and cosmos, the plants can adapt well to a standard uniform watering schedule. If you want to make sure your core beds are getting moisture efficiently without wasting water, look over our breakdown on watering plants correctly.
Finding Peace in the Mess
At the end of the day, my May chaos gardening experiment taught me that nature is a lot more resilient than the back of a seed packet leads you to believe. My backyard plot was not the neatest, highest-yielding, or most efficient garden bed on the block this summer. It was, however, the absolute most fun to watch.
There is something genuinely therapeutic about stepping away from the measuring tapes, letting go of total control, and allowing your plants to grow exactly how they want to grow.
If you have a drawer full of old, forgotten seed packets and a spare patch of unloved dirt, stop overthinking it. Mix them up, throw them out there, and see what happens. Once you understand the basic mechanics of seed-to-soil contact and consistent early moisture, things usually get much easier—and a whole lot more interesting.
Most advice in this article comes from years of real gardening experience and trial-and-error in home gardens. Results may vary depending on your specific local climate, soil profile, and unique growing conditions. Use these insights as a friendly starting point for your own backyard experiments!

Aagam – Founder of SpruceTouch
I’m Aagam, a home and garden enthusiast who enjoys growing, building, and improving outdoor spaces. I focus on practical backyard projects, garden ideas, and simple DIY solutions that are useful in real homes. Through SpruceTouch, I share what I’ve learned, what worked, what didn’t, and the small details that can make an outdoor project easier.