Herb Gardening Mastery: How to dry and store herbs for winter use.
Every single year around late September, I used to panic. I would look out at my overgrown patch of basil, oregano, and rosemary, realizing a hard frost was coming to wipe it all out.
After about fifteen years of trial and error in my own backyard, I finally figured out how to preserve that summer flavor so it actually lasts through January. In this guide, I’m going to show you exactly how to harvest, dry, and store your homegrown herbs without losing their scent or turning them into tasteless brown dust.
I learned this the hard way during my third year of gardening when I ruined a massive batch of culinary sage. I shoved the damp leaves straight into plastic bags, only to find a fuzzy coat of gray mold a week later.
After ruining more plants than I’d like to admit, I finally figured out what actually works for the average kitchen setup.
Quick Check
Before you grab your garden shears, here is a quick look at what you need to keep in mind today:
- The Crunch Test: If a leaf bends instead of snapping, it is not dry enough to store yet.
- Morning Magic: Always harvest after the morning dew evaporates but before the hot afternoon sun hits.
- Woody vs. Tender: Rosemary and thyme are easy to air-dry; basil and mint need extra care or they turn black.
- The Jar Rule: Glass beats plastic every single time when it comes to keeping volatile oils locked in.
The Golden Hour of Herb Harvesting
Most people think you can just wander out to the garden whenever you feel like cooking and snip some herbs for drying.
But here’s the kicker: timing your harvest down to the hour makes a massive difference in how much flavor survives the drying process.
You want to catch the plant when its essential oils are at their absolute peak concentration.
One thing I noticed over the years is that plants are smartest in the morning. Overnight, they pump flavor oils back up into their leaves.
If you wait until 2:00 PM on a scorching July afternoon, the sun has already baked those oils right out of the foliage.
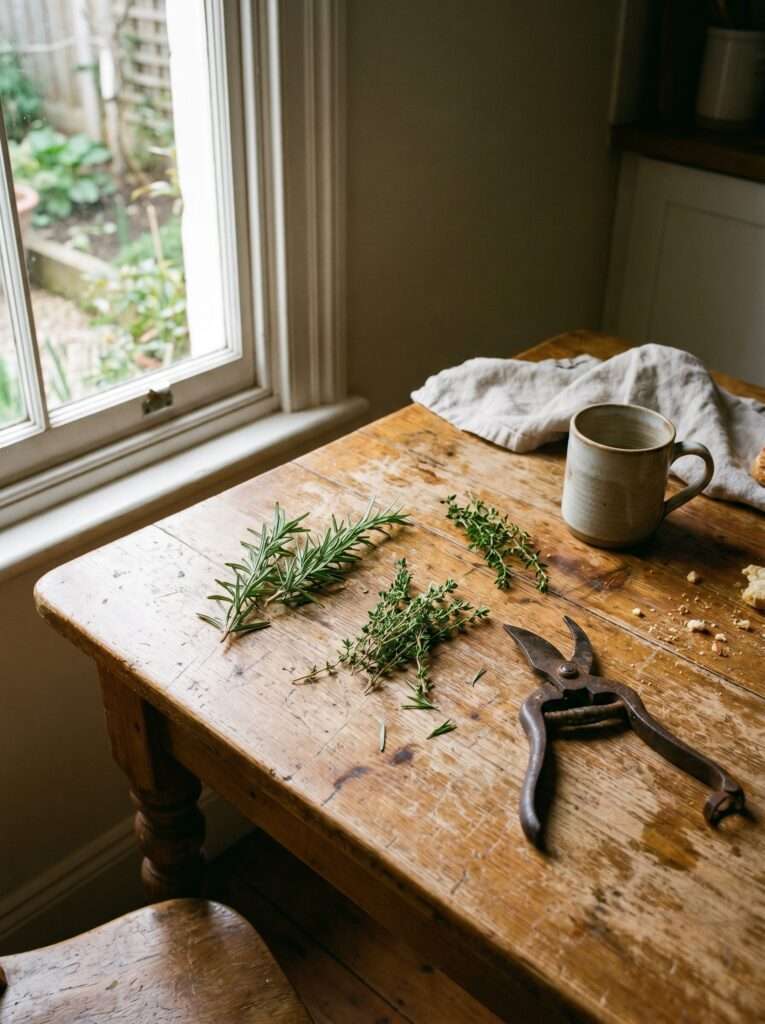
The ideal window is right around 9:00 AM or 10:00 AM, just as the morning dew has vanished from the leaves, but before the heat makes the stems droop.
I used to rush out before work while the grass was still soaking wet, thinking I was being efficient. That was a huge mistake.
Drying wet herbs is a one-way ticket to rot, mold, and a sad trip to the compost bin.
If you are planning out your garden tasks ahead of the cooler months, you might also want to look at our fall bulb guide to buy in June so you don’t miss the planting window while you’re busy drying your summer crops.
Tender vs. Woody: The Two Herb Camps
You cannot treat a delicate leaf of Italian large-leaf basil the same way you treat a tough sprig of upright rosemary.
I categorize herbs into two distinct groups based on their moisture levels and stem structures.
Woody herbs include things like:
- Rosemary
- Thyme
- Oregano
- Sage
- Winter savory
These are the easiest plants for beginners because they don’t hold onto a ton of water in their cellular structure. They want to dry out, and they do it gracefully.
Tender herbs are a completely different beast:
- Basil
- Mint
- Parsley
- Cilantro
- Dill
These leaves are filled with water and have very thin skin. If you try to hang-dry basil in a humid kitchen, it will turn dark, slimy, and useless before it ever gets crisp.
Here’s where most people go wrong: they bunch up tender herbs into tight little bouquets and hang them in the pantry.
Because air can’t circulate through the wet center of the bunch, it creates a mini-greenhouse for mold spores.
The Low-Tech Glory of Air Drying
You do not need a fancy, $200 multi-tier electric dehydrator to save your harvest.
In fact, some of my best batches of oregano were dried using nothing but kitchen twine and a dark, drafty closet.
The best part? Air drying uses zero electricity and preserves the delicate flavors that high heat can destroy.
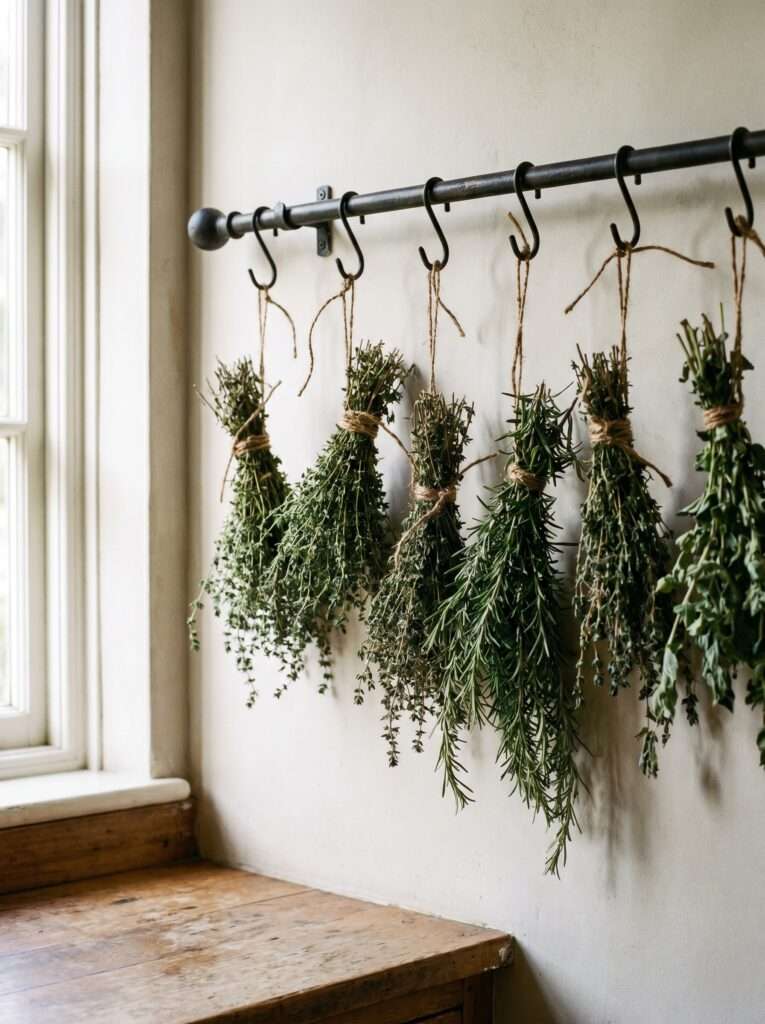
For woody herbs, simply gather five to six stems together.
Tie them securely at the base with cotton twine or a simple rubber band.
I prefer rubber bands because as the stems dry, they shrink. A twine knot will slip off, leaving your herbs scattered all over the floor. A rubber band contracts right along with the stem.
Hang them upside down in a room that gets decent airflow but stays out of direct sunlight.
Sunlight bleaches the chlorophyll right out of the leaves, turning your beautiful green seasonings into a dull, gray-brown powder that looks like dust from behind the fridge.
But wait, there’s a catch: dust is your enemy if you are air-drying open rooms over several weeks.
To solve this, take a plain brown paper lunch bag, poke a few holes in the sides with a pen for ventilation, and slip it over the hanging bundle.
Tie the mouth of the bag around the stems. The bag catches any leaves that drop off naturally while keeping dust and pet hair away from your food.
If space is tight in your home and you are trying to maximize every single square foot of your growing area, check out these vertical gardening hacks for small space veggies to keep production high all summer long.
When Air Drying Fails: The Dehydrator Route
While I love the simplicity of hanging herbs, sometimes the weather just does not cooperate.
If you live in a high-humidity area like the American South or Midwest during August, air drying can be an uphill battle.
That is when an electric food dehydrator becomes your best friend.
Most gardening blogs never mention this: you cannot just turn the machine on to its highest setting and walk away.
High heat cooks the herbs instead of drying them, which destroys the aromatic compounds.
Your kitchen will smell amazing for an hour, but your finished herbs will taste like absolutely nothing.
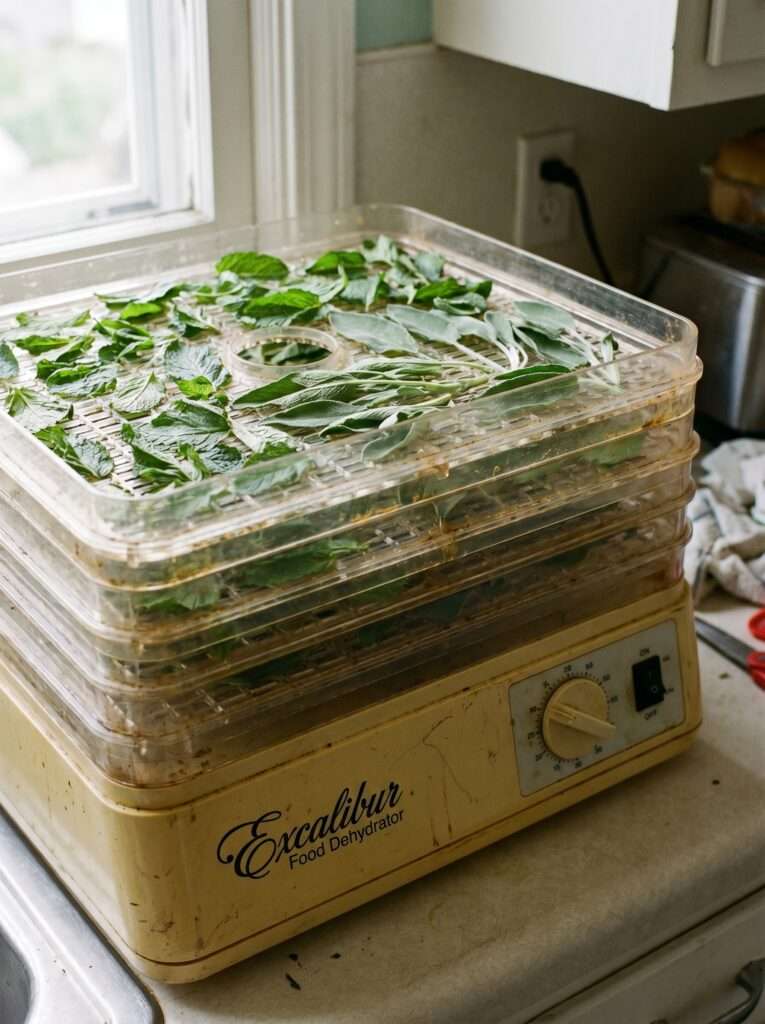
Set your dehydrator to its lowest possible setting, usually around 95°F to 115°F.
Spread the leaves out in a single layer on the trays, ensuring none of them are overlapping.
Check them every two hours. Thin leaves like mint might be completely done in four hours, while thick sage leaves could take up to eight.
What I Learned: If you don’t own a dehydrator, you can use a standard kitchen oven, but you have to be incredibly careful.
Most modern ovens don’t go lower than 170°F.
If you must use the oven, prop the door open slightly with a wooden spoon to let excess heat escape, and check the trays every fifteen minutes.
The Freezer Trick for Tricky Herbs
There are some herbs that simply hate being dried. Basil is the prime example.
Dried basil tastes a bit like dried lawn clippings compared to the bright, peppery punch of fresh leaves.
For these high-moisture plants, I skip the drying entirely and head straight for the freezer.
My favorite method involves a standard ice cube tray and a bottle of decent olive oil.
Chop your fresh basil or parsley finely, pack the herb bits into the individual squares of the ice cube tray until they are about three-quarters full, and then pour olive oil over the top until the herbs are submerged.
Pop the tray into the freezer overnight. Once they are frozen solid, crack the cubes out and throw them into a gallon-sized freezer bag.
When you are making a winter soup, pasta sauce, or stew, you just drop one or two cubes right into the hot pan.
The oil melts, releasing perfectly preserved, bright green herbs into your cooking.
This method works beautifully for rosemary and thyme too if you plan on using them specifically for hot savory dishes later on.
Speaking of keeping things alive and healthy through busy schedules, if you also have indoor plants struggling while you tend to your outdoor harvest, take a look at our guide on how to keep office plants alive for low-maintenance options.
Processing and Testing the Crunch
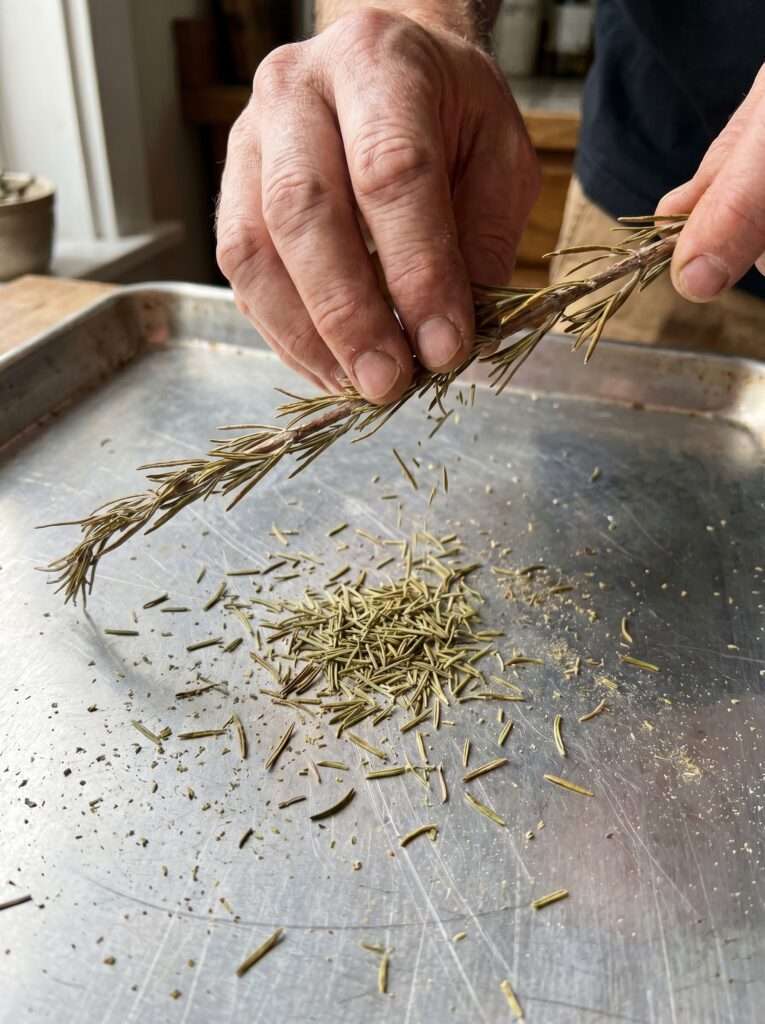
Once your herbs are dry, the work isn’t quite done yet. You need to strip the leaves from the woody stems.
I like to do this over a large, clean baking sheet so I don’t lose half my harvest to the floor cracks.
For herbs like thyme or rosemary, you can just hold the top of the stem with one hand and run your fingers down the stem in the opposite direction of growth.
The leaves will pop right off in a neat little shower.
Try to keep the leaves as whole as possible during this stage.
A common mistake is crushing all your herbs into a fine powder immediately before putting them into jars.
Crushing breaks open the cell walls and releases the remaining oils into the air.
You want to store them whole and only crush them up in your palm right at the moment you add them to your cooking pot.
Before you lock them away in the pantry for six months, you need to run a moisture check. I call this conditioning.
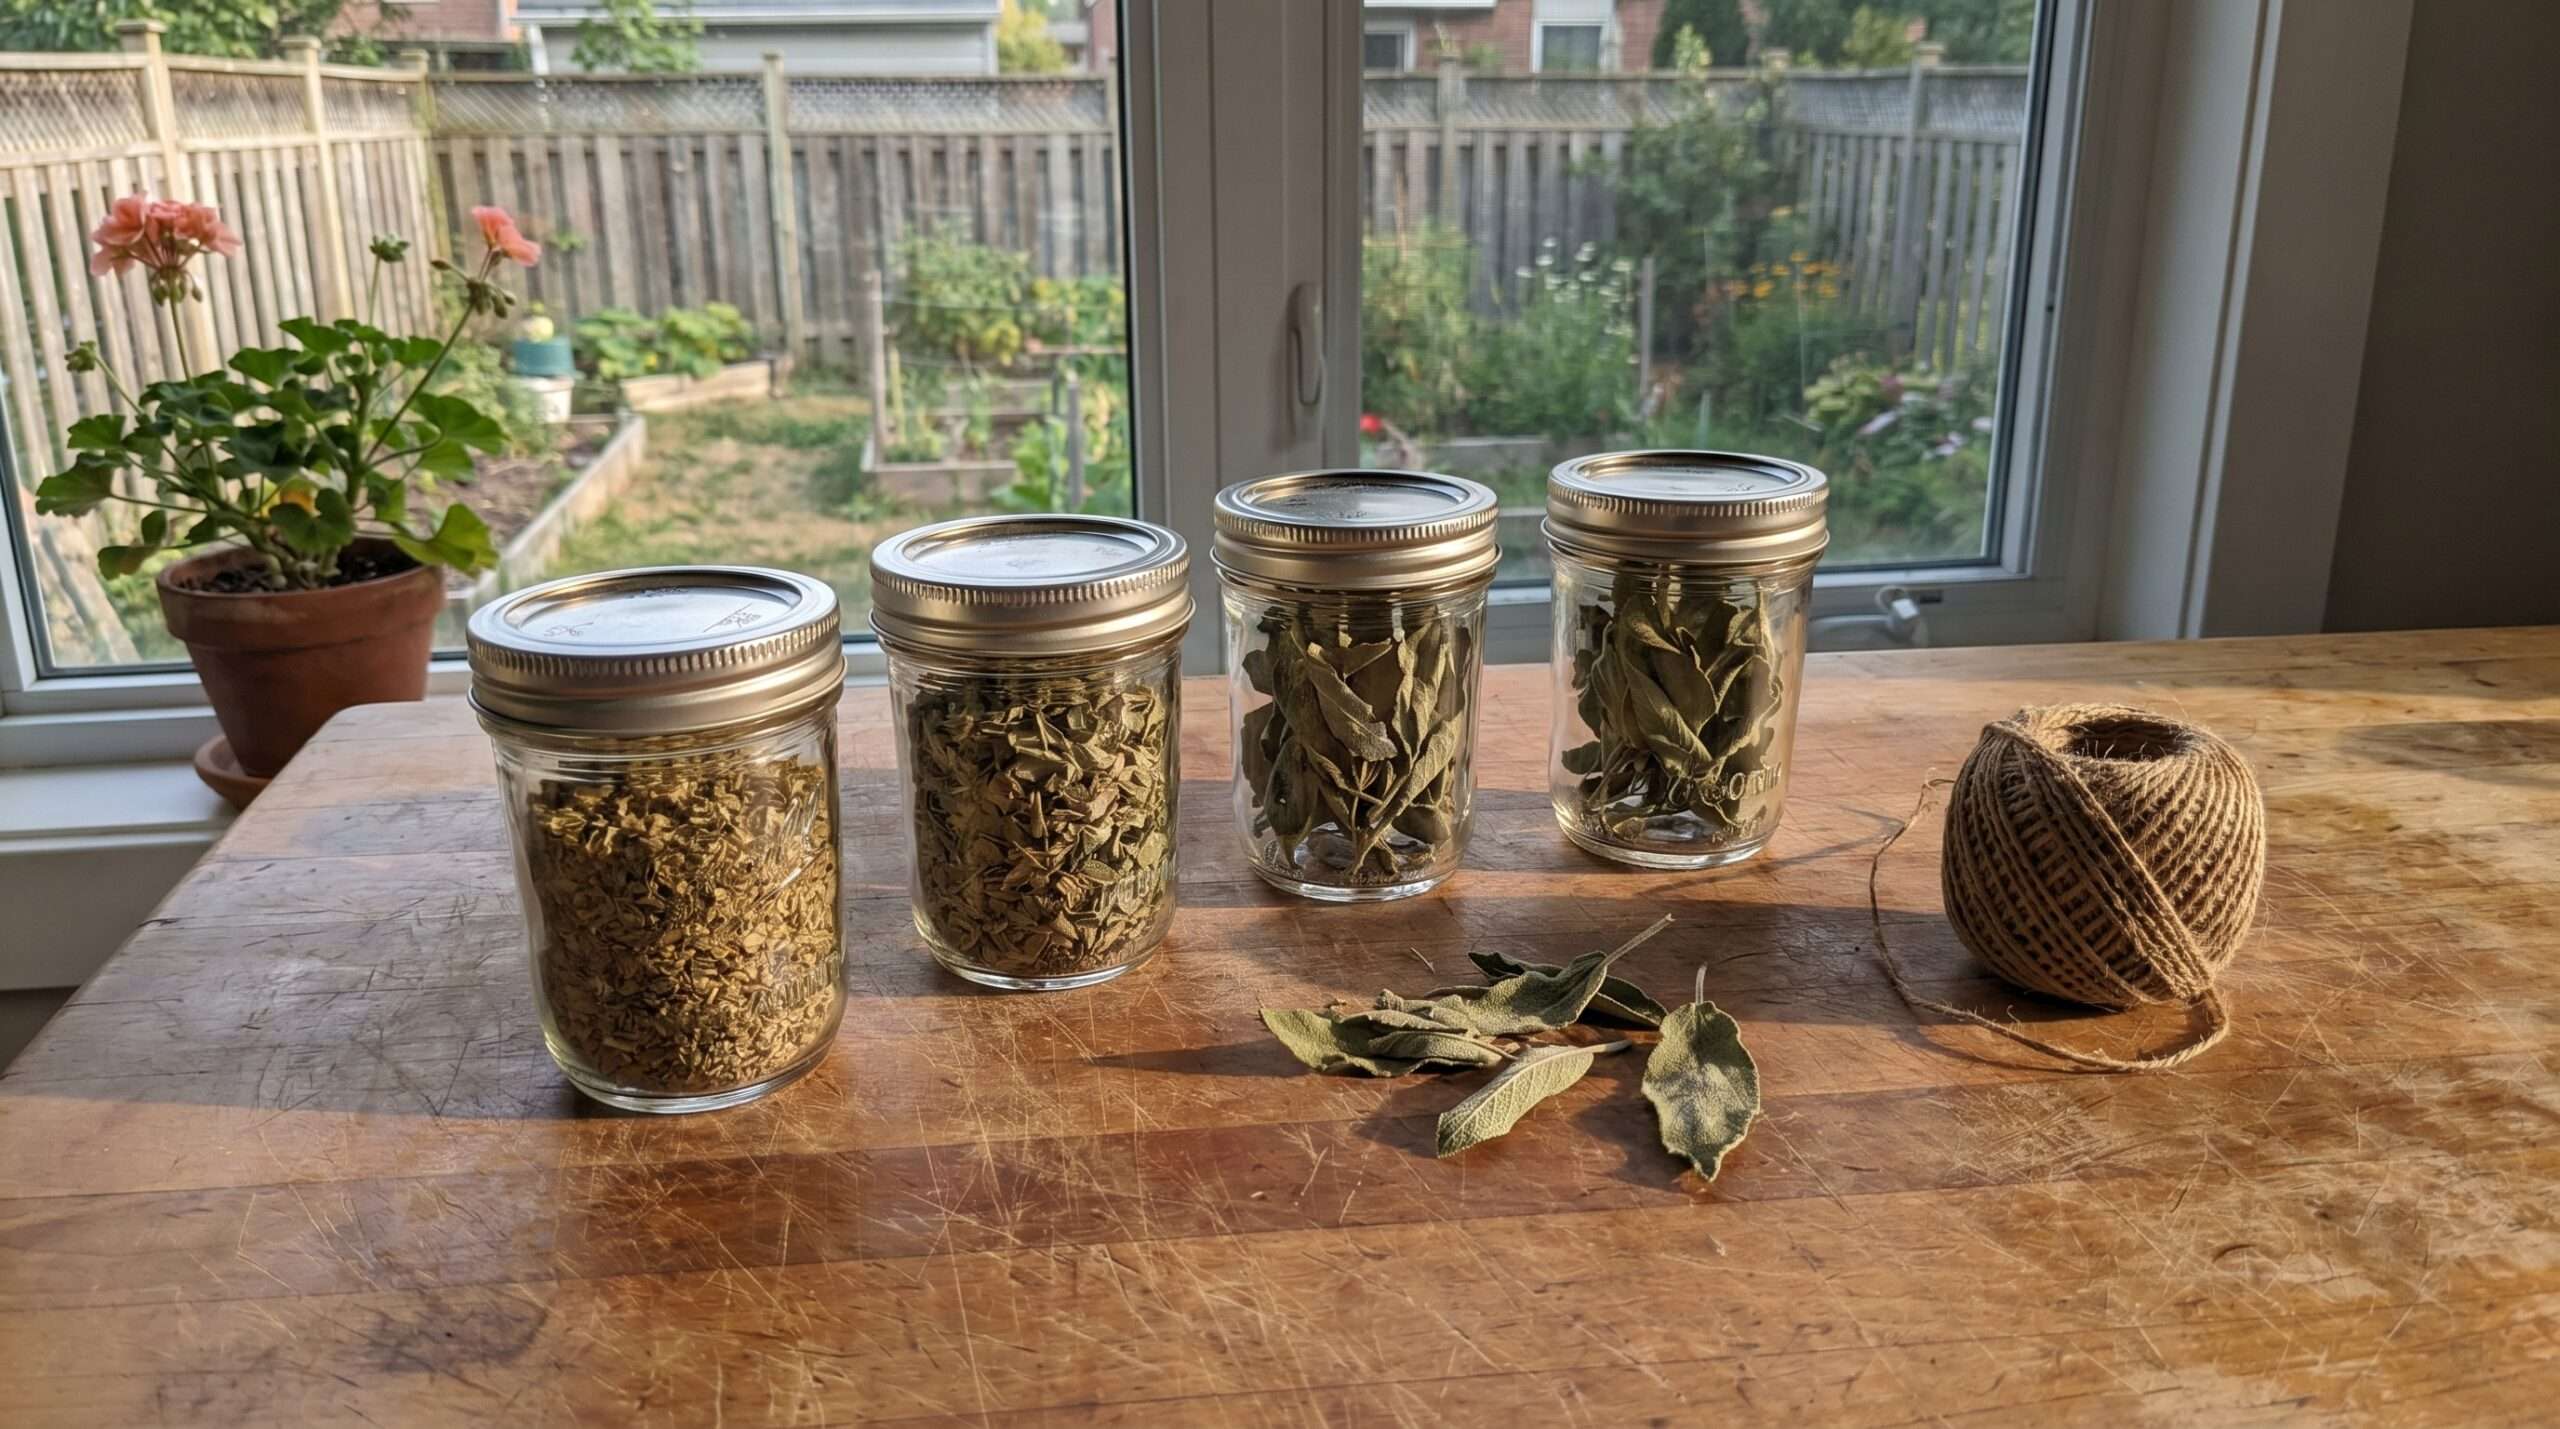
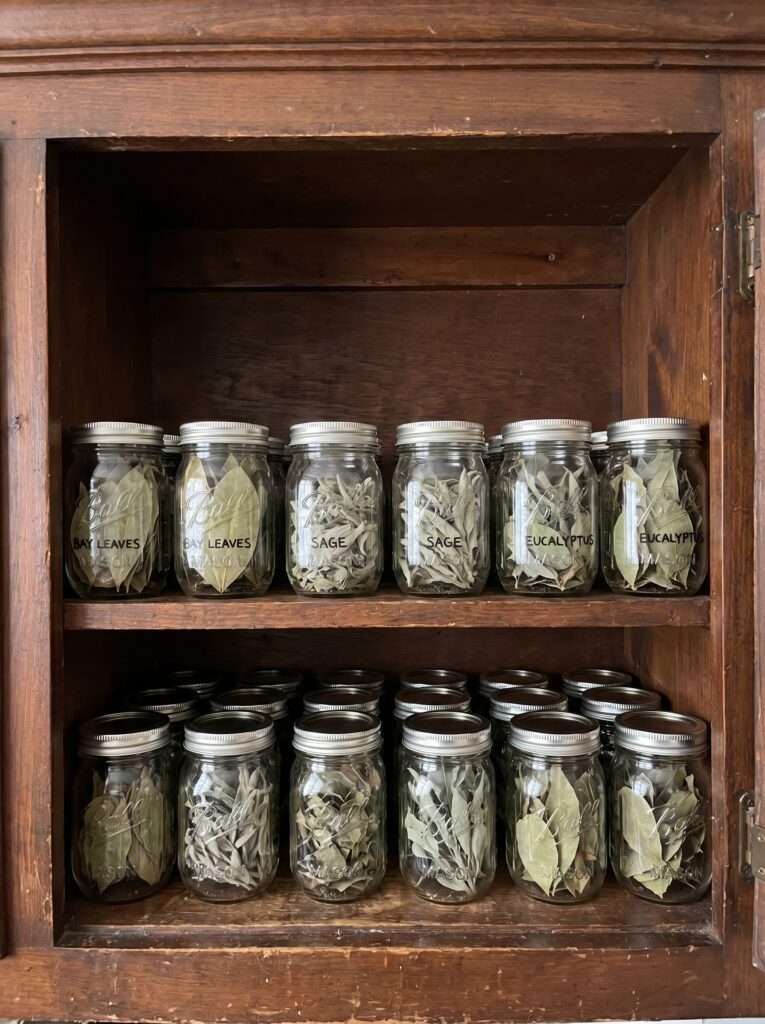
Put your dried herbs into a clean glass mason jar, screw the lid on tight, and leave it on your kitchen counter for a few days.
Watch the inside of the glass closely. If you see even a tiny hint of fog or condensation building up on the inside walls of the jar, the herbs are not dry enough.
Take them out immediately and dry them for another day or two.
If you leave them in that foggy jar, they will develop mold within a couple of weeks, wasting all your hard work.
If you ever struggle with overwatering or moisture balance in your live potted plants, reading through our article on root rot recovery for drowning plants can give you a better sense of how moisture behaves in plant tissue.
What Actually Works: Step-by-Step Preserving
Here is my straightforward, reliable routine for processing a mixed harvest of hardy backyard herbs without any fuss.
Step 1: Gather and Inspect
Cut your stems in the morning. Shake them gently over the garden bed to dislodge any hidden bugs or stray dirt. Avoid washing them with water unless they are covered in mud; if you must wash them, pat them completely dry with a clean towel before moving forward.
Step 2: Strip the Bottom Stems
Remove the lowest inch or two of leaves from the stems so you have a clean section of wood to tie together or lay out.
Step 3: Bundle Securely
Group your herbs into small bundles using a rubber band around the bare stems. Keep the bundles small—about the thickness of a marker—so air can flow easily through the center.
Step 4: Hang in the Dark
Find a spot out of direct sunlight with decent air movement. A closet, pantry, or a dark corner of a laundry room works perfectly. Hang them upside down for 2 to 3 weeks.
Step 5: The Test and Jar
Check for a crisp, brittle texture. Strip the leaves from the stems gently, place them into clean glass jars, and store them in a dark cabinet away from the heat of your stove.
The Realistic Herb Preserving Budget
You don’t need a massive budget to get started with preserving your own herbs.
In fact, keeping costs low is one of the main reasons to do this instead of buying overpriced, stale little plastic bottles from the grocery store.
Here is a breakdown of what a sensible beginner setup looks like for an average US homeowner:
| Item | Cost Range (USD) | Notes |
| Glass Mason Jars (12-pack) | $12 – $18 | Pint or half-pint sizes work best. Reuse old sauce jars for $0. |
| Kitchen Twine / Rubber Bands | $3 – $5 | Simple utility items available at any local hardware or grocery store. |
| Pruning Shears | $10 – $25 | A basic bypass pruner; no need for high-end professional tools yet. |
| Paper Lunch Bags (100-pack) | $2 – $4 | For protecting hanging bundles from household dust. |
| Basic Food Dehydrator | $35 – $60 | Completely optional, but helpful if you live in a very humid state. |
If you are looking for more ways to keep your garden projects affordable, you might want to read our breakdown of a $100 front yard budget landscaping makeover to see how far a little money can go when spent smartly.
Mistakes I Made (So You Don’t Have To)
Storing Jars Above the Stove
For the first five years, I kept my beautiful spice jars on a little shelf right above my gas stove range. It looked lovely and rustic.
However, the constant rising heat and steam from cooking destroyed the herbs inside the jars within two months. They lost all color and smelled like cardboard. Keep your storage jars in a cool, dark pantry instead.
Hanging Giant Bouquets
I used to think bigger was better, so I would tie massive, arm-sized bundles of mint together.
The outside leaves dried beautifully, but the inside of the bunch turned into a black, moldy paste. Small, thin bundles are the only way to go.
Using Plastic Bags for Long-Term Storage
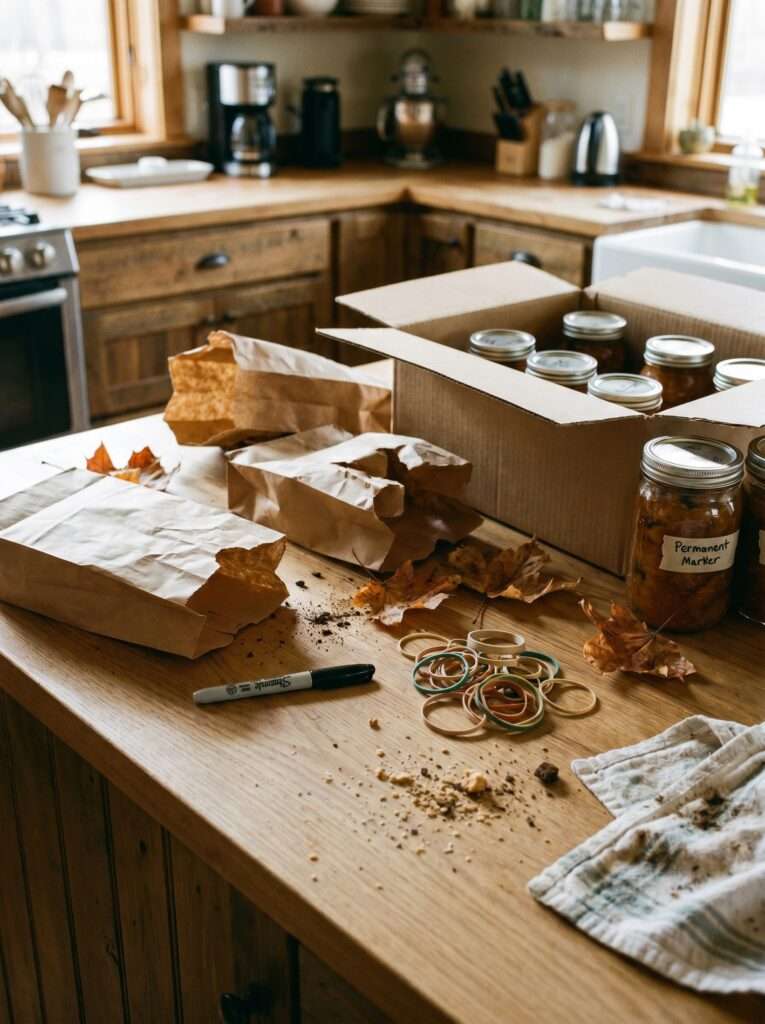
Plastic baggies are slightly porous. Over six months, they allow air to exchange, which saps the flavor right out of your dried goods. Glass jars with solid lids provide a true airtight seal that locks the essential oils inside the leaves where they belong.
FAQ
Yes, you actually can, though it feels a bit wrong. Place your leaves in a single layer between two sheets of paper towel. Microwave on high for 30 seconds, check them, and repeat in 10-second bursts until they are completely crisp. This works best for small amounts of parsley or basil.
If stored correctly in airtight glass jars away from direct light and heat, they will easily retain their flavor for 6 to 12 months. After about a year, the potency begins to drop off, but they are still perfectly safe to use.
Only if they have visible dirt, mud, or bird droppings on them. Washing adds extra moisture, which increases the risk of mold during the drying process. If you do wash them, use cold water and make sure they are completely dry before you hang or dehydrate them.
Basil oxidizes incredibly fast when exposed to air and slow drying times. If it takes too long to dry, or if the leaves were bruised during harvest, they will turn black. Try using a dehydrator or freezing your basil in oil instead for better color preservation.
Take a small pinch of the herbs and rub them briskly between your fingers. If you don’t smell a strong, distinct aroma immediately, the oils have dried up and the herb has lost its culinary value. If you see any signs of fuzzy mold or smell a musty odor, discard the batch entirely.
It is best to leave the stems intact while drying because it gives you something to hold or hang. However, you should remove the tough, woody stems before storing them in jars, as they don’t contain much flavor and are unpleasant to chew.
Once you understand the basic mechanics of how plants hold onto their moisture and essential oils, preserving your harvest gets much easier. You don’t need perfect equipment or a pristine setup to save a piece of your summer garden for the cold months ahead. Just pay attention to the crunch, keep things out of the sun, and let nature do most of the work for you.
Most advice in this article comes from personal gardening experience over the years. Results can vary slightly depending on climate, indoor humidity levels, and your specific local growing conditions. Always use your best judgment when inspecting home-preserved food for safety.

Aagam – Founder of SpruceTouch
Hi, I’m Aagam — the creator behind SpruceTouch. I’m a home and garden enthusiast who shares practical ideas for backyard design, garden projects, patio decor, and small outdoor spaces. Through SpruceTouch, I focus on simple and budget-friendly ways to improve outdoor living spaces.