How to Start a Backyard Nature Journal (Pressed Flowers & Sketches)
There is something oddly satisfying about sitting in your backyard with a notebook, a pencil, and a flower you probably walked past a hundred times without really looking at it.
After years of gardening, I’ve found that I remember a season much better when I write down the little things. The first bee on the lavender. A strange leaf spot. The day the first flower opened. Even the fact that one corner of the yard stayed wet for three days after a storm.
I used to think a garden journal had to be organized and beautiful. Mine certainly isn’t. Some pages have crooked sketches, some have leaves pressed slightly off-center, and every now and then there is a sentence that makes sense only because I remember exactly what was happening that day.
I learned this the hard way: trying to make the journal perfect is one of the fastest ways to stop using it.
So this time, we’re keeping it simple.
Disclosure: This post contains affiliate links. If you make a purchase through these links, I may earn a small commission at no extra cost to you.
You don’t need a huge garden to start.
A small backyard, patio garden, raised bed, or even a few containers can give you plenty to observe. The trick is learning to slow down enough to notice what’s already happening.
And that’s really what makes a backyard nature journal different from a regular gardening notebook.
You’re not only recording what you planted.
You’re recording what you saw.
Why Start a Backyard Nature Journal?
A backyard nature journal is part garden record, part sketchbook, and part collection of small observations that would otherwise disappear from memory.
You might notice that butterflies appear around one plant but ignore another.
You might discover that the soil near the fence stays damp much longer than the soil beside your patio.
Maybe one flower opens early in the morning and closes again before dinner.
Those details don’t seem particularly important when you notice them.
Later, they can be surprisingly useful.
I’ve learned that gardening gets easier when you start noticing patterns instead of treating every season like a completely new experiment.
For example, if you record where the afternoon sun actually falls in your yard, you have better information when deciding where to put a plant next year.
If you notice that a particular bed dries out quickly, you can make a note before you forget.
And if a certain flower seems to attract bees every summer, you have a reason to remember it when planning future planting.
That kind of information is personal to your garden.
No generic gardening chart can tell you exactly what happens in your own backyard.
21 climate-resilient small backyard ideas
A nature journal also changes the way you look at the garden.
Instead of walking outside only to water, weed, or harvest something, you begin noticing.
And honestly, that’s probably the best part.
You Don’t Need Fancy Supplies
If you’re imagining a leather-bound botanical journal with expensive watercolor pencils, forget all of that for now.
You need a notebook.
You need something to write with.
That’s about it.
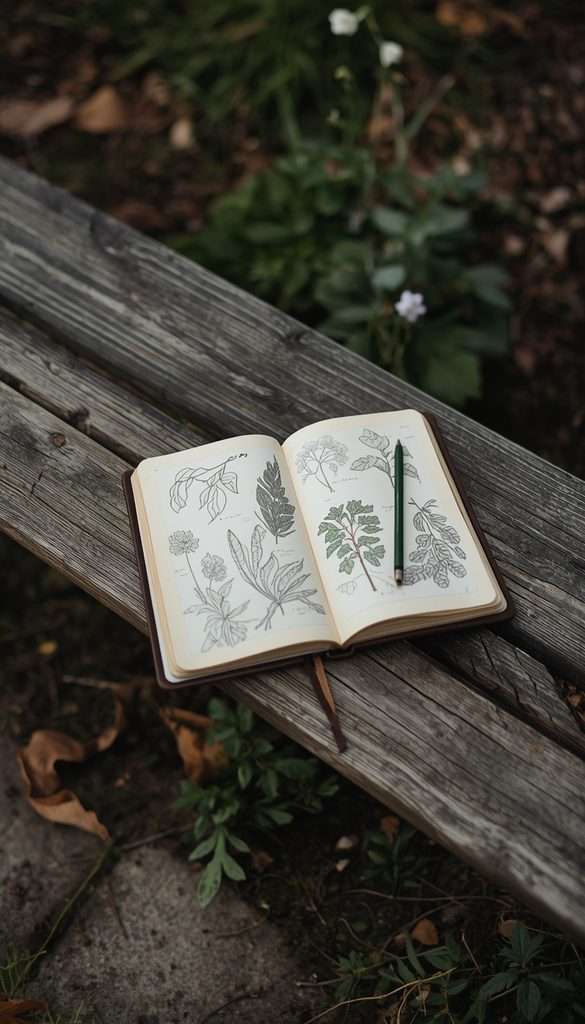
I prefer a sturdy notebook that can survive being carried outside and put down on a garden bench without me worrying about it.
A basic Moleskine Classic Notebook is one option if you want something durable, but a regular spiral notebook works perfectly well too.
The best notebook is the one you will actually open.
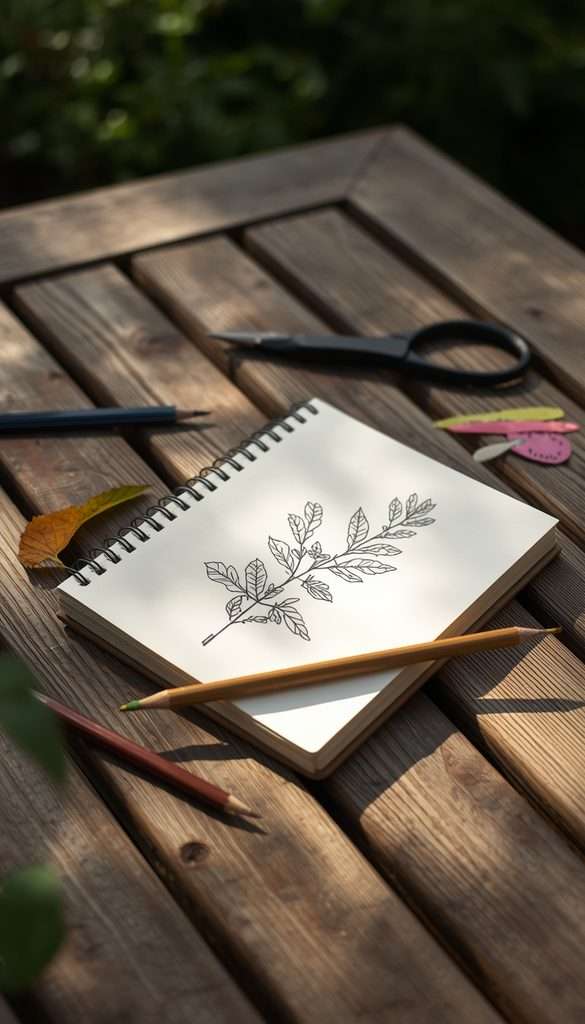
One thing most people ignore: where you keep the notebook matters more than what notebook you buy.
If it’s sitting inside a desk drawer, you’re probably not going to run indoors every time you see an interesting butterfly.
Keep it near the garden.
A covered patio table works.
A potting bench works.
Even a basket near the back door works.
If your garden is tiny, you can simply keep it on a shelf beside the window overlooking your plants.
The point is to remove the little bit of friction between noticing something and writing it down.
Start With One Small Area
Don’t try to document your entire backyard on the first day.
Pick one spot.
Maybe it’s the flower bed beside the patio.
Maybe it’s the vegetable garden.
Maybe there’s an old tree you walk past every morning.
Sit there for ten minutes.
Don’t worry about identifying everything.
Look.
What is flowering?
What is moving?
What has changed?
Are insects visiting?
Are leaves damaged?
Is the soil damp?
Is one plant leaning toward the light?
You can write down anything that catches your attention.
For example:
“September 29. Cool morning after overnight rain. Zinnias still flowering. Three bees around the purple flowers near the fence. Soil still damp about an inch down.”
That’s a perfectly good journal entry.
It doesn’t need to be poetic.
It doesn’t need to be long.
It just needs to tell you what you noticed.
And don’t worry if you don’t know the plant’s name.
Write something descriptive instead.
“Small yellow flower growing beside rosemary.”
You can identify it later.
Actually, I recommend doing that more often than you might expect.
If you interrupt every observation to search your phone for a plant name, you can easily lose the reason you started looking in the first place.
Pressed Flowers Are Easier Than They Look
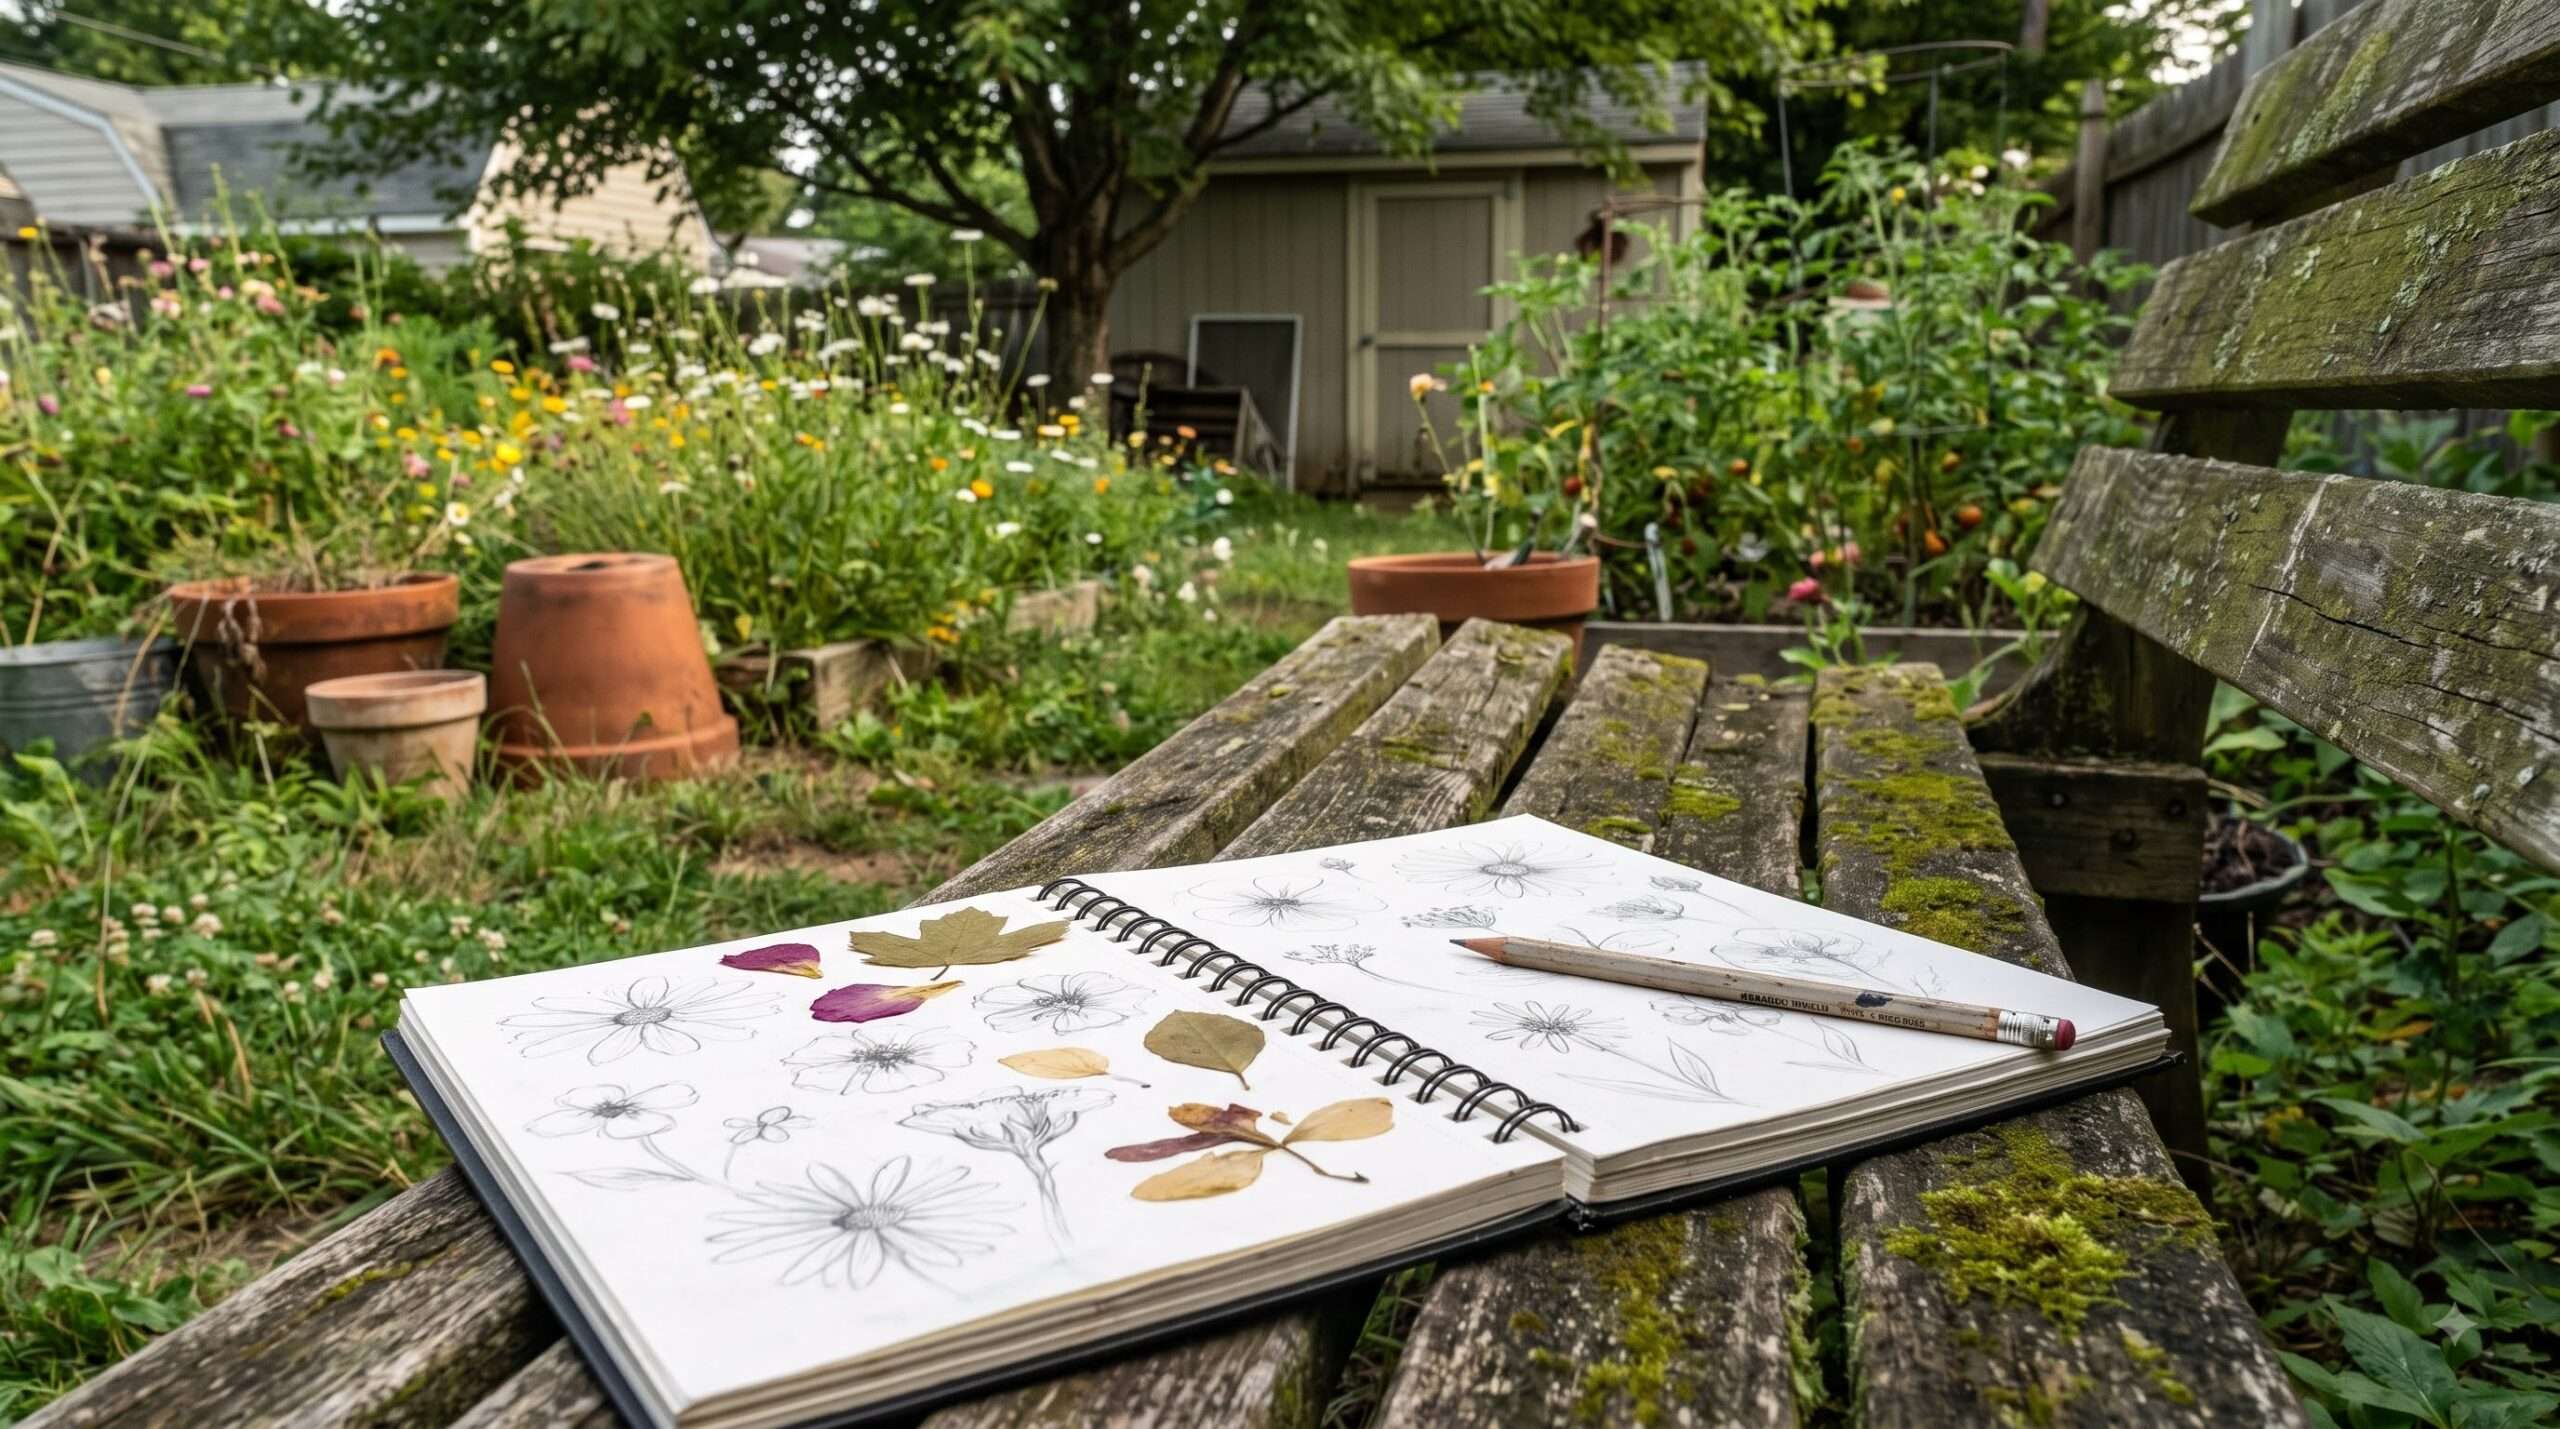
Pressed flowers are one of the easiest ways to make a nature journal feel personal.
There’s something wonderful about opening a notebook months later and finding a flattened flower from a season you almost forgot.
But here’s the kicker: some flowers are much easier to press than others.
Thin, relatively flat flowers and leaves tend to be beginner-friendly.
Small wildflowers, grasses, fern-like leaves, pansies, clover, individual petals, and small leaves can all be interesting starting points.
Thick flowers containing lots of moisture can be more difficult.
If you press something that is extremely wet, you can end up with discoloration or mold instead of the pretty dried specimen you imagined.
I learned this the hard way.
A flower can look perfectly healthy when you pick it and still contain enough moisture to cause trouble once it’s trapped between layers of paper.
I usually prefer collecting plant material after morning dew has dried.
You don’t need to strip an entire plant.
One flower or a small leaf is plenty.
And of course, don’t collect plants from parks, preserves, or other places where collecting isn’t allowed.
Your own garden gives you more than enough material to experiment with.
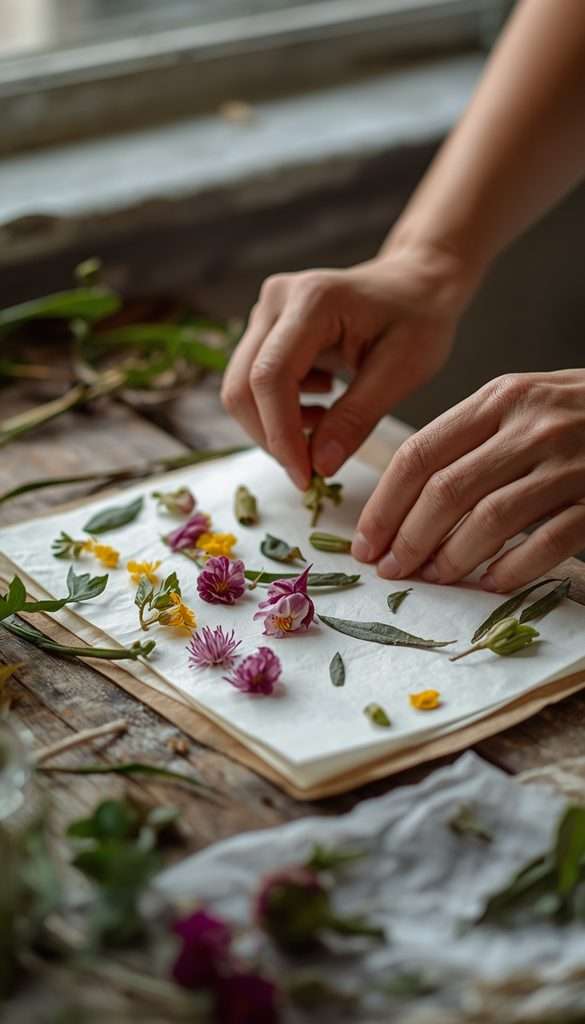
If you want a quicker method, a Microfleur Microwave Flower Press can be useful for small specimens.
But you absolutely don’t need one.
A heavy book and absorbent paper can work too.
Just don’t put wet flowers directly into a valuable old book.
I’ve learned that particular lesson the annoying way.
How to Press Flowers for a Nature Journal
The basic process is straightforward.
Choose a flower or leaf that isn’t soaking wet.
Place it between absorbent sheets of paper.
Arrange it carefully.
Then press it under weight or inside a flower press.
The arrangement matters more than you might think.
Before closing the press, decide whether you want the flower facing upward, slightly angled, or flattened completely.
You can also remove bulky parts from behind a thick flower if they prevent it from sitting flat.
For leaves, I usually try to preserve enough of the shape that I can still recognize the plant later.
And label your specimens.
At minimum, write:
Date + plant + location
If you know the exact variety, write that too.
If you don’t, don’t guess.
Something like “unknown purple flower — east side of backyard” is more useful than a confident but incorrect plant name.
That same habit is useful with seeds and seed heads.
You may not know what something is today.
A year later, you might.
What If You Can’t Draw?
This is probably the biggest reason people avoid nature journaling.
They think their sketches need to look like botanical illustrations.
They don’t.
Not even close.
A nature journal is about observation.
If your leaf is shaped like an oval with a pointed end, draw an oval with a pointed end.
If the flower has five petals, draw five petals.
If the proportions are slightly wrong, leave them wrong.
That’s part of the charm.
I’ve made plenty of sketches that looked more like the plant’s distant cousin than the actual plant.
But because I was paying attention while drawing, I remembered the plant.
That’s what mattered.
Start with pencil.
Once you’re comfortable, you can add a fine waterproof pen such as Sakura Pigma Micron Pens for outlines.
I like using thin lines and leaving some areas unfinished.
It keeps the page from feeling like an art assignment.
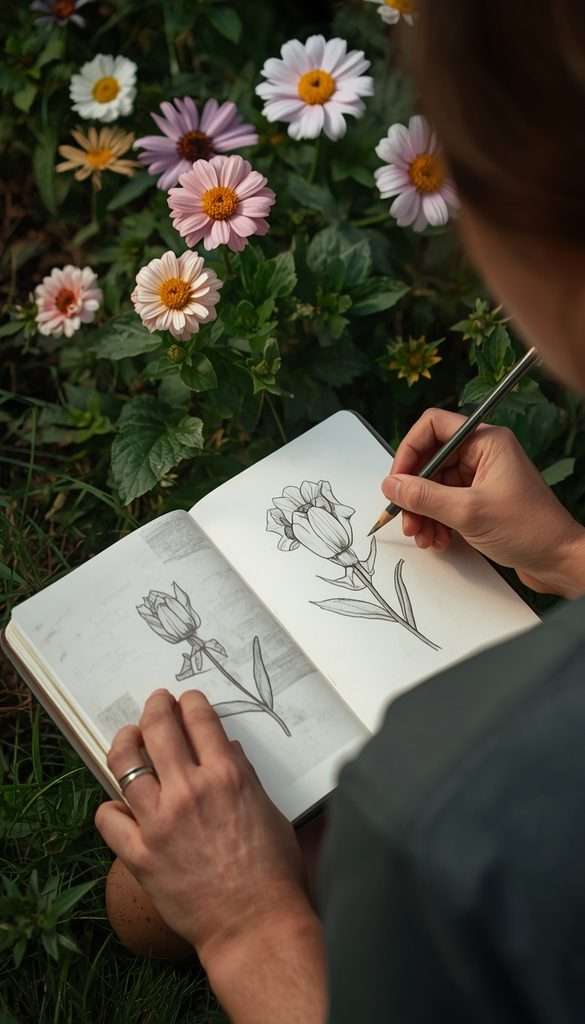
You can add colored pencils later if you enjoy them.
Watercolors are optional too.
There is no reason to buy a full art kit before you’ve discovered whether you actually enjoy sketching.
A pencil is enough to start.
What Actually Works: My Simple Nature Journal Setup
If I were starting over today, this is the setup I’d use.
One notebook.
One pencil.
One waterproof fine-tip pen.
A few sheets of absorbent paper.
A simple flower press or heavy book.
A small envelope for temporarily holding dry leaves or flowers.
Optional colored pencils.
That’s it.
I would keep everything in one small basket beside the back door.
The basket matters more than it sounds.
When all your supplies are scattered around the house, journaling starts to feel like a chore.
When everything is together, you can grab it and sit outside in two minutes.
If you want a few different pencil grades, something like a Staedtler Mars Lumograph Drawing Pencil Set gives you options without requiring a giant art collection.
But honestly, don’t overbuy.
The garden is the interesting part.
The equipment is just there to help you record it.
My 10-Minute Routine
Pick one day each week.
Saturday morning is convenient for many people, but there is nothing magical about Saturday.
Sit outside.
Write the date.
Write the weather.
Choose one plant, insect, or small area.
Observe it for a few minutes.
Sketch something.
Write two or three sentences.
Then stop.
That’s enough.
You don’t need to fill a page every time.
Some days, my entire entry might be three lines.
Other days, I get interested in something and end up sitting there much longer than I intended.
That’s fine too.
The important thing is that journaling remains enjoyable.
Use Your Journal to Understand Your Garden
This is where the hobby becomes much more useful.
Your journal can become a record of how your particular garden behaves.
For example, maybe you discover that a section beside the fence gets morning sun but afternoon shade.
Write that down.
Maybe water collects there after heavy rain.
Write that down too.
Maybe the soil dries out surprisingly quickly around one raised bed.
Again, record it.
DIY soil testing tips for beginners
Over time, these observations help you make better gardening decisions.
You don’t have to rely entirely on general advice because you’re building your own record.
This is especially helpful when planning seasonal changes.
If you’re considering a new planting area, you can look back at your notes.
If a plant struggled last year, you can check what the weather and soil conditions were like.
If something performed beautifully, you can try to recreate those conditions.
That’s a much more useful journal than simply writing down plant names.
Keep Track of Seasonal Changes
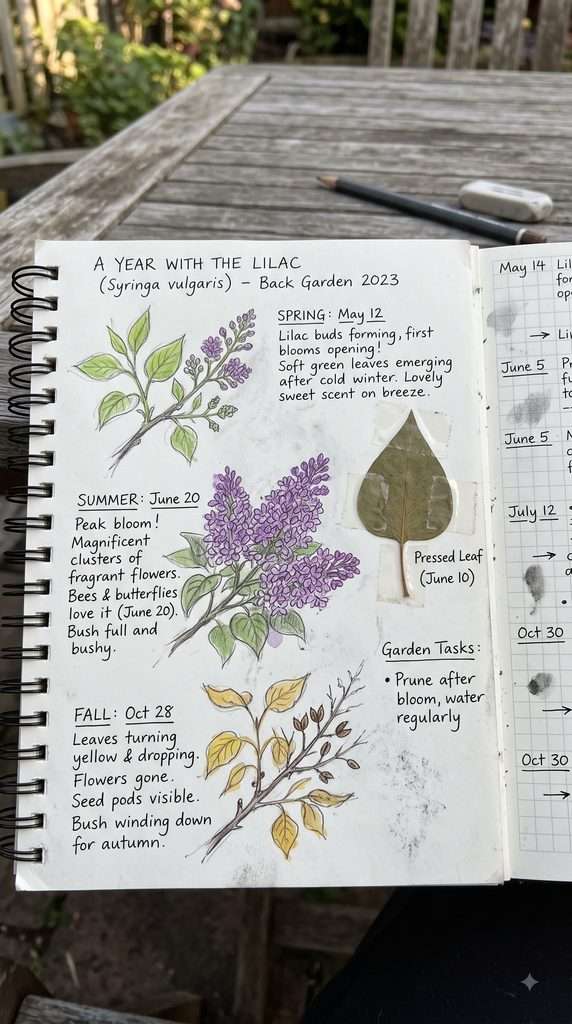
One of my favorite journal exercises is choosing one plant and following it through the year.
Pick a shrub.
A perennial.
A small tree.
Even one tomato plant.
Sketch it in spring.
Come back in summer.
Then fall.
You don’t need detailed drawings.
Just capture what changed.
Maybe the first sketch shows tiny buds.
The next shows flowers.
Later you record bees visiting.
Eventually there are seed heads.
Then the plant begins going dormant.
Suddenly, you’ve created a tiny visual history of that plant.
You can do the same thing with your vegetable garden.
Record when you planted.
When the first flowers appeared.
When you harvested the first fruit.
When leaves started changing.
When a pest appeared.
Those notes become extremely useful when planning another growing season.
21 fast-growing vegetables you can harvest in 30–60 days
Add Leaves, Seeds and Other Little Finds
Don’t limit the journal to flowers.
Some of the most interesting things in a garden aren’t flowers at all.
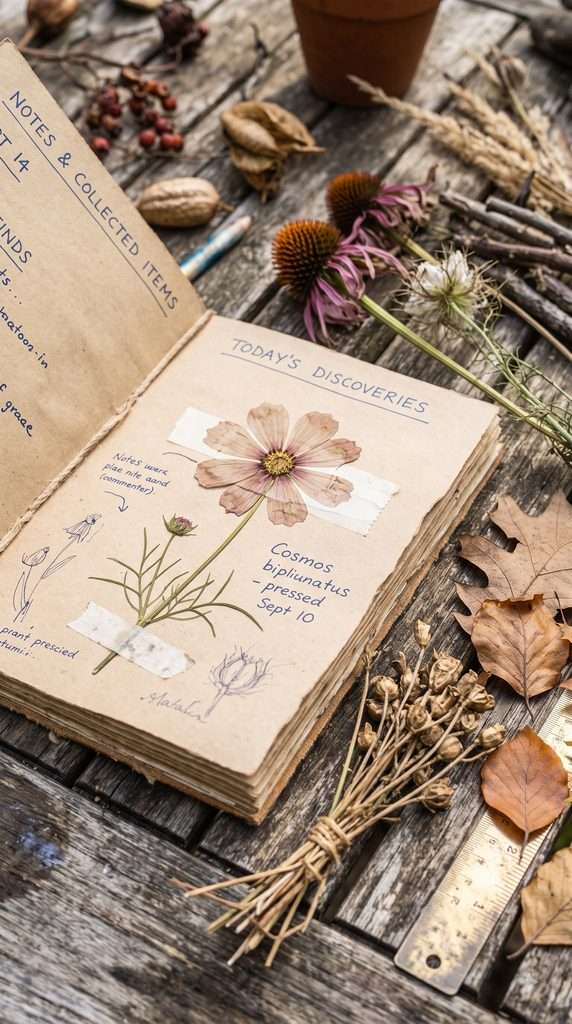
Seed pods.
Dry grasses.
Fallen leaves.
Interesting bark.
Tiny branches.
Feathers.
You may even find yourself sketching weeds.
And that’s okay.
A plant doesn’t need to be something you intentionally planted to be interesting.
I started noticing seed heads more closely simply because they gave me something different to sketch.
That led me to notice how different plants held their seeds, how long certain seed heads remained standing, and which ones attracted birds.
One observation often leads to another.
That’s the part I enjoy.
If you’re collecting anything from outside your own property, check local rules first.
And don’t take more than you need.
The garden should still look like a garden when you’re finished.
Use Photographs Alongside Your Sketches
You don’t have to choose between photography and journaling.
I actually like using both.
Take a quick photograph of a plant before pressing a flower from it.
The pressed flower will show you the shape and color differently once it dries.
The photograph gives you context.
You can see the whole plant.
Where it was growing.
What was around it.
What the weather looked like.
You don’t even need a professional camera.
Your phone is perfectly adequate for this.
The important thing is to photograph the plant because you’re interested in it, not because you’re trying to create a perfect social media image.
Sometimes the best reference photograph is a slightly messy one.
Things That Didn’t Work for Me
I’ve already mentioned a few mistakes, but there are some worth repeating because they are easy traps.
Trying to Identify Everything Immediately
This slowed me down.
I’d see an insect, stop writing, search for it, open another page, then another, and suddenly twenty minutes had disappeared.
Now I write the observation first.
Identification can happen later.
Pressing Flowers When They Were Too Wet
This caused more problems than I expected.
Flowers collected after rain or heavy dew can carry a lot of moisture.
Give them time to dry on the surface before pressing.
And check them during the process rather than assuming everything is fine.
Making Every Page Beautiful
This is probably the biggest one.
I used to think a journal should look good.
Now I think it should look used.
Some pages are neat.
Some are messy.
Some have one tiny sketch and a paragraph.
Others have a pressed leaf stuck beside three sentences.
That’s okay.
The journal is a record of your experience, not a portfolio.
Buying Too Many Supplies
Don’t do this.
At least not initially.
You can spend a surprising amount of money convincing yourself that the right paper, pens, press and sketchbook will make you more likely to journal.
They won’t.
A convenient notebook and pencil are enough.
A Few Small Tricks for Better Pressed Flowers
If you’re getting more interested in pressing flowers, there are a few details worth paying attention to.
Choose relatively dry plant material.
Flatten flowers carefully before closing the press.
Use absorbent paper.
Avoid trapping thick, wet sections.
Give the material enough time to dry completely.
And label it.
For long-term preservation, acid-free archival paper sheets can be useful because ordinary paper may yellow as it ages.
You don’t need museum-quality conservation materials for a backyard journal, though.
This is supposed to be enjoyable.
The goal is to preserve a little piece of your garden season, not create a botanical archive.
Small Things That Make a Big Difference
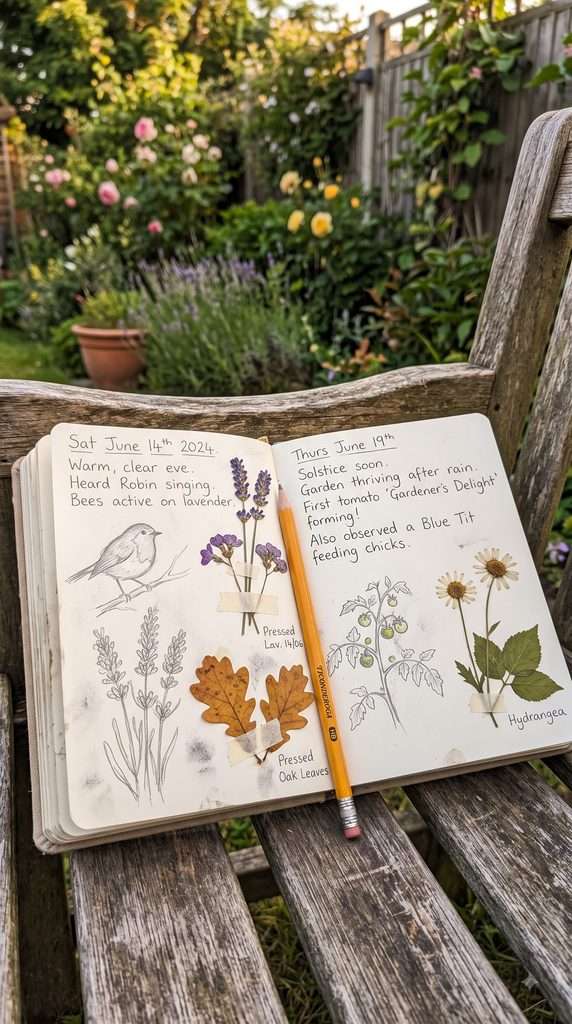
Here’s something I wish I’d done earlier: write down the location of the observation.
Don’t just write “bee on flower.”
Write “bee on lavender beside the back fence.”
That extra detail takes seconds.
Months later, it tells you much more.
The same goes for weather.
“After heavy rain.”
“Very hot afternoon.”
“Cool morning.”
“Windy.”
These small notes provide context.
And if you’re recording insects, you don’t need to identify every species.
“Several bees visiting the lavender” is useful.
“Butterfly appeared around the zinnias” is useful.
Your journal doesn’t need to become a scientific study.
It just needs to help you remember.
Make a Dedicated Page for Garden Mysteries
This is a fun one.
Keep a page for things you don’t understand.
Maybe you find an unfamiliar seedling.
Maybe a leaf suddenly changes color.
Maybe birds keep visiting one shrub.
Maybe a particular flower refuses to bloom.
Write down the question.
Then leave it.
You can investigate later.
Sometimes you’ll figure it out.
Sometimes you’ll forget.
Occasionally, you’ll discover something genuinely interesting because you wrote the question down in the first place.
I think that’s one of the nicest parts of keeping a journal.
It gives curiosity somewhere to go.
Don’t Forget the Weather
Weather deserves its own place in the journal.
Not because you need exact meteorological data.
Because weather affects everything.
A few words can be enough.
“Three very hot days.”
“Heavy afternoon storm.”
“Unexpected cool spell.”
“Long dry stretch.”
“First frost.”
Over several seasons, those little notes can help explain why plants behaved differently.
If a plant struggled after a particularly hot month, you’ll have a record.
If a certain flower thrived during a cooler period, you’ll remember that too.
And if you are already making broader backyard plans, observations like these pair nicely with ideas for making outdoor spaces more resilient.
budget-friendly backyard ideas
Frequently Asked Questions
No. Simple sketches are completely fine. The purpose is to slow down and observe plants, wildlife, weather and seasonal changes.
Start with the date, weather, location and what you noticed. You can record flowers, insects, leaves, plant growth, soil conditions, birds and anything unusual.
Thin, relatively flat flowers and leaves are generally easier for beginners. Small flowers, grasses, pansies, clover and individual petals can be good starting points.
Traditional pressing can take several days to a few weeks depending on the plant and moisture level. Thicker material generally needs more time.
Absolutely. A normal notebook is enough. You don’t need a specialized nature journal to begin.
Use whichever feels natural. Pencil is excellent for sketches because mistakes are easy to correct, while waterproof pens work well for permanent outlines and notes.
Once a week is plenty. You can journal more often when something interesting is happening, but there is no reason to turn it into a daily obligation.
Leave Some Pages Empty
This is one of those little things that sounds unnecessary until you try it.
Leave some blank space.
You may want to add a pressed leaf beside an older sketch.
You may identify an unknown plant six months later.
You may return to a question you wrote down and finally have an answer.
Blank pages give the journal somewhere to grow.
And that’s really what I like about this whole idea.
A backyard nature journal isn’t another gardening chore.
It doesn’t need to be perfect.
It doesn’t need to be beautiful.
It doesn’t even need to be particularly organized.
You can sit outside for ten minutes with a pencil and notice one thing.
That’s enough.
Years from now, that one little observation might mean more to you than you expect.
You’ll remember the garden differently because you didn’t just grow things in it.
You paid attention.
And once you get used to looking closely, you start noticing things you used to walk straight past.
A new flower.
A bird using the same branch every afternoon.
A plant behaving differently after rain.
The first leaf changing color.
Those are the details that make a garden feel like your garden.
You don’t need to record everything.
Just record enough to remember.
Once you understand that, starting a backyard nature journal becomes wonderfully simple.
Transparency Note
Most advice in this article comes from years of real gardening experience and trial-and-error in home gardens. Results may vary depending on climate, plant variety, soil, moisture, weather, and growing conditions.
Some product recommendations may use affiliate links. If you purchase through an affiliate link, SpruceTouch may earn a small commission at no additional cost to you.

Aagam – Founder of SpruceTouch
I’m Aagam, a home and garden enthusiast who enjoys growing, building, and improving outdoor spaces. I focus on practical backyard projects, garden ideas, and simple DIY solutions that are useful in real homes. Through SpruceTouch, I share what I’ve learned, what worked, what didn’t, and the small details that can make an outdoor project easier.