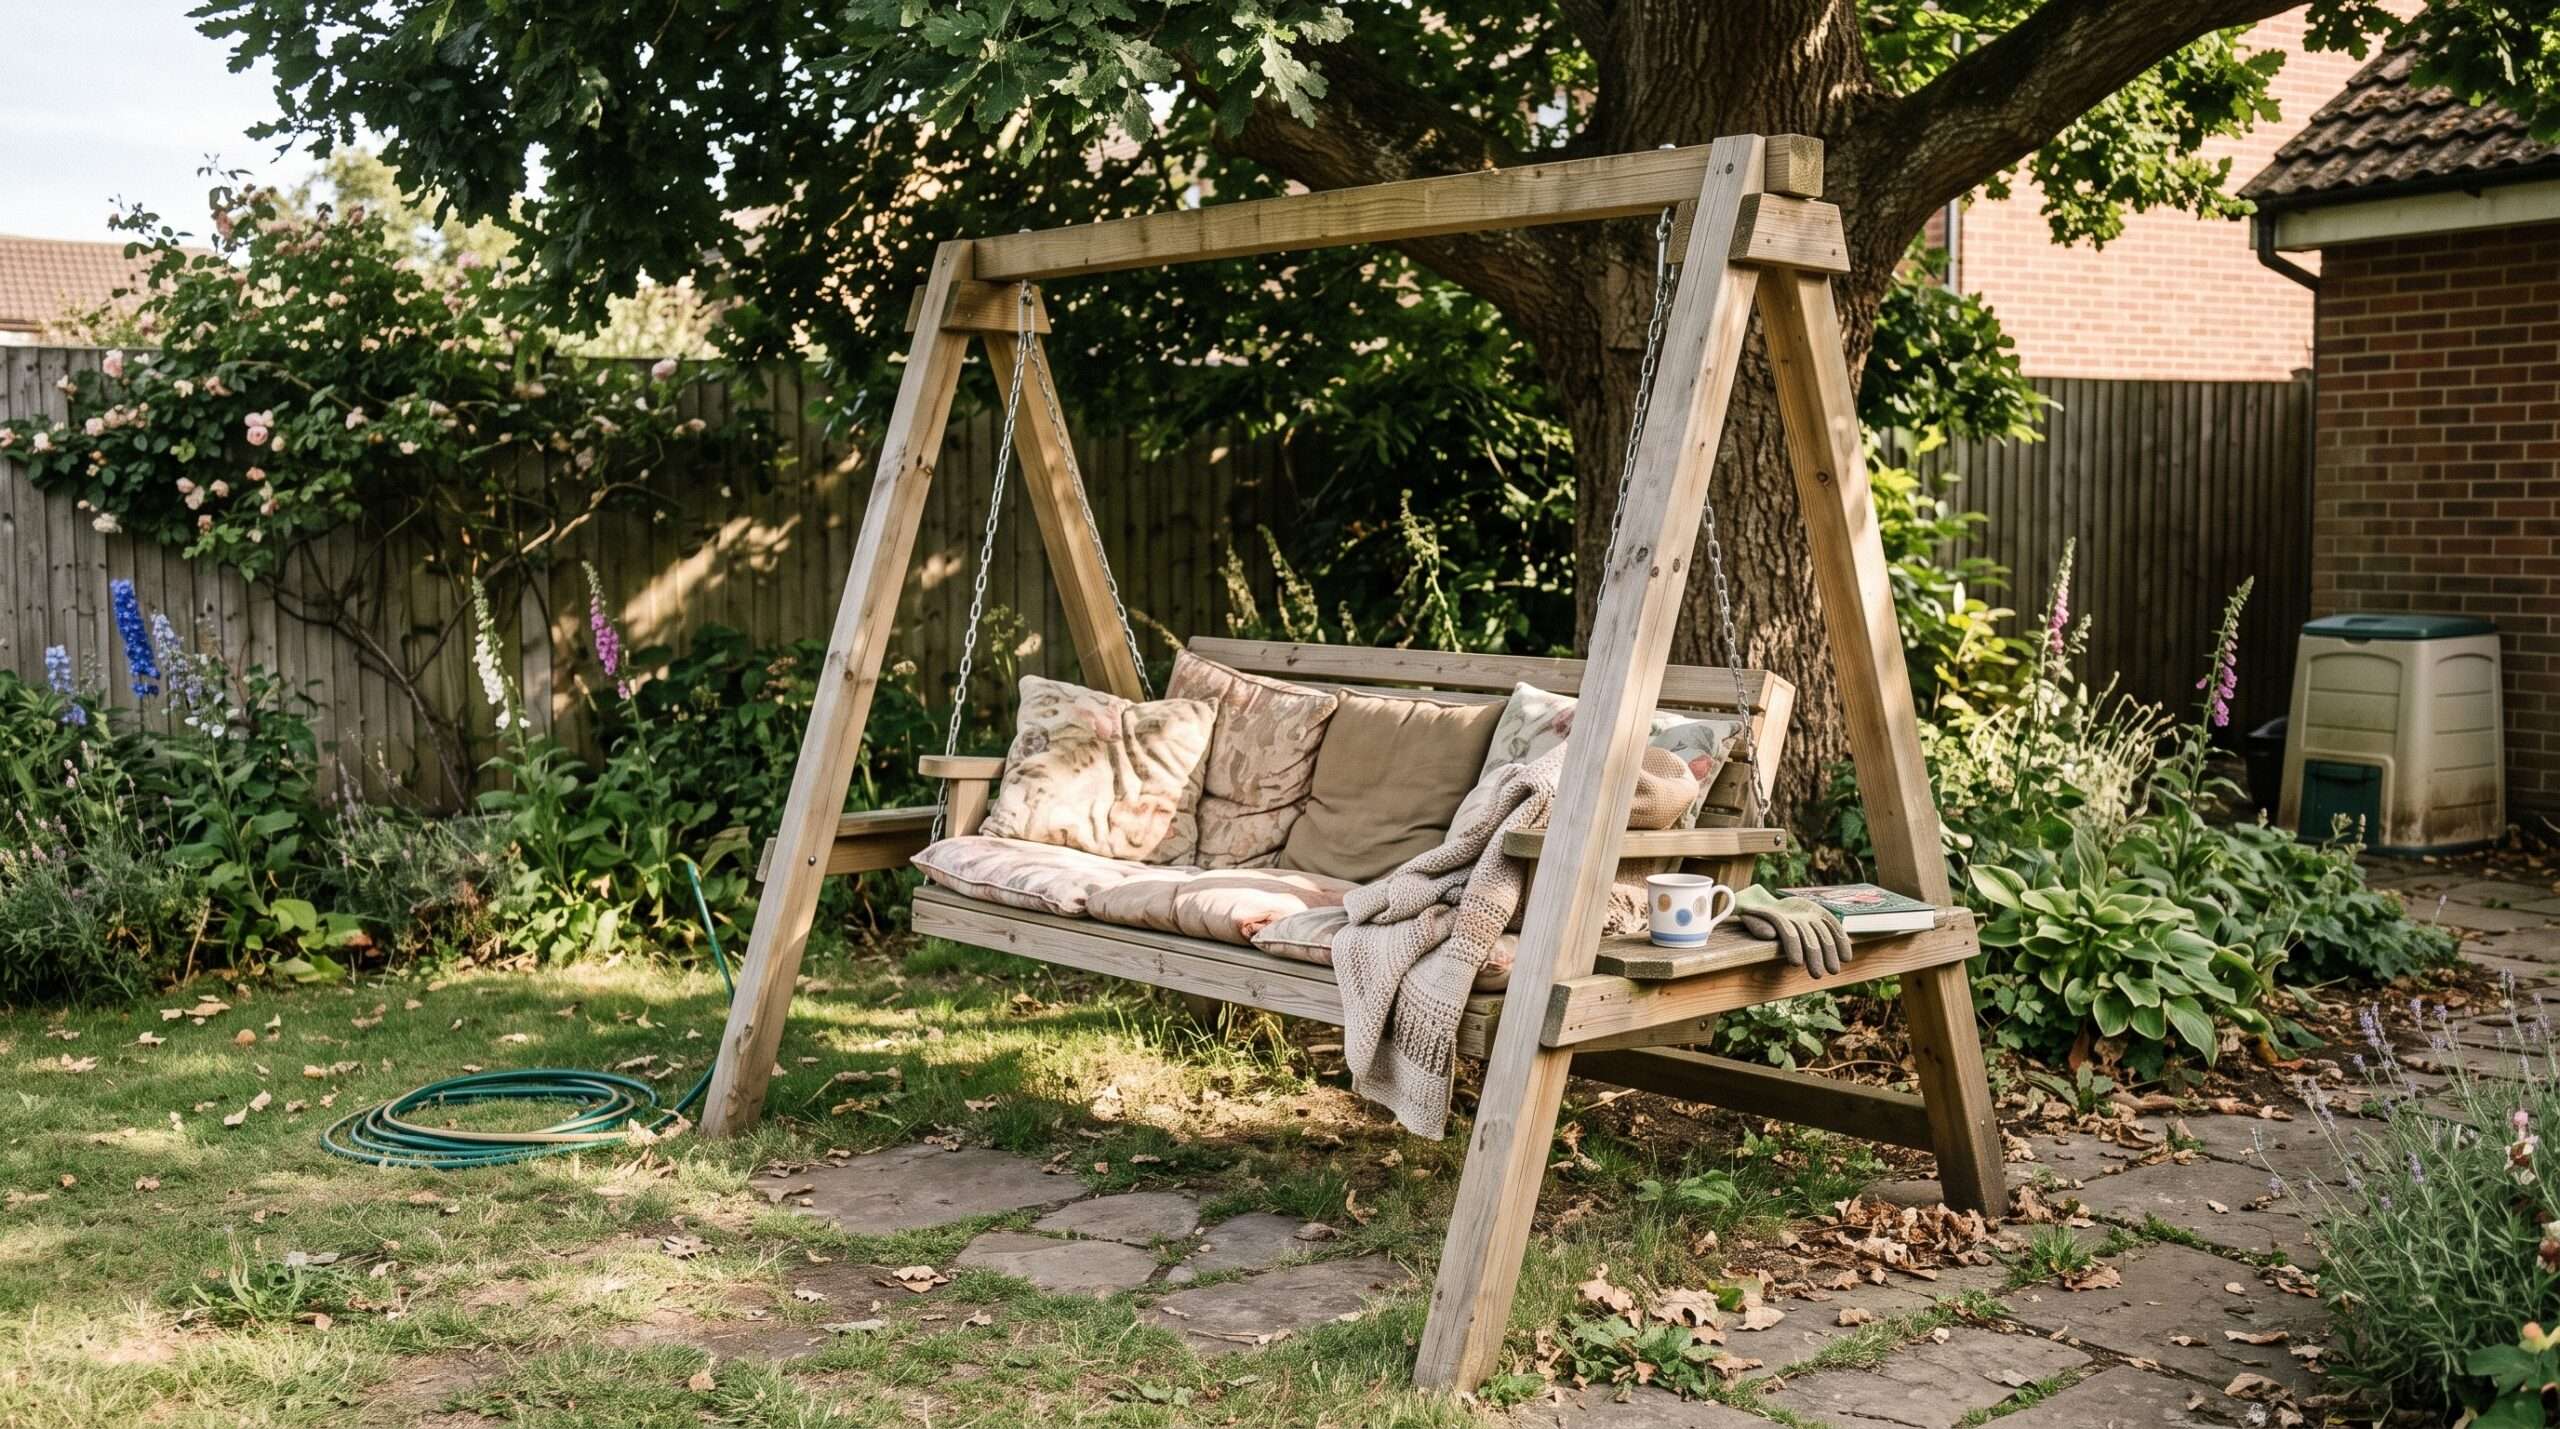
How to Build a Sturdy A-Frame Swing Stand for Cozy Garden Corners.
There is a specific spot in my yard, right under the old weeping willow, that stayed empty for almost seven years.
Every spring I told myself I would put something there—a bench, a bistro set, maybe another chaotic flower bed that I’d inevitably forget to weed by July.
Nothing ever felt quite right until I realized what the space actually needed was motion, a place to physically unspool after a long afternoon of hauling mulch.
I’ll show you exactly how to build a rock-solid, heavy-duty wooden A-frame swing stand that doesn’t wobble, creak, or cost a small fortune.
I’ve built three of these over my twenty years of backyard tinkering—one of which tragically pancaked because I trusted a cheap online blueprint that used undersized hardware.
We are not doing that today; we are building something your grandkids will probably argue over who inherits.
Let’s get our hands dirty and look at how to turn a lonely corner into your new favorite hiding spot.
Disclosure: This post contains affiliate links. If you make a purchase through these links, I may earn a small commission at no extra cost to you.
Finding the Right Plot of Dirt
Every great backyard project starts with a bit of pacing around your property, staring blankly at the grass.
I spent days trying to decide where to drop this structure because, let’s face it, once an A-frame is up, you aren’t going to want to move it alone.
You want a spot that offers a bit of privacy but doesn’t feel completely isolated from the rest of your hard work.
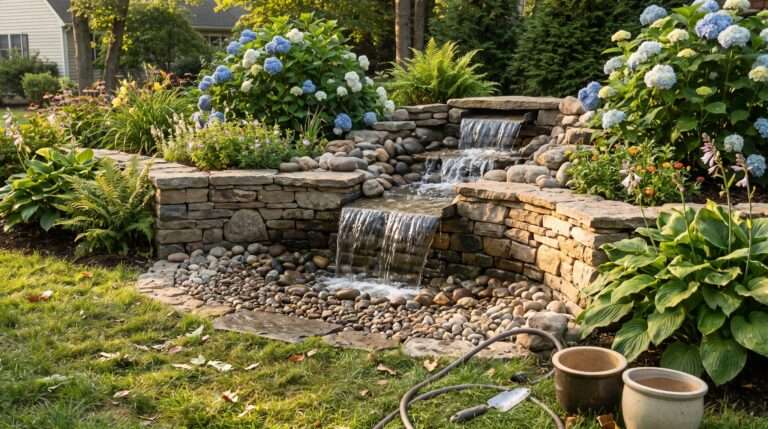
I originally thought about putting it right next to my old DIY Solar Fountain Pond: Building a Wooden Surround Box for Small Yards, but the ground there stays a bit too soggy after heavy spring rains.
Soggy soil is the absolute archenemy of heavy wooden structures.
If your posts sit in mud, they will shift, sink, and eventually rot, no matter how much chemical treatment is packed into the lumber.
But here’s the kicker:
Your ground doesn’t need to be perfectly level right now—we can fix minor slopes with clever digging—but it does need to be stable.
For this build, I highly recommend using an [Eastern Jungle Gym Heavy Duty A-Frame Swing Set Bracket] to handle the heavy lifting at the top joints.
Using dedicated steel brackets saves you from trying to cut impossible compound angles with a circular saw, which usually results in a lot of swearing and wasted wood.
Take a walk out to your yard with a few wooden stakes and mark out a footprint roughly 8 feet wide by 6 feet deep.
Sit on an old overturned bucket right in the middle of that space.
How does the view feel?
Are you staring directly at your neighbor’s trash cans, or are you looking at your favorite flower beds?
If the view checks out, you’ve found your spot.
Sourcing Timber That Won’t Twist by Next Summer
Walk into any big-box home improvement store, and you’ll see rows of $4\times4$ and $4\times6$ posts that look straight at first glance.
But if you look down the length of the board like an arrow, you’ll see most of them are shaped like bananas.
One thing most people ignore is the moisture content of the wood they buy.
If you buy wet, heavy pressure-treated timber straight off a fresh pallet, it’s going to twist violently as it dries out under the hot summer sun.
I learned this the hard way during a previous project when I was setting up The 4-Hour DIY Garden Trellis Arch That Cost Me Less Than Retails.
The wood warped so badly within three months that it popped the screws right out of the crossbeams.
For an A-frame swing stand, look for wood labeled “Kiln-Dried After Treatment” (KDAT) if your budget allows.
If you can’t find KDAT, just pick the straightest, heaviest pieces you can find, and let them sit flat on your garage floor for a week or two before cutting.
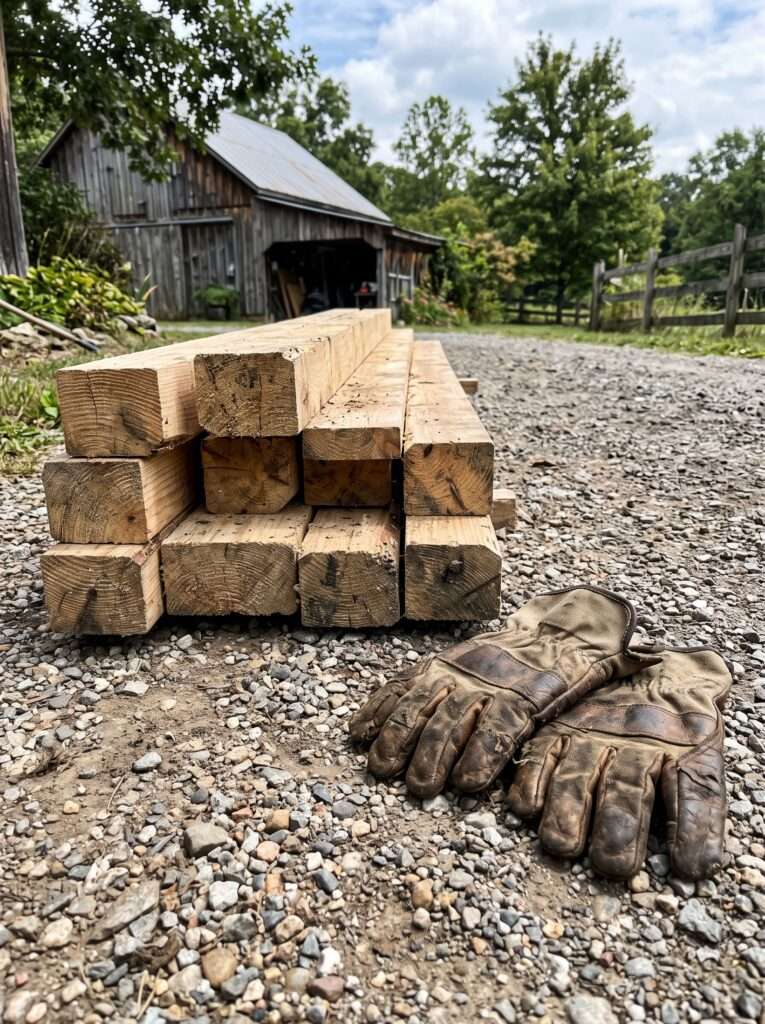
You’ll need two massive $4\times6$ beams for the top ridge to support the weight safely, and four $4\times4$ posts for the legs.
Don’t try to skimp by using $2\times4$s laminated together; it looks messy and doesn’t hold up to structural shear forces over time.
To lock these heavy timbers together without splitting the grain, I swear by [Spax Multi-Purpose Powerlign Construction Screws] because they bite into the wood without needing a pilot hole.
The Math and the Clean Cuts
Let’s talk about the actual geometry of an A-frame without getting into boring high school trigonometry.
The stability of your stand depends entirely on the angle of the legs.
Too narrow, and the whole thing will tip over forward when you swing too high.
Too wide, and the top beam will bow under the weight, putting immense stress on your fasteners.
A standard, comfortable angle for an A-frame leg split is roughly $60^\circ$ at the ground peaks.
If you’re using the steel brackets I mentioned earlier, the angle is already welded into the metal for you, which is a massive lifter of mental weight.
But if you’re building this entirely out of raw wood joints, you’ll need to cut a precise $30^\circ$ bevel on the top of each leg post so they mate flush against the center ridge beam.
This surprised me honestly:
A standard circular saw blade won’t cut all the way through a $4\times4$ post in a single pass.
You’ll have to cut one side, flip the post over, line up your pencil lines perfectly, and cut the other side.
It’s an excellent test of patience.
Take your time with a speed square and a sharp pencil.
If your cuts are even a quarter of an inch off, the stand will look cockeyed once it’s standing upright.
Bringing the Frame to Life
This is the part where you definitely want to recruit a friend, a neighbor, or a teenager who wants gas money.
Assembling the side triangles is easy enough to do solo on the ground, but raising the whole structure requires brute force.
Lay your top beam down flat on two sawn horses.
Slide the legs into position, ensuring everything aligns tightly.
I always use a heavy-duty drill to secure my structural fasteners.
A weak drill will stall out halfway through a thick post, leaving you stuck with a half-driven screw that won’t go in or come out.
I’ve been using a [DeWalt 20V MAX Cordless Drill and Impact Driver Combo Kit] for years now, and it has enough torque to drive thick lag bolts through wet pine without flinching.
Once the legs are secured to the main header beam, it’s time to add the horizontal side braces.
These braces prevent the legs from splaying outward over time under dynamic weight loads.
Position the lower cross-braces about 18 inches up from the bottom of the legs.
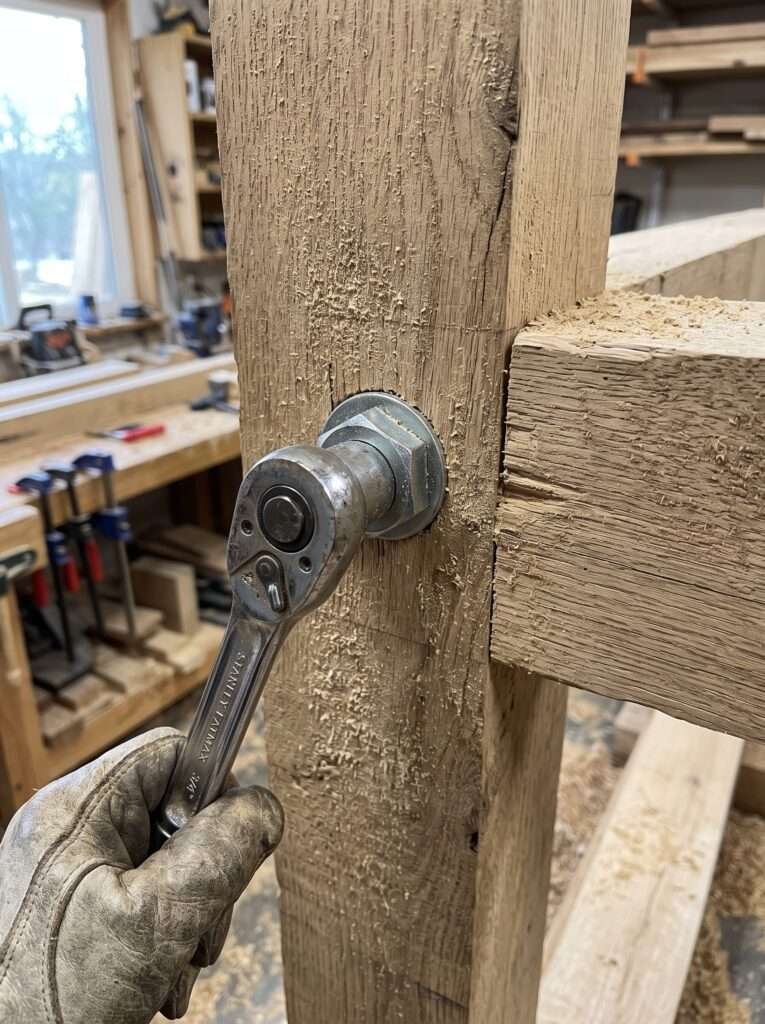
Don’t just screw them into the face of the legs.
Miter the edges so they sit inside the frame snugly.
This creates a mechanical lock that shares the weight load with the screws.
Now comes the fun part: hoisting the beast.
With one person at each end, lift the top beam slowly, walking the legs inward until the structure stands on its own four feet.
It’s going to feel incredibly tall and slightly intimidating at this stage.
Don’t panic; once we set it into the ground, the height will drop down to a much friendlier profile.
What Actually Works: The Setup Guide
To ensure your swing stand doesn’t sink into the lawn over time, you need a solid foundation strategy.
Here is the exact step-by-step method I use to anchor heavy garden frames permanently.
Step 1: Clear the Footprint
Dig out a 3-inch deep layer of turf from the entire area where the swing will sit. This prevents weeds from choking out your seating area later.
Step 2: Excavate Post Holes
Mark where the four feet touch the soil. Move the frame aside slightly and dig four holes, each 12 inches deep and 10 inches wide.
Step 3: Add Drainage Gravel
Pour 3 inches of crushed leveling gravel into the bottom of each hole. This keeps the wood from sitting directly in pooled water.
Step 4: Drop and Level
Lower the frame legs back into the holes. Use a 4-foot spirit level across the top beam to check for straightness.
Step 5: Pack the Earth
Instead of pouring wet concrete—which traps moisture against the wood—pack the holes tightly with a mixture of gravel and crushed limestone tamped down with a heavy post.
If you want to make the path leading up to your new cozy corner look like a natural extension of your yard, think about linking it up to other walkways.
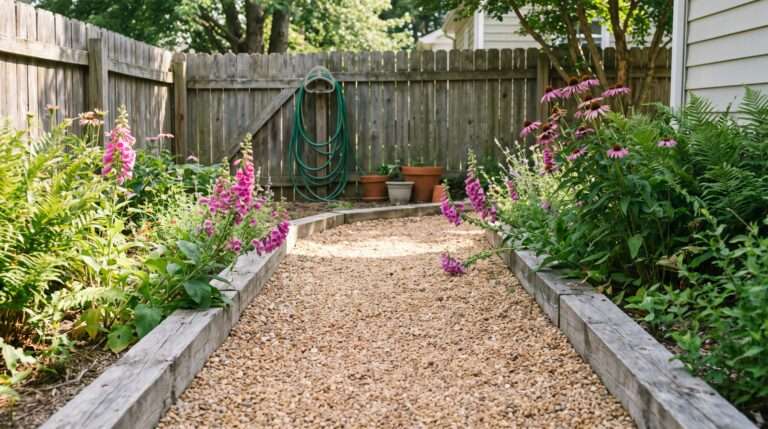
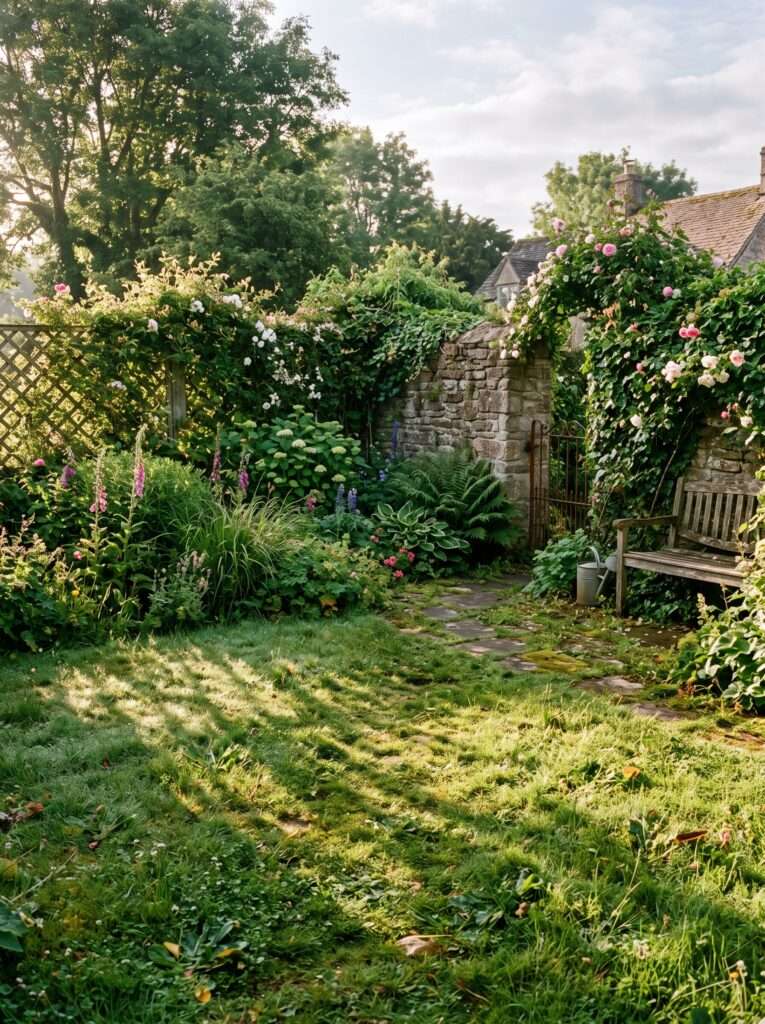
I took design cues from my guide on 17 Dreamy Cottage Garden Pathways: How to Frame Gravel Paths with Wood to run a small gravel walkway from my back patio straight to the swing’s base.
It keeps your feet dry in the mornings when the grass is heavy with dew.
Defending the Wood Against Rain and Sun
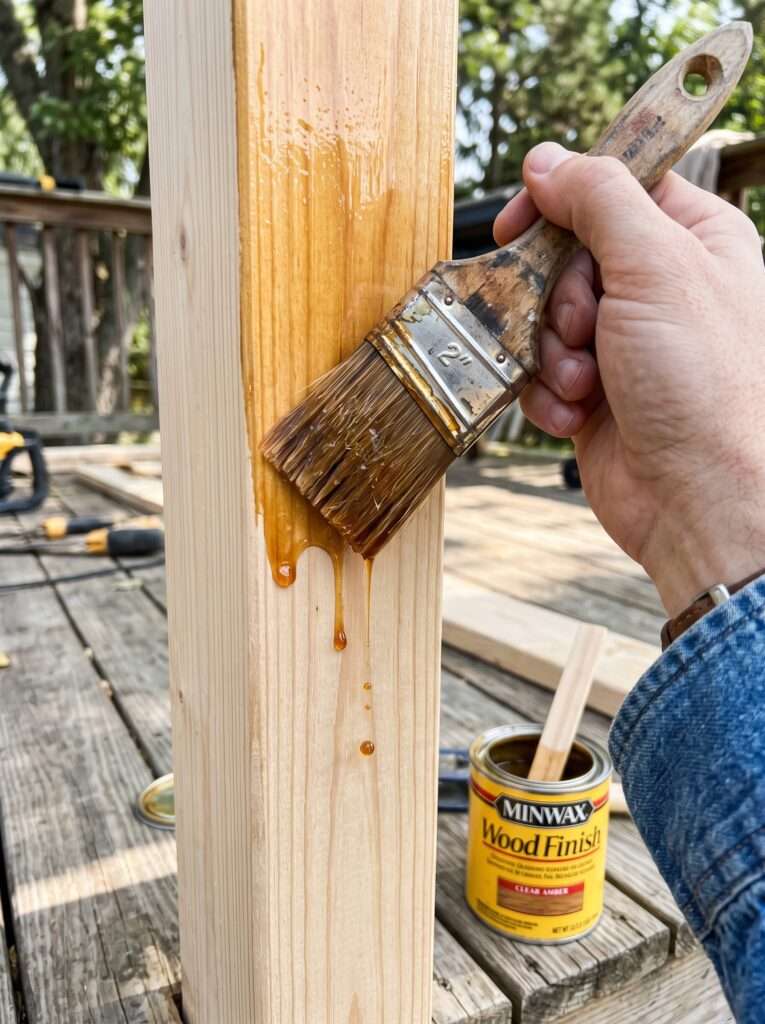
Before you hang a swing and call it a day, you absolutely must seal the wood.
Raw timber looks beautiful for about three weeks, then the UV rays turn it a drab, weathered gray, and moisture starts splitting the grain.
I like to use a deeply penetrating sealer like [Thompsons WaterSeal Waterproofing Stain and Sealer] because it keeps water from soaking into the pores while letting the natural wood grain show through.
Apply it with a cheap, wide paintbrush, working it into every single joint and end-cut.
The end-grain at the bottom of the legs acts like a bunch of tiny straw straws, sucking water straight up from the soil.
Slather extra sealant on those bottom feet before you drop them into your foundation holes.
Most gardening blogs never mention this:
You should reapply a light coat of sealer every two years if your swing stands in full sun.
It takes maybe thirty minutes, but it easily doubles the life of the structure.
Choosing and Hanging the Seating
Now for the reward: picking what you’re actually going to sit on.
You can go with a classic wooden porch swing bench, a canvas hammock chair, or even a woven macrame nest swing.
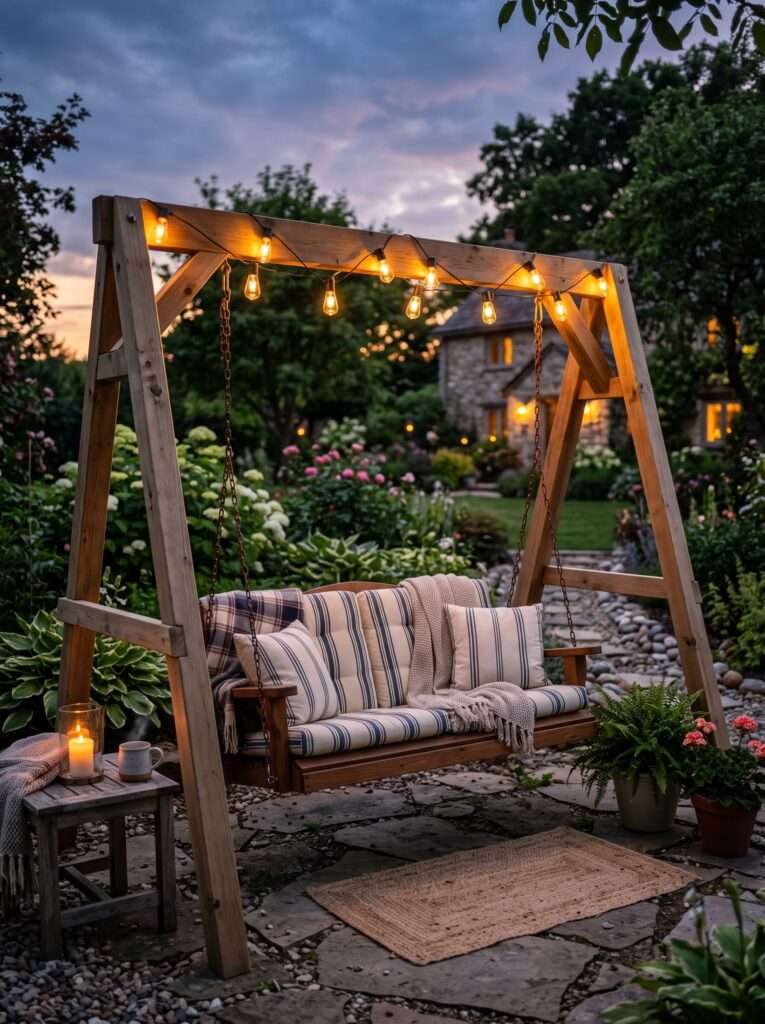
For a true garden corner feel, a classic, deep-seated wooden bench is hard to beat because you can pile it high with outdoor cushions and throws.
I ended up using a [Porch Shield Heavy Duty Two-Seater Swing Chair] because the fabric withstands bird droppings and sudden downpours without staining.
When hanging the swing, don’t just loop ropes over the top beam—they will fray within a season from the constant friction.
Use heavy-duty through-bolts with integrated nylon bearings at the pivot points.
Connect the chains to the hangers using [BriteUp Heavy Duty Carabiners and Swing Hanging Straps] to ensure nothing unhooks unexpectedly when someone sits down too fast.
The height of your swing bench should sit roughly 17 to 19 inches off the ground when empty.
This allows your feet to touch the ground naturally so you can push off without straining your knees.
Things That Didn’t Work for Me
Over the years, I’ve made plenty of mistakes that cost me time, money, and a decent amount of pride.
Here are the big ones you should avoid:
- Using Standard Drywall Screws: On my first garden frame build, I used standard black drywall screws for the side braces because I had a massive box of them sitting around. They have zero shear strength. Within two months, a heavy wind storm snapped three of them cleanly in half, causing the side support to sag. Always use structural timber screws.
- Pouring Solid Concrete Around the Posts: I used to think pouring wet concrete directly into the holes around the wooden legs was the ultimate way to secure them. It turned out to be a disaster. The concrete created a cup that held water right against the timber, rotting out the bottom of my beautiful $4\times4$s within four years. Gravel packing allows water to drain away naturally.
- Ignoring Overhead Branch Clearance: I once tucked an A-frame beautifully beneath a massive old oak tree without looking up. As the swing moved back and forth, the top chains scraped against a low-hanging limb, stripping the bark and making an incredibly irritating squeaking noise every time someone used it. Always check your clearance arc before digging.
Dressing Up the Surrounding Space
An A-frame swing stand on its own can look a little stark and utilitarian when you first drop it into a patch of grass.
To make it feel like a secret garden hideaway, you need to soften the hard lines of the timber with plants.
I planted a couple of climbing clematis vines right at the base of the outer A-frame legs.
Within two seasons, the vines climbed all the way up the angled posts, turning the wooden frame into a living, flowering canopy.
If you enjoy this kind of vertical structure, you can find similar layout inspiration in my piece on 14 DIY Attached Pergola Plans to Frame the Perfect Doorway Shade.
You can also place a few heavy terracotta pots filled with lavender or rosemary right next to the seating area.
Every time you swing, your feet will brush against the leaves, releasing a wonderful scent into the evening air.

Small Things That Make a Big Difference
- Add a small wooden ledge to one of the side cross-braces to act as a casual cup holder for your morning coffee.
- Put a handful of fine beach sand into your post holes before dropping the gravel to create an incredibly flat, easily drainable sub-base.
- Throw a piece of old rubber inner tube between any metal brackets and the wood to eliminate squeaking during deep swings.
- Keep an extra set of carabiners handy on the top beam so you can easily swap out a traditional bench swing for a single hammock chair whenever you want a change of pace.
Connecting the Rest of the Yard
Once you finish a weekend build like this, you tend to get bit by the DIY bug.
Suddenly, the rest of your garden corners start looking like blank canvases waiting for a new feature.
If you have leftover bits of wood from cutting your $4\times4$ legs, don’t throw them into the scrap pile just yet.
You can use those short block ends to create beautiful water features.
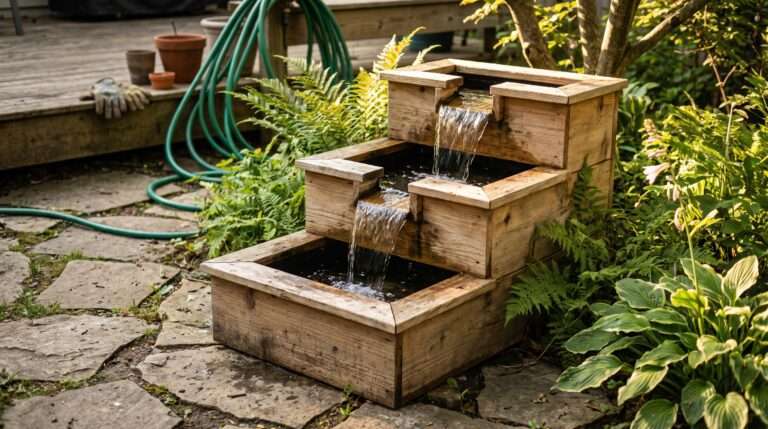
I used a mix of leftover structural pieces and cedar remnants to assemble a gorgeous accent piece, which I detailed over in my step-by-step guide on Genius Ways to Build a Multi-Level Wooden Water Cascade Using Free Scrap Wood.
The sound of trickling water right next to an A-frame swing is honestly the closest thing to an outdoor spa experience you can get without spending thousands of dollars.
Frequently Asked Questions
Yes, cedar is naturally rot-resistant and looks absolutely stunning, but it is significantly more expensive and softer than pressure-treated pine. If you use cedar, ensure you use slightly thicker hardware to prevent the bolts from compressing into the soft wood over time under heavy loads.
When built correctly with proper horizontal cross-bracing and heavy-duty top brackets, a standard $4\times4$ leg A-frame setup can easily support up to 600 pounds. This is more than enough capacity for two full-grown adults to sit comfortably on a bench swing.
If you live in an area with heavy snow or freezing rain, I highly recommend unhooking the fabric or wooden bench and storing it in your shed or garage. Leaving the main wooden frame outside is perfectly fine, but storing the actual seat prevents the chains from rusting and keeps the cushions from molding.
Rocking happens when the ground isn’t perfectly tamped or if the footprint is too narrow. Make sure your side cross-braces are low enough (around 18 inches from the ground) and ensure the earth around the feet is tightly packed with crushed stone rather than loose, sandy topsoil.
Avoid using WD-40, as it washes away with the first rainstorm. Instead, apply a small dab of heavy marine grease or lithium grease directly inside the loops of your hanging hooks or carabiners once a year to keep the movement completely silent.
Once you understand the basic mechanics of solid bracing and take your time picking straight timber, things usually get much easier.
There’s no need to rush through a project like this over a single frantic Saturday afternoon.
Let it take a few days, enjoy the process of cutting the wood, and before you know it, you’ll be sitting back with a cold drink, watching the sun go down from your new favorite corner of the world.
Most advice in this article comes from years of real gardening experience and trial-and-error in home gardens. Results may vary depending on your local climate, soil stability, and the specific type of lumber available in your region. Always wear proper safety gear when working with heavy power tools and sharp blades.

Aagam – Founder of SpruceTouch
I’m Aagam, a home and garden enthusiast who enjoys growing, building, and improving outdoor spaces. I focus on practical backyard projects, garden ideas, and simple DIY solutions that are useful in real homes. Through SpruceTouch, I share what I’ve learned, what worked, what didn’t, and the small details that can make an outdoor project easier.