31 Pumpkin Carving and Display Ideas for a Standout Front Yard
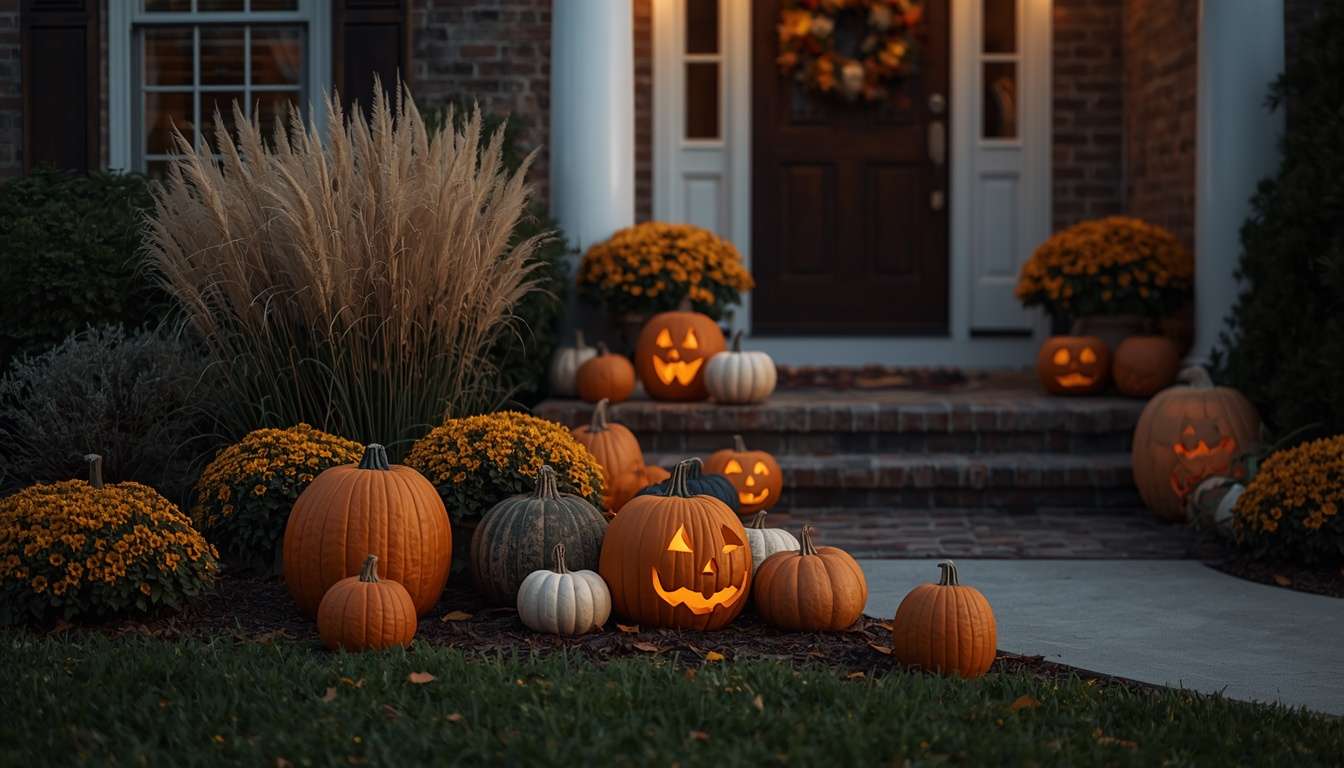
There is something about a pumpkin sitting on a front porch in October that instantly makes a house feel ready for Halloween. But after a few years of carving the usual triangle eyes and toothy grin, I started wanting something a little different. I wanted pumpkins that looked interesting during the day, but still had that warm, slightly spooky glow after sunset.
I’ve tried pumpkins on steps, beside flower beds, around the mailbox, tucked into planters, and even grouped underneath trees. A few arrangements looked fantastic. A few looked like I had simply dropped pumpkins wherever I could find space.
The biggest lesson for me was that the carving itself isn’t always what makes a display work. Placement, height, lighting, color, and grouping matter just as much.
And you don’t need an enormous front yard to make it happen. A small porch, narrow walkway, or modest garden bed can still become a really fun pumpkin display with the right arrangement.
Disclosure: This post contains affiliate links. If you make a purchase through these links, I may earn a small commission at no extra cost to you.
Quick Picks: 5 Easy Pumpkin Ideas to Try First
If you want something inexpensive and beginner-friendly, I’d start with these:
- Classic glowing jack-o’-lantern group — easy, familiar, and hard to mess up.
- Pumpkin pathway — line several pumpkins along a walkway for instant curb appeal.
- Mismatched pumpkin cluster — combine different shapes, colors, and carving styles.
- Pumpkin planter arrangement — tuck pumpkins among fall flowers and foliage.
- Stacked pumpkin tower — use several pumpkins vertically when floor space is limited.
If your front yard already has seasonal decorations, these can also be combined with the ideas in my guide to spooky and stylish outdoor Halloween decorations without making the yard feel overcrowded.
1. Classic Jack-o’-Lantern Cluster
Sometimes the traditional idea really is the best place to start.
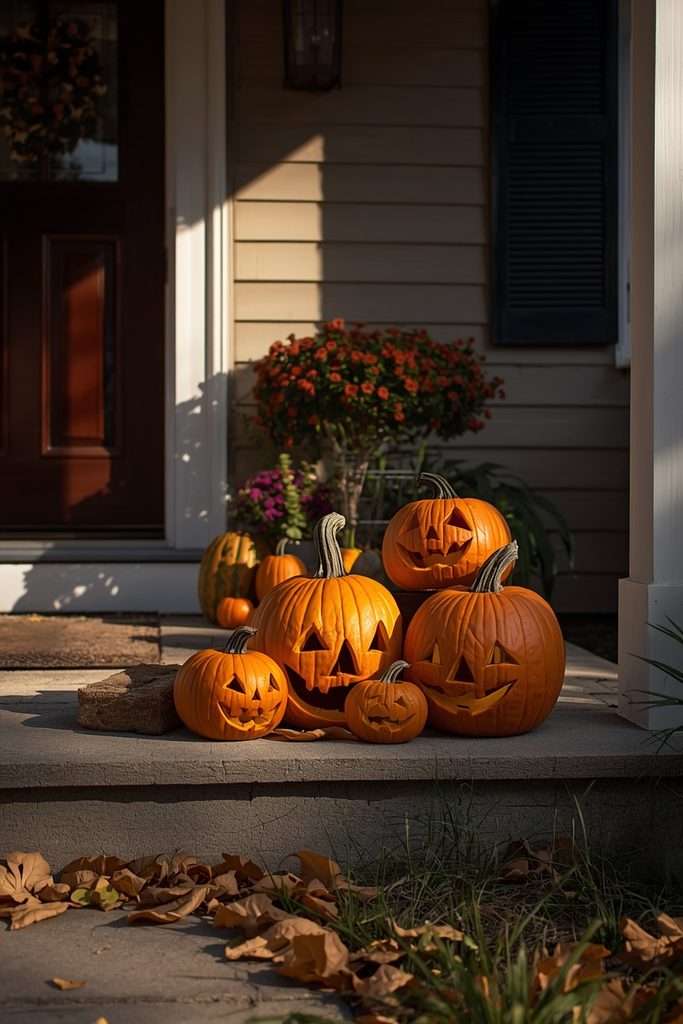
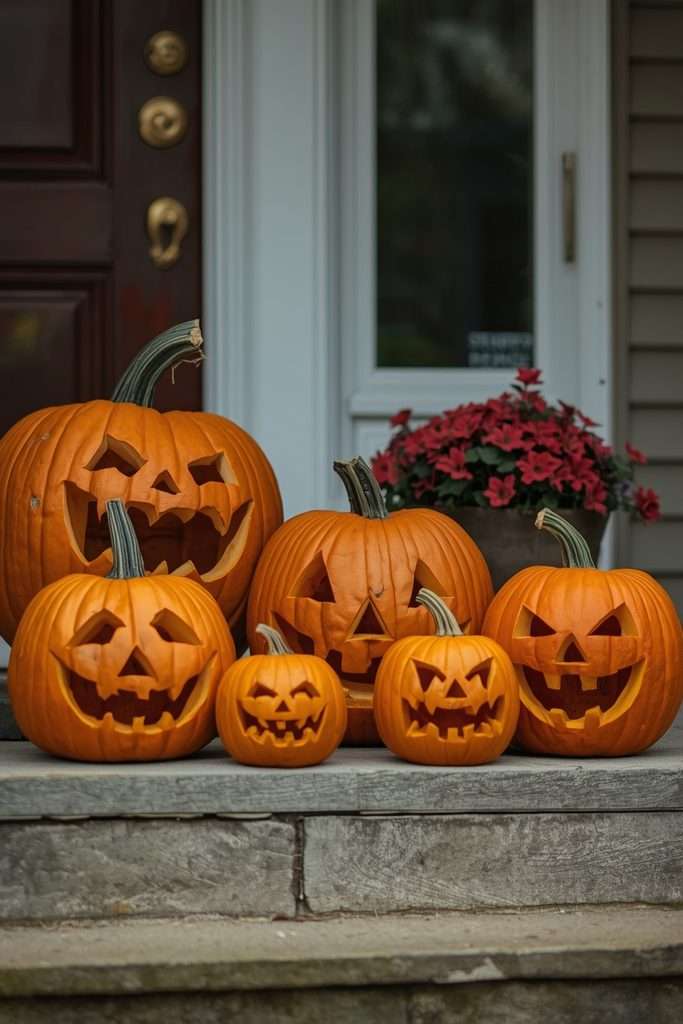
I like grouping three to five pumpkins rather than putting one lonely jack-o’-lantern in the middle of the porch. Use different sizes so the arrangement has some natural height variation. One pumpkin can have a traditional face, another a surprised expression, and a smaller one a simple smile.
For carving, I’ve found that keeping the openings fairly simple makes them look better from the street. Tiny details that look impressive up close can disappear completely at night.
Place the largest pumpkin toward the back and smaller ones slightly forward. Add a few fallen leaves around the bases and let the arrangement look a little imperfect.
For safe illumination, a battery-operated LED pumpkin light is much easier to manage than constantly checking candles, especially if children or pets are around.
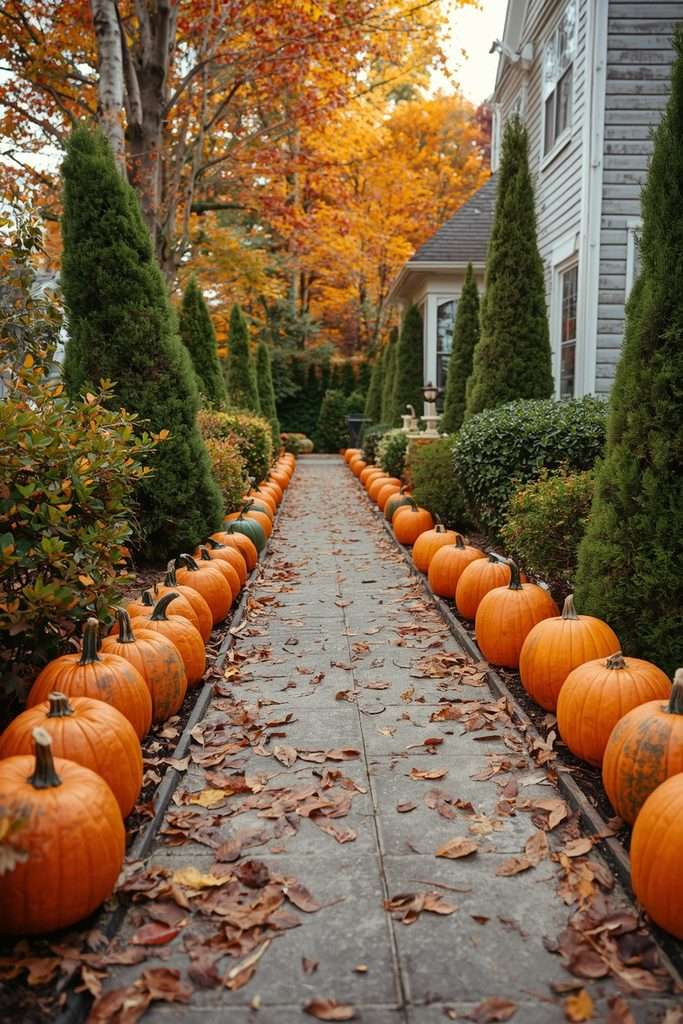
2. Pumpkin-Lined Front Walkway
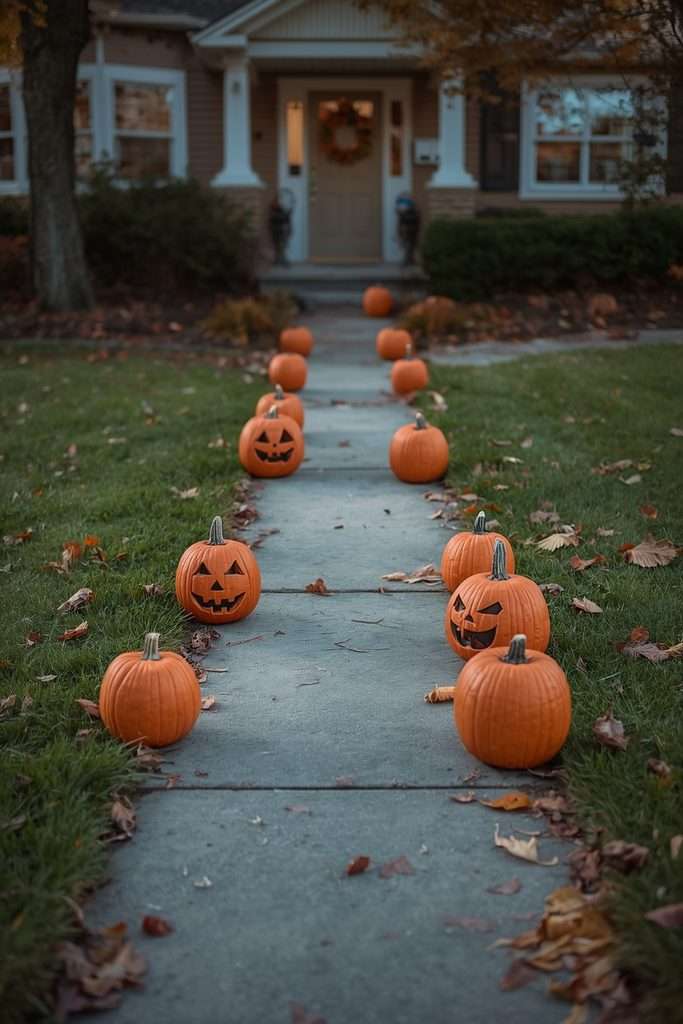
A walkway is one of my favorite places for pumpkins because it naturally directs the eye toward the front door.
Instead of putting pumpkins directly beside one another, leave roughly a foot or two between them. Alternate large and small pumpkins so the line doesn’t look too mechanical.
You can carve every pumpkin differently, or keep the faces simple and let the repetition do the work.
One thing I learned the hard way: don’t put pumpkins where people actually walk. Keep them slightly outside the main walking path so nobody has to step around them.
If you have a narrow front yard, this idea can create the feeling of a much more decorated entrance without taking up much space.
3. Pumpkin Faces With Different Expressions
Instead of making every pumpkin scary, give each one a different personality.
I’ve done happy, surprised, sleepy, grumpy, and slightly mischievous faces, and children tend to notice the differences immediately. It also makes the display feel more homemade.
Keep the cuts fairly large if the pumpkins will be viewed from the street. A face that looks detailed on your kitchen table may become a dark blob from twenty feet away.
For families, this is an especially easy project because everyone can choose one pumpkin and design its expression.
4. Pumpkins Mixed Into a Flower Bed
This works particularly well if your front garden already has autumn color.
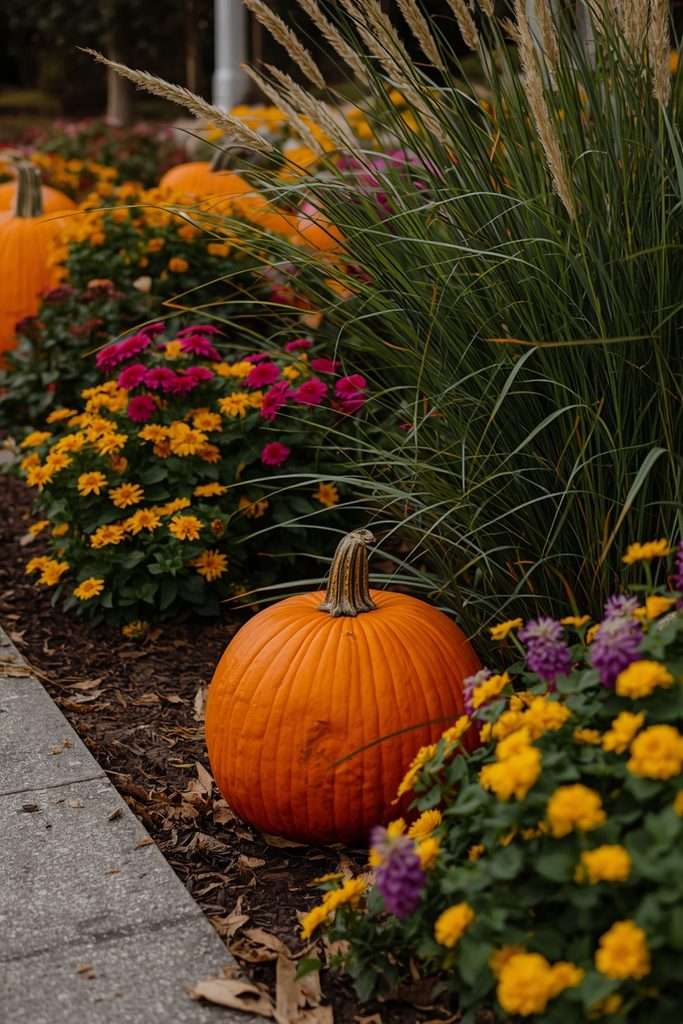
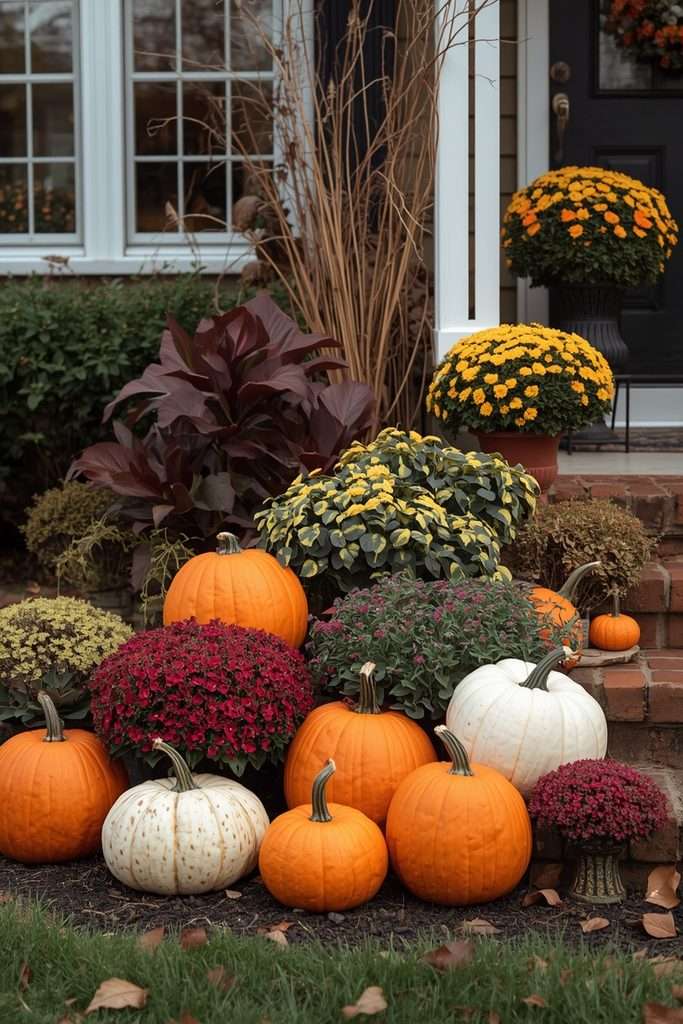
Rather than removing everything to make room for Halloween decorations, I simply tuck pumpkins between existing plants. Orange pumpkins look great against ornamental grasses, dark foliage, mums, and fall leaves.
The trick is not to cover the plants completely. Let the garden remain visible.
If your front yard is already planted, this can be much easier than creating a whole new Halloween display.
For more curb-appeal inspiration, you can also look at these foundation plants for improving the front of your home and use pumpkins as temporary seasonal accents.
5. Tall Pumpkin Tower
If floor space is limited, go upward.
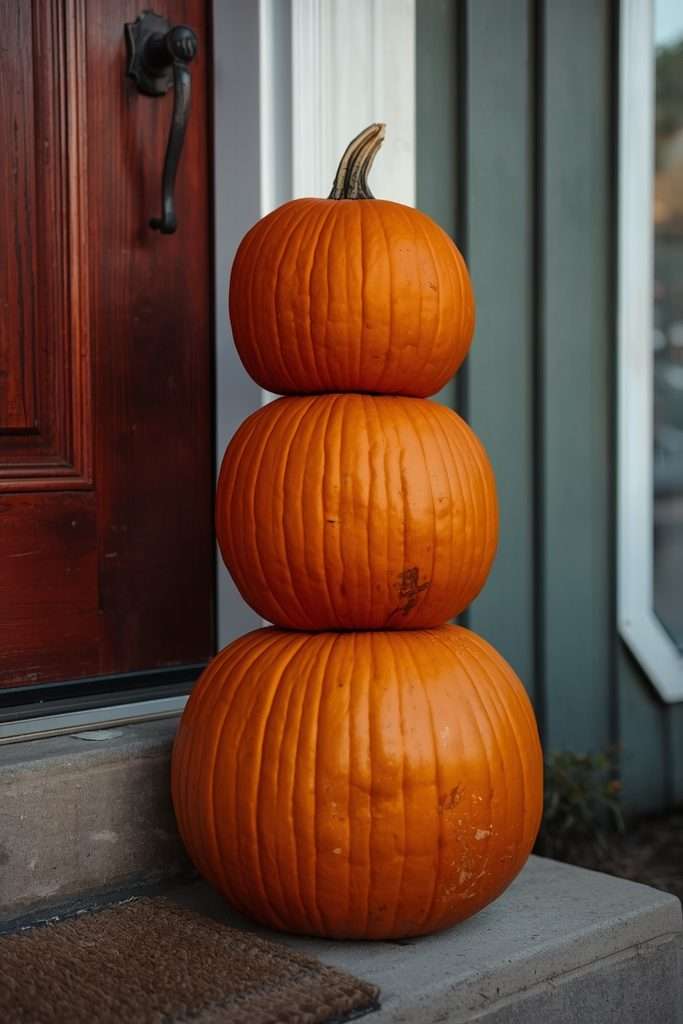
Stack two or three pumpkins carefully to create a small tower near the porch, garden gate, or front door. I prefer using pumpkins with relatively flat bottoms because they are easier to balance.
Don’t make the tower too tall. A short, slightly crooked stack actually looks more charming than a perfectly symmetrical one.
For extra stability, position the arrangement somewhere sheltered from strong wind.
Small Pro Tip
When arranging pumpkins outdoors, take one photo from the street before you finish. You’ll notice problems in a photograph that aren’t obvious when you’re standing right beside the display.
6. White Pumpkin and Orange Pumpkin Mix
Not every pumpkin needs to be orange.
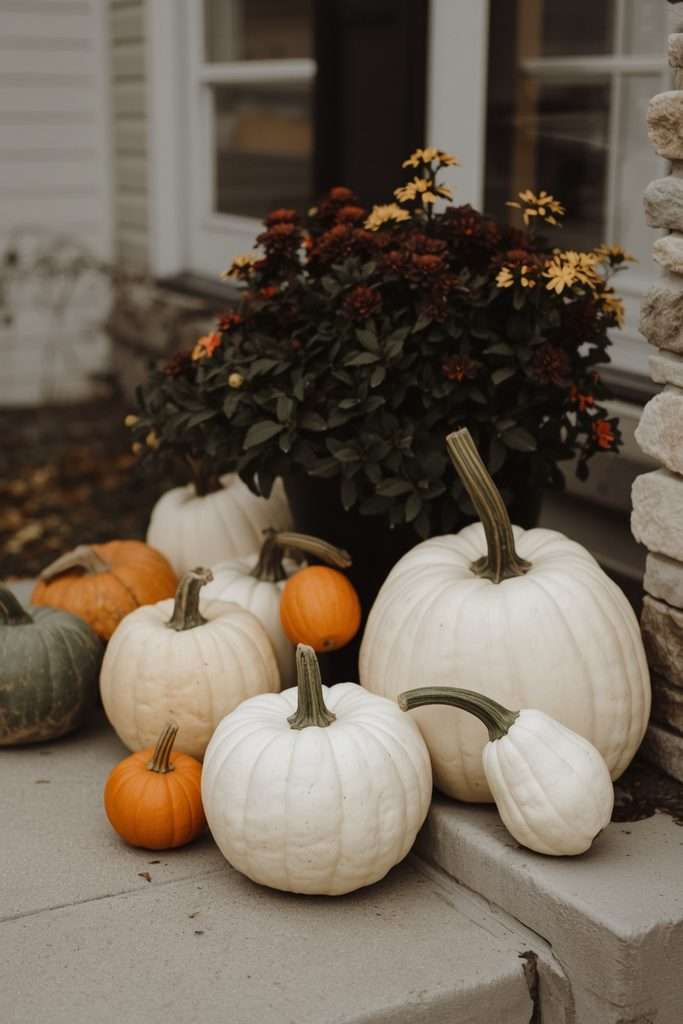
Mix white, pale green, tan, and orange pumpkins to create a softer fall display. I particularly like this approach for homes where a very bright orange Halloween display would clash with the existing landscaping.
You can carve only the orange pumpkins and leave the lighter ones natural. That contrast keeps the arrangement interesting without requiring every pumpkin to be decorated.
If you want a more understated front yard, this is one of the easiest approaches.
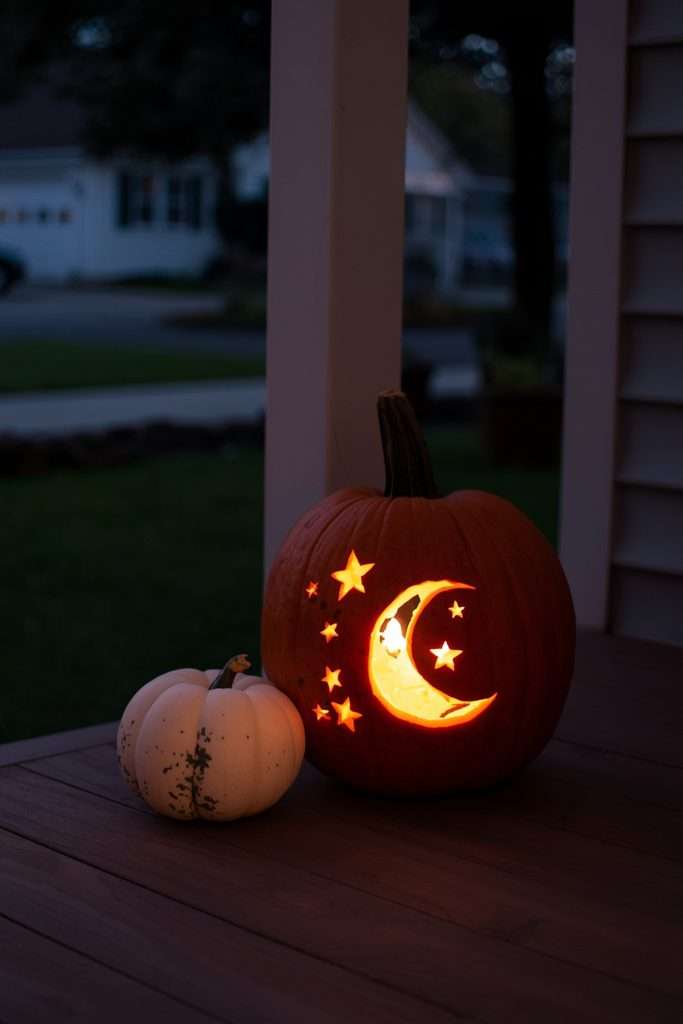
7. Moon and Star Carved Pumpkins
You don’t have to carve a face.
Simple stars, moons, circles, and small geometric openings can create beautiful patterns once a light is placed inside.
I like using one patterned pumpkin among several plain pumpkins. The patterned one becomes the detail people notice without making the whole display feel busy.
This also works nicely if you prefer fall decor that can stay out for several weeks without looking overly Halloween-specific.
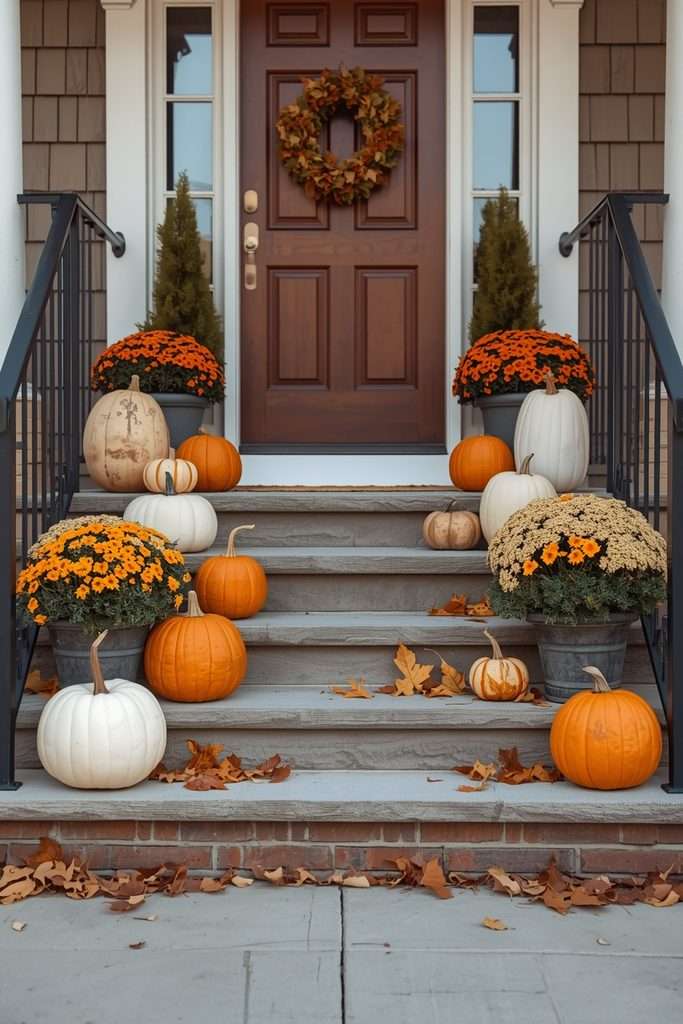
8. Pumpkin Steps Display
If your home has front steps, use the steps themselves as the display.
Place larger pumpkins on the lower steps and smaller ones toward the top. Keep the center of each step clear enough for comfortable walking.
I learned that symmetry isn’t necessary here. A slightly uneven arrangement often looks more natural, especially when mixed with small pots of mums or trailing greenery.
For safety, don’t allow pumpkins or extension cords to become trip hazards.
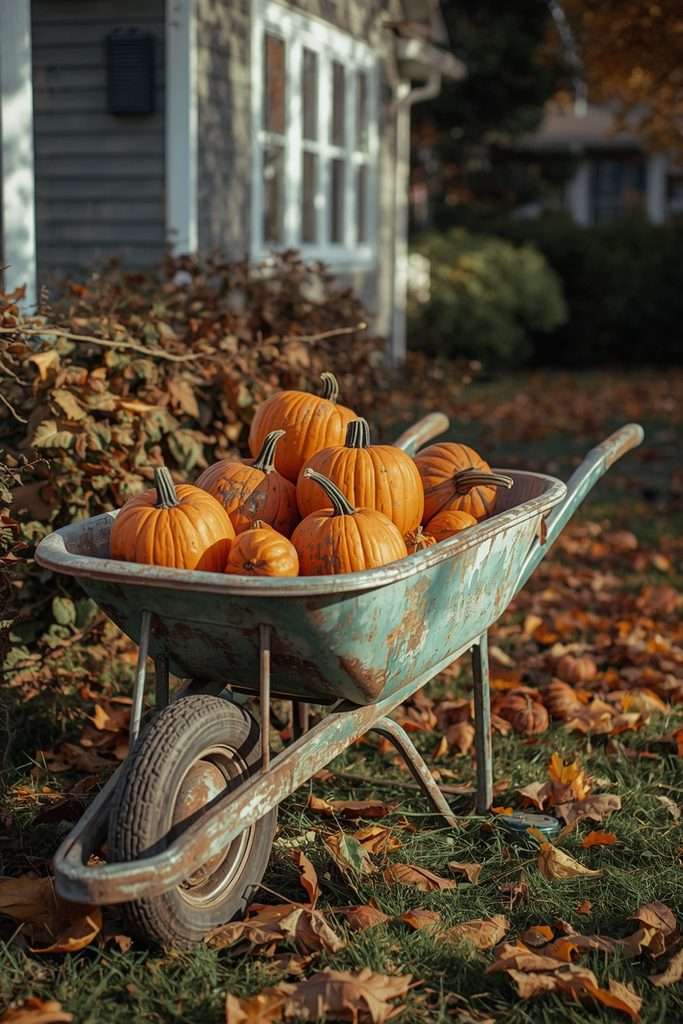
9. Pumpkin Wheelbarrow Display
An old garden wheelbarrow can become an easy seasonal pumpkin container.
Fill it with pumpkins, small gourds, dried leaves, and a few fall branches. I like leaving some of the pumpkins uncarved so the display feels more like a harvest arrangement than a Halloween prop.
This is particularly useful if you already have an old wheelbarrow sitting around.
And if your yard needs more seasonal structure beyond Halloween, a simple garden container arrangement can transition nicely into November.
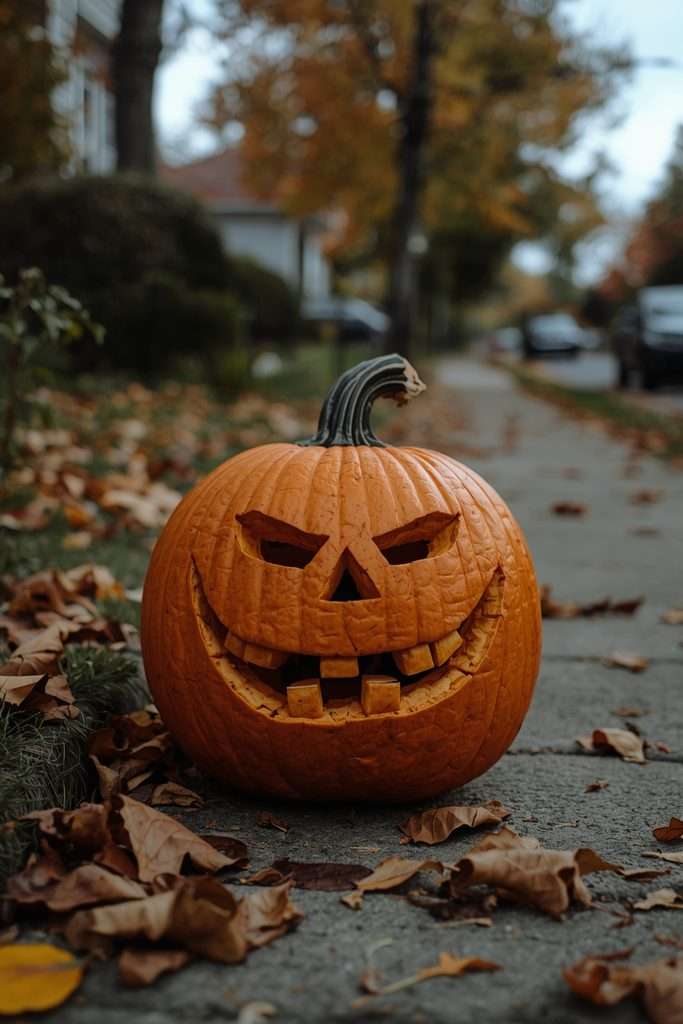
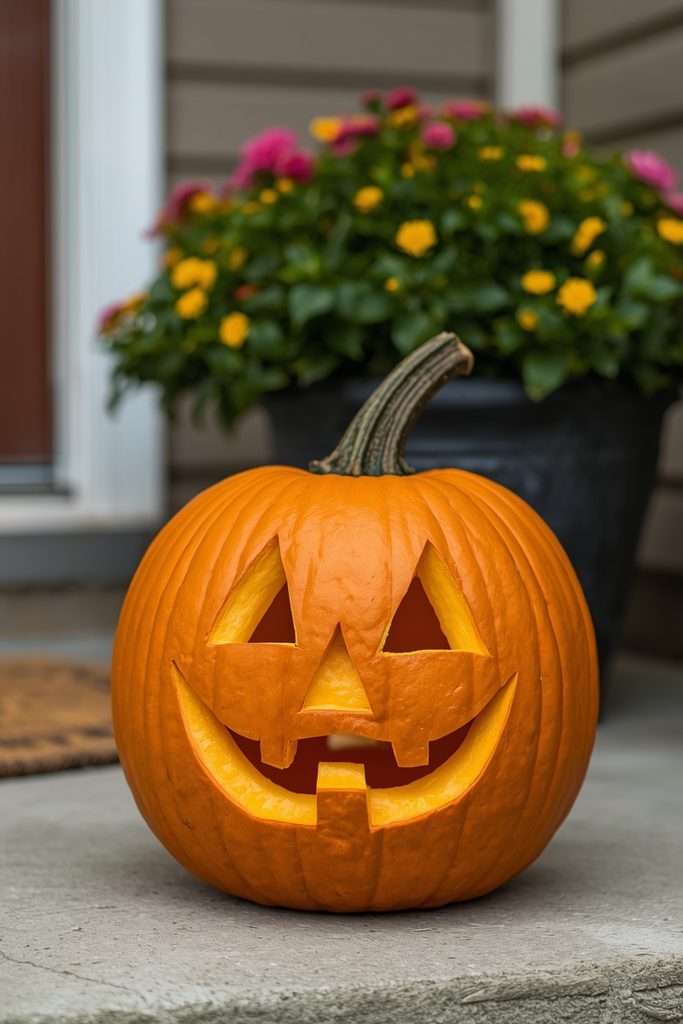
10. Pumpkin With a Funny Toothy Grin
A deliberately silly pumpkin can break up an otherwise serious Halloween display.
Try an oversized crooked mouth with uneven teeth. Don’t worry about making every cut perfect. In fact, the imperfect teeth are usually what make this style look homemade.
Place it somewhere children can see it easily, such as beside the walkway.
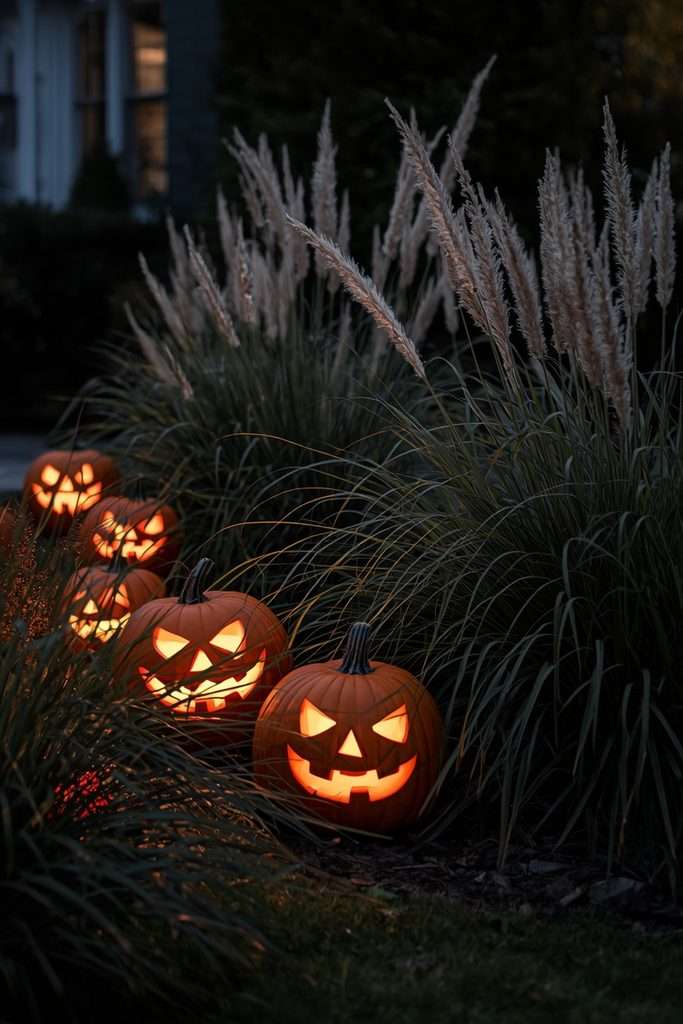
11. Pumpkin Faces Peeking From Tall Grass
This one is especially effective if you already have ornamental grasses.
Place pumpkins partially behind the foliage so only the carved faces are visible.
At night, the glowing faces seem to appear between the grass stems. It’s much more interesting than simply placing pumpkins in an open row.
The best part? You don’t need much extra decoration.
Common Mistake
Don’t put every decoration at exactly the same height. When everything lines up perfectly, the display can look more like a store window than a real home.
12. Pumpkin Archway
Create a small visual entrance by placing pumpkins on both sides of a walkway or porch opening.
You don’t need a literal arch. The pumpkins themselves create the framing effect.
Use taller pumpkins toward the outside and smaller ones closer to the path. This works particularly well with an existing garden gate or porch structure.
If your entrance already has seasonal greenery, you can also borrow ideas from these outdoor Halloween decorating ideas designed for wind and rain.
13. Black-Painted Pumpkin Faces
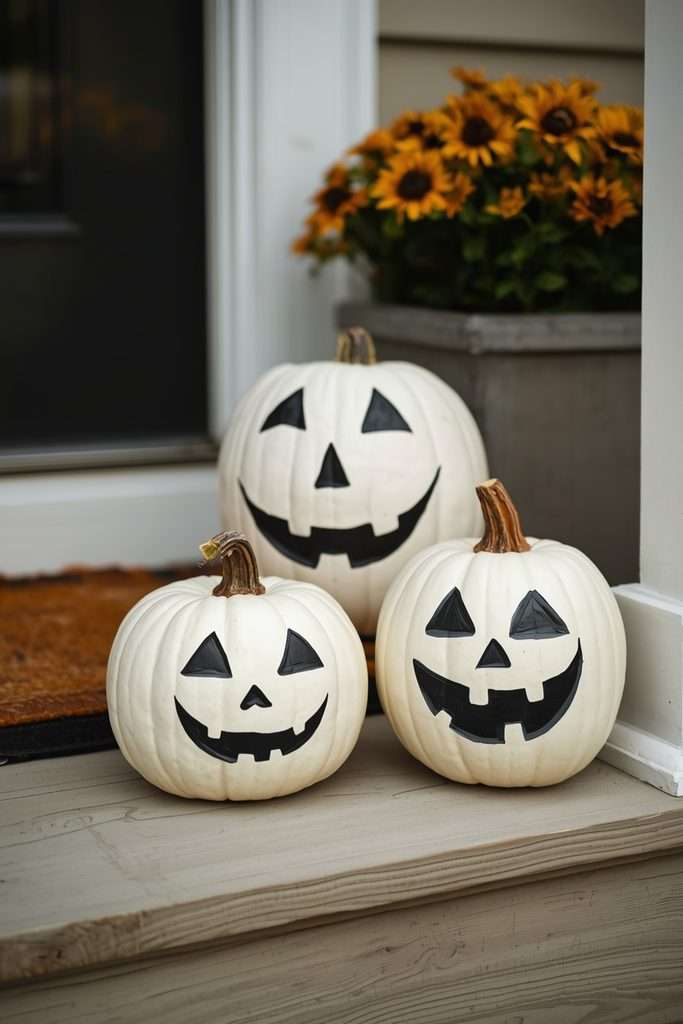
For a slightly moodier look, paint rather than carve.
Use a light-colored pumpkin and add a black face using outdoor-appropriate craft paint. The advantage is that the pumpkin stays solid and usually lasts longer than a heavily carved pumpkin.
This is also useful when you want decorations outside before you’re ready to start carving.
14. Pumpkin and Mums Combination
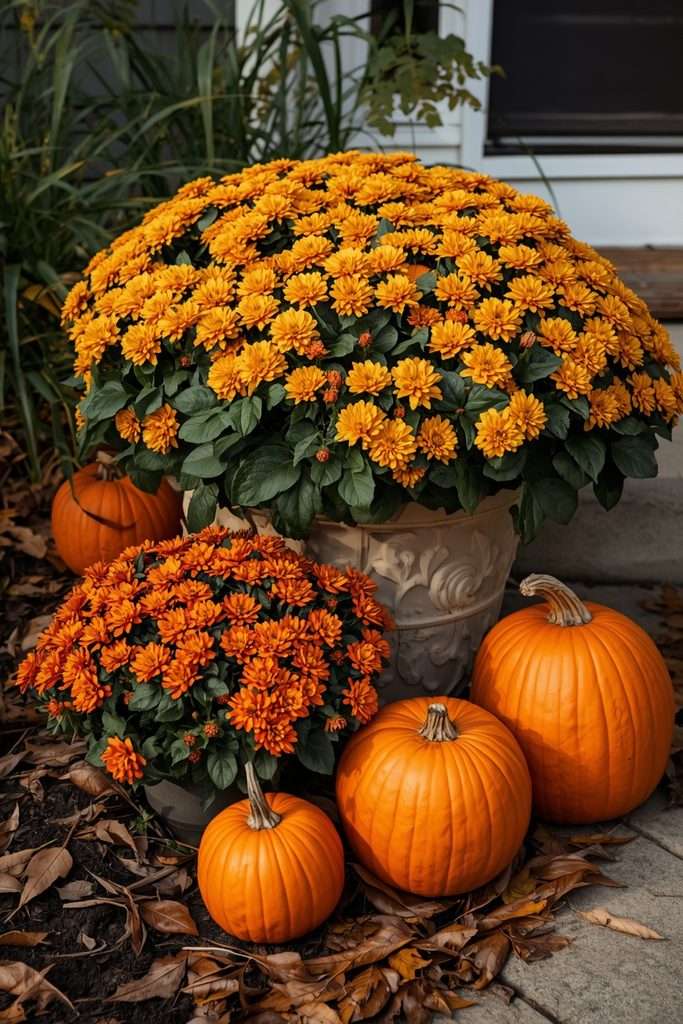
Pumpkins and chrysanthemums are almost impossible to get wrong.
Put a few pumpkins around the base of a mum container rather than hiding the pot completely. Use different pumpkin sizes and allow the flowers to rise above the display.
I prefer this to completely covering a porch with decorations because it still looks like a garden.
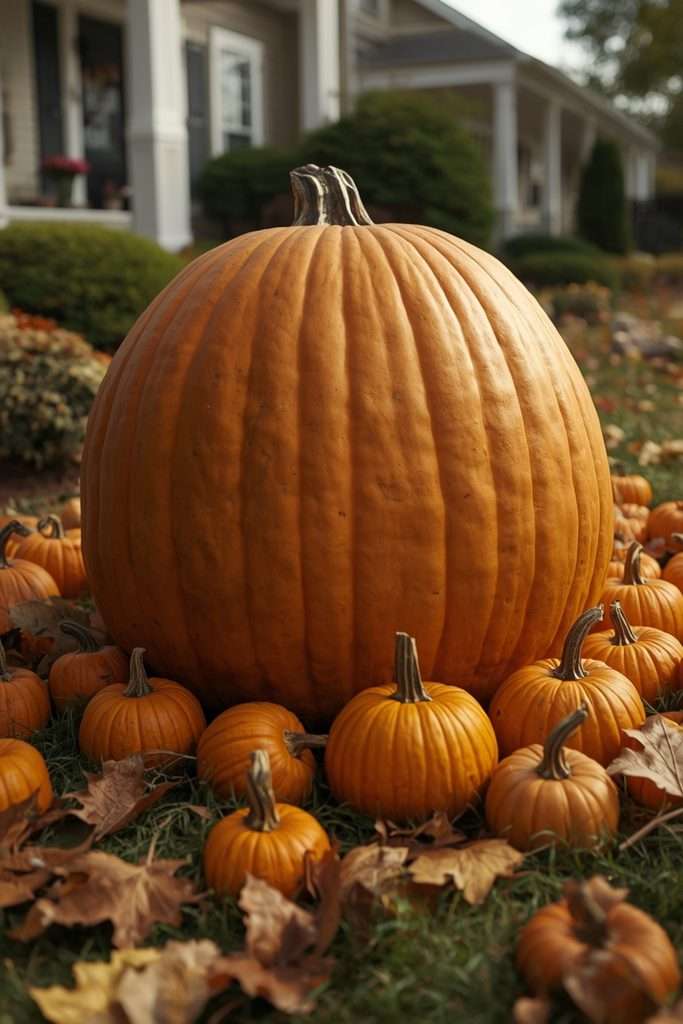
15. Large Pumpkin With Tiny Pumpkins
Create a size contrast.
Put one large pumpkin in the center and surround it with several miniature pumpkins. I like this arrangement near a mailbox or at the edge of a garden bed because the large pumpkin acts almost like an anchor.
The little pumpkins fill the gaps without making the display feel crowded.
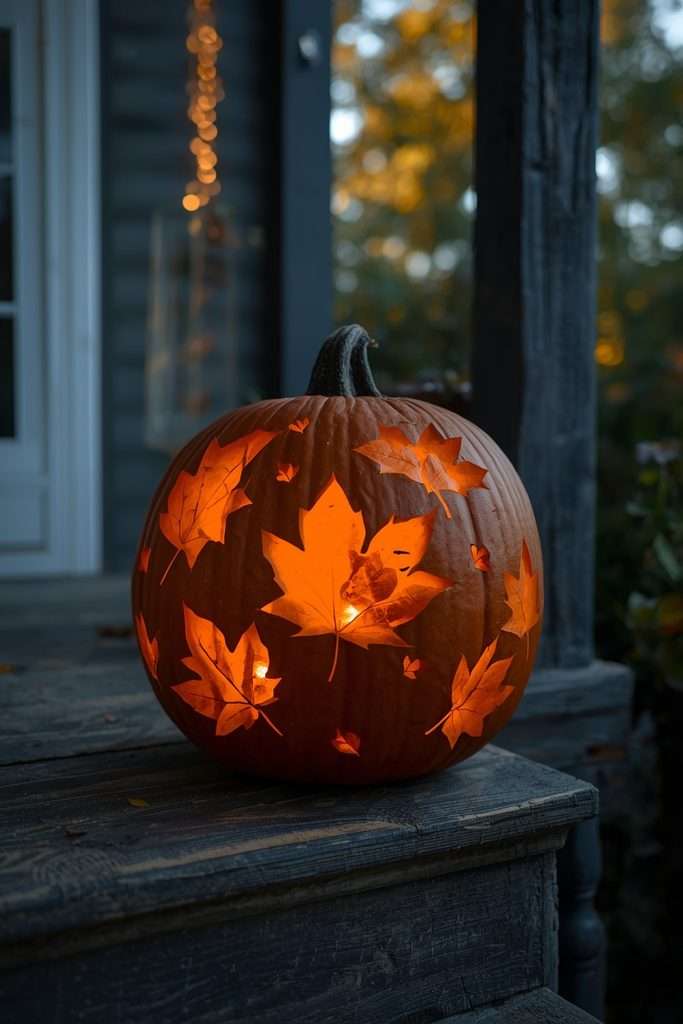
16. Pumpkin With Leaf Cutouts
Instead of Halloween faces, carve simple leaves into a pumpkin.
This gives you a seasonal design that feels more autumnal than spooky. I especially like it on porches where the rest of the decoration is natural and garden-focused.
Use a larger leaf shape rather than lots of tiny details so the design remains visible when illuminated.
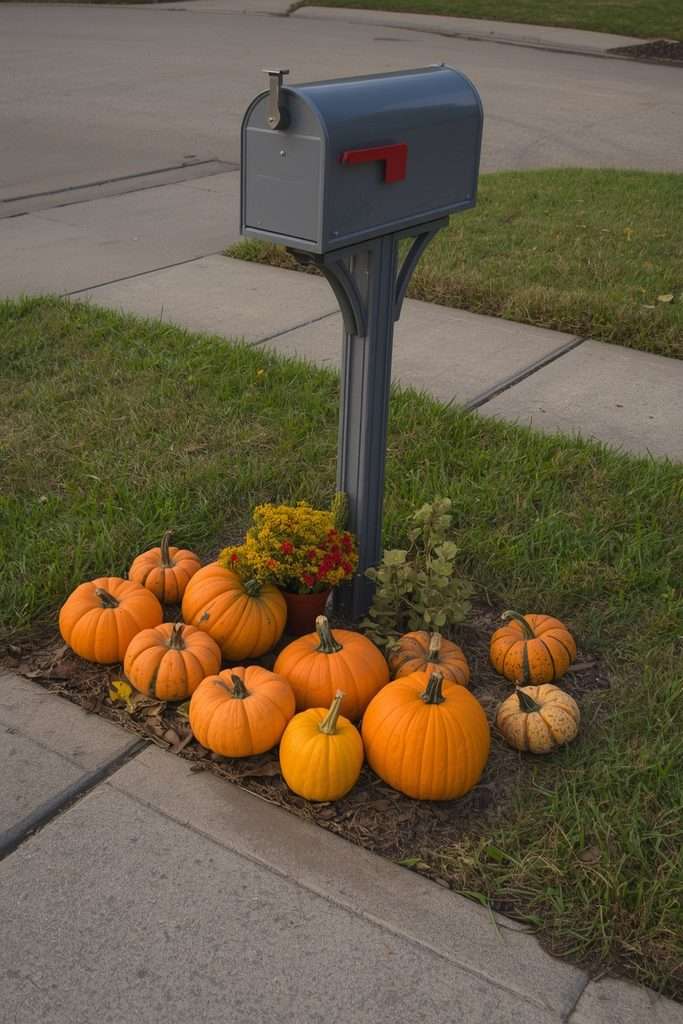
17. Pumpkin Mailbox Garden
Your mailbox area is easy to overlook, but it can become one of the most visible pumpkin spots in the yard.
Place two or three pumpkins around the mailbox post, keeping the actual mailbox and pathway accessible.
Don’t block the delivery area. A little decoration goes a long way here.
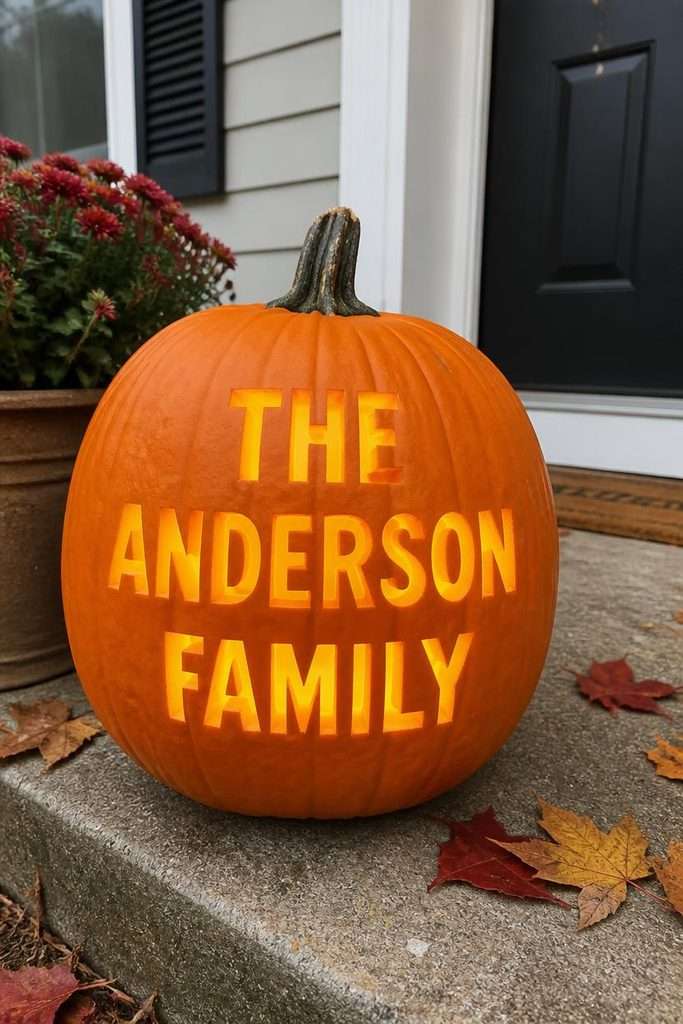
18. Carved Pumpkin With a Name
A personalized pumpkin can make the front yard feel much more connected to the people living there.
You can carve a family name, initials, or a simple word such as “BOO.” Keep the lettering large enough to read from several feet away.
A pumpkin carving stencil kit can be helpful here because letters are surprisingly easy to distort when drawn freehand.
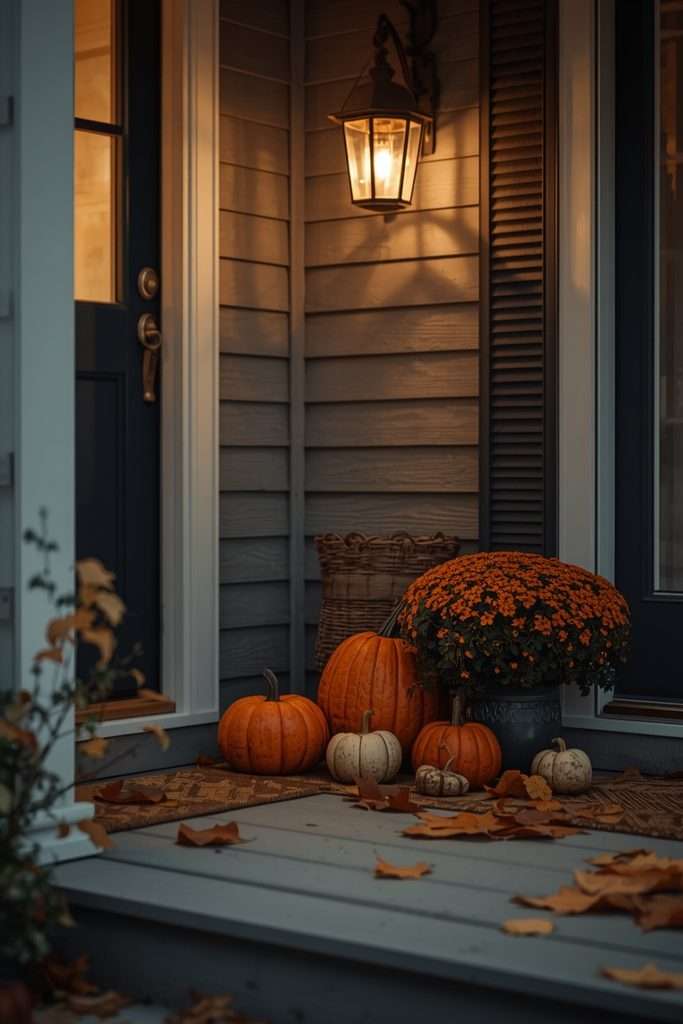
19. Pumpkin Porch Corner
You don’t need to decorate the entire porch.
Choose one corner and make it intentional. Add three or four pumpkins, a basket of fall leaves, and perhaps a small lantern.
I use this approach when I want the porch to remain usable. It also makes cleanup much easier.
What Actually Helped
I stopped trying to decorate every empty space. Leaving some lawn, porch, or garden visible actually made the pumpkins stand out more.
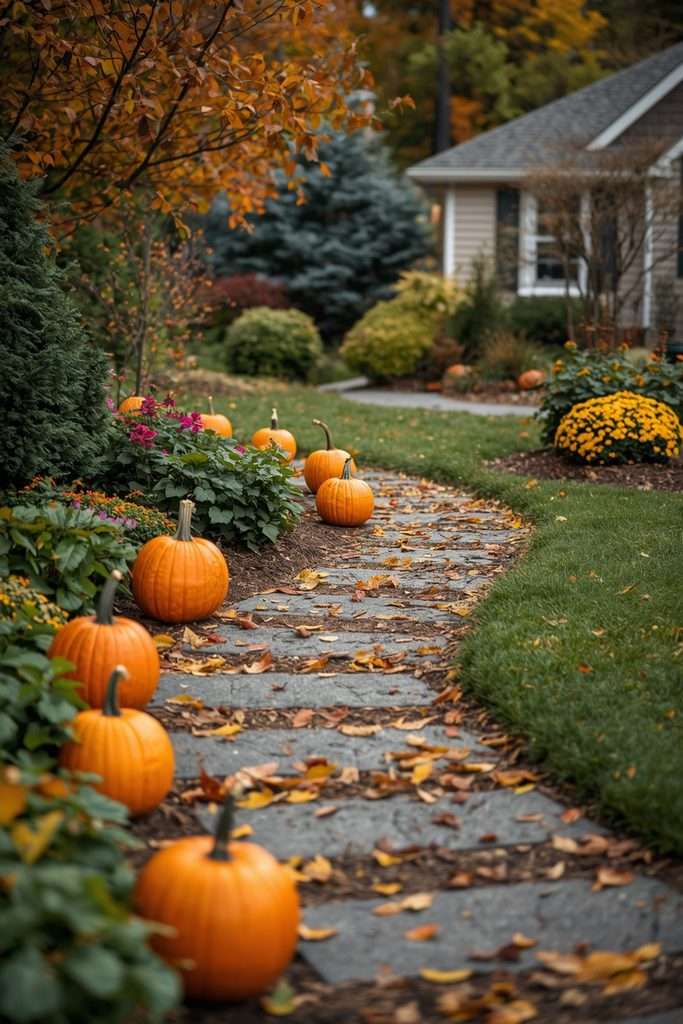
20. Pumpkin Path Through a Garden Bed
If your front garden has a curved path, follow its shape with pumpkins.
Rather than forcing a straight line, let the pumpkins follow the natural curve. This makes the display feel like it belongs there.
For garden paths, I also like mixing pumpkins with small stones, mulch, or existing groundcover. If you’re planning a path makeover, these budget-friendly DIY garden path ideas can give you a useful starting point.
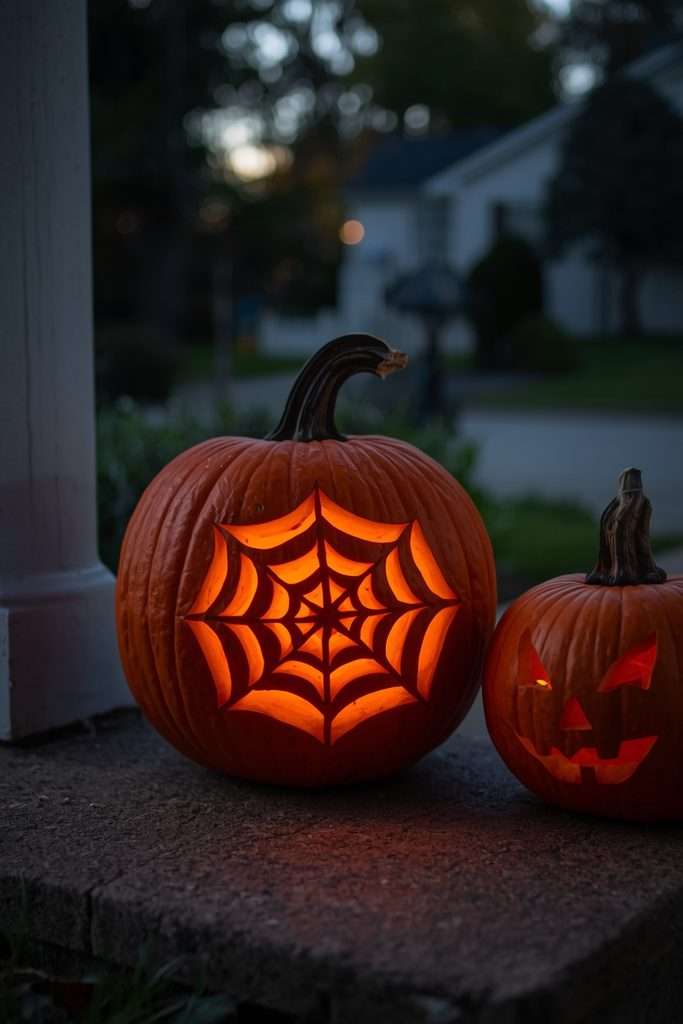
21. Pumpkin With Spiderweb Cutouts
A pumpkin with several web-shaped cutouts can look surprisingly good when illuminated.
I would keep the design simple rather than attempting a highly detailed spiderweb. A few broad lines are enough.
Put this pumpkin beside a more traditional jack-o’-lantern for contrast.
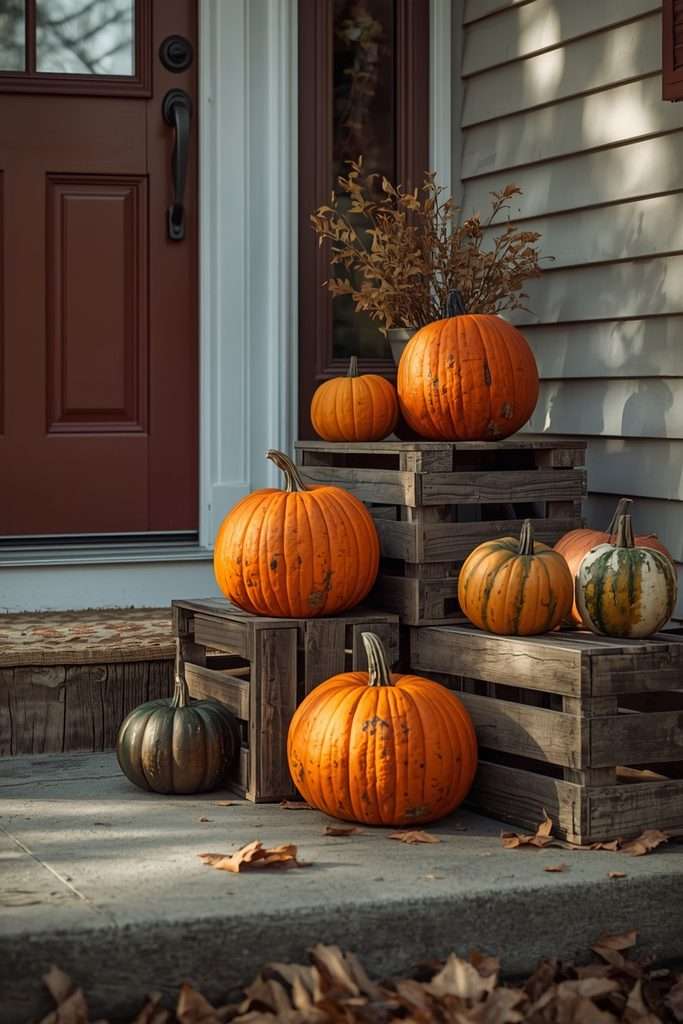
22. Pumpkins on a Wooden Crate
Wooden crates add height without requiring you to stack pumpkins directly on one another.
Put one or two pumpkins on top and another beside the crate. Add a few leaves around the base.
If you already have garden containers or rustic wood pieces, this costs almost nothing.
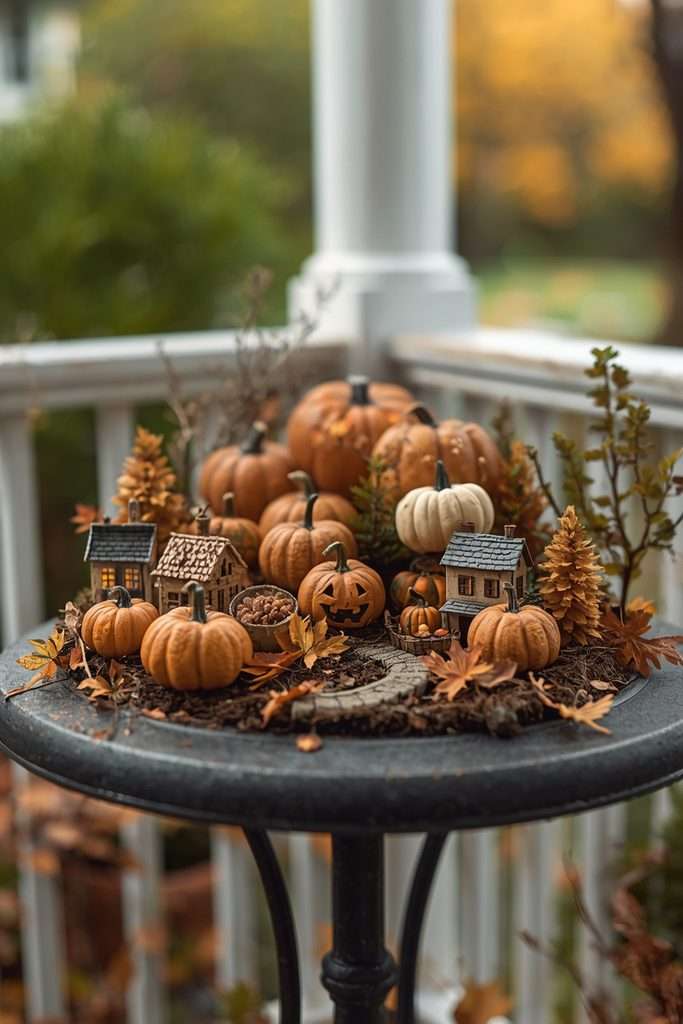
23. Tiny Pumpkin Village
This is a fun one for families.
Use miniature pumpkins and create a tiny scene with small doors, windows, or simple painted details. Keep it on a porch table or sheltered garden corner.
I wouldn’t put tiny pieces directly beside the sidewalk because they tend to disappear quickly.
24. Pumpkin With a Wide Open Mouth
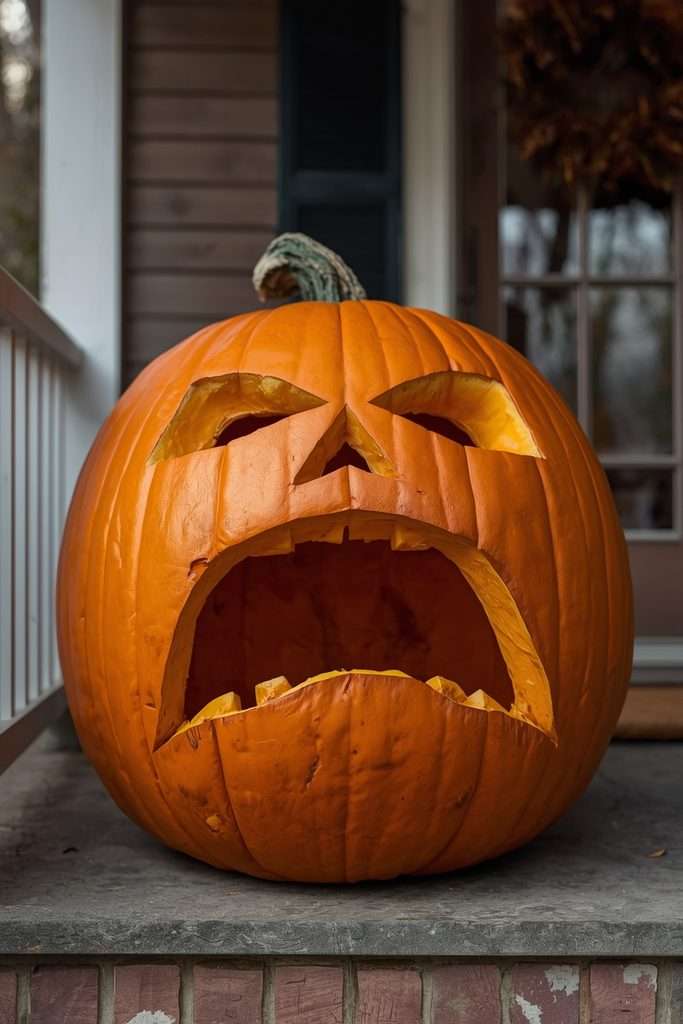
A wide-open-mouth pumpkin gives you a very different silhouette from the traditional face.
Make the mouth oversized and keep the eyes relatively simple. The exaggerated shape is what makes it funny.
This works especially well as the central pumpkin in a group.
25. Pumpkin and Hay Bale Display
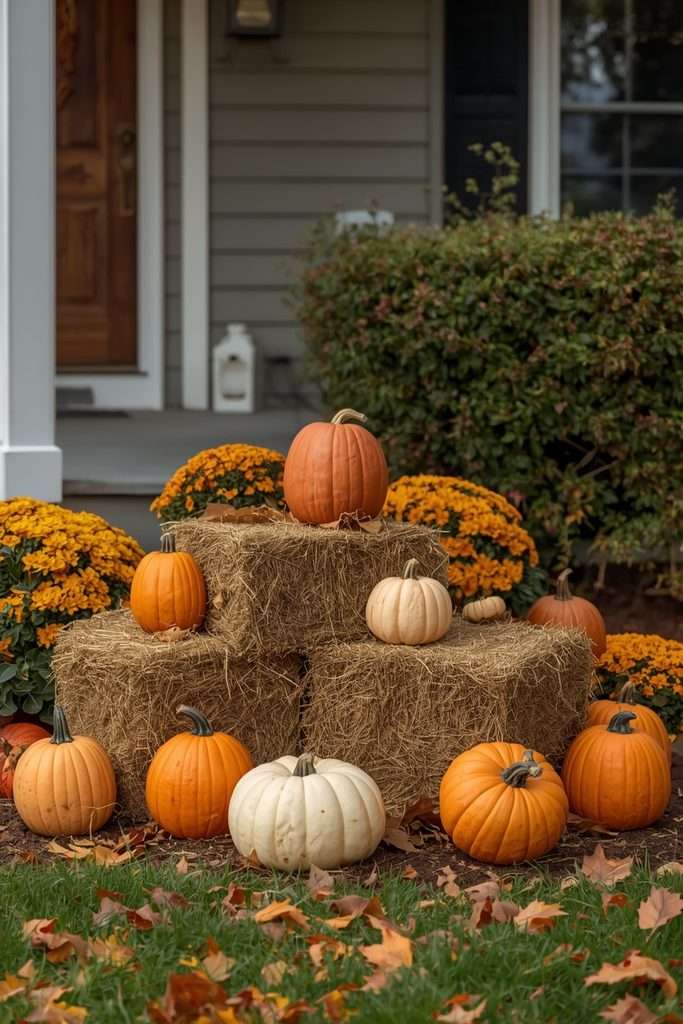
If you have enough space, combine pumpkins with one or two small hay bales.
Put pumpkins on the ground and one or two on the bale to create different levels. Add mums or corn stalks if you already have them.
Don’t overfill it. The pumpkins should still be the main attraction.
26. Glowing Pumpkin Group Near the Door
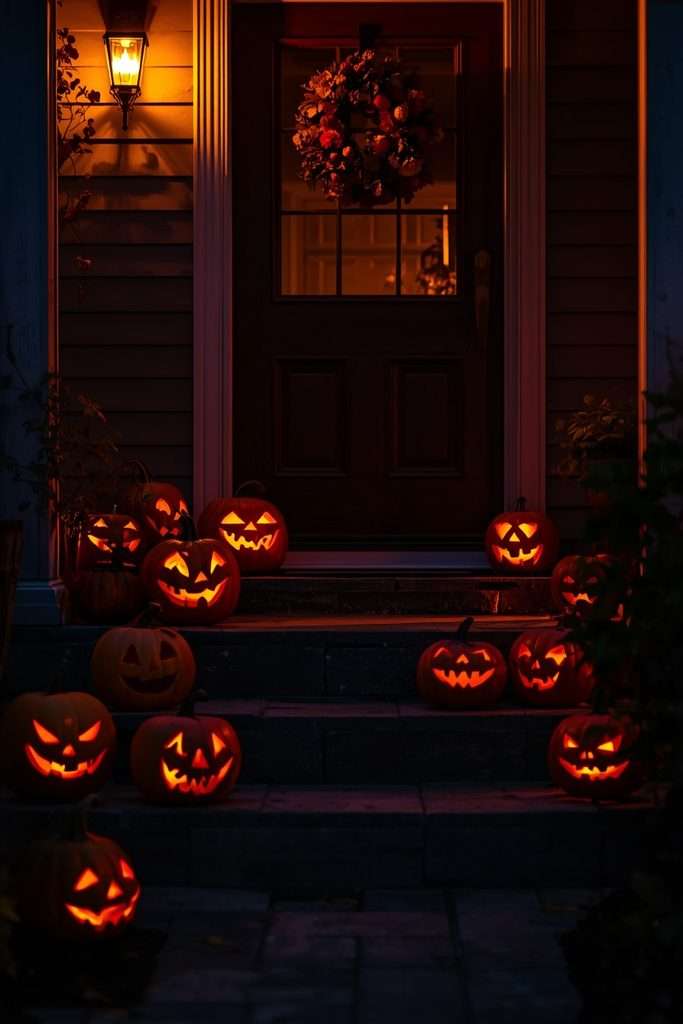
For nighttime impact, concentrate the brightest pumpkins near the entrance.
Use LED lights inside several carved pumpkins, but vary their brightness. A completely uniform glow can look artificial.
A set of battery-operated LED tea lights works particularly well when you want to avoid open flames around dry leaves.
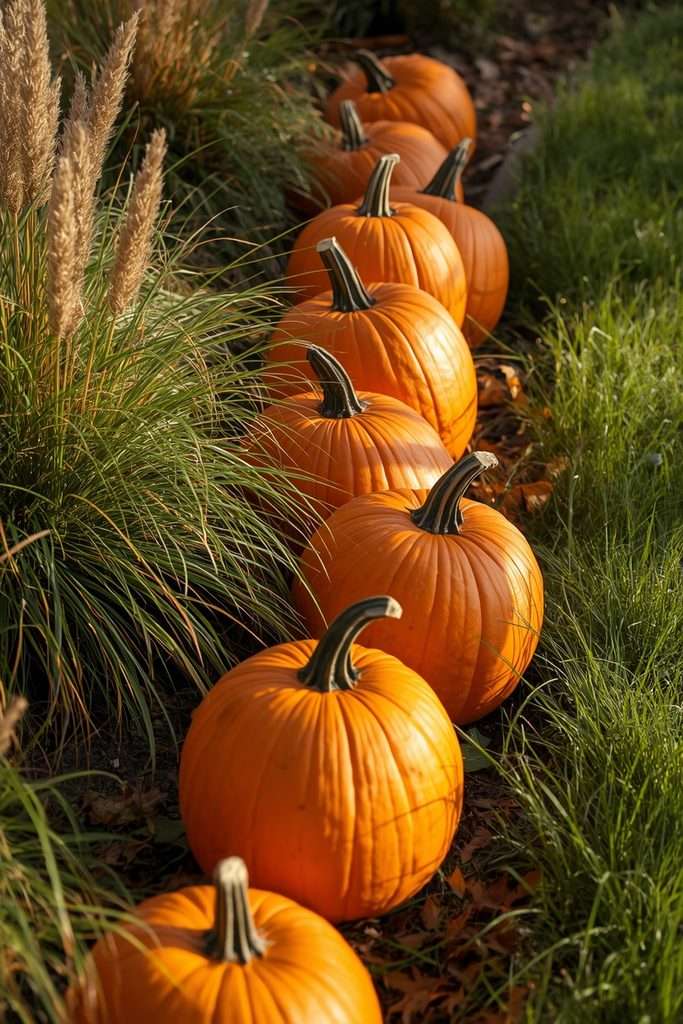
27. Pumpkin and Ornamental Grass Border
Use pumpkins to create a loose border around an existing ornamental grass bed.
I like this because the tall grass provides movement and texture while the pumpkins provide color. It looks especially nice when the grass catches the evening breeze.
Keep the pumpkins outside the densest part of the planting so they remain visible.
28. Simple Pumpkin Stencil Pattern
If you’re not confident with freehand carving, don’t try to make an elaborate design.
Choose a simple stencil and follow the pattern carefully. I’ve found that a clean, recognizable silhouette usually looks better than a complicated design with rough cuts.
This is one place where taking your time matters.
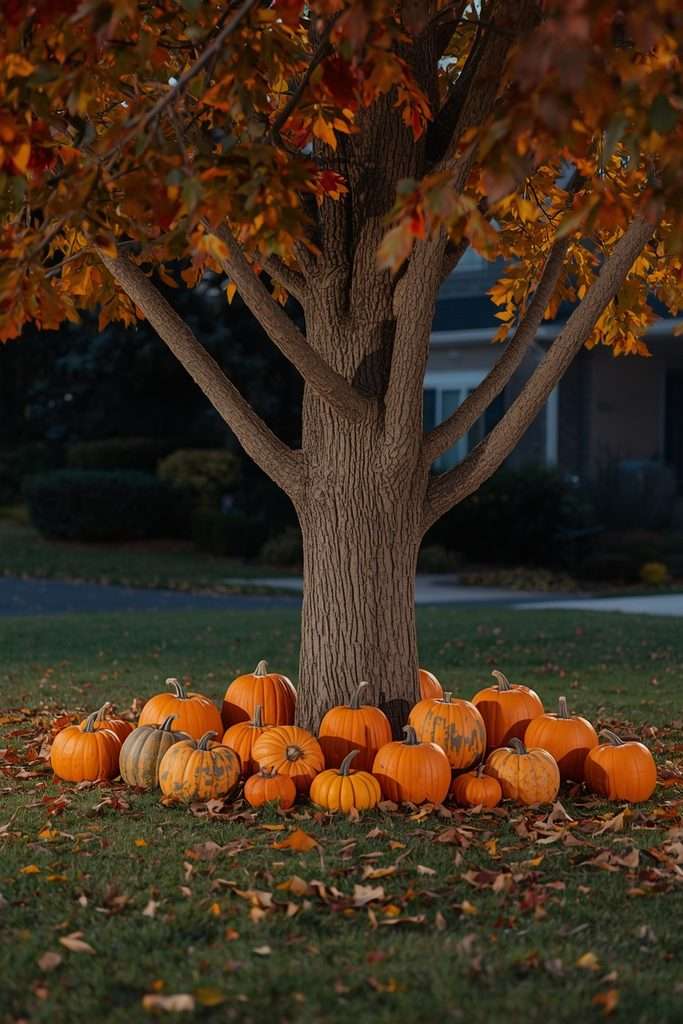
29. Pumpkins Around a Front Tree
A mature front-yard tree can become a natural centerpiece.
Arrange pumpkins around the trunk, leaving enough room that they don’t look packed together. Use several sizes and let the surrounding lawn remain visible.
At night, a few glowing pumpkins beneath a tree can look much more atmospheric than a heavily decorated porch.
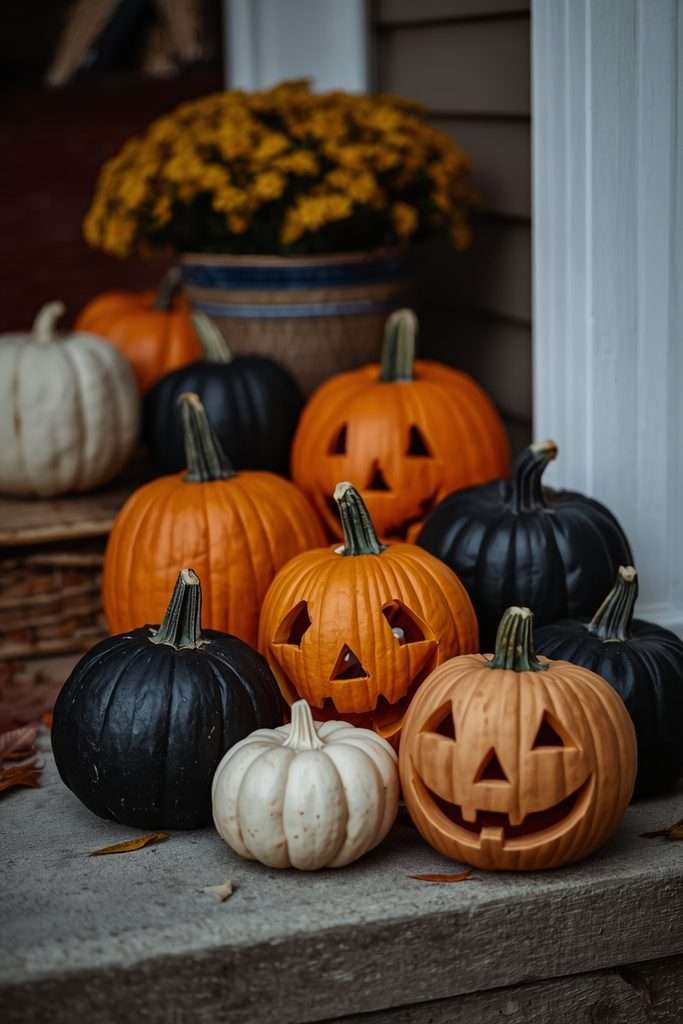
30. Black and Orange Pumpkin Group
Use color rather than complicated carving.
A few naturally dark pumpkins, painted pumpkins, and classic orange pumpkins can create a strong Halloween combination. Add one or two simple carved faces so the display still feels handmade.
This approach is especially useful if you don’t want to spend hours carving.
31. The Relaxed Mixed Pumpkin Display
My favorite approach is probably the least complicated: mix everything.
Use a few carved pumpkins, several natural ones, one unusual shape, some fall leaves, and whatever seasonal plants you already have.
Don’t make every item match.
A real front yard rarely looks perfectly symmetrical, and that is part of its charm. The display should feel like you added things gradually because you liked them—not like you measured every pumpkin with a ruler.
If your front yard needs a broader seasonal makeover, you can also pull ideas from this budget-friendly front-yard landscaping guide and treat the pumpkins as the temporary fall layer.
How to Start: A Simple Pumpkin Display Plan
If you’re standing outside wondering where to begin, don’t start by buying decorations.
Start by looking at your yard.
Find the three places people naturally notice first: usually the front door, walkway, and street-facing garden or mailbox.
Then choose one focal point.
For example, if you have a nice front porch, put your biggest pumpkin arrangement there. If the porch is tiny, use the walkway instead.
Next, choose three pumpkin sizes: large, medium, and small. That alone creates enough variation to make the arrangement interesting.
For carving, I prefer doing the cutting outside or on a surface that’s easy to clean. A sturdy pumpkin carving tool set makes the job easier, especially when you’re working with thicker pumpkin walls.
Once the pumpkins are carved, don’t immediately add more decorations. Step back and look at the display from the street.
If it feels empty, add one thing.
If it feels crowded, remove two.
That sounds almost too simple, but it has saved me from overdecorating more than once.
Things That Didn’t Work for Me
A few pumpkin experiments looked much better in my head than they did in the yard.
Putting pumpkins directly on the grass: After rain, the bottoms stayed damp and the pumpkins deteriorated faster than expected. A small wood or stone surface helped.
Carving too early: This is probably the biggest mistake. A beautifully carved pumpkin isn’t very useful if it starts looking tired before Halloween.
Using tiny carving details: They looked impressive on my work table but disappeared once the pumpkin was outside.
Making everything symmetrical: I used to line everything up perfectly. It looked neat, but also strangely artificial. Slight variation made the display feel much more natural.
And one more lesson: protect your pumpkins from extreme weather when you can. Rain, heat, and direct sun can shorten their outdoor life.
Pumpkin Display FAQ
There isn’t a magic number. For a small porch, three to five pumpkins can be enough. A larger front garden can handle a dozen or more when they’re spread out naturally.
I usually wait until fairly close to Halloween. Once carved, pumpkins generally don’t hold up as long as whole pumpkins, especially in warm or wet conditions.
Battery-operated LED lights are an easy option. They’re particularly convenient around dry leaves, children, pets, and busy walkways.
Use different heights, but give each group some breathing room. The easiest way to create visual order is to choose one focal point rather than decorating every available space.
Absolutely. Painting, stenciling, adding natural leaves, or simply grouping pumpkins by color can create a strong display without cutting them open.
Start with the front door, walkway edges, and mailbox area. If space is limited, use vertical arrangements such as crates or short pumpkin towers.
A Few Final Thoughts
The best pumpkin display isn’t necessarily the biggest one.
After experimenting with different arrangements over the years, I’ve found that a handful of pumpkins placed thoughtfully usually looks better than a yard packed with decorations.
Use what you already have. Let your garden plants become part of the display. Mix carved pumpkins with natural ones. Leave some empty space.
And don’t worry if one pumpkin ends up slightly crooked.
Honestly, those little imperfections are often what make a Halloween display feel like it belongs to a real home.
Start with two or three ideas, live with the arrangement for a day, and adjust it from there. By Halloween night, you’ll probably have something that looks much more personal than anything you could create by simply copying a perfectly staged photograph.
Transparency Note
Most ideas in this article come from years of real gardening experience and testing different outdoor setups at home. Results may vary depending on climate, space, weather, pumpkin variety, and maintenance.
Some product recommendations may use affiliate links. If you purchase through an affiliate link, SpruceTouch may earn a small commission at no additional cost to you. Recommendations are included because the products can be useful for the specific task discussed.

Aagam – Founder of SpruceTouch
I’m Aagam, a home and garden enthusiast who enjoys growing, building, and improving outdoor spaces. I focus on practical backyard projects, garden ideas, and simple DIY solutions that are useful in real homes. Through SpruceTouch, I share what I’ve learned, what worked, what didn’t, and the small details that can make an outdoor project easier.