
If you’ve ever stared at a bag of “premium garden soil” at the big-box store and winced at the price, this is for you. I’m going to show you how to stop throwing away money (literally, in your trash can) and start making the richest, darkest soil you’ve ever seen.
I’ve been playing in the dirt for nearly twenty years now. I’ve built raised beds, killed more “un-killable” houseplants than I care to admit, and spent way too much time obsessing over pH levels. But the biggest game-changer for my backyard was mastering the art of composting.
I’ll be honest: my first attempt at composting was a total disaster. I just threw a pile of kitchen scraps in a corner behind the shed. It didn’t turn into “black gold.” It turned into a slimy, stinky mess that attracted every raccoon in the tri-state area. My neighbors weren’t thrilled.
But after a lot of trial and error (and a few more stinky piles), I finally cracked the code. Composting isn’t a science experiment; it’s just managing a natural process. Once you get the rhythm down, it’s the easiest thing you’ll do in your garden.
Quick Check: Is Your Pile Working?
Before we dive deep, here are a few signs that you’re on the right track:
- The Smell Test: It should smell like a forest floor after rain, not a dumpster behind a seafood restaurant.
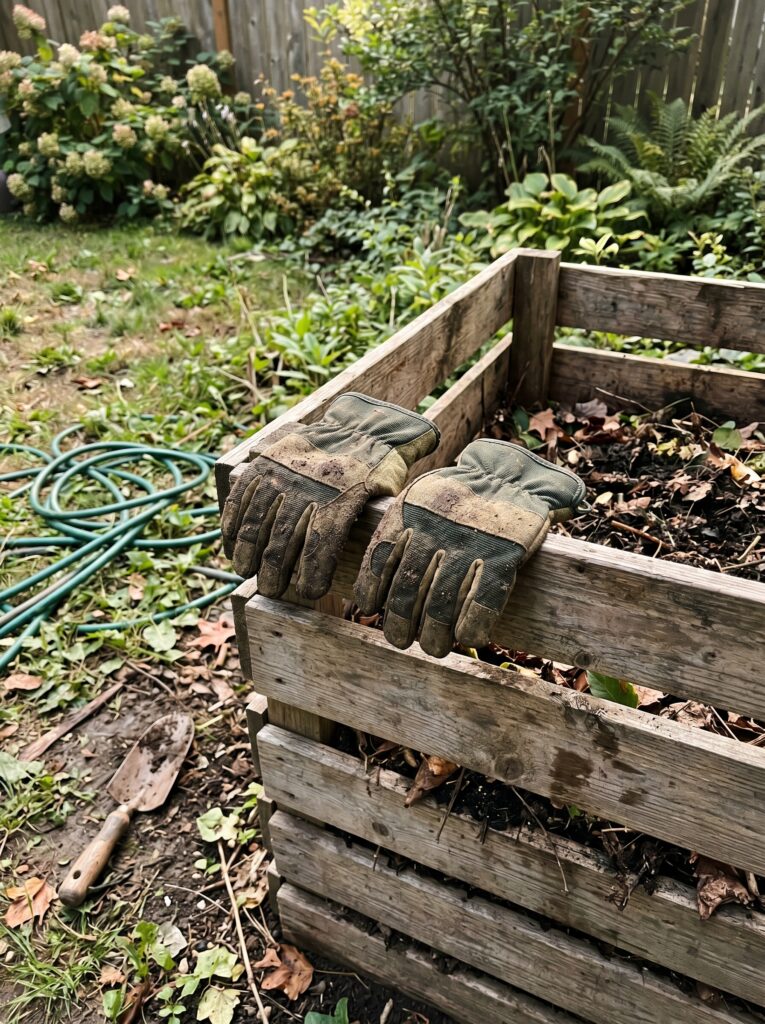
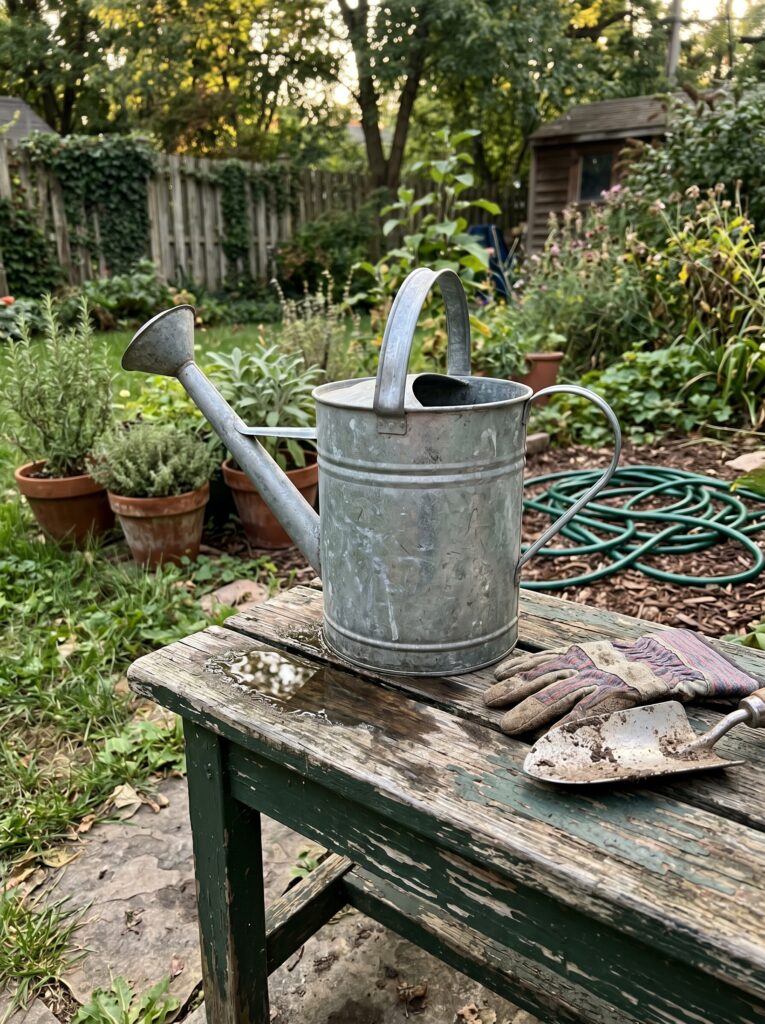
- The Heat: If you stick your hand in the middle (wear gloves!), it should feel noticeably warm.
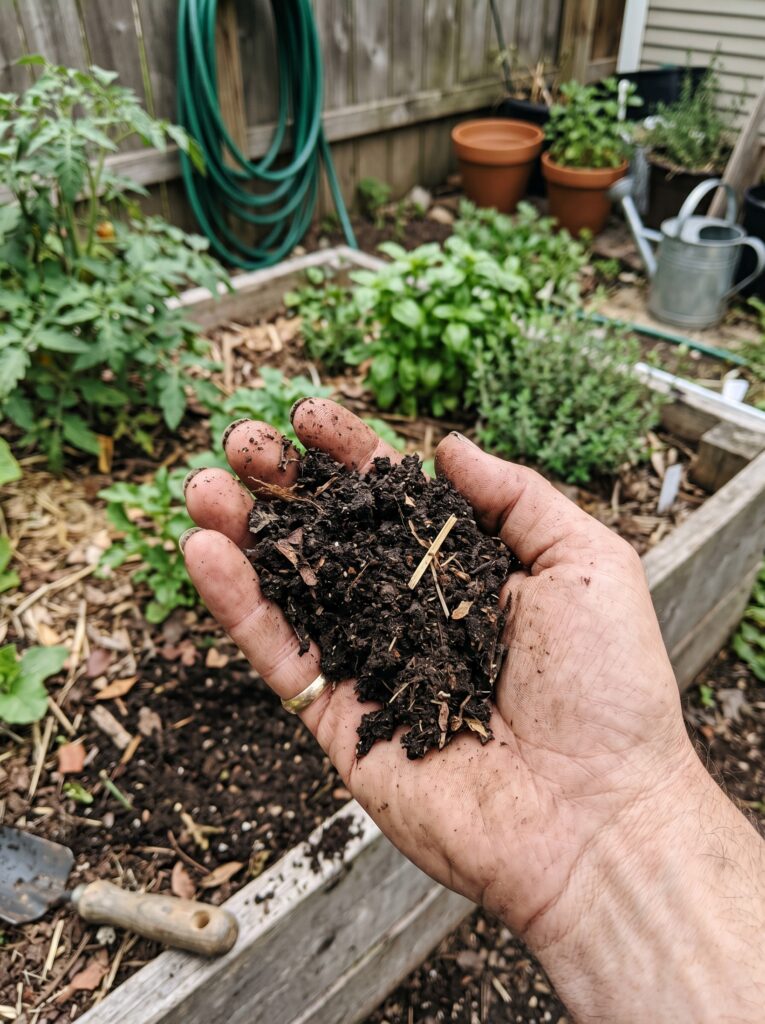
- The Color: It should gradually turn dark brown or black.
- The Texture: You shouldn’t be able to recognize the original banana peel or eggshell.
- The Life: Seeing worms or tiny bugs is actually a great sign—they’re your unpaid labor.
The “Aha!” Moment Behind the Bin
I used to think composting required a PhD and a bunch of expensive tumblers. I bought a fancy plastic spinning bin back in 2008 because a magazine told me I needed it. It sat in the sun, got brittle, and eventually cracked.
The best part? I realized my plants didn’t care if the compost came from a $200 bin or a hole in the ground. They just wanted the nutrients.
I learned this the hard way: nature wants to rot. Your job is just to make sure it rots efficiently. If you leave a pile of leaves in the woods, they turn into soil eventually. We’re just speeding up the clock.
One thing I noticed over the years is that people get way too hung up on “green to brown” ratios. You’ll see charts online that look like high school chemistry. Forget the math for a second.
Why Your Trash is Actually a Goldmine
Think about how much “waste” you throw out every week. Coffee grounds, potato peels, the junk mail that isn’t glossy, and those dead flowers from your anniversary.
When you send that stuff to a landfill, it gets trapped under plastic and can’t breathe. It produces methane, which isn’t great for the planet. But in your backyard, it becomes fuel for your tomatoes.
But wait, there’s a catch: you can’t just throw everything in there. I once tried to compost some leftover pasta with butter on it. Big mistake. It didn’t rot; it just went rancid and invited the local stray cats to a buffet.
Keeping it simple is the secret to high-quality composting at home. Stick to the basics first, then get fancy later once you know how your pile “behaves.”

The Mystery of Greens and Browns
Most gardening blogs never mention this: you almost always need more “browns” than you think. If your pile is smelly or wet, you need more carbon (browns).
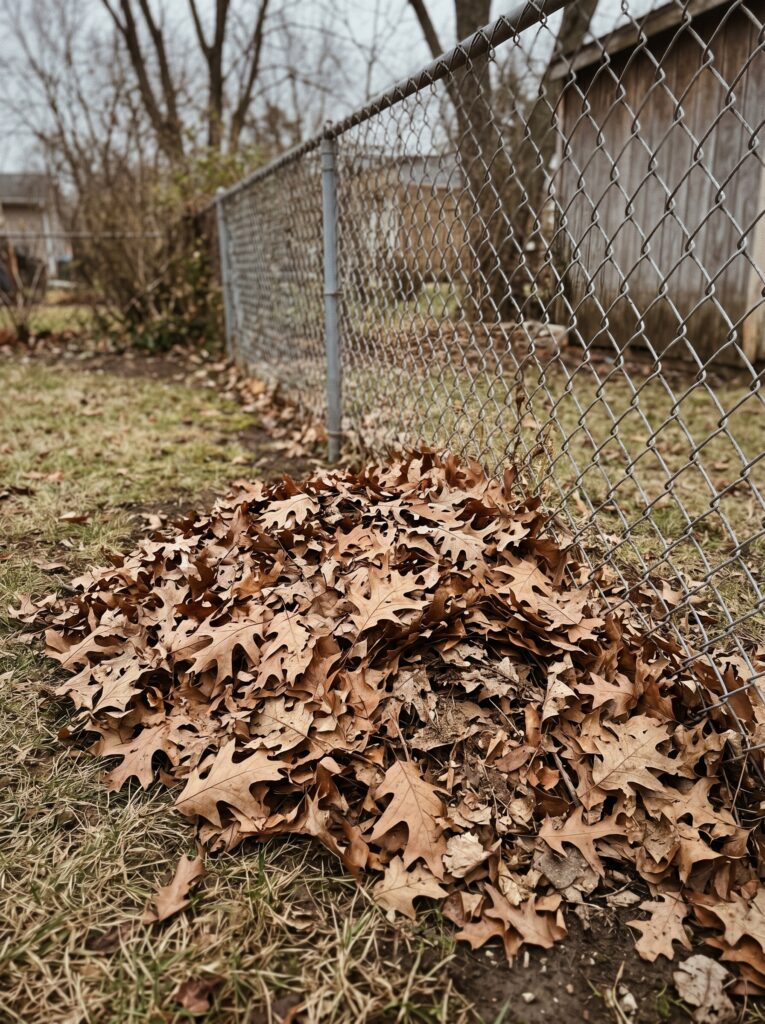
Browns are things like dried leaves, shredded cardboard, or straw. Greens are your kitchen scraps, fresh grass clippings, and coffee grounds (even though they’re brown in color, they’re “green” in nitrogen).
I used to just dump my kitchen bucket on the pile and wonder why it looked like a swamp. It’s because I wasn’t balancing it out with enough dry material.
Here’s where most people go wrong: they mow the lawn and dump a massive 4-inch thick layer of fresh grass on the pile. That grass mats down, cuts off the oxygen, and starts to smell like ammonia.
Now, I always keep a bag of crushed-up autumn leaves next to my bin. Every time I dump the kitchen scraps, I throw a handful of leaves on top. It’s like making a lasagna.
But Here’s the Kicker: Oxygen
Microbes need to breathe just like we do. If your compost pile is just a dense, wet mound, the “good” bacteria die off and the “stinky” bacteria take over.
I used to hate turning my compost. It felt like a chore. But then I found an old pitchfork at a yard sale for five bucks. Now, I just give the pile a few stabs and flips once a week.
One thing I’ve noticed—you don’t have to be perfect about it. Even if you only turn it once a month, it’ll still happen. It just takes longer.
If you’re really in a rush for that “black gold,” turning it more often is the secret. But if you’re lazy (like I am some summers), just let it sit. Nature isn’t in a hurry.
What Actually Works: The “No-Stress” Setup
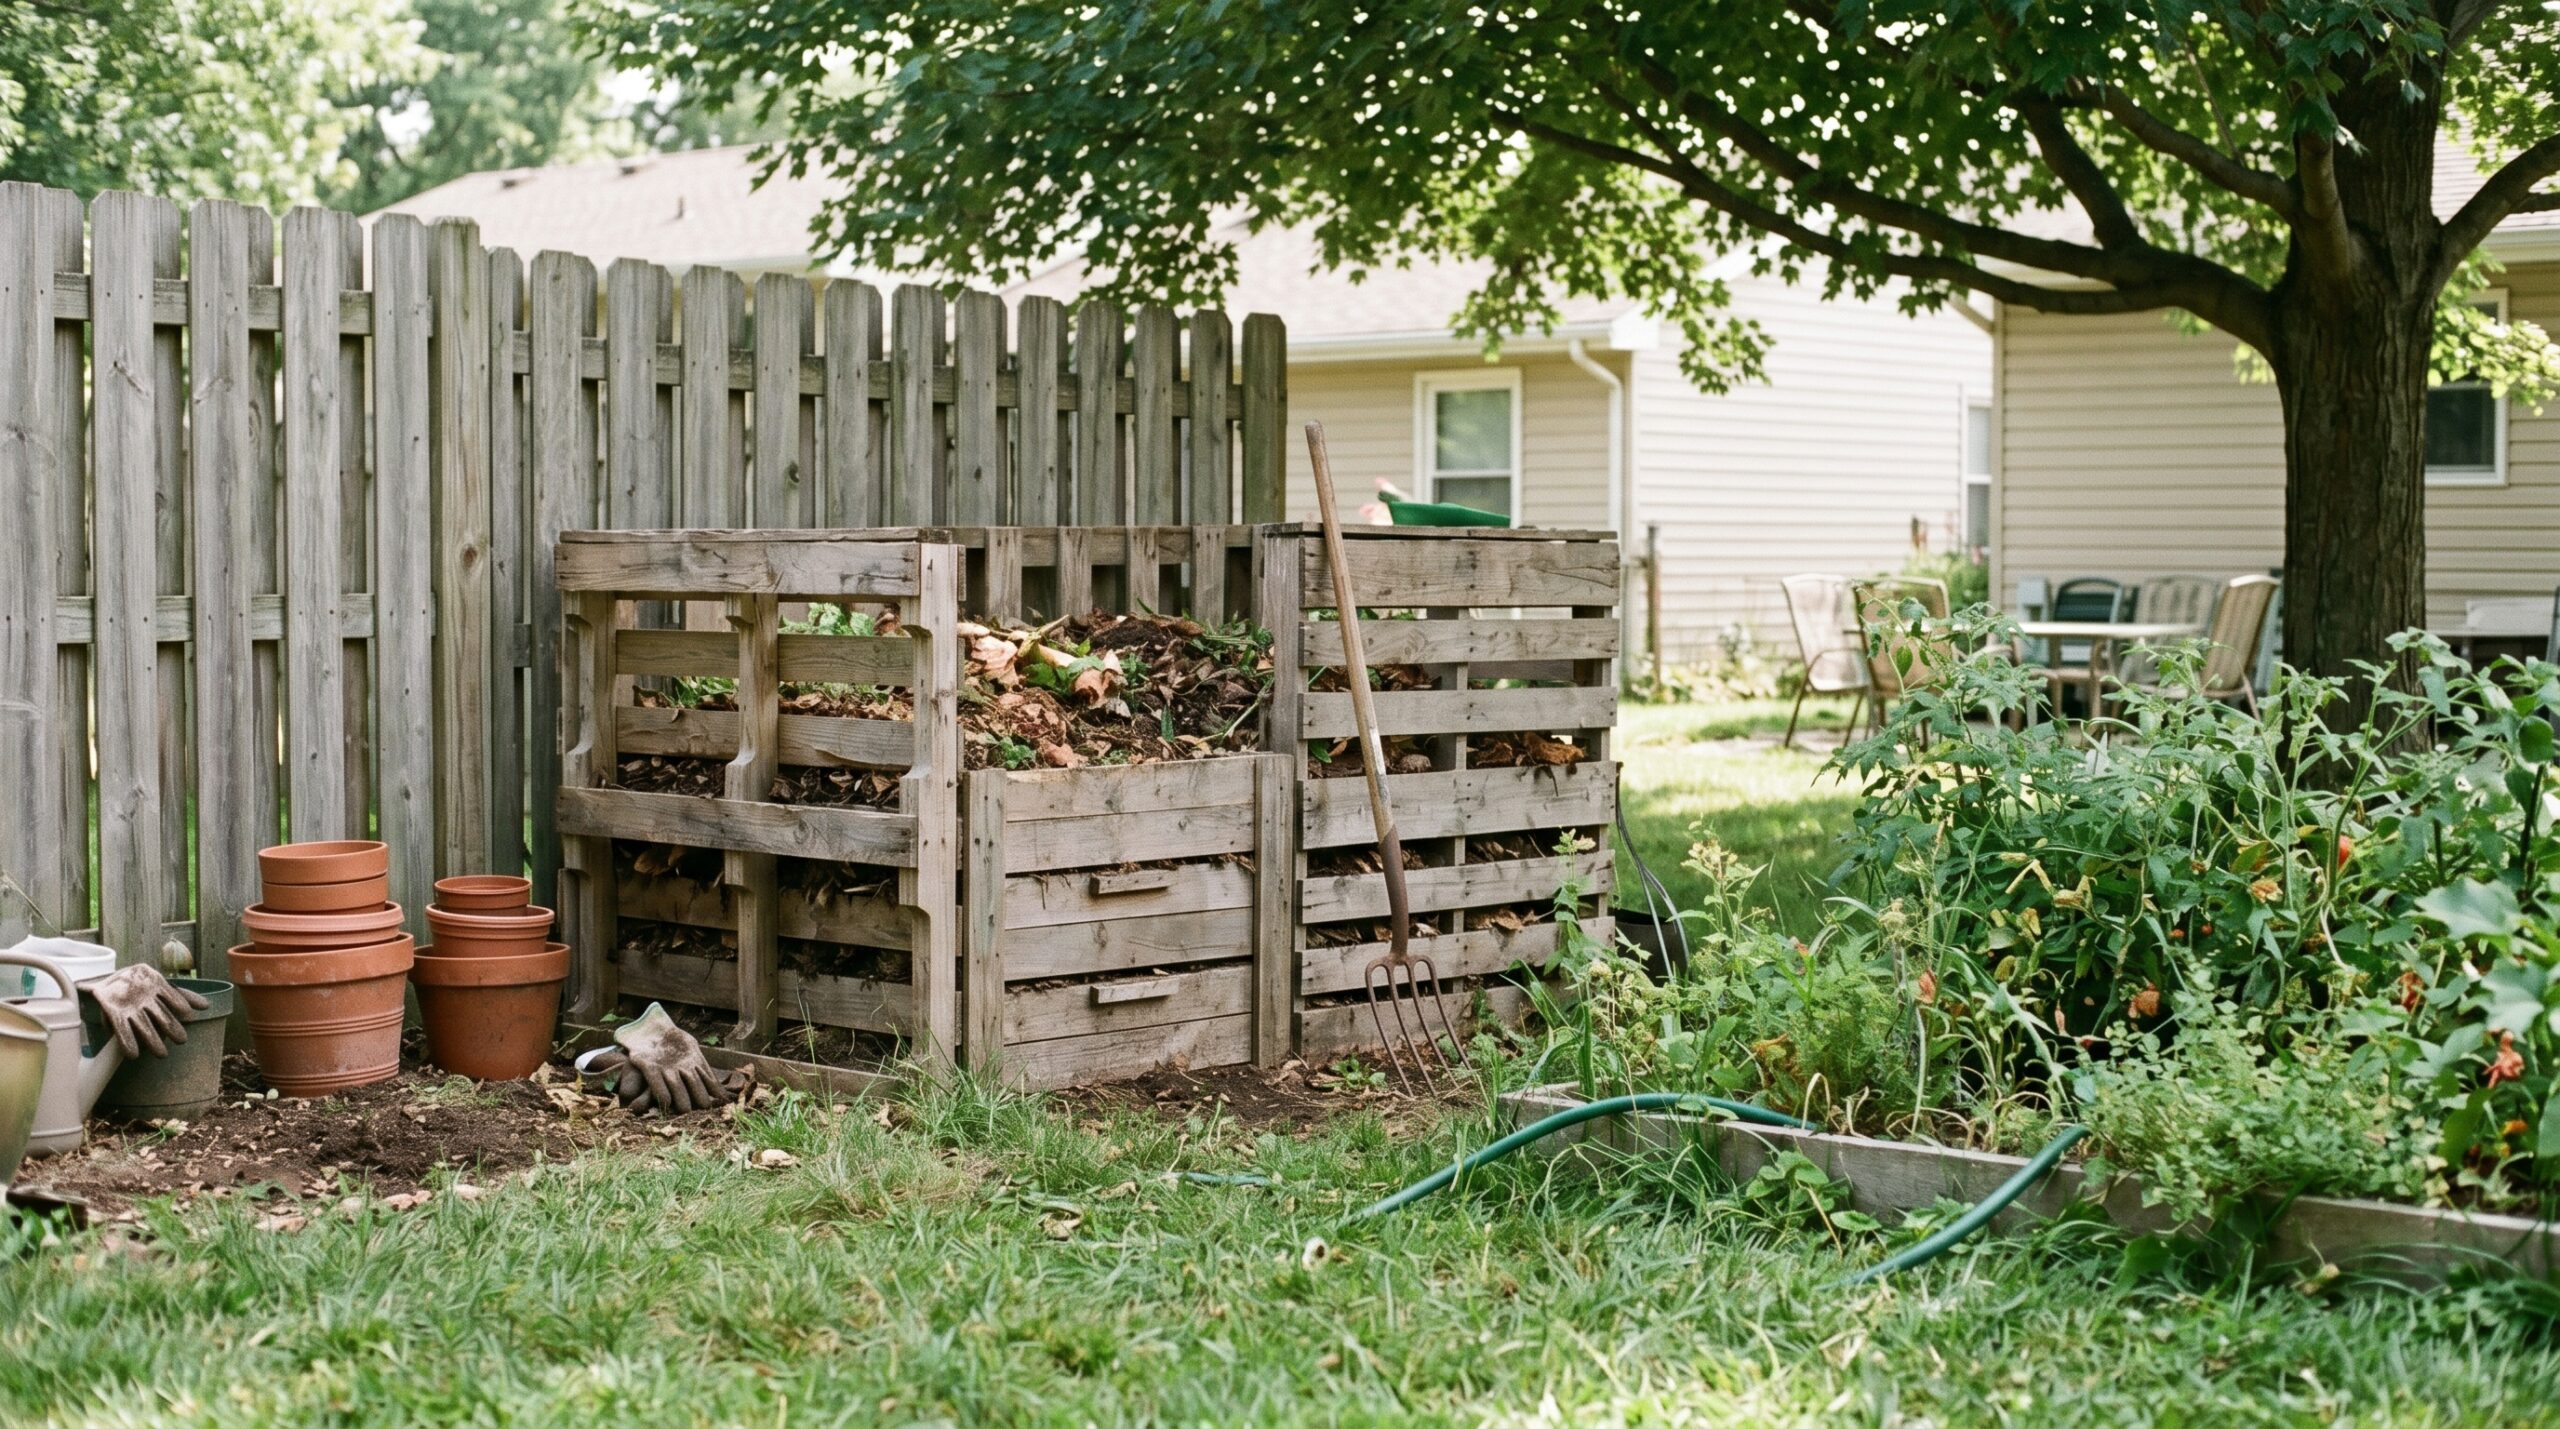
If you’re just starting, don’t overcomplicate this. Here is the exact setup I recommend for a standard US backyard.
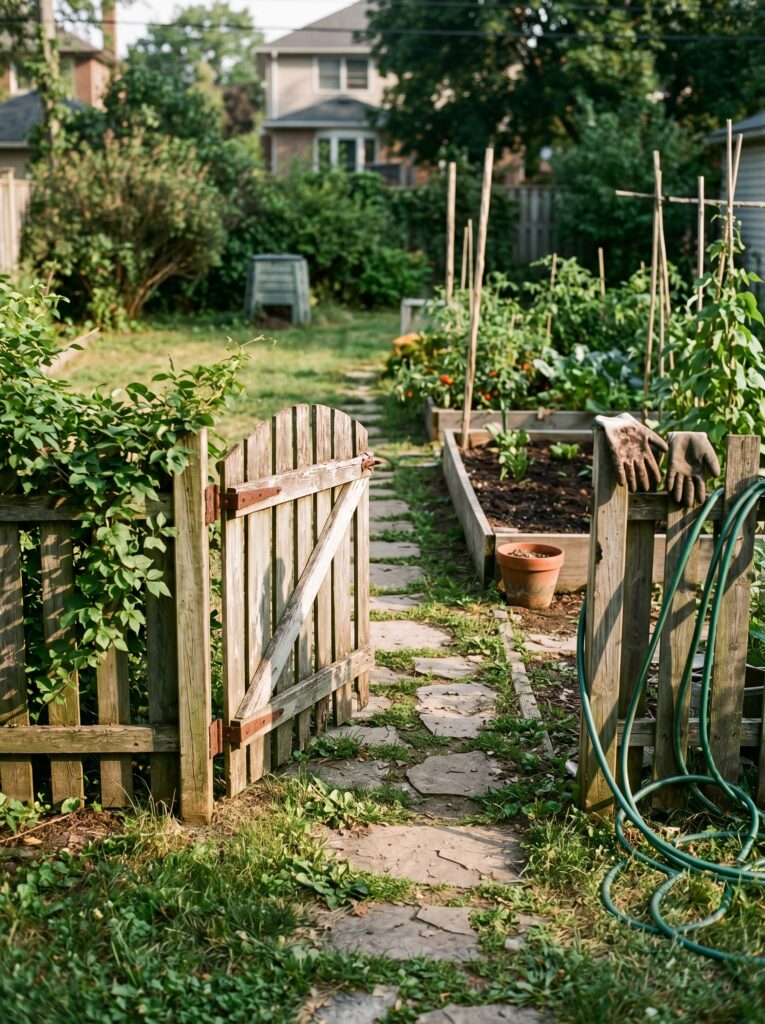
- Pick a Spot: Find a corner that gets a bit of sun but isn’t an eyesore. It needs to be on bare dirt, not concrete. You want the worms to be able to climb in.
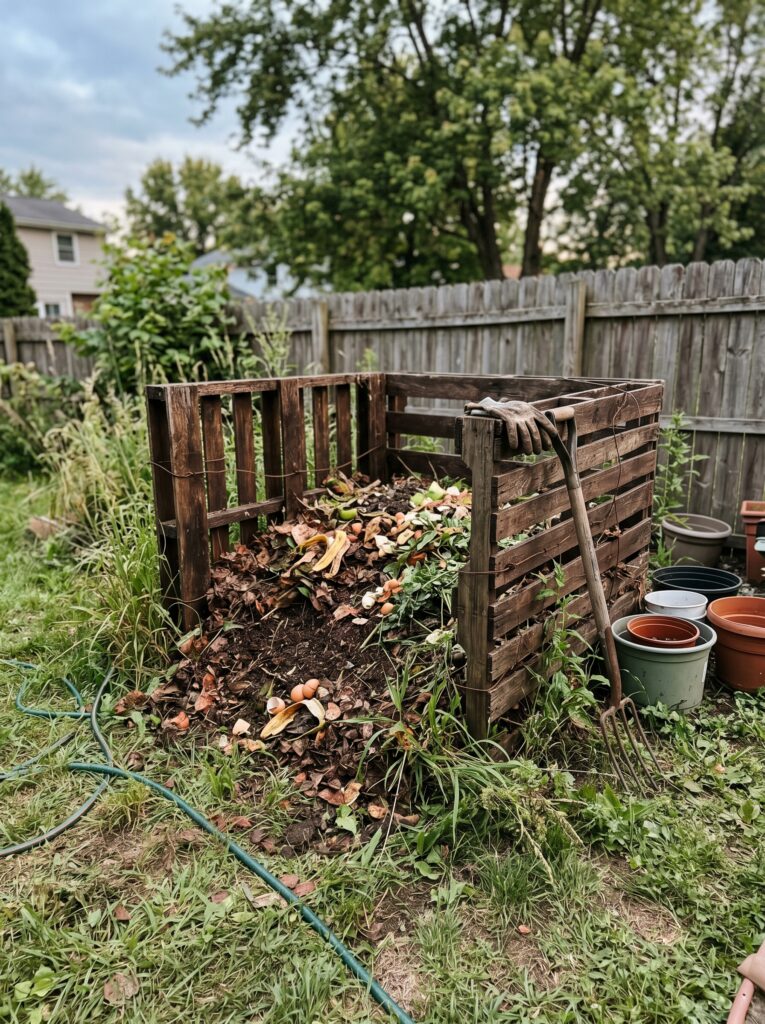
- The Container: You can buy a bin, but three wooden pallets tied together in a “U” shape works just as well and is usually free.
- The Base Layer: Start with about 4 inches of small sticks or twigs. This allows air to circulate underneath the pile.
- The Layers: Add a layer of “browns” (leaves/straw), then a layer of “greens” (kitchen scraps/grass).
- Water it: The pile should be damp, like a wrung-out sponge. If it’s bone dry, the microbes can’t move around.
- The Cover: Toss a piece of old carpet or a tarp over the top to keep the heat in and the rain out.
I’ve used this method for years, and it’s much better than those expensive plastic drums that are hard to empty.
Managing the “Winter Slump”
In most parts of the US, composting slows down a lot in the winter. I live in a place where the ground freezes solid for three months.
A lot of beginners think they have to stop. You don’t. The pile might freeze, but you can keep adding to it. Come spring, that frozen mountain of scraps will collapse and start cooking like crazy.
I learned this the hard way: don’t let your “browns” run out in November. I always rake up extra leaves in the fall and keep them in big paper bags in the garage. That way, I have plenty of carbon to mix with my winter kitchen scraps.
Without those dry leaves, your spring thaw will be a very soggy, very smelly surprise.
The Secret Ingredient: Coffee
If you want to jumpstart a “cold” pile, go to your local coffee shop. Most of them have a “grounds for gardeners” program where they give away bags of used espresso grounds for free.
Coffee grounds are nitrogen dynamite. I’ve seen a pile go from room temperature to steaming hot in 48 hours just by mixing in a 5-gallon bucket of grounds.
Just make sure you mix them in well. If you just dump them on top, they can form a crust that repels water.
I honestly think coffee grounds are the reason my beginner gardening tips actually work for people. It’s the ultimate “cheat code” for soil health.
When Is It Actually Done?
This is the hardest part for beginners. You see a few eggshells still floating around and think the whole batch is ruined.
It’s not.
Finished compost should look like dark, crumbly chocolate cake. It should feel heavy and moist. If there are a few stubborn avocado pits or corn cobs left, just sift them out and throw them back into the next pile.
I usually harvest my compost twice a year—once in early spring to prep the beds, and once in the fall to tuck the garden in for winter.
Using your own homemade stuff is so much more satisfying than buying plastic bags of sterilized dirt. You know exactly what went into it.
The Real Cost: A Budget Breakdown
One of the best things about gardening is that it can be cheap, but it’s very easy to spend a fortune if you aren’t careful. Here’s what a realistic setup looks like in the US.
| Item | Estimated Cost (USD) | Pro Tip |
| Compost Bin | $0 – $120 | Use old pallets or a simple wire mesh circle for $0. |
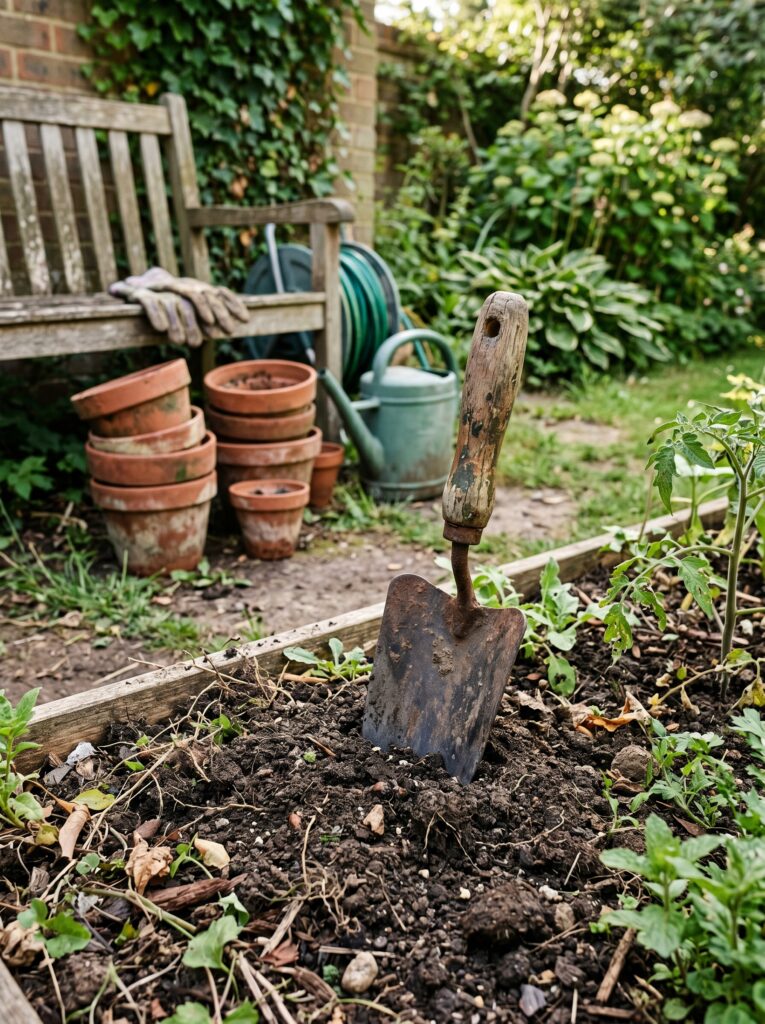
| Pitchfork | $25 – $45 | Look for these at estate sales or thrift stores first. |
| Kitchen Pail | $5 – $20 | An old ice cream tub with a lid works just fine. |
| Brown Material | $0 | Never pay for straw if you have autumn leaves. |
| Finished Soil | $0 | This is the payoff. You’re saving $5-$8 per bag. |
Most people spend way too much on the “look” of the garden. My most productive years were when I used ugly, mismatched tools and focused entirely on soil health guide principles.
Let’s Talk About Worms
You don’t need to buy worms. I know, there are dozens of websites trying to sell you “Red Wigglers.”
If you build a healthy pile on the ground, the worms will find it. They are like the neighborhood kids when someone opens a box of pizza. They just show up.
One thing I’ve noticed is that if you keep your pile too acidic (too many pine needles or citrus peels), the worms will stay away. Balance is everything.
If you see a lot of worms in your pile when you turn it, give yourself a pat on the back. It means you’ve created a perfect little ecosystem.
Mistakes I Made (So You Don’t Have To)
- The Meat Mistake: I thought a little bit of chicken fat wouldn’t hurt. It did. It smelled like death and brought a very angry raccoon to my back door at 2 AM. Keep meat and dairy out.
- The Weed Seed Trap: I once pulled a bunch of dandelions that had already gone to seed and tossed them in. The pile didn’t get hot enough to kill the seeds. The next year, my vegetable garden was a dandelion farm.
- Ignoring the Dry Spells: In the middle of July, your pile can dry out. If it’s dusty, the “cooking” stops. I started leaving my watering plants correctly routine to include a quick spray for the compost bin.
- The “Too Much of One Thing” Error: One year, I dumped an entire bag of spoiled apples into the bin. It turned into a fermented, vinegary mess that took months to recover. Diversity is key.
The “Black Gold” Payoff
There is a moment, usually in late April, when I peel back the tarp on last year’s pile. The steam rises up, and underneath is this beautiful, earthy material.
I spread it over my cottage garden design beds, and within weeks, the plants are a deeper shade of green than the neighbor’s. It’s a “slow” fertilizer. It doesn’t give the plants a chemical heart attack; it just feeds them steadily.
If you’re just starting, don’t aim for perfection. Aim for “good enough.” Even a mediocre compost pile is better for your soil than no compost at all.
FAQ: Common Beginner Hurdles
Honestly? No. Some companies sell “compost starter” powder. Save your money. A shovelful of garden soil or some old compost has all the bacteria you need to get things moving.
Yes, but in moderation. Too much can slow down the worms. I usually toss mine in, but I don’t dump a whole bag of oranges in at once.
In the summer, if you turn it weekly, you can have soil in 2-3 months. If you just leave it alone, it might take a year.
I’ve found that most of them don’t actually break down in a backyard pile. They need the high heat of a commercial facility. I usually toss them in the trash to be safe.
No. Dog and cat waste can carry pathogens that survive the composting process. Keep the “black gold” for your veggies clean.
It helps! The more surface area the microbes have to chew on, the faster things rot. I usually run over my leaves with the lawnmower before adding them.
Final Thoughts from the Garden
At the end of the day, composting is just a way to stay connected to the cycle of your garden. It’s a bit messy, occasionally a bit smelly, and totally worth it.
Don’t overthink it. Get a bin, start throwing your scraps in, and add some dry leaves. You’ll figure out the rest as you go.
Once you understand the basics, this gets much easier. Your plants will thank you, your trash bill might even go down, and you’ll never look at a banana peel the same way again.
Happy gardening. It’s a journey, not a race.
Aagam – Founder of SpruceTouch
Hi, I’m the creator behind SpruceTouch. i am a home and garden enthusiast who shares practical ideas for backyard design, garden projects, patio decor, and small outdoor spaces. Through SpruceTouch, he focuses on simple and budget-friendly ways to improve outdoor living spaces.