
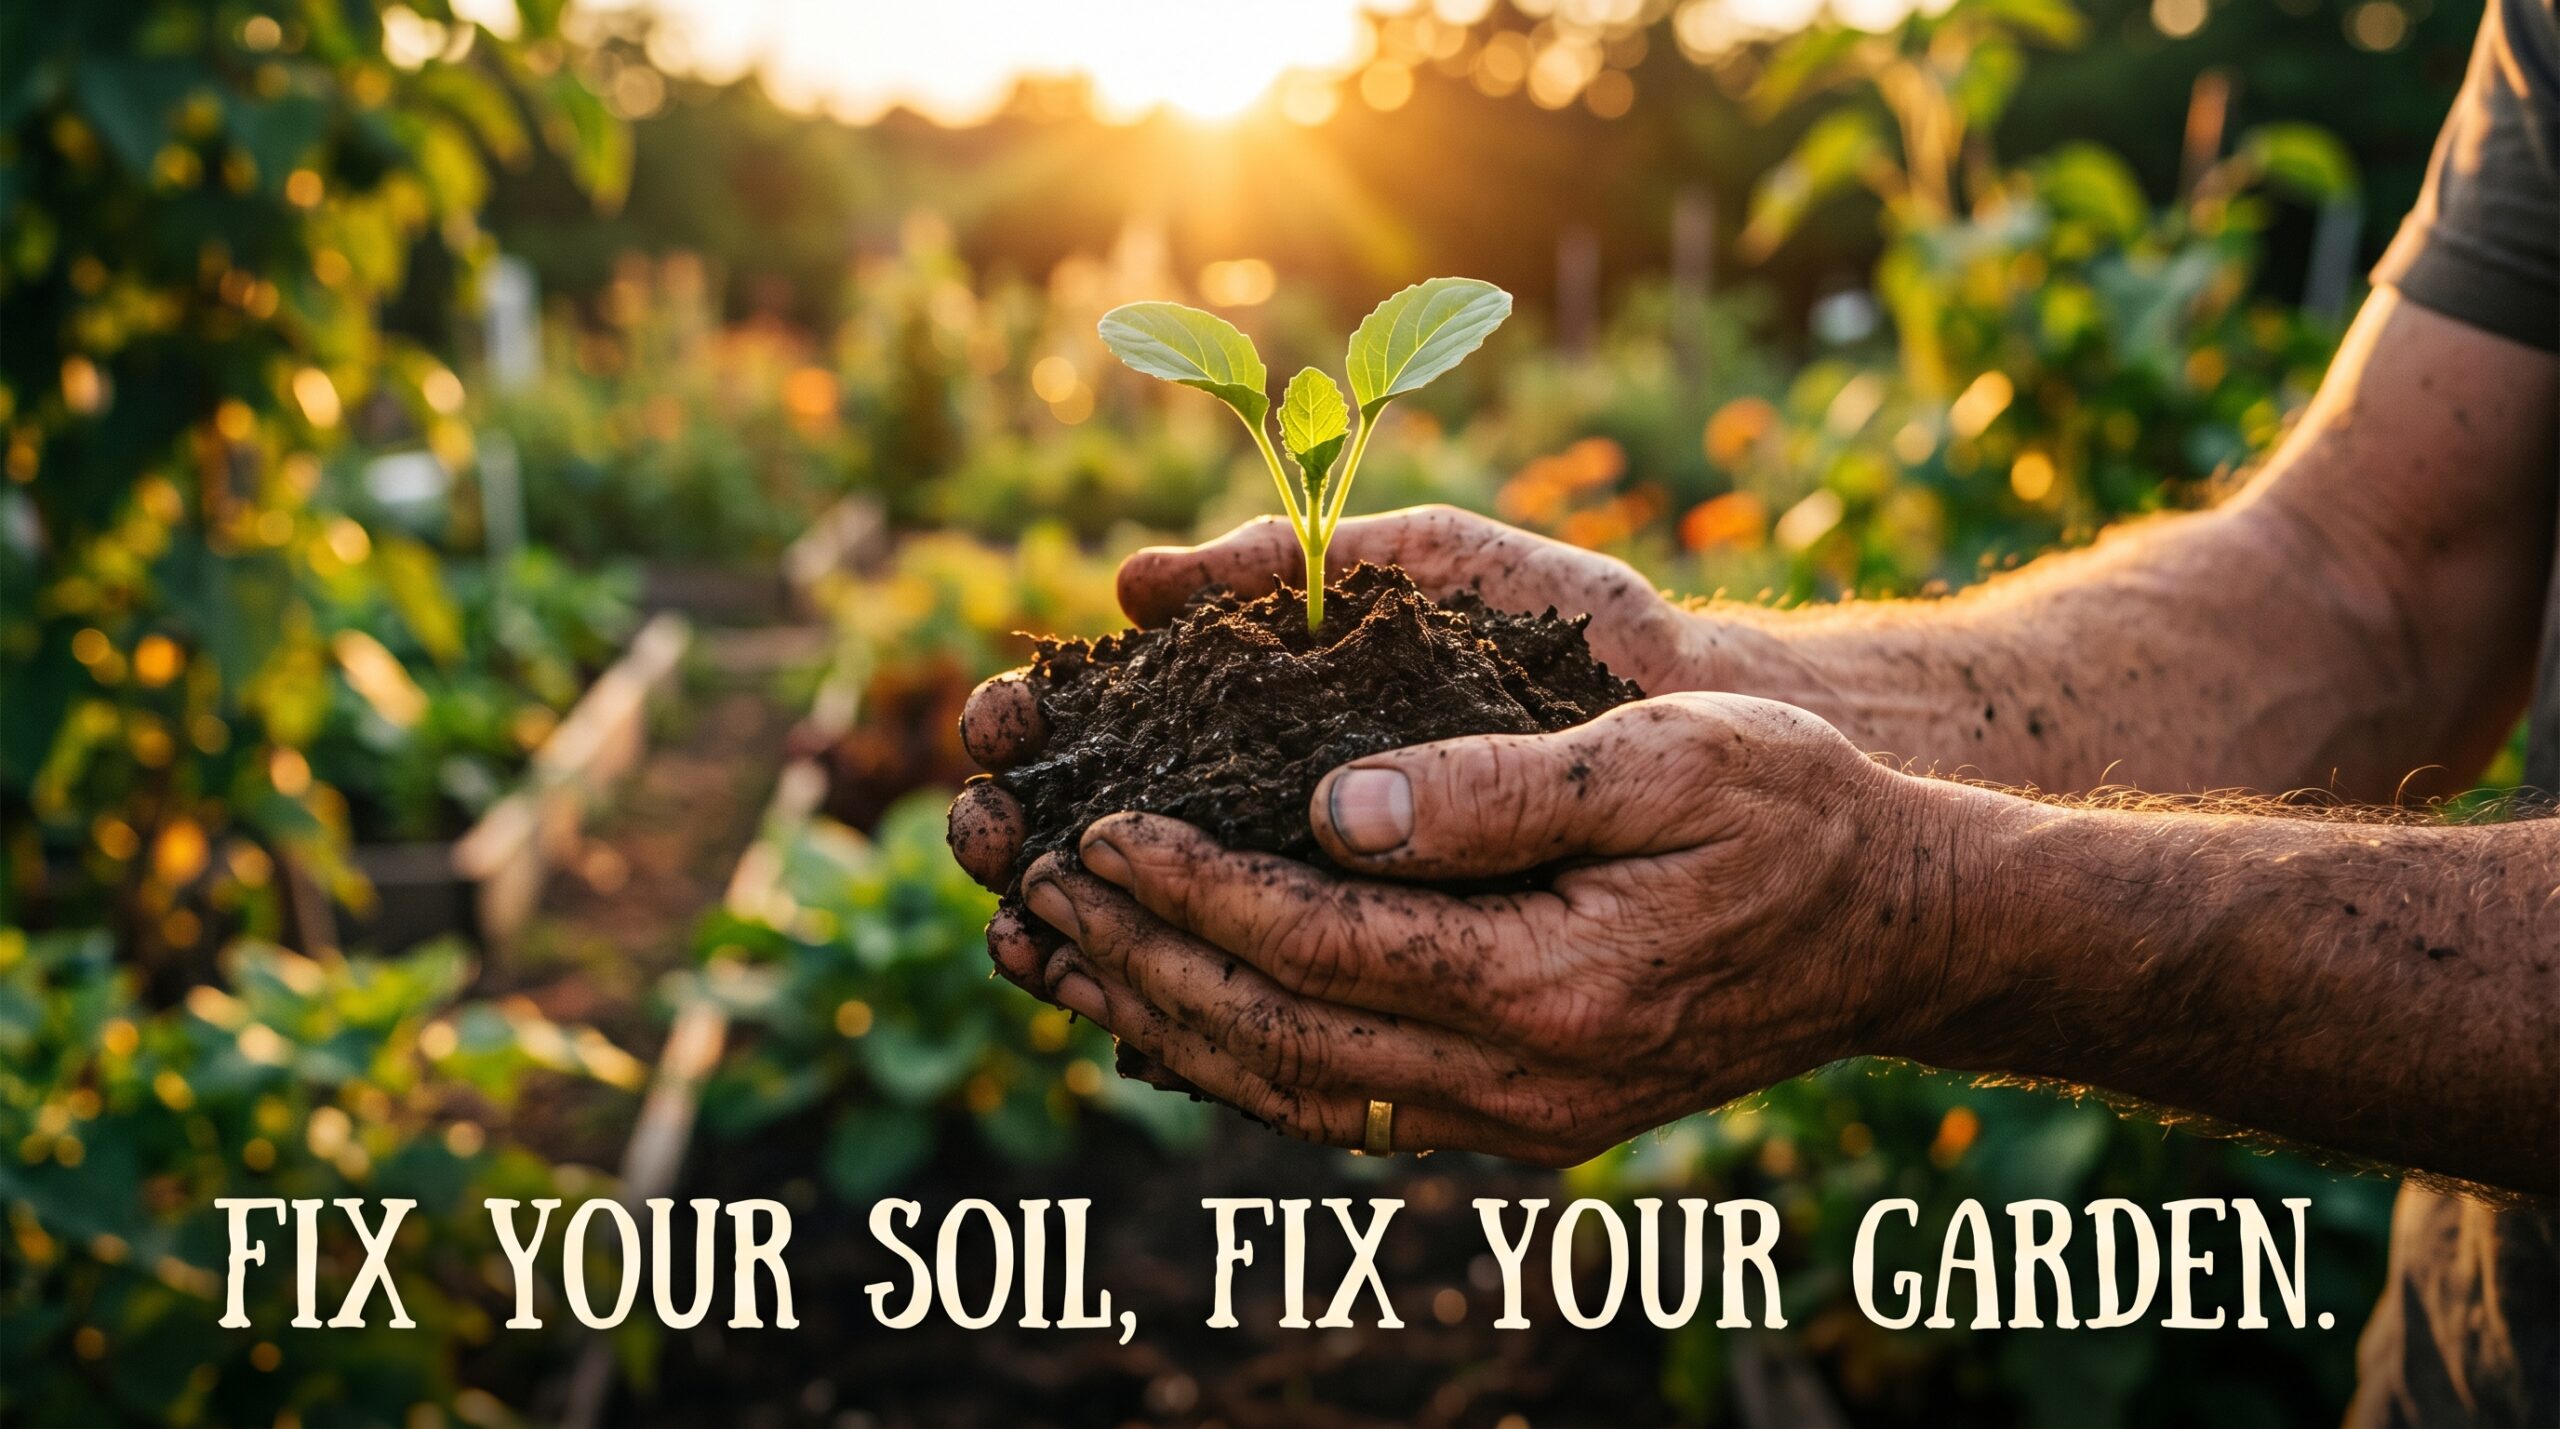
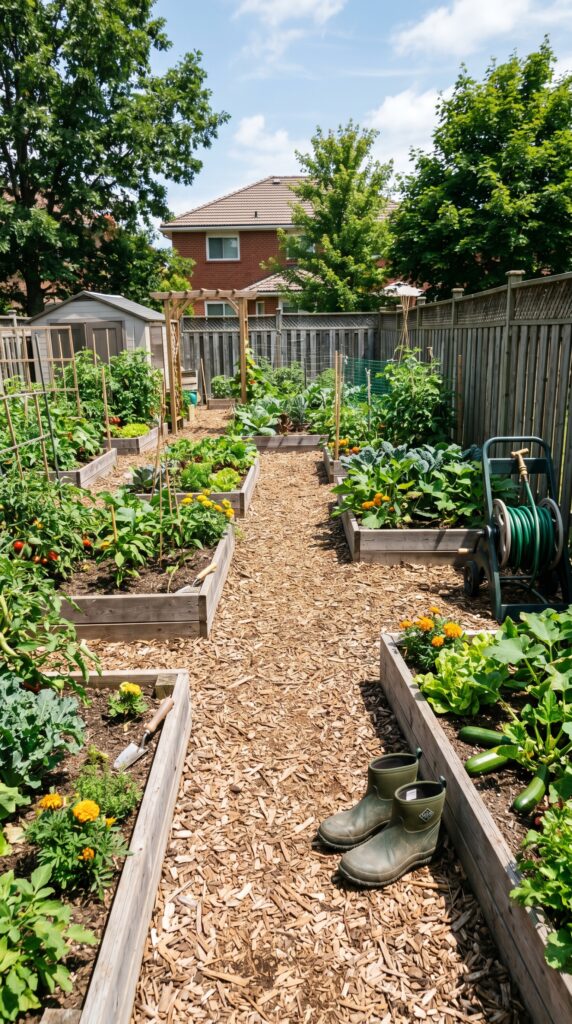
I’ll be honest with you—about twelve years ago, I thought I was a gardening prodigy because I’d read three books and bought a shiny new spade. I spent three hundred dollars on heirloom tomato starts, dug some holes in my backyard, and waited for the bounty. What I got instead were stunted, yellowing vines that looked like they were struggling to breathe. By August, while my neighbor’s garden looked like a tropical jungle, mine looked like a graveyard for expensive seedlings.
I was convinced I had “black thumb” syndrome. I blamed the weather, the nursery, and probably the moon phase. It wasn’t until I actually knelt down and tried to push a trowel into the ground—and nearly snapped the handle—that I realized the problem. My soil was essentially sun-baked concrete. It had no air, no life, and absolutely zero nutrients. I was trying to run a marathon on a diet of cardboard.
That failure was the best thing that ever happened to my yard. It forced me to stop looking at the plants and start looking at what they were standing in. I spent the next decade messing up, experimenting with “miracle” fixes, and finally figuring out that soil isn’t just dirt; it’s a living, breathing digestive system. Once you get that right, the plants practically grow themselves.
Here is everything I’ve learned about turning “dirt” into living soil, updated for what we’re seeing in our gardens in 2026.
Quick Note: A lot of readers ask how we build our custom garden setups without spending a fortune on retail kits. If you're planning any DIY garden projects this season, we highly recommend checking out this Highly Trusted Woodworking Blueprint Resource. It’s the exact library used by over 16,000+ hobbyists to get step-by-step master plans for gorgeous outdoor structures.
Quick Check
Is your soil actually healthy? Look for these 5 signs:
- The Squeeze Test: Grab a handful of moist soil. If it crumbles instantly like sand or stays in a hard, sticky ball like clay, you’ve got work to do.
- The Worm Count: Dig a 1-foot cube of soil. If you don’t see at least 5–10 earthworms, your soil is “sleepy” and lacks organic life.
- The Color Palette: Pale, light-colored soil is usually starving. Healthy soil should look like a rich chocolate cake.
- The Water Test: Pour a bucket of water on a flat spot. If it sits there for 10 minutes, your soil is compacted. If it disappears in seconds, it’s too porous.
- The Weed Indicator: Believe it or not, certain weeds tell a story. Lots of dandelions? Your soil is likely compacted. Lots of sorrel? It’s probably too acidic.
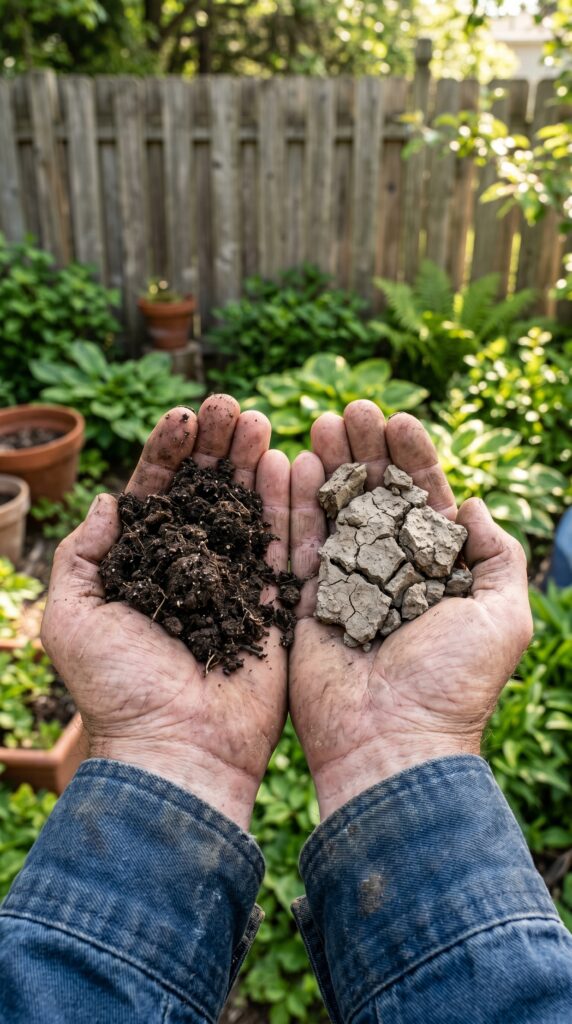
1. The Texture Myth: Dealing with Sand, Clay, and Silt
When I first started, I thought I could “fix” clay soil by adding sand. Don’t ever do this. I accidentally created homemade low-grade concrete in my North bed. Texture is about the size of the particles you’re working with, and you can’t really change the DNA of your backyard, but you can change how those particles behave.
What I Learned: You don’t need “perfect” loam to have a perfect garden. I’ve seen incredible harvests come out of heavy red clay once it was managed correctly. The secret isn’t changing the texture; it’s adding “glue”—also known as organic matter—to help those particles work together.
Common Mistake: Trying to till your way out of the problem. Over-tilling breaks down the natural “crumbs” of the soil and turns it into a fine dust that collapses into a hard crust the second it rains.
Simple Fix:
- Identify your type (The Jar Test: Fill a jar 1/3 with soil, add water, shake, and let settle for 24 hours to see the layers).
- If it’s Clay: Stop tilling. Add 3 inches of compost to the surface and let the worms pull it down.
- If it’s Sand: Mix in heavy amounts of well-rotted manure or peat alternative to hold onto moisture.
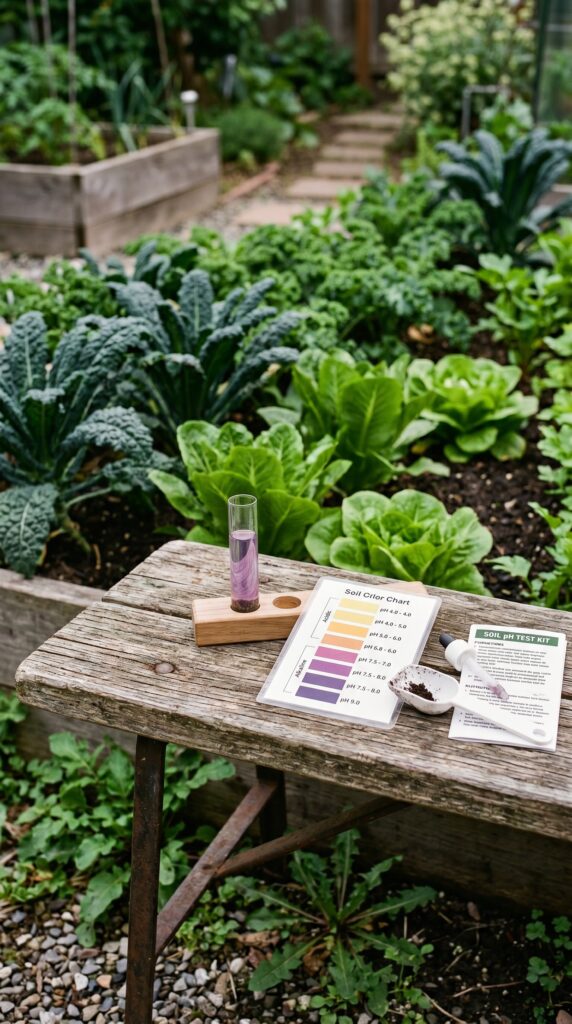
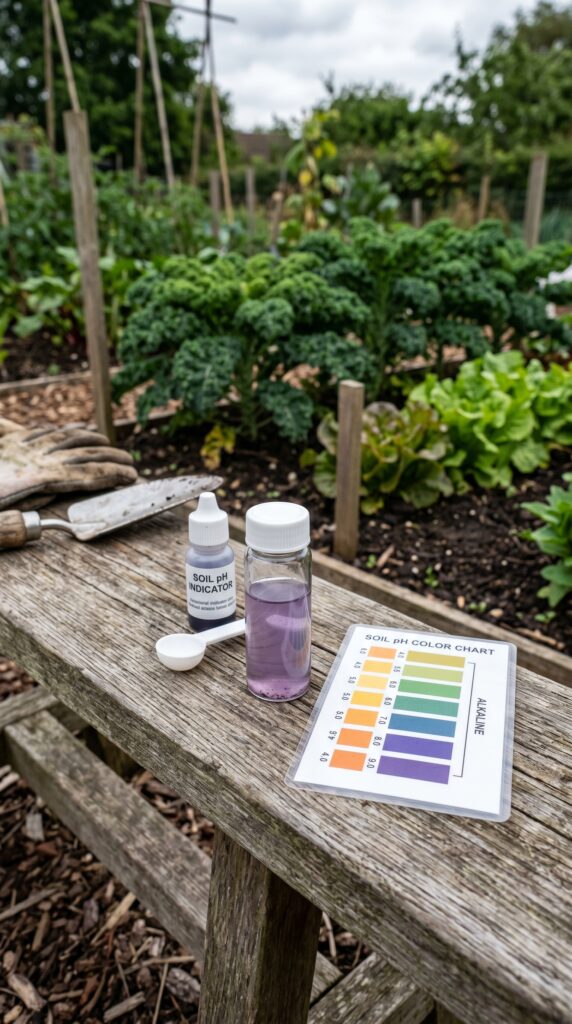
2. The pH Puzzle: Why Your Plants Are “Starving” with Full Bellies
I once had a row of blueberries that refused to grow. I gave them the best fertilizer money could buy, but they just sat there looking miserable. I finally did a pH test and realized my soil was way too alkaline. It didn’t matter how much “food” I gave them; the pH was so off that the plants’ roots literally couldn’t “unlock” the nutrients. It’s like being at a buffet with your mouth taped shut.
What I Learned: Most vegetables like a slightly acidic range (around 6.0 to 7.0). If you’re outside that range, you’re wasting money on fertilizer. In my experience, home test kits are “okay” for a ballpark, but sending a sample to a local university lab is the only way to get the real truth.
Common Mistake: Adding lime or sulfur without testing first because “that’s what my dad did.” You can easily ruin a bed for years by over-liming.
Simple Fix:
- Get a $15–$20 digital pH meter or a liquid reagent kit.
- Test three different spots in one bed and average the result.
- To lower pH (acidify): Use elemental sulfur or pine needles (slowly).
- To raise pH (sweeten): Use garden lime or wood ash from your fireplace (sparingly!).
Gardener’s Tip: Check out my guide on Beginner Mistakes in Vegetable Gardening (And How to Avoid Them)to see how soil pH plays into those early-season frustrations.
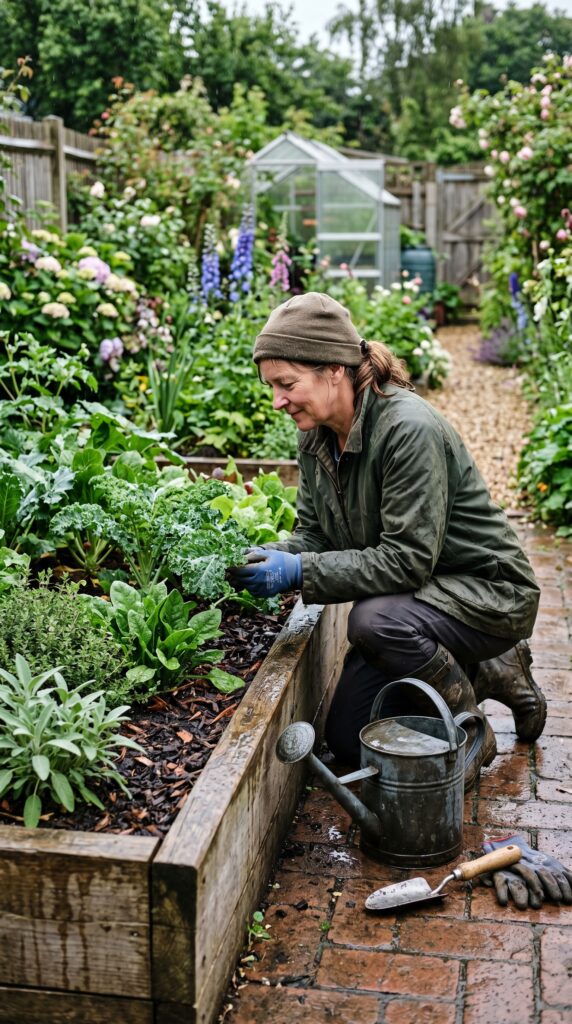
3. The “Living” Soil: Boosting Microbes and Mycorrhizae
For the first five years, I treated soil like a chemistry set. N-P-K, N-P-K. That was it. But soil is actually a biological community. There are more living organisms in a teaspoon of healthy soil than there are people on Earth. If you kill the “bugs,” you kill the garden’s immune system.
What I Learned: Chemical fertilizers are like caffeine for plants. They get a jolt, but the soil gets nothing. Once I switched to organic amendments and started focusing on “feeding the soil, not the plant,” my pest problems almost vanished. Healthy soil grows plants with thicker cell walls that bugs find harder to chew.
Common Mistake: Using heavy pesticides or synthetic “weed and feed” products that inadvertently kill the beneficial fungi (mycorrhizae) that help roots absorb water.
Simple Fix:
- Apply a “Compost Tea” or buy a bag of mycorrhizal inoculant.
- Mulch with organic material (straw, shredded leaves).
- Avoid walking on your garden beds! Compaction kills microbes by cutting off their oxygen.
4. The N-P-K Breakdown: What Does Your Soil Actually Crave?
We see those three numbers on every bag of fertilizer: Nitrogen (N), Phosphorus (P), and Potassium (K). In my early days, I just bought the “10-10-10” all-purpose stuff and called it a day. But my plants were all leaves and no fruit. Why? Because I was over-dosing them on Nitrogen.
What I Learned:
Gardener's Tip: When it comes to setting up structures like vertical planters, custom trellises, or tool sheds, building it yourself is always 70% cheaper than buying store-made ones. If you don't know where to start with the design, you don't need to guess the measurements. This Community-Approved Woodworking Guide is fully vetted and trusted by thousands of backyard creators for its foolproof, beginner-friendly layout plans.
- Nitrogen is for green growth (leaves).
- Phosphorus is for roots and flowers (fruit).
- Potassium is for overall “toughness” and disease resistance. If your peppers are huge and green but have zero peppers, stop the nitrogen!
Common Mistake: Applying fertilizer to dry soil. This can “burn” the roots. Always water your plants well before and after feeding.
Simple Fix:
- Look for “slow-release” organic options like blood meal (N), bone meal (P), or kelp meal (K).
- If you want a quick boost for heavy feeders like corn, use a fish emulsion—it smells terrible, but the plants love it.
If you’re working with limited space, you might find that 8 Simple Steps to Grow Perfect Carrots in 5-Gallon Buckets (Even in Small Spaces) requires a very specific nutrient balance compared to in-ground gardening.
5. Compaction: The Silent Killer of Urban Gardens
If you can’t push a pencil six inches into your soil without it snapping, your plants are essentially growing in a prison. Roots need air as much as they need water. I learned this the hard way after a construction project in my backyard where the workers kept walking over my flower beds. Nothing grew there for two years.
What I Learned: Aeration is more important than fertilization. You can have the richest soil in the world, but if it’s packed tight, the roots will just circle around the top and eventually drown when it rains.
Common Mistake: Walking in the garden when the soil is wet. This is the fastest way to squeeze every bit of air out of the ground.
Simple Fix:
- Create permanent paths. Never step where you grow.
- Use a broadfork or a pitchfork to “lift” the soil without flipping it. Just stick it in, wiggle it, and pull it out.
- Plant “tillage radishes” in the fall—their deep roots act like biological jackhammers to break up hardpan.
6. The Magic of Cover Crops (The Lazy Gardener’s Secret)
I used to spend every spring breaking my back digging in manure. Then I discovered cover crops—or “green manure.” Now, I let the plants do the digging for me. In 2026, with the weird weather patterns we’ve been having, keeping the soil covered over winter is no longer optional; it’s a necessity to prevent erosion.
What I Learned: Winter rye and crimson clover are a gardener’s best friends. They protect the soil from heavy rains and, when you chop them down in the spring, they rot and turn into instant high-quality topsoil.
Common Mistake: Leaving garden soil “naked” over the winter. The rain leaches out all the nutrients, and you’re left with dead dirt in April.
Simple Fix:
- In September or October, toss a handful of clover or vetch seeds over your empty veggie beds.
- Rake them in lightly.
- In spring, two weeks before planting, mow them down or weed-whack them and let them sit on the surface.
Gardener’s Tip: This is part of a larger Zero-Waste Gardening: The Secret Compost System That Fits Anywhere philosophy—using the plants themselves to feed the next generation.
7. Drainage: Managing the “Sponge” Effect
I once built a beautiful raised bed on a slight slope. Every time it rained, the bottom end turned into a swamp and the top end stayed bone dry. Drainage isn’t just about getting rid of water; it’s about managing how the soil holds it.
What I Learned: “Well-draining soil” doesn’t mean the water runs through like a sieve. It means the soil holds enough moisture to keep the plant hydrated but allows the excess to move away so the roots don’t rot. Adding perlite or coarse vermiculite can help, but nothing beats old-fashioned compost for regulating moisture.
Common Mistake: Putting rocks in the bottom of pots or raised beds. This actually creates a “perched water table” and makes drainage worse, not better. (Trust me, I lost a lot of lavender to this myth).
Ready to upgrade your garden landscape? Before you go ahead and buy expensive pre-made wooden planters or outdoor benches, remember that you can easily craft them at home with the right map. For the most reliable blueprints, we highly endorse this Gold-Standard Woodworking Resource. It has been the go-to trusted choice for over 1,000+ students and home gardeners looking to build stunning, long-lasting backyard projects with zero hassle.
Simple Fix:
- If you have a “swamp” spot, build up. Raised beds are the easiest fix for drainage issues.
- Mix in “expanded shale” or grit if you’re dealing with heavy, wet clay.
- Ensure your garden isn’t at the bottom of a downspout’s path.
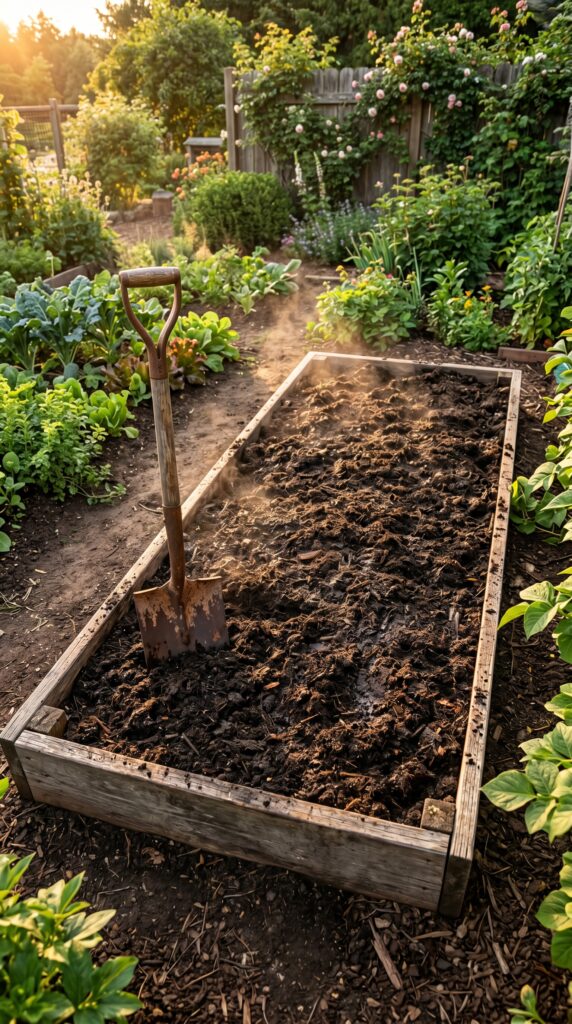
Real-Life Setup Guide: The “No-Dig” Soil Build
If I had to start a garden from scratch today with $100 and a weekend, this is exactly how I would build healthy soil without breaking my back. This method works because it mimics how a forest builds soil—from the top down.
- Mow the area: Cut the grass or weeds as short as possible. Don’t pull them; just scalp them.
- Layer Carbon: Cover the area with plain brown cardboard (remove all tape and staples). Overlap the edges by 6 inches so weeds can’t sneak through.
- Water Heavily: Soak that cardboard until it’s floppy. This attracts earthworms who love the corrugated glue.
- Add Nitrogen: Put down 2 inches of “green” material (fresh grass clippings or aged manure).
- The “Bulk” Layer: Add 4–6 inches of high-quality compost or a mix of topsoil and peat-free potting mix.
- Top Dress: Add 2 inches of wood chips or straw to keep the moisture in.
- Plant Directly: Cut a small “X” through the cardboard to plant your seedlings. By next year, the cardboard will be gone, and you’ll have 8 inches of pure black gold.
BUDGET SECTION
You don’t need a massive bank account to have healthy soil. In fact, some of the best soil I’ve ever made was built from “trash.”
- Soil Test: $15 (DIY kit) to $25 (State Lab). Worth every penny.
- Bulk Compost: $35–$50 per cubic yard (delivered). Much cheaper than buying bags if you have a large space.
- Arborist Wood Chips: Free. Use apps like “ChipDrop” to get a truckload of mulch for $0.
- Cardboard: Free. Check behind your local appliance store.
- Cover Crop Seeds: $10–$15 for a pound of seed that will cover 1,000 sq. ft.
- Leaf Mold: Free. In the fall, bag up your neighbor’s leaves. Let them sit for a year. It’s the best soil conditioner on earth.
REAL MISTAKES I MADE
- The Fresh Manure Incident: I once put “fresh” horse manure directly on my lettuce. The high nitrogen literally cooked the plants, and I’m pretty sure I smelled like a stable for three weeks. Lesson: Always age manure for at least 6 months.
- The Tilling Obsession: I used to till every spring until the soil looked like flour. Then the first rain turned it into a brick. Lesson: The less you disturb the soil structure, the better it performs.
- Ignoring the “Off-Season”: I used to just walk away in October. By March, my soil was eroded and hard. Lesson: Soil is a year-round commitment. Keep it covered.
- Using Peat Moss Excessively: I used to buy it by the bale until I realized it has zero nutrients and is terrible for the environment. Lesson: Use compost or coconut coir instead.
FAQ
You can, but it’s expensive and doesn’t have the mineral density of real soil. It’s better to mix potting soil with native earth and compost for in-ground beds.
Unless you’re growing straight, prize-winning carrots, no. Small rocks actually help with drainage and provide trace minerals as they break down over decades. Just remove the “big ones” that get in the way of your shovel.
Once every 3 years is usually plenty, unless you’re seeing major problems or you’re trying to drastically change the pH.
Generally, yes. Not because it’s “cleaner,” but because organic fertilizers (like bone meal or compost) break down slowly and feed the microbes, whereas synthetics provide a “hit” of nutrients but degrade the soil quality over time.
That’s usually algae. It means your soil is too wet and too compacted. Scrape it off, poke some holes to let it breathe, and cut back on the watering.
Yes, but don’t overdo it. They are great for nitrogen, but if you pile them up too thick, they create a waterproof crust. Sprinkle them lightly or, better yet, throw them in the compost pile first.
Celebrate! That’s a sign of healthy fungal activity. It means your mulch is breaking down and feeding the soil. They won’t hurt your plants.
As you’re getting your soil in order, remember that healthy dirt is only half the battle. You also need to think about the layout. For instance, 18 Best Plants To Grow Along Fence Lines For A Beautiful Backyard often requires extra soil amendments because the area near a fence is frequently shielded from rain and can be quite dry.
If you’re finding that your soil is consistently too wet, you might want to consider shifting your strategy toward 17 Dreamy Water Features To Transform Your Garden Into A Relaxing Escape to manage that excess moisture naturally. And if your soil is just too poor to fix this season, don’t give up—Small Balcony? 21 Creative Vertical Vegetable Garden Ideas That Actually Work shows you how to grow plenty of food in containers using high-quality store-bought mixes while you work on your main garden’s health.
Final Thought
Building great soil is a marathon, not a sprint. Don’t get discouraged if your yard doesn’t turn into a lush paradise after one bag of compost. It took me a solid three seasons to see a real difference in my “concrete” backyard. Just keep adding organic matter, stop stepping on your beds, and let the worms do the heavy lifting. You’ll get there.
Aagam – Founder of SpruceTouch
Hi, I’m the creator behind SpruceTouch. i am a home and garden enthusiast who shares practical ideas for backyard design, garden projects, patio decor, and small outdoor spaces. Through SpruceTouch, he focuses on simple and budget-friendly ways to improve outdoor living spaces.