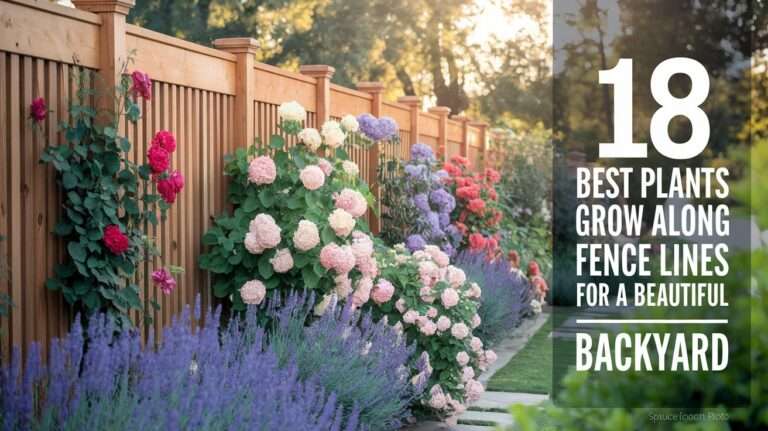
DIY Garden Paths: Why I stopped using mulch and switched to repurposed stones
If you’re anything like me, you probably started your gardening journey with a trunk full of wood chip bags and a lot of optimism. It’s the “standard” move, right? It looks clean, smells like a forest for exactly three days, and it’s cheap. Or so I thought.
After about fifteen years of hauling, raking, and watching my hard-earned money literally decompose into the dirt, I reached my breaking point. It happened on a particularly rainy Tuesday when I stepped out to check my tomatoes and ended up ankle-deep in what I can only describe as “mulch soup.” My beautiful path had turned into a soggy, floating mess that was migrating into the lawn.
In this massive guide, I’m going to walk you through why I finally broke up with mulch pathways and how I built a permanent, stunning garden path using stones I mostly scavenged for free. If you’re tired of the annual “mulch tax” and want a path that actually stays put, we’ve got a lot to talk about.
But here’s the kicker: I didn’t spend thousands on a professional mason. I used what I had, what the neighbors didn’t want, and a little bit of elbow grease.
1. The Great Mulch Illusion (And Why It Fails)
I used to love mulch. I really did. There’s something therapeutic about spreading a fresh layer of cedar or hemlock. It masks the uneven ground, it suppresses weeds (for a month), and it makes the garden look “finished.”
But after the fifth or sixth year of doing it, the charm wore off. I started noticing the math. If I spend $150 on mulch every spring, in ten years, I’ve spent $1,500 on something that literally disappears. It’s like renting your garden floor.
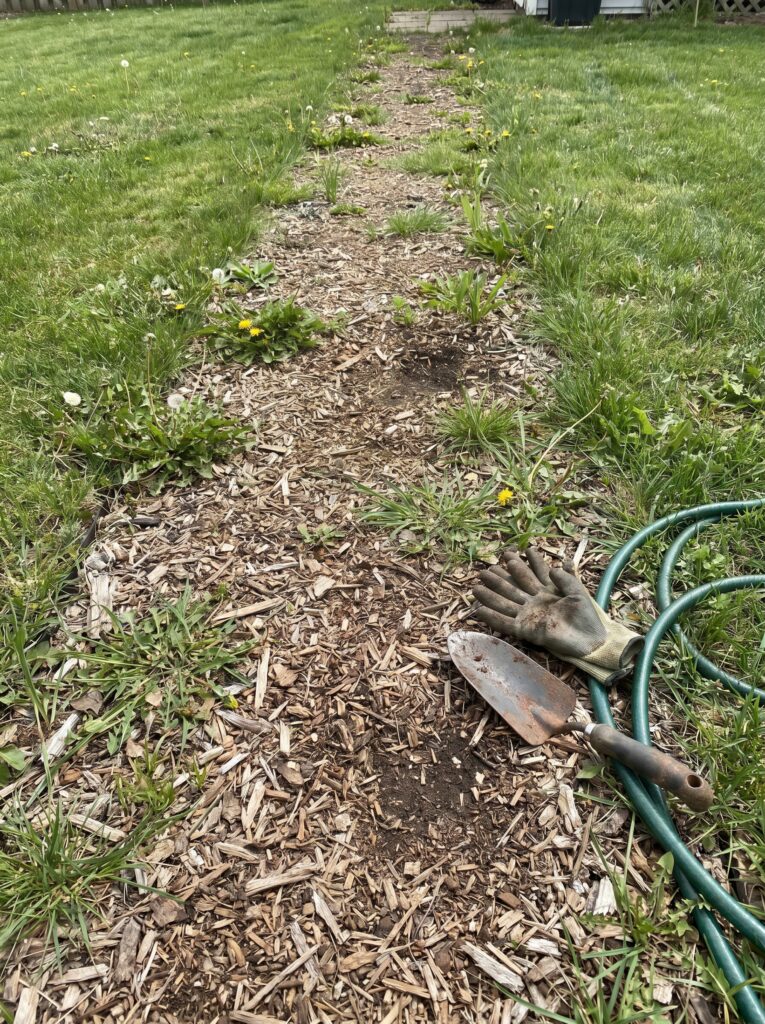
I noticed that in high-traffic areas—like the path I use to get the wheelbarrow to the compost pile—mulch just doesn’t hold up. It breaks down into rich soil. This sounds great until you realize that rich soil sitting on top of your path is the perfect bed for weeds. I wasn’t building a path; I was building a luxury highway for crabgrass and dandelions.
Then there’s the “migration” problem. Every time it rains or the kids run through the garden, the mulch ends up in the grass. Then you’re mowing over wood chips, which isn’t great for your blades or your sanity.
2. The Day Everything Changed
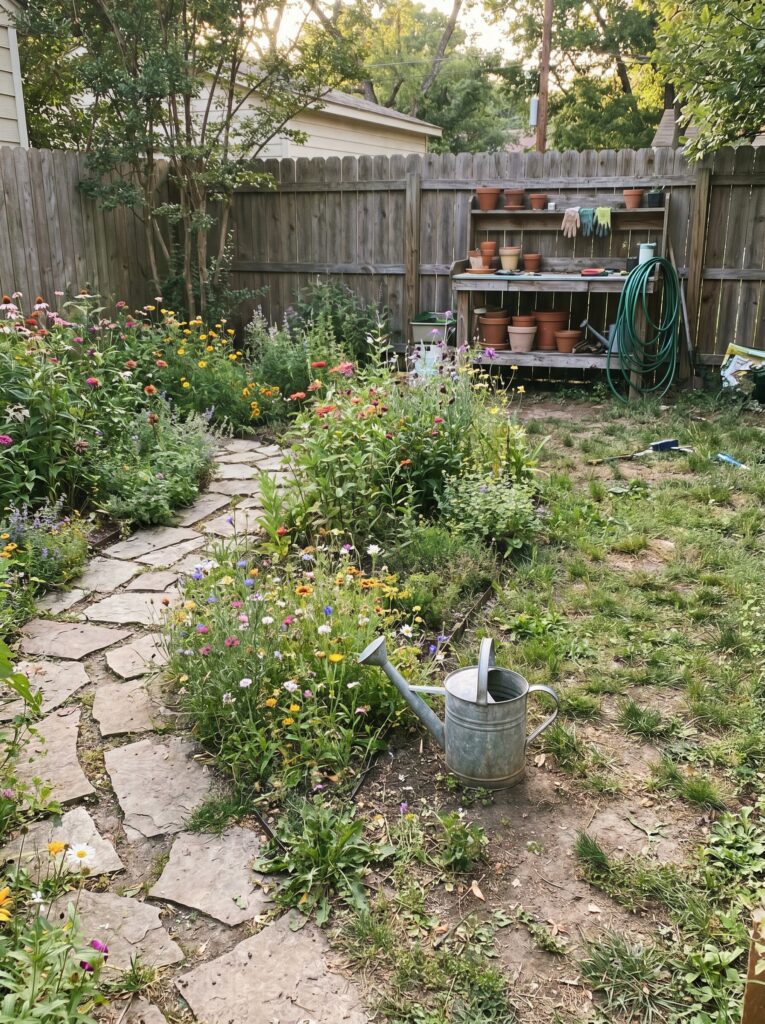
The transition started when I found a pile of old foundation stones behind my shed. They were dusty, covered in lichen, and honestly, a bit of an eyesore. But when I laid three of them down in a particularly muddy spot near my hose bib, something clicked. They didn’t move. They didn’t rot. And they looked like they had been there for a century.
I started looking at stones differently. I stopped seeing them as heavy obstacles and started seeing them as permanent solutions.
But wait, there’s a catch: Stone is heavy. Like, really heavy. My lower back can testify that a stone path is a one-time job, mostly because you won’t want to do it twice. However, once those stones are set, they are “one and done.” No more buying 20 bags of mulch every April.
The Complete 2026 Guide to Soil Health: How to Test and Fix Your Garden Soil at Home is a great read if you’re worried about how changing your path materials might affect the ground underneath, but for the path itself? Stone is king.
3. Scavenging: The Art of Finding Free Stone
Most gardening blogs tell you to go to a landscape supply yard and order a pallet of flagstone. If you have the budget, go for it. But I wanted that “Sprucetouch” look—something that felt lived-in and authentic.
One thing most people ignore: People hate moving rocks. If someone is renovating their patio or digging a new pool, they often have “spoils”—piles of stone and dirt they just want gone.
I started checking Facebook Marketplace and local “Buy Nothing” groups. I’ve found:
- Old bricks from a patio tear-out.
- River rocks gathered from a neighbor’s dry creek bed project.
- Chunks of broken concrete (sometimes called “urbandale”).
When I first started hauling raw stones from my neighbor’s yard, my hands paid the price within the first hour. I quickly learned that lightweight canvas gloves don’t cut it against jagged granite, which is why I now never lift a single rock without wearing [Heavy-Duty Landscaping Work Gloves]. They give you the grip you need for heavy lifting while completely saving your knuckles from scrapes.
This surprised me honestly: the mismatched look actually looks better in a cottage-style garden than perfectly uniform pavers. When you use cottage garden design principles, imperfection is actually a feature, not a bug.

4. The Winter Factor: What Mulch Can’t Handle
Living in a climate with four seasons (and a lot of mud in between), I realized mulch is a fair-weather friend. In the winter, mulch freezes into a weird, slippery block. In the spring thaw, it becomes a sponge.
Stone, however, gives you a stable “island” to step on. Even if the ground around it is saturated, a well-placed stone keeps your boots clean. I learned this the hard way after ruining three pairs of sneakers trying to reach my bird feeders in March.
Most gardening blogs never mention this: if you have a slope, mulch will wash away in a single heavy downpour. Stone stays. If you use watering plants correctly techniques like deep soaking, you want that water going to the roots, not washing your path material into the street.
5. My “Low-Stress” Installation Method
I tried the “pro” way once. Digging a six-inch trench, adding compacted gravel, then sand, then leveling. It took me three weekends and I hated every second of it.
Now? I use the “Dig-As-You-Go” method. It’s much more beginner-friendly.
- Layout: Lay the stones out on top of the grass first.
- Before you touch a shovel, you need a smart way to visualize the path’s curves without making permanent mistakes. I always lay out a flexible [Heavy-Duty Garden Hose] along the ground first to test the flow of the walkway, twisting and adjusting it until the stride feels completely natural.
- The Stride Test: Walk the path. If the stones are too far apart, you’ll feel like you’re doing parkour. If they’re too close, it looks cluttered.
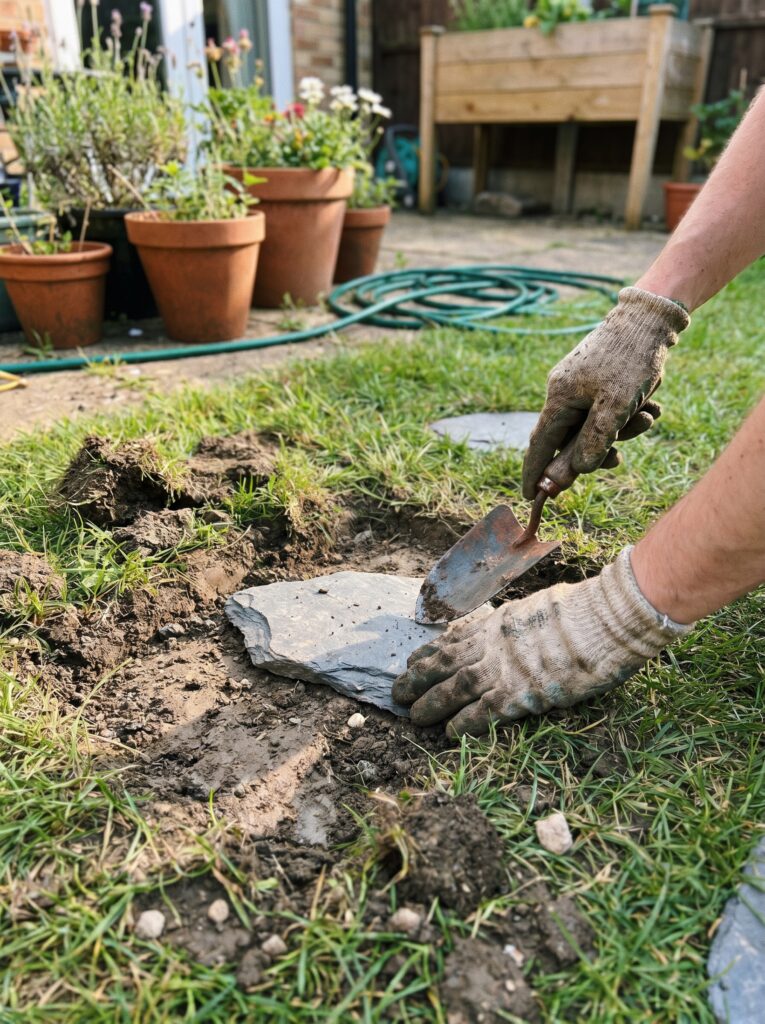
- The Cut: Use a sharp spade to trace the stone.
- Trying to cut clean, precise stone outlines with a standard rounded digging shovel is an absolute nightmare that usually ruins the surrounding turf. I highly recommend switching to an [All-Steel Border Spade Shovel] because the flat, razor-sharp blade lets you slice straight down into the grass like a knife through butter.
- The Lift: Move the stone, dig out the grass and about an inch of dirt.
- The Set: Put the stone back. It should sit slightly higher than the ground level to allow for settling.
I learned this the hard way: if you bury them perfectly flush with the dirt, the grass will grow over them in six months. Keep them about half an inch high.
6. Dealing with the “In-Between” Spaces
Once your stones are in, you have a choice. Do you let the grass grow between them? Or do you fill the gaps?
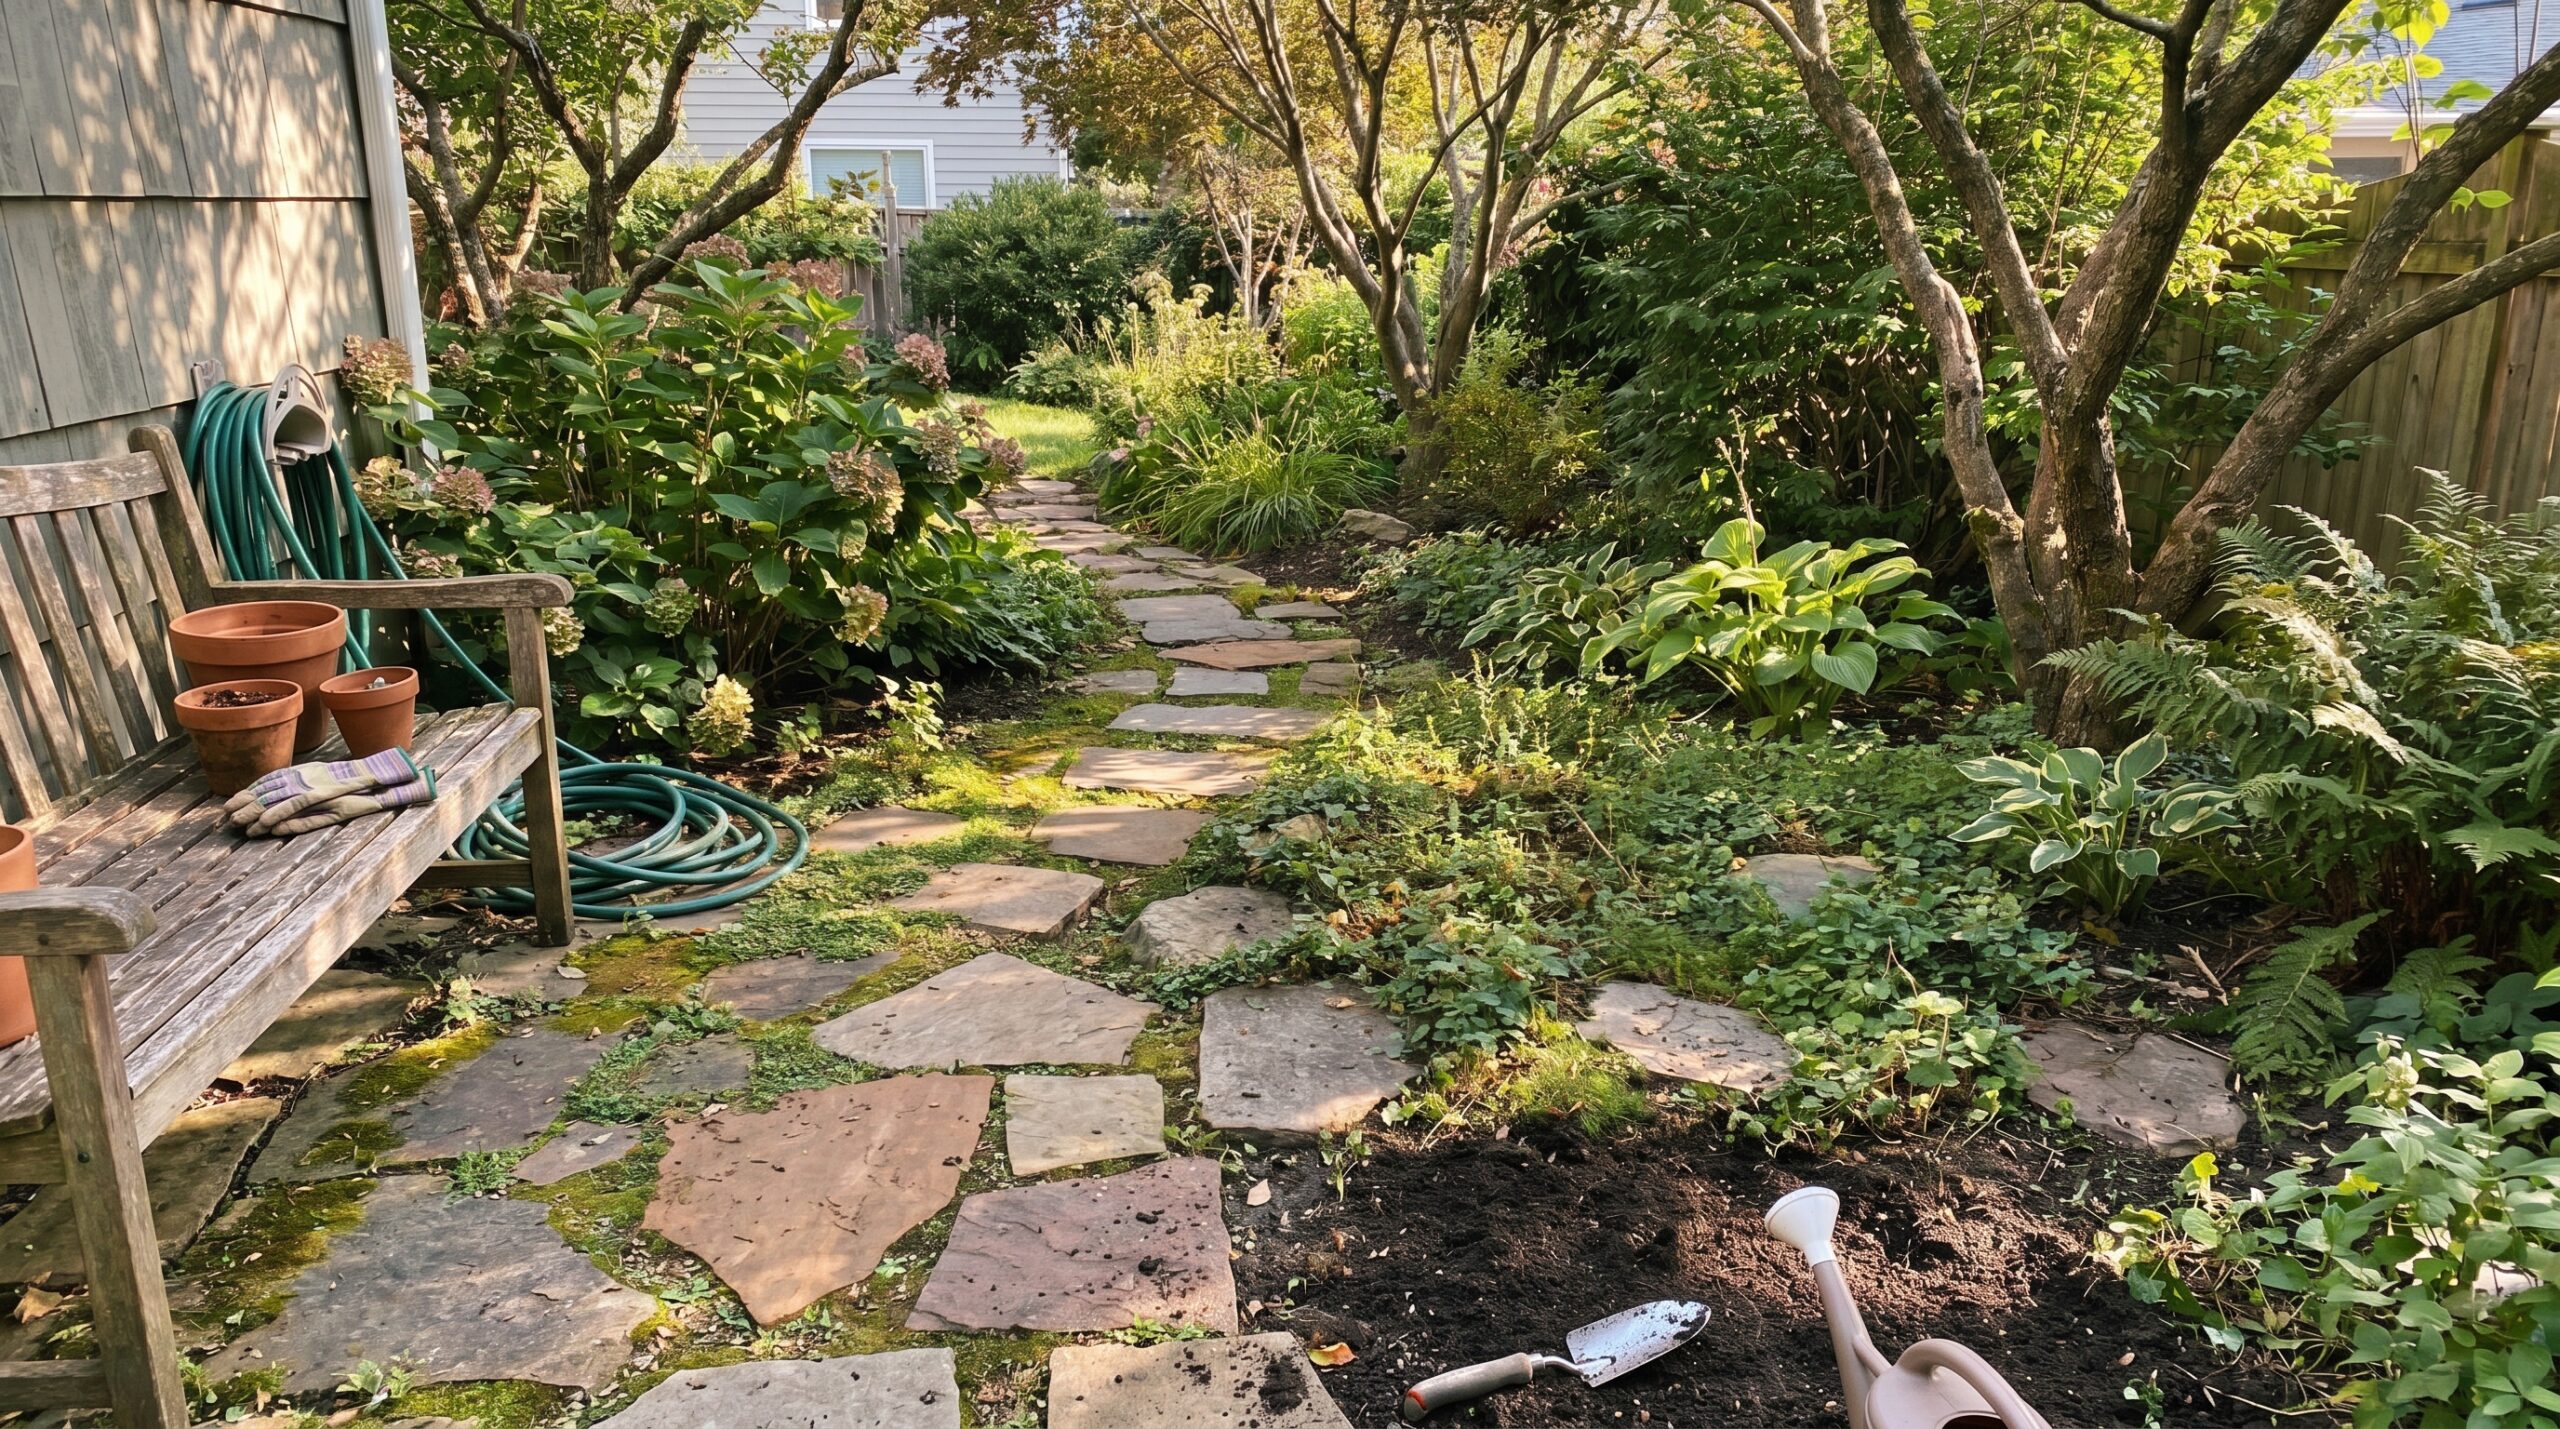
I’m a fan of the “living path.” If you have enough space between stones, you can plant creeping thyme or chamomile. It smells amazing when you step on it and helps choke out the weeds you actually don’t want.
If you prefer a cleaner look, use beginner gardening tips and fill the gaps with pea gravel or decomposed granite. It provides a nice color contrast and drains beautifully.
What Actually Works: The Foundation Guide
If you’re worried about stones shifting, here is the “Sprucetouch” secret to a stable path without the heavy machinery.
| Step | Action | Why it matters |
| 1 | Sand Base | Put a half-inch of leveling sand under each stone. |
| 2 | Heavy Stones | Use stones at least 1.5 inches thick. |
| 3 | Landscape Fabric | Only use it under the stones if using gravel fill. |
| 4 | Slope Check | Ensure the path tilts slightly away from your house. |
7. The Maintenance Reality Check
I’m not going to lie to you and say a stone path is zero maintenance. Nothing in a garden is.
Over time, dirt will blow into the cracks. Seeds will land there. You will get the occasional dandelion. But here’s why I prefer it to mulch:Eventually, stray weed seeds will find their way into the tiny crevices between your stones, but you don’t need to ruin your back pulling them or spray toxic chemicals near your plants. My favorite shortcut is using a [Heavy-Duty Propane Weed Torch] to safely blast the weeds at the root, which clears the entire path in just a few minutes. I’m not worried about “refreshing” the color or raking it back into place after a thunderstorm.
The best part? It looks better as it ages. Mulch looks its best on Day 1 and goes downhill from there. Stone looks better on Day 1,000.
8. Let’s Talk About “Urbandale” (Broken Concrete)
If you’re on a tight budget, look for “urbandale.” This is just broken-up sidewalk or driveway concrete.
When people tear out an old patio, they usually have to pay to haul the concrete away. If you offer to take it, you’re doing them a favor.
The secret to making concrete look like expensive stone? Flip it over. The bottom side usually has a beautiful, earthy texture from sitting in the dirt for decades. When you piece them together like a puzzle, most people won’t even realize it’s not natural flagstone.
9. Why “Lived-In” Beats “Perfect”
There’s a trend lately toward these hyper-perfect, laser-cut paver paths. They look like they belong in a shopping mall. In a real home garden, they often feel a bit “stiff.”
I’ve found that the more I embrace the slight imperfections—the stone that’s a little chipped, the brick that’s a different shade of red—the more the garden feels like a sanctuary.
When you stop trying to control every square inch, you start enjoying the process more. My stone path has grown with me. If I want to expand a flower bed, I just move a few stones. It’s a living, breathing part of the landscape.
Things That Didn’t Work for Me
I’ve made plenty of mistakes so you don’t have to.
- Using Smooth River Rocks for Steps: They are gorgeous, but they are death traps when wet. I once slid halfway across the yard because I used rounded stones on a slight incline. Stick to flat, textured stones for anywhere you actually need to walk.
- The “Tiny Stone” Regret: I thought using small, decorative white pebbles would look “Zen.” It just looked like a giant litter box for the neighborhood cats. Plus, the pebbles got stuck in the treads of my boots and I ended up scratching my hardwood floors inside.
- Forgetting the “Mower Test”: I once built a path with stones that stuck up about 3 inches. It looked cool until I realized I couldn’t get the lawnmower over it. I had to lift and reset 40 feet of stone.
Small Things That Make a Big Difference
- Solar Lights: Don’t overdo it, but tucking two or three low-profile solar lights near the curves makes the garden feel magical at night.
- Once the hard labor is done, adding a bit of ambient lighting completely transforms the space from a simple walkway into a stunning backyard feature. I tucked a few low-profile [Low-Voltage Outdoor Solar Pathway Lights] along the softest curves of my stone trail, and it now looks incredibly cozy after the sun goes down.
- The “Wobble” Fix: If a stone wobbles, don’t just keep adding dirt. Throw a handful of sand or stone dust underneath. It doesn’t compress like soil.
- If you just plop your stones directly onto uneven dirt, they are guaranteed to tilt and rock the second you step on them. To solve this, I always lift the wobbly stone and pack a handful of quick-draining [Leveling Sand (0.5 Cu. Ft. Bag)] underneath to create a rock-solid, perfectly flat foundation.
- Edge Plants: Plant something soft like “Lamb’s Ear” or “Lady’s Mantle” along the edges. It blurs the line between the hard stone and the garden, making it look much more professional.
FAQ: Common Stumbles for Beginners
In direct sun, dark stones can hold heat. If you live in a very hot climate, stick to lighter-colored stones like limestone or light granite.
If you just set stones on top of the grass, they will be unstable. You only need to dig down about 2 inches. It’s worth the 10 minutes per stone.
New construction sites (always ask first!), and people remodeling their patios. Most people are happy to let you haul away their “trash” rocks.
A thick layer of sand or a “polymeric sand” that hardens when wet is the pro way. The “lazy gardener” way is to just use a quick splash of boiling water on any stray weeds.
At the end of the day, your garden should be a place where you want to spend time, not a place that demands a constant subscription to the local nursery’s mulch pile. Moving to stone was one of the best decisions I made for my backyard.
Once you understand the basics of laying a solid foundation, the rest is just playing with heavy, beautiful puzzle pieces. Don’t worry about making it perfect. Just make it yours.
Most advice in this article comes from years of real gardening experience. Results may vary depending on climate. Always use caution when lifting heavy stones!
Aagam – Founder of SpruceTouch
Hi, I’m the creator behind SpruceTouch. i am a home and garden enthusiast who shares practical ideas for backyard design, garden projects, patio decor, and small outdoor spaces. Through SpruceTouch, he focuses on simple and budget-friendly ways to improve outdoor living spaces.