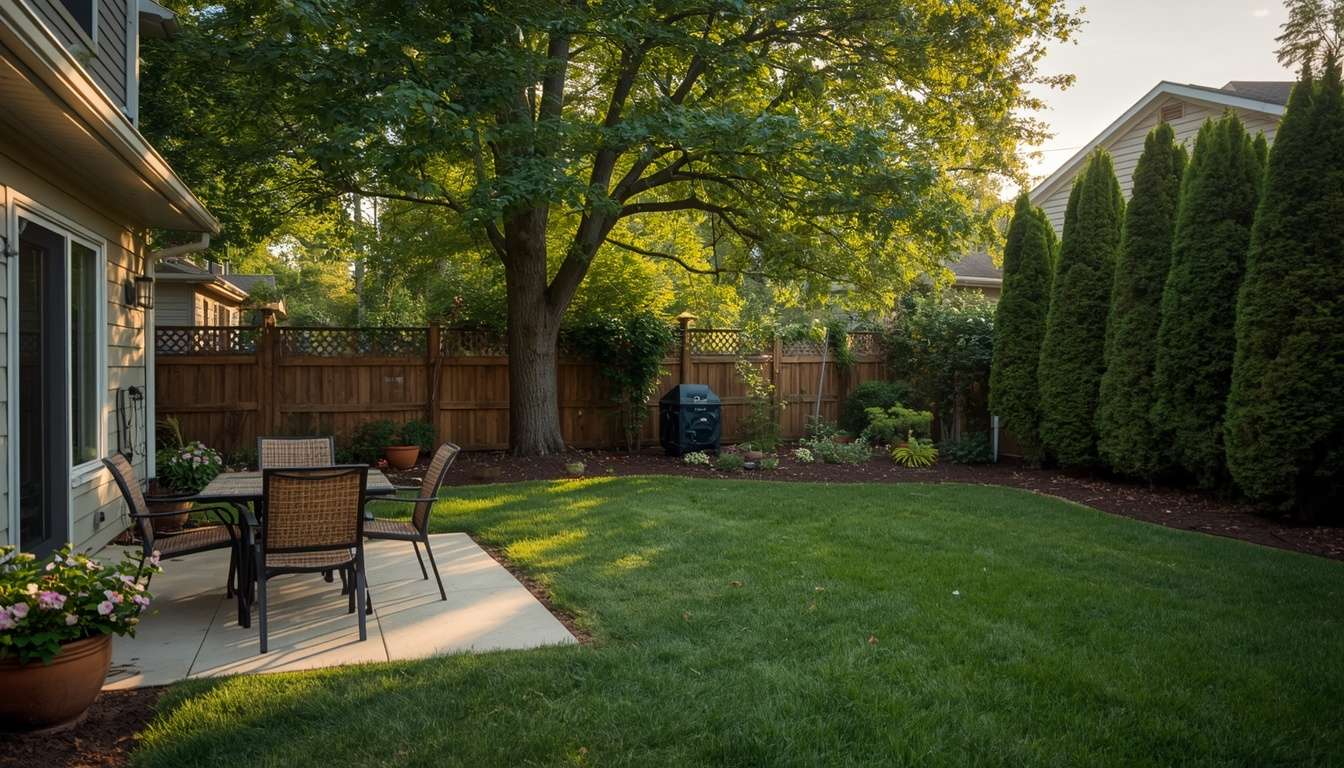
How to Divide Your Backyard Into Outdoor Rooms Without Making It Feel Cramped
A backyard doesn’t have to be huge to feel like it has different places to enjoy. Sometimes the problem isn’t the size of the yard at all. It’s that everything is sitting in one big, open rectangle with no clear reason to move from one area to another.
I started noticing this after rearranging a few different garden spaces over the years. A seating area tucked behind a planting bed suddenly felt private. A narrow path made a small yard feel longer. Even a simple change in where I stopped mowing could make one part of the yard feel like a garden instead of leftover lawn.
I learned this the hard way: I used to think creating “rooms” meant building expensive structures, putting up permanent walls, or installing elaborate landscaping. Most of the time, it doesn’t.
The trick is much simpler. You create visual boundaries without necessarily closing anything off.
And once you understand that, dividing a backyard becomes much more interesting.
Start by Thinking About How You Actually Use the Yard
Before moving a single plant, chair, paver, or fence panel, spend a little time in the backyard.
Not standing in the middle looking at it like a landscaping project.
Actually use it.
Where do you naturally sit in the morning? Where does everyone gather when friends come over? Which corner stays cooler in the afternoon? Is there a place where you would love to read, but the neighbor’s window makes you feel like you’re sitting on display?
These little observations are more useful than a perfectly drawn landscape plan.
In my experience, most backyards already have the beginnings of outdoor rooms. They just aren’t defined yet.
You might have a sunny patch that’s perfect for vegetables, a shaded corner that’s begging for a chair, and a section near the house that naturally works for outdoor meals.
Instead of treating the entire yard as one space, give each area a job.
That is the basic idea behind outdoor rooms.
One area might be the dining room.
Another might be the garden.
Another could be a quiet sitting area.
And somewhere else, perhaps tucked behind shrubs or a screen, you can have the less glamorous but very useful storage or utility zone.
That last one matters more than people think.
A backyard becomes much easier to enjoy when the hose, trash cans, bags of soil, tools, and miscellaneous garden clutter aren’t visually competing with the place where you’re trying to relax.
For marking out those first rough boundaries, I like keeping the approach simple. A tape measure, garden stakes, and a basic pair of pruners are usually enough to get started. If you need to reshape shrubs or remove a few awkward branches while testing the layout, Fiskars Power Lever Bypass Pruning Shears are the sort of everyday tool I would reach for rather than bringing out a large power tool for every little job.
The important part is not the tool.
It’s getting outside and testing the layout.
Don’t Start With Walls
This is probably the biggest mistake I see when people first try this idea.
They assume “room” means “wall.”
It doesn’t.
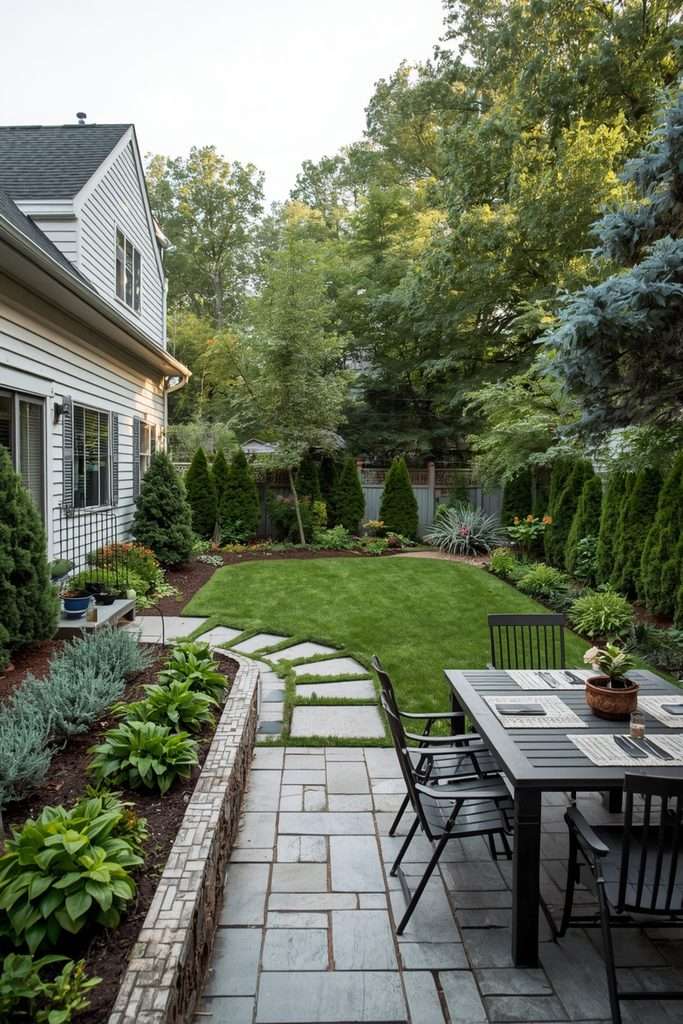
A room can be created by a change in surface, a planting bed, a path, a low fence, a pergola, a group of containers, or even a change in elevation.
Sometimes a six-foot hedge is exactly what you need.
Sometimes three medium-sized shrubs are better.
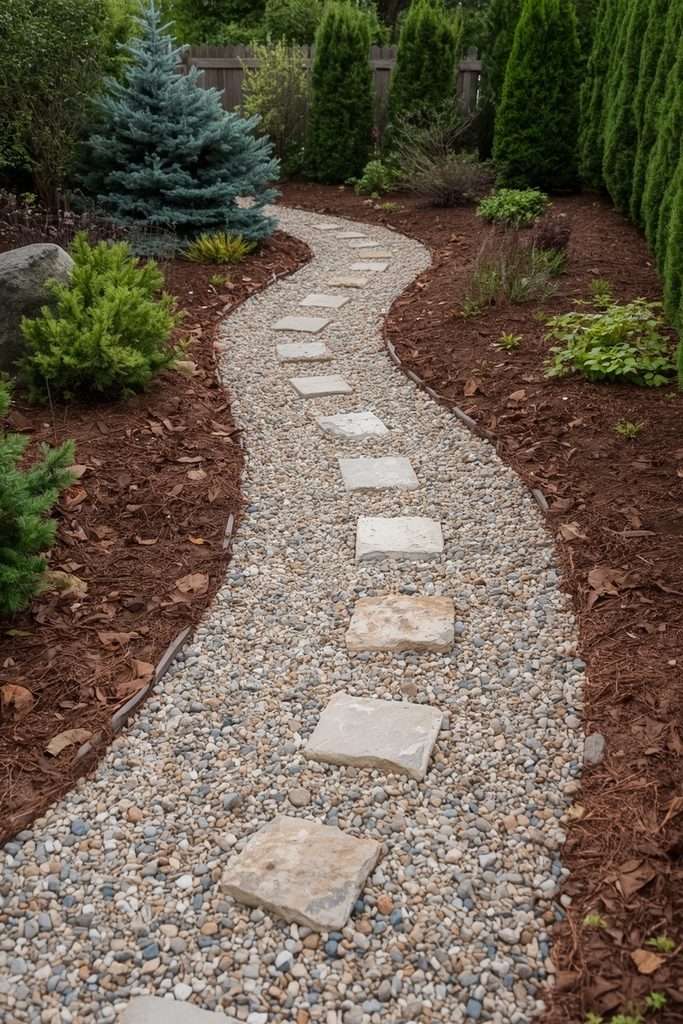
And sometimes the best divider is nothing more than a narrow gravel path.
One thing most people ignore: you don’t necessarily want every outdoor room to be completely private.
A backyard feels much larger when you can still see through some of the spaces.
Think about a house with interior rooms. A dining room doesn’t have to be completely sealed off from the living room to feel separate. The furniture arrangement, lighting, flooring, and sightlines do much of the work.
The same principle works outside.
Use Paths to Create the “Hallways”
If you only make one structural change to a backyard, consider adding or emphasizing a path.
Paths are incredibly good at creating separation without making the yard feel chopped up.
A narrow path through lawn can lead from the patio to a vegetable garden.
A gravel path can wrap around a planting bed and guide people toward a seating nook.
A few large stepping stones can create a visual line without needing a formal walkway.
I have also found that paths solve another problem: people stop taking shortcuts through garden beds.
That sounds minor.
It isn’t.
When the route through the backyard is obvious, the garden tends to stay cleaner because people naturally follow the route you’ve given them.
For smaller yards, I prefer paths that curve slightly or disappear behind planting rather than running straight from point A to point B.
A straight path can work beautifully, especially with a formal house, but a gentle curve gives you a reason to keep walking.
If you’re considering different inexpensive path materials, our guide to DIY Garden Path Ideas on a Budget can help you compare simple approaches without turning the project into a major construction job. The article is especially useful if you’re working with an existing lawn and trying to decide how much permanent hardscaping you actually need.
There is another little trick here.
Don’t make every path the same width.
A main route should be comfortable enough for two people to walk together. A secondary garden path can be narrower.
That difference quietly tells people which areas are important and which ones are more tucked away.
Let Plants Do More of the Dividing Than Fences
Plants are probably my favorite way to create an outdoor room because they soften the boundary.
A fence says, “This stops here.”
Plants say, “This is a different place.”
There is a big difference.
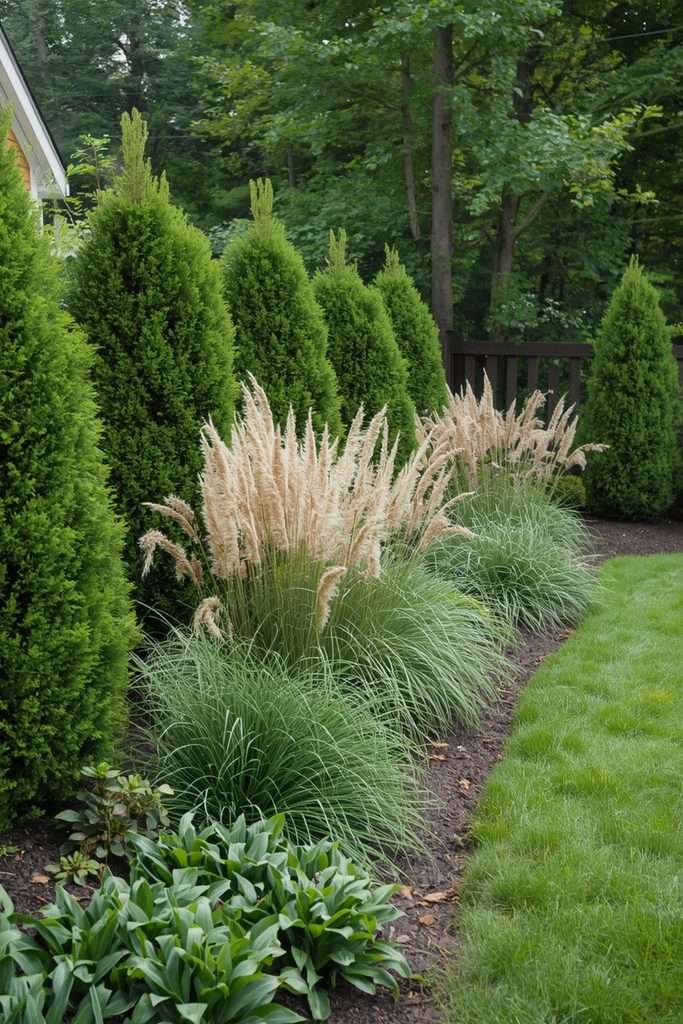
For example, imagine a dining patio surrounded by three or four medium-height shrubs. You can still see over and around them, but the patio suddenly feels like its own destination.
Add a taller plant behind the seating area and you’ve created a backdrop.
Put a low planting bed along one edge and you’ve created another boundary.
It doesn’t take much.
For a more cottage-style backyard, mixed shrubs and perennials can make the transition feel almost accidental. If your yard leans more modern, repeating the same shrub or grass in a clean line usually looks better.
The mistake is choosing plants only because they look attractive in a nursery pot.
Think about mature size.
I’ve planted things that looked perfectly reasonable at two feet tall and later wondered what on earth I was thinking when they became six-foot-wide monsters.
Leave breathing room.
Also pay attention to maintenance. A hedge that needs trimming every few weeks may look wonderful on paper and become a chore in real life.
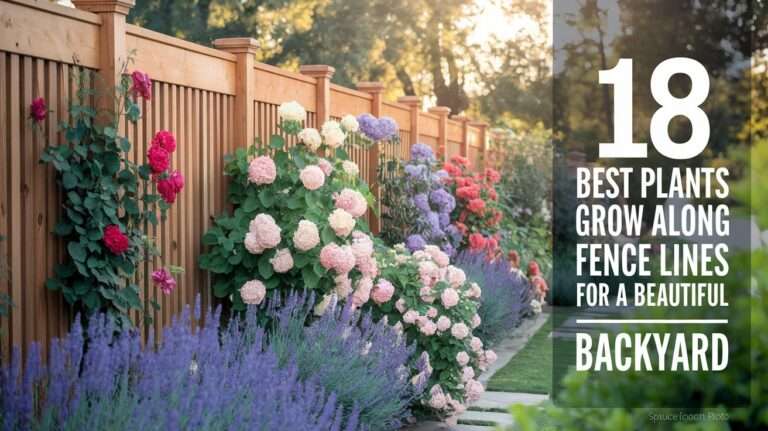
If you want structure without turning the whole backyard into a hedge maze, our guide to Best Plants for Fence Lines is a useful companion because the same planting principles work beautifully along outdoor-room boundaries.
And if you’re dealing with an established garden, don’t overlook shrubs you already have.
Sometimes moving two shrubs three feet apart creates a better room divider than buying ten new plants.
That is usually the first option I would investigate.
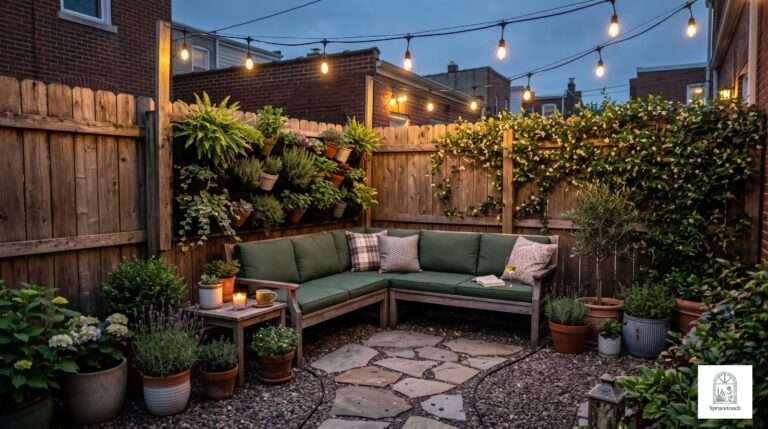
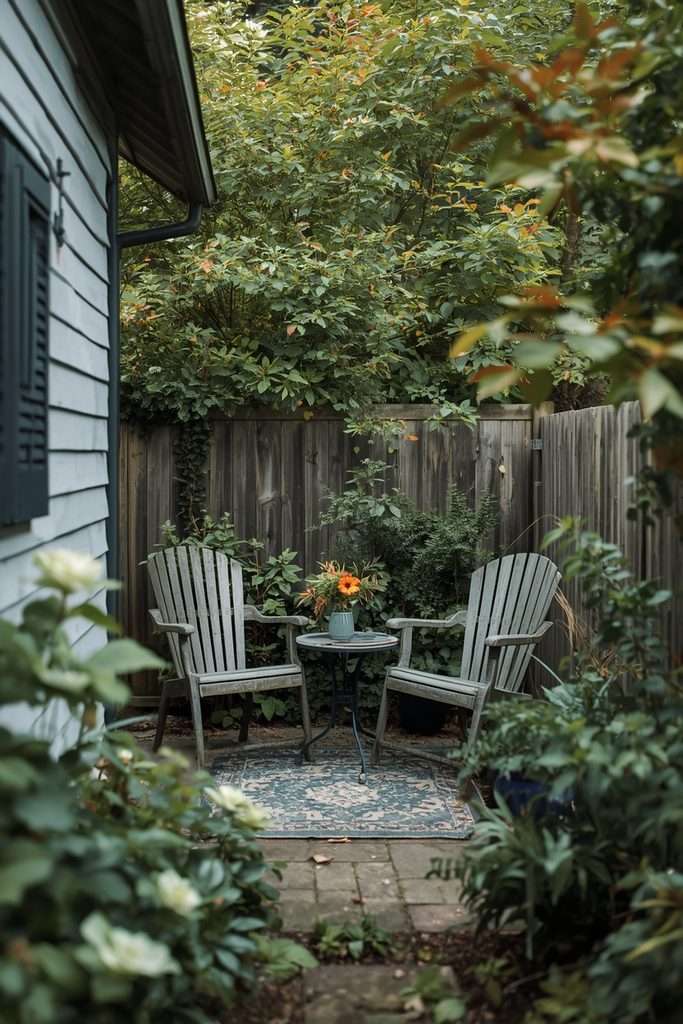
Create a Seating Room That Feels Slightly Hidden
There is something very satisfying about having a place in the backyard that isn’t immediately visible from the house.
It doesn’t need to be completely hidden.
Just slightly removed.
A chair under a tree.
A small bench beside a planting bed.
Two Adirondack chairs facing a garden.
A little bistro table at the edge of a patio.
These spaces tend to become the places people actually use.
I have noticed that when a seating area sits directly in the middle of an open lawn, it can feel oddly exposed. Move it just a few feet toward a planting border, add a couple of tall containers, and suddenly it feels intentional.
But here’s the kicker: the seating doesn’t have to be expensive.
The boundary around it often matters more than the furniture.
A pergola can do it.
A low wall can do it.
A group of plants can do it.
Even a change from grass to gravel can make the area read as a separate room.
If you’re interested in making one of these quieter corners, our ideas for Cozy DIY Garden Seating Nooks fit naturally with this approach. I particularly like the idea of creating a seating area that feels discovered rather than announced.
And don’t automatically put the chairs facing the house.
Turn them toward the garden.
It sounds obvious, but it changes the whole experience.
You start noticing birds, flowers, changing light, and whatever else is happening outside instead of staring back through the kitchen window.
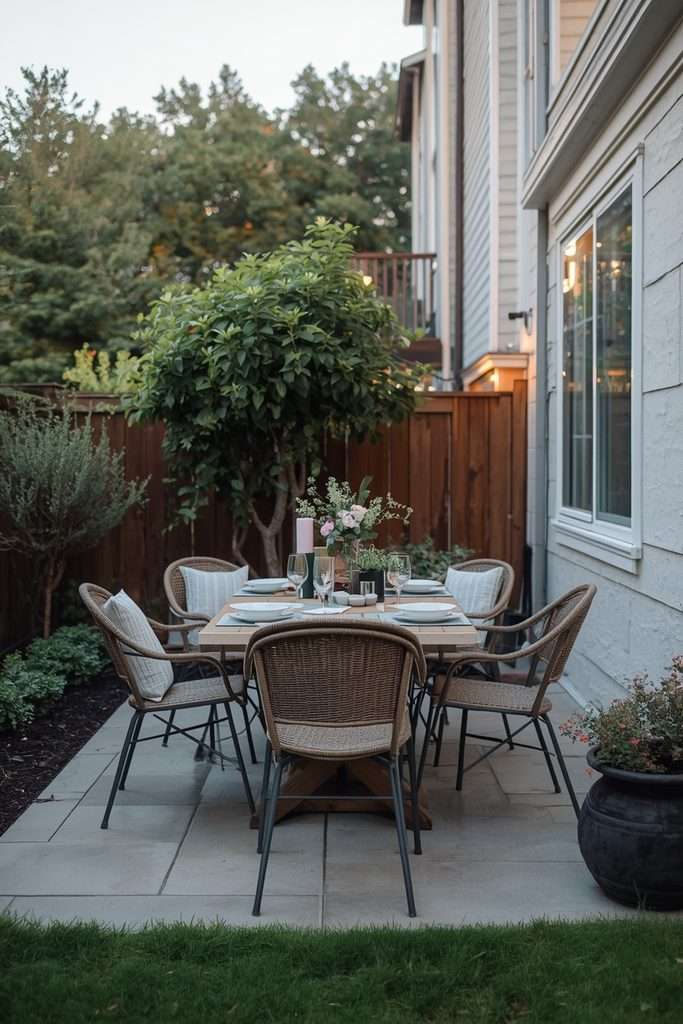
Make the Patio and Dining Area Feel Like a Separate Room
If your patio is attached directly to the house, it already has one strong boundary.
The house.
What it often lacks is a clear edge on the garden side.
This is where flooring, containers, planting, and overhead structures can help.
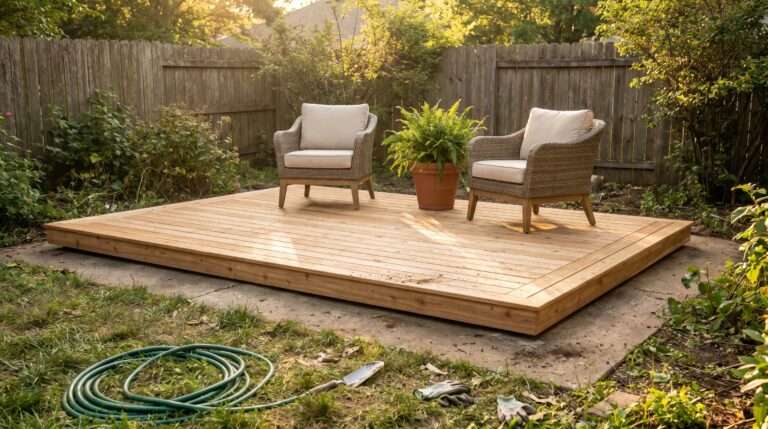
You don’t necessarily need to build a deck or pour another slab.
A large outdoor rug can define the furniture.
A row of containers can establish the edge.
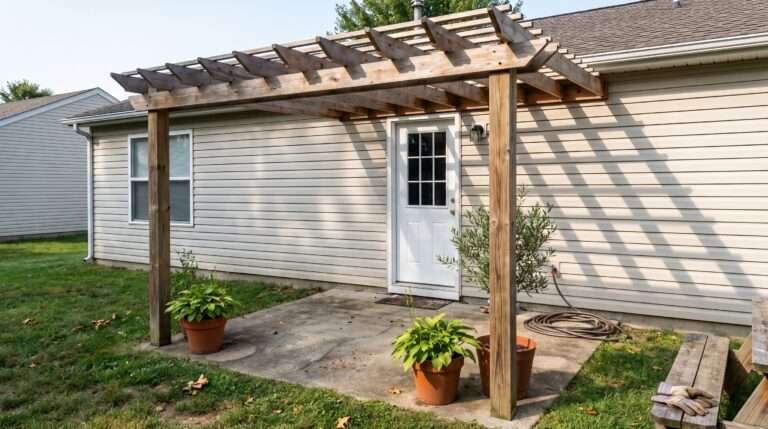
A pergola can give the space vertical definition.
A low planting bed can create a softer transition.
And lighting becomes surprisingly useful here.
In one backyard I worked around, the patio looked fine during the day but disappeared completely after sunset. Once the seating and walking route were lightly illuminated, the patio suddenly felt like a destination rather than an extension of the kitchen.
You can use string lights, low path lights, wall-mounted fixtures, or a combination.
Just don’t turn the entire yard into a stadium.
A few darker areas actually make the brighter outdoor rooms feel more inviting.
If you’re still figuring out where outdoor lighting belongs, our Beginner’s Guide to Backyard Lighting is worth using alongside this layout because lighting can reinforce the rooms you’ve already created rather than becoming a completely separate project.
For the patio itself, think about what you want to happen there.
Eating?
Cooking?
Morning coffee?
Evening drinks?
Kids playing?
Don’t try to make one tiny patio handle every activity equally.
Choose its primary job.
That alone makes furniture placement much easier.
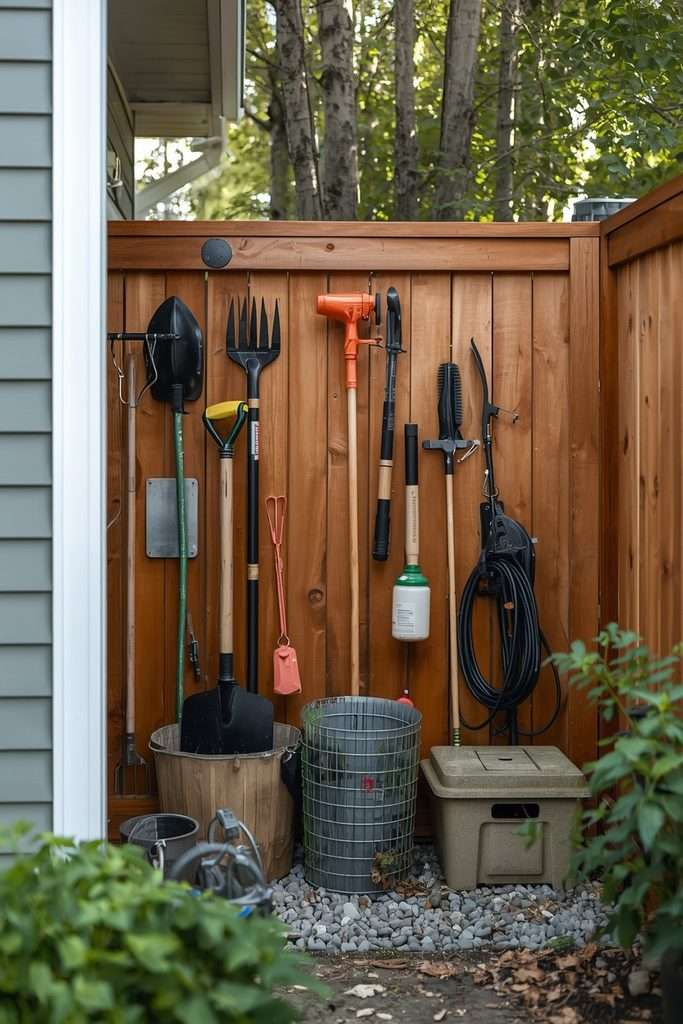
Don’t Forget the Practical Room
This isn’t the glamorous part of backyard design.
It’s one of the most useful.
Every backyard needs a place for things that aren’t pretty.
Hoses.
Garden tools.
Trash cans.
Firewood.
Potting supplies.
Lawn equipment.
Kids’ outdoor toys.
If you don’t give these things a home, they eventually spread into every other outdoor room.
I learned this after repeatedly “cleaning up” the same backyard without actually solving the storage problem.
The yard looked good for about two days.
Then the hose came back across the patio.
A shovel leaned against the fence.
A bag of soil appeared beside the back door.
And suddenly the relaxing garden didn’t feel so relaxing.
This is why I recommend creating a utility zone deliberately.
It can sit behind a privacy screen, beside a shed, behind tall shrubs, or along a less-visible side of the house.
You don’t have to hide every tool.
Just contain the visual mess.
For a more substantial backyard divider, something like a slatted screen can create a strong boundary while still allowing light and airflow. Our guide to DIY Modern Boho Slatted Privacy Screens shows one approach that works particularly well when you want a functional screen to look like part of the garden rather than an afterthought.
This is also a good place to use a hose reel or organized watering setup.
If one part of the backyard is becoming a serious garden zone, I have found that a dedicated watering point saves a ridiculous amount of walking.
For gardeners who don’t want to remember every watering cycle manually, a Orbit B-hyve Smart Hose Faucet Timer can be useful for automating a hose-based watering area. The important thing is to use automation as a convenience, not as an excuse to stop checking the soil and plants yourself.
Weather, soil, container size, and plant maturity can all change how much water an area actually needs.
A Garden Room Should Have Its Own Personality
This is where the idea gets fun.
Once you’ve divided the physical space, give each room a slightly different personality.
Not dramatically different.
Just enough.
A vegetable garden can feel productive and informal.
A dining area can feel cleaner and more structured.
A reading nook can be leafy and quiet.
A fire-pit area can have heavier materials like gravel, stone, or brick.
You can repeat some plants or materials throughout the yard so everything still feels connected.
But you don’t need the exact same look everywhere.
I actually prefer a backyard where the rooms aren’t perfectly coordinated.
A little variation makes it feel like the garden evolved over time.
Because, honestly, that’s what real gardens do.
You plant something.
Move something.
Lose something in a heat wave.
Discover that a shrub hates the spot you chose.
Then three years later, somehow the whole thing looks better than the original plan.
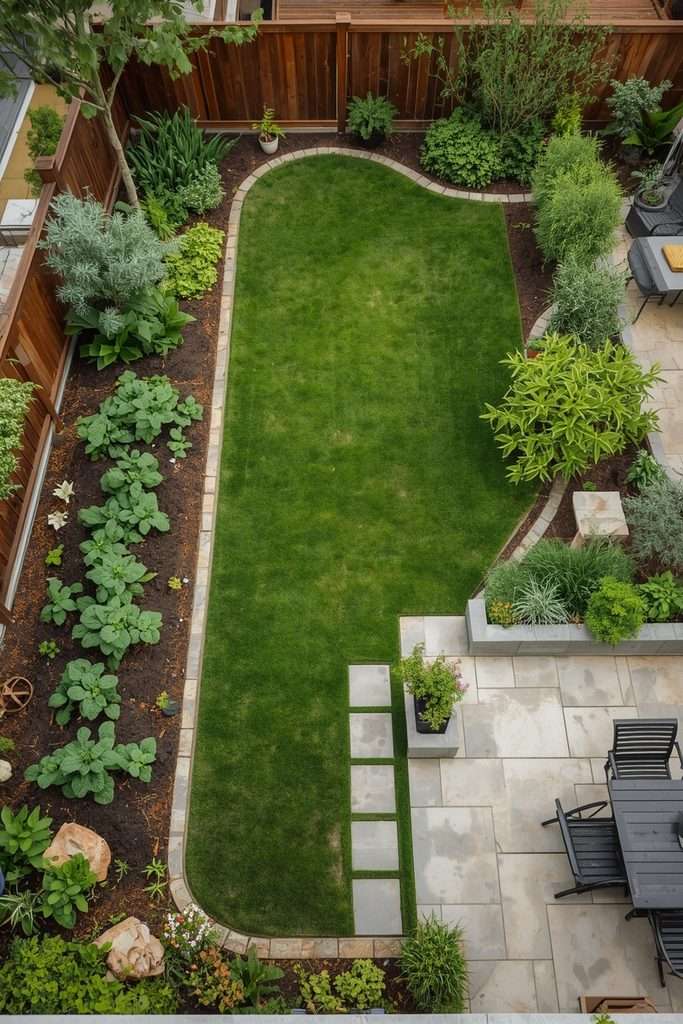
What Actually Works: A Simple Backyard Room Setup
If you’re standing in your backyard thinking, “Okay, but where do I actually begin?” don’t try to redesign everything in one weekend.
I would do it in this order.
First, identify three main uses.
Not six.
Three.
For example:
- dining and entertaining
- gardening
- quiet sitting
Then identify the least-used part of the yard.
That is often where the fourth space can eventually go.
Second, draw the rough boundaries.
Use a hose laid on the grass, garden stakes, or even a few pieces of scrap wood.
Don’t build anything yet.
Walk through the proposed spaces.
Sit in them.
Look toward the house.
Look toward the neighbors.
Then change the boundaries.
This temporary stage is incredibly valuable because moving a garden hose takes about thirty seconds. Moving a fence does not.
Third, establish one main path.
Make sure it connects the areas you actually use.
Don’t create paths simply because they look good on a sketch.
Fourth, add the strongest visual divider.
This might be a planting bed, a screen, a pergola, a change in paving, or a hedge.
Start with one.
You can always add more later.
Fifth, soften the edges.
This is where shrubs, grasses, containers, and perennials come in.
I often prefer slightly overlapping planting instead of a hard line. It makes the transition feel natural.
Sixth, add lighting after the layout works.
Don’t use lighting to compensate for a bad layout.
Lighting should highlight a good one.
For areas that need a physical edge between lawn and planting, landscape edging can make maintenance much easier. A product such as EasyFlex No-Dig Landscape Edging can be useful for creating a clean boundary without building a large retaining wall.
Finally, live with the arrangement for a season.
That’s the part many people skip.
A backyard can look wonderful in a photo and be annoying to use every Tuesday evening.
Your real-life habits will tell you what needs changing.
Things That Didn’t Work for Me
I have made plenty of backyard-layout mistakes.
The first was making everything too permanent too quickly.
I once decided where a seating area belonged before watching how the sun moved across the yard. It looked great in the morning.
By late afternoon, nobody wanted to sit there.
That taught me to observe first.
The second mistake was creating boundaries that were too tall.
Privacy sounds wonderful until you accidentally make a small backyard feel boxed in.
A boundary should solve a problem without creating another one.
The third was overcrowding the planting.
This happens because a newly planted garden looks empty.
You see all that bare soil and think, “I need more plants.”
Then two growing seasons later, you’re pruning everything just to create a walkway.
Leave space.
Future-you will appreciate it.
The fourth mistake was ignoring drainage.
This one is less exciting but much more important.
If you’re changing grades, adding raised beds, or installing a new surface, pay attention to where rainwater naturally travels.
Moving water around a backyard is much easier before you’ve built something permanent.
One thing most gardening blogs never mention: a beautiful room that stays soggy isn’t a beautiful room for very long.
And don’t assume that every “garden soil” problem can be solved by simply dumping another bag of soil on top.
Sometimes the problem is compaction.
Sometimes drainage.
Sometimes the wrong plant in the wrong place.
Sometimes all three.
Small Things That Make a Big Difference
A few small decisions can make outdoor rooms feel much more convincing.
Use the same paving material in two areas if you want them to feel connected.
Repeat one shrub in different parts of the yard.
Keep one clear sightline from the house into the garden.
Don’t block every view.
Put the best-looking plant where you’ll see it from a window.
Keep thorny or messy plants away from frequently used paths.
And give yourself somewhere to sit while you’re gardening.
That last one sounds silly, but it changes how you experience the space.
For soil improvements in individual planting pockets, I prefer fixing the soil based on what the plants actually need rather than treating every bed the same. If you’re building new vegetable or flower areas, Miracle-Gro All Purpose Garden Soil is one readily available option, but always consider whether your existing soil needs amendment, better drainage, or simply a different plant choice before adding bags of material.
Another small thing: make sure your paths don’t become too narrow once plants mature.
Measure them based on the plants’ eventual size, not the size they are on planting day.
And if you’re creating a fire-pit room, leave enough space around it for people to move safely.
Don’t squeeze furniture into every available inch.
A little empty space is useful.
It lets the room breathe.
Frequently Asked Questions
There isn’t a magic number. For a small or medium backyard, three distinct areas are usually plenty. A large yard can handle more, but too many zones can make the space feel fragmented.
Absolutely. Plants, paths, gravel, containers, pergolas, changes in paving, and furniture placement can all define a room without creating a solid wall.
Start with a path and one planted boundary. A narrow planting bed can separate a seating area from the lawn without taking up much usable space.
They should feel related, but they don’t need to match exactly. Repeating a few plants, materials, or colors is usually enough to make the whole backyard feel cohesive.
It depends on what you’re trying to hide and where you’re sitting. For many seating areas, plants around eye level can provide enough screening without completely enclosing the space.
Yes. In fact, lawn is often easy to work with because you can gradually remove sections and replace them with paths, beds, patios, or seating areas.
For permanent structures, establish their locations first. But test the layout temporarily before building anything. Once the structure is right, use planting to soften the edges.
The Details That Make the Rooms Feel Real
The best outdoor rooms I’ve seen weren’t the ones with the biggest budgets.
They were the ones where someone had thought about how the backyard would actually be used.
A chair placed where the afternoon breeze feels good.
A path that leads naturally to the vegetable garden.
A shrub positioned so you don’t stare directly into a neighbor’s yard.
A patio that has enough empty space to pull the chairs back.
A little corner where the garden tools don’t have to be perfectly hidden but aren’t scattered everywhere either.
Those are the things that make a backyard comfortable.
And they don’t necessarily cost much.
You can even create the first version with things you already own.
Move two chairs.
Lay down a garden hose to represent a future path.
Put three pots where a planting bed might go.
Place a small table under the tree.
Then live with it.
If you keep finding yourself walking around one particular arrangement, pay attention. Your habits are giving you information.
That’s usually more useful than a landscape drawing.
The other thing I’ve learned is that outdoor rooms don’t have to be finished.
A garden should change.
Maybe the seating room becomes a vegetable garden next year. Maybe the fire-pit area gets a better path. Maybe a hedge grows enough that the privacy screen you thought you needed is no longer necessary.
That’s fine.
In fact, that’s one of the best things about gardening.
You can change your mind.
You don’t need to get the whole backyard right the first time.
Start with one clear room. Give it a purpose. Make the route into it comfortable. Add a little planting around the edges.
Then see what the yard tells you.
Once you understand the basics, things usually get much easier.

Aagam – Founder of SpruceTouch
I’m Aagam, a home and garden enthusiast who enjoys growing, building, and improving outdoor spaces. I focus on practical backyard projects, garden ideas, and simple DIY solutions that are useful in real homes. Through SpruceTouch, I share what I’ve learned, what worked, what didn’t, and the small details that can make an outdoor project easier.