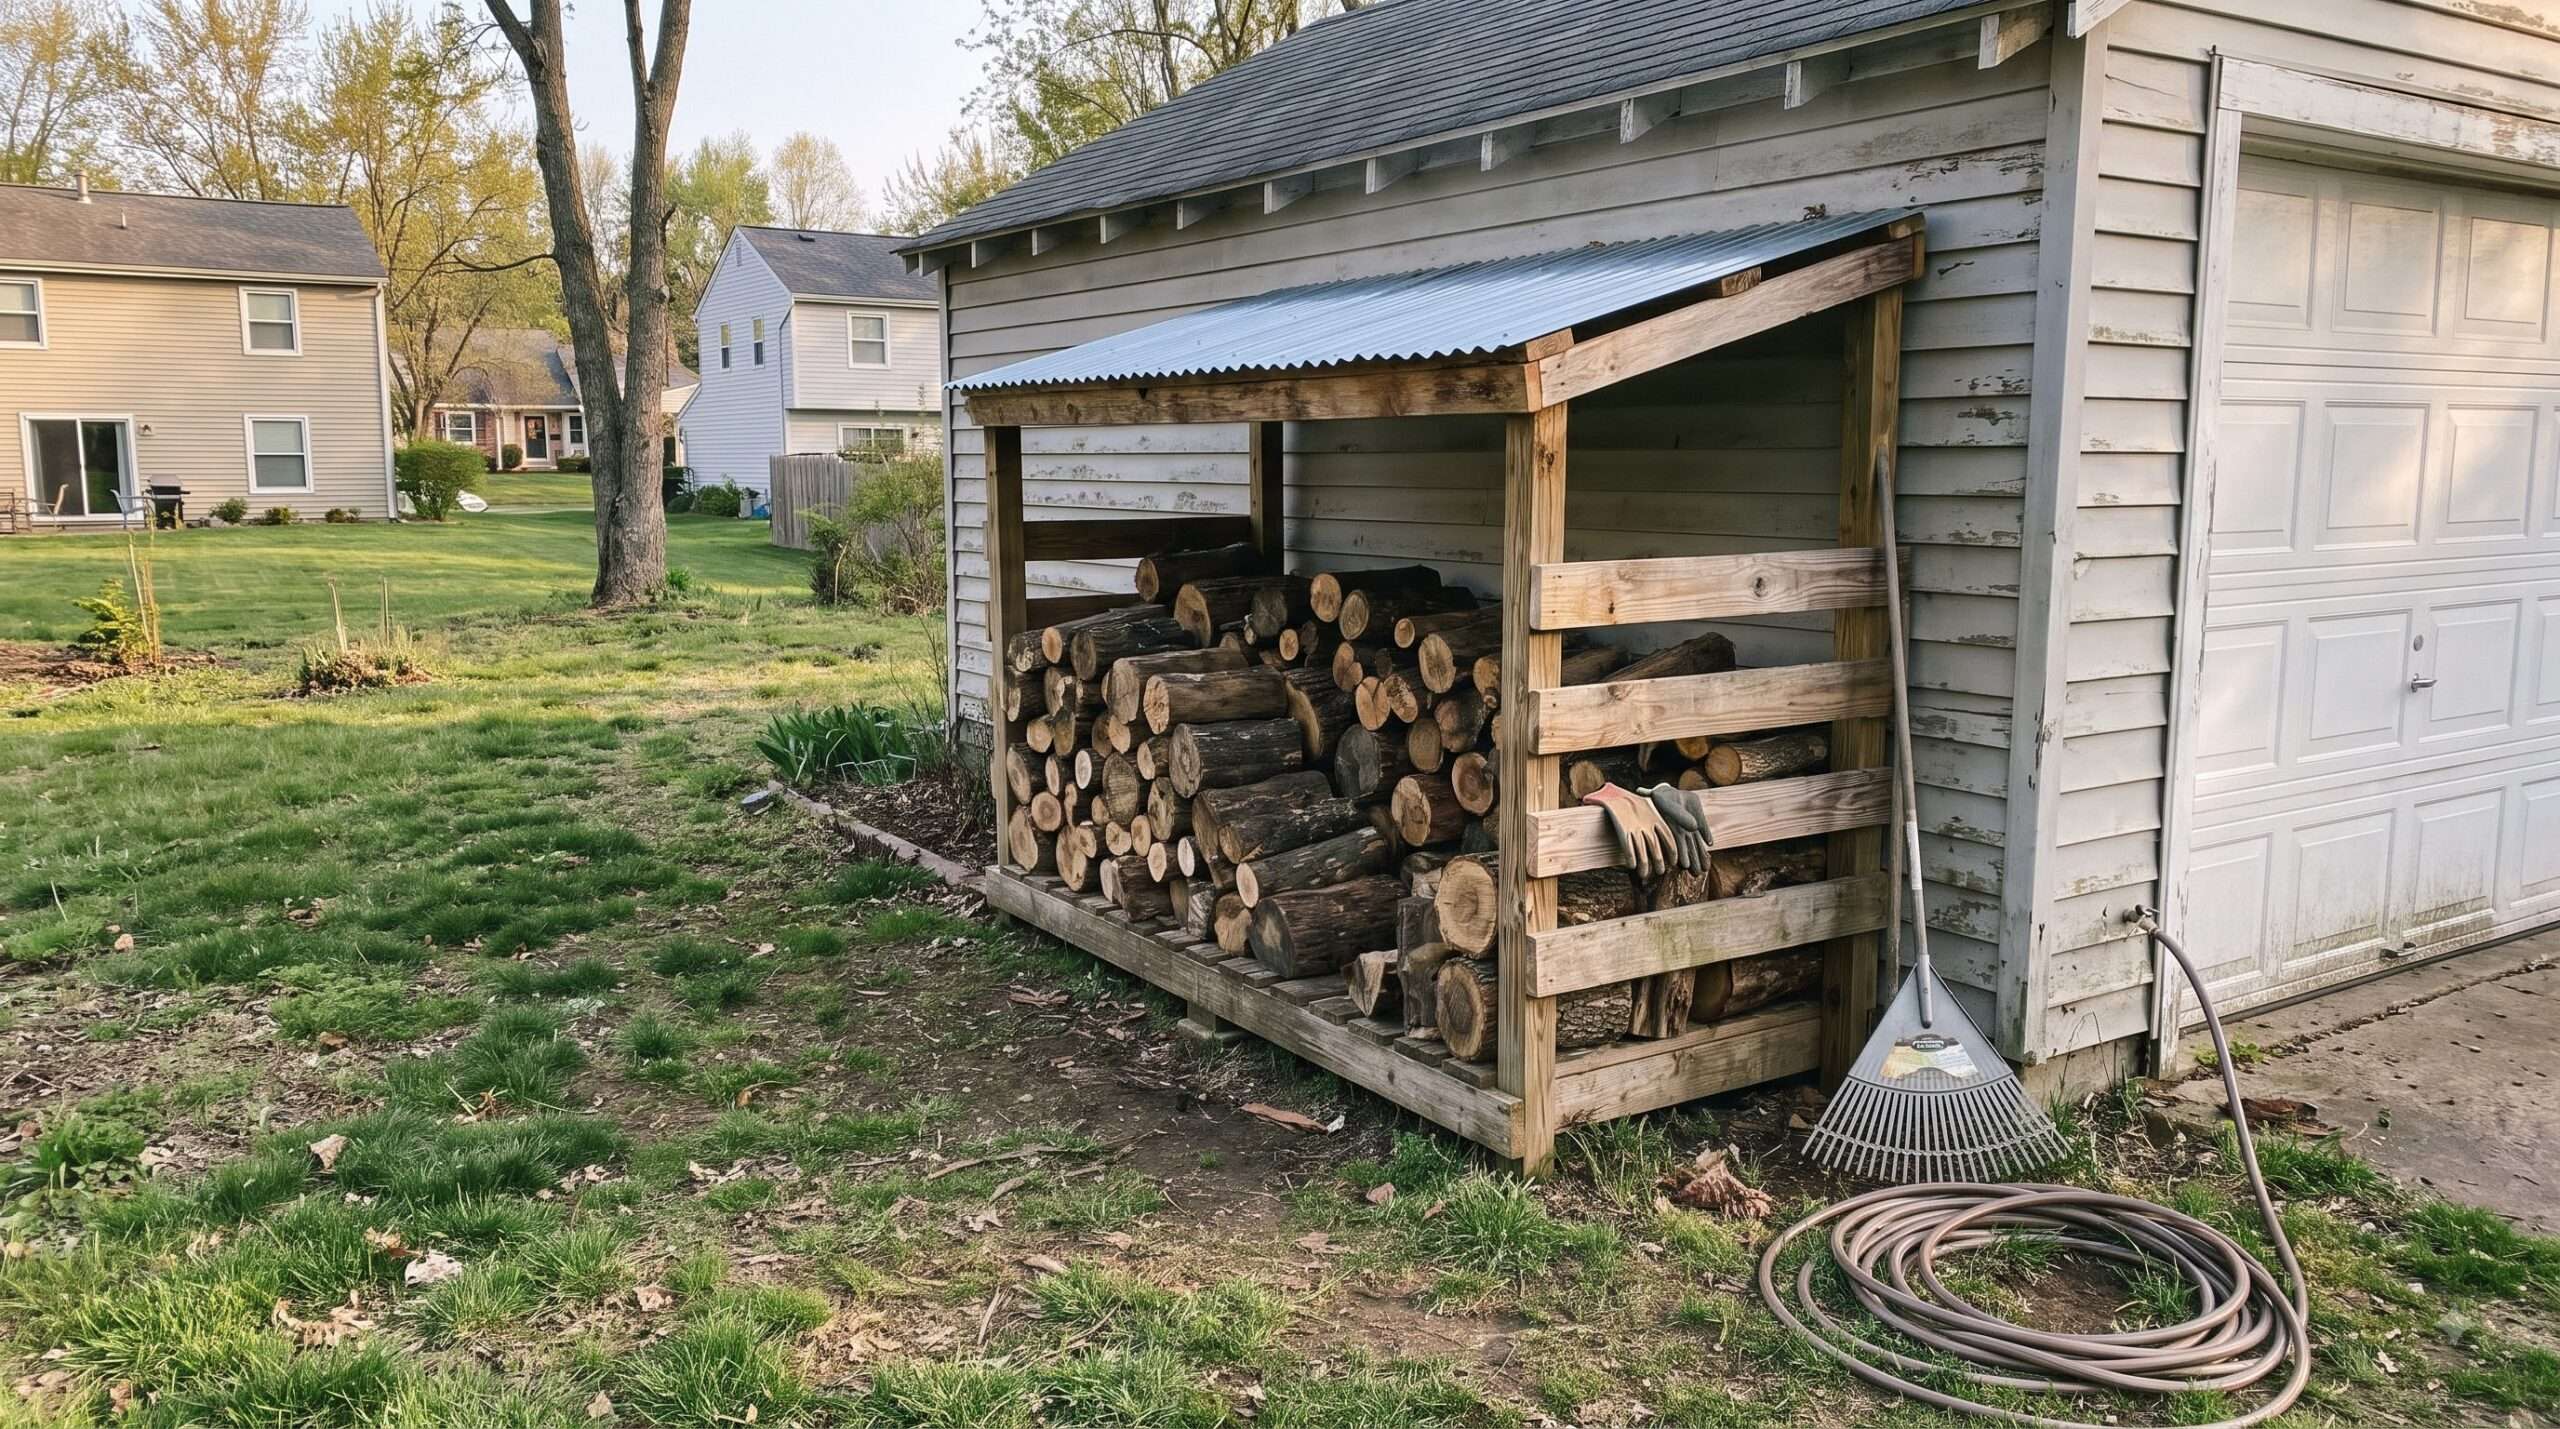
DIY Lean-to Firewood Shed: The Build That Finally Kept My Wood Dry (And Saved My Back)
I’ve been stacking firewood the wrong way for longer than I want to admit. Tarps that blew off in the middle of the night. Pallets that rotted into the mud after one wet spring. A “temporary” wood pile against the garage that turned into a permanent termite buffet. If any of that sounds familiar, you’re exactly who this post is for.
After about fifteen years of heating with wood part-time and helping neighbors fix their own soggy woodpiles, I finally landed on the setup that actually works for most backyards: a simple lean-to firewood shed. It’s not fancy. It’s not a Pinterest-perfect carpentry showpiece. But it keeps wood dry, it’s cheap enough for a weekend project, and it doesn’t require a contractor’s license to build.
In this post I’m walking through exactly how I built mine, what I’d change if I did it again, the tools that actually earned their keep, and the mistakes that cost me a wasted Saturday. This isn’t theory pulled from a manual — it’s what happened in my own backyard, mud and all.
Before I get into the framing and roofing, I want to talk about the one tool that made this whole project go from “frustrating weekend” to “done by lunch.” Every joint in a lean-to shed depends on driving screws at an angle into pressure-treated lumber, and doing that with a cheap drill will wear you out fast. I ended up using the DEWALT 20V MAX Cordless Drill/Driver Kit, and honestly, it’s the same drill I now reach for on almost every outdoor project. It has enough torque to sink 3-inch structural screws into treated 4×4 posts without stalling, which matters a lot more than people expect until they’ve tried doing it with an underpowered drill.
Why a Lean-to Design Actually Makes Sense
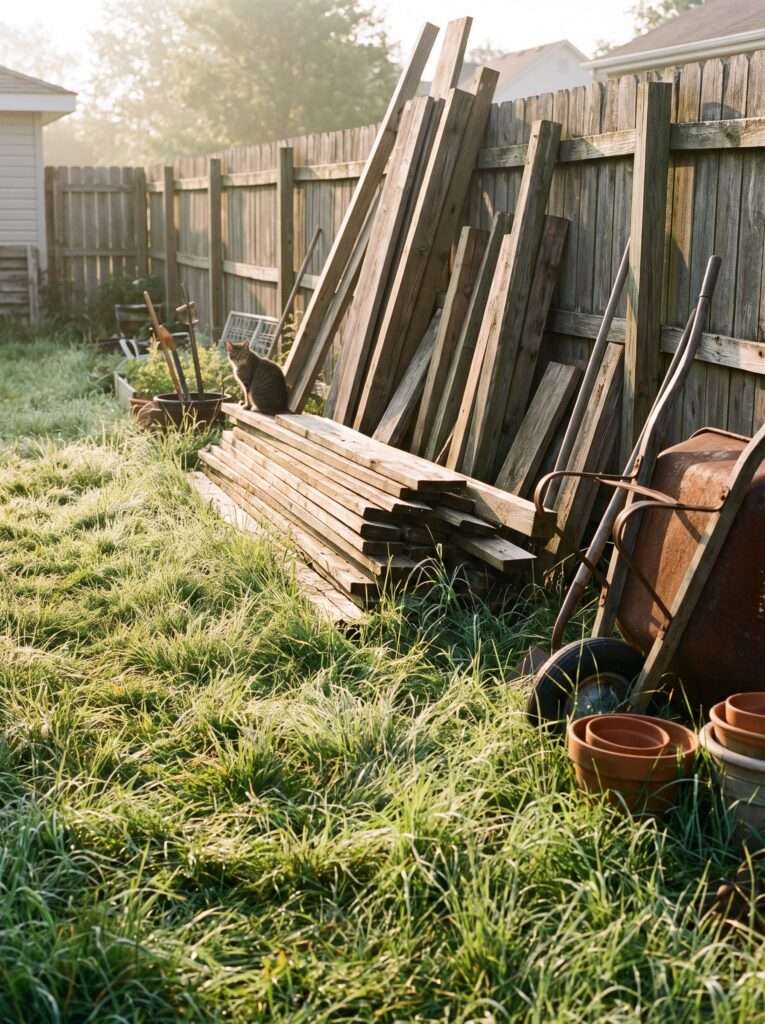
Here’s where most people go wrong: they try to build a free-standing shed from scratch, complete with four walls and a proper roof, when all they actually need is something that sheds rain and lets air move through the stack. A lean-to design solves both problems by using an existing wall — your garage, a fence line, or even a shed you already have — as the back support.
The best part? You cut your material list almost in half. No back wall framing, no extra roof trusses, just a simple sloped roof running off the existing structure. I built mine against the side of my garage, and it’s held up through three winters now without so much as a loose screw.
One thing I noticed over the years: firewood doesn’t actually need to be sealed in like a piece of furniture. It needs airflow more than it needs a tight enclosure. That’s the part most gardening and DIY blogs skip right over, and it’s honestly the difference between wood that seasons properly and wood that molds.
Quick Check
Before you commit to a full build, run through this fast:
- Is there a wall, fence, or existing structure you can lean the roof against?
- Does that spot get at least a few hours of sun or wind exposure for airflow?
- Is the ground level enough, or will you need a gravel base?
- Do you have local codes about structures attached to a house or garage? (Worth a quick check.)
- Roughly how much wood do you actually burn per season? This decides your shed size.
That last one matters more than people think. I originally built mine too small, then had to extend it the following spring. Measure your actual wood use before you cut a single board.
Planning the Size and Layout
Most lean-to firewood sheds run somewhere between 8 and 12 feet long, with a depth of about 4 feet — enough for two rows of stacked wood with a little walking room. Mine ended up at 10 feet long, which holds close to three cords when stacked properly.
I learned this the hard way: don’t build it flush against a wall with zero gap. You want at least an inch or two of air space between the back of the woodpile and the wall itself, otherwise moisture gets trapped and you end up with mildew streaks on your siding. Not a huge deal, but annoying to clean, and it’s a completely avoidable mistake.
Framing: Keep It Simple
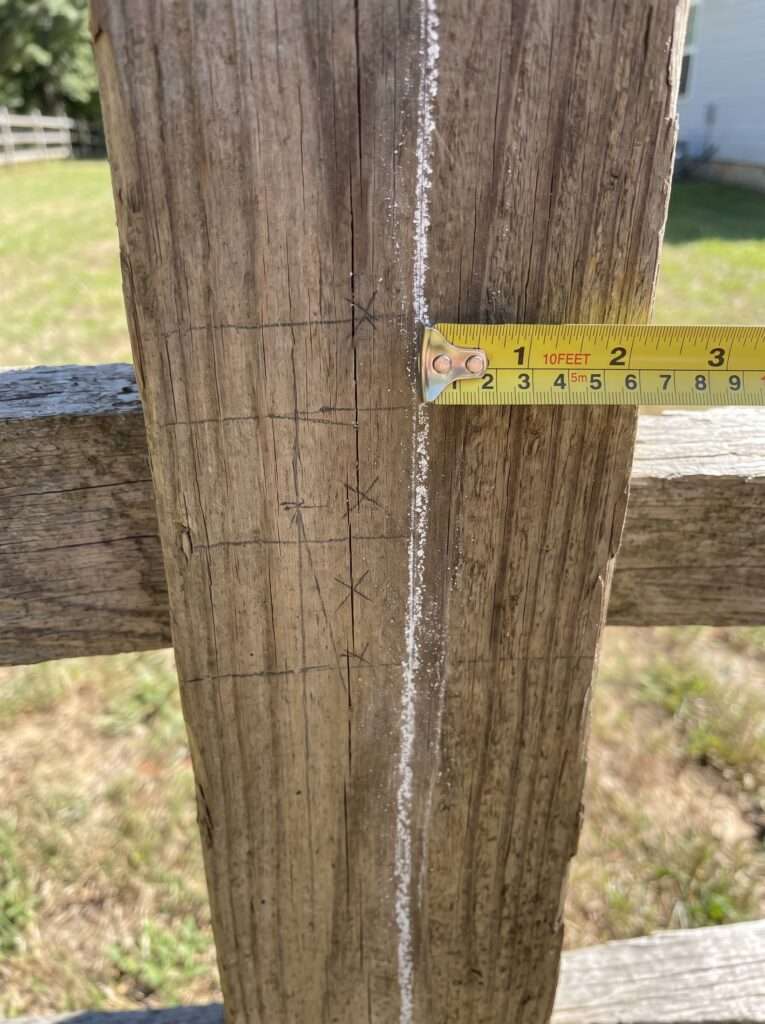
For the frame itself, pressure-treated 4×4 posts work fine for the front supports, and 2x4s handle the roof rafters without any issue. You don’t need anything heavier unless you’re in a region with serious snow load — in that case, bump up to 2×6 rafters and space them closer together.
Here’s a small thing most people overlook: set your posts in concrete, even for a “temporary” structure. I skipped this step on my first attempt years ago, and after one windy season the whole front leaned about six inches off plumb. Concrete footings cost maybe twenty extra dollars per post and save you from redoing the entire frame.
When it comes to getting those posts perfectly vertical before the concrete sets, I stopped eyeballing it a long time ago. A Magnetic Post Level for Deck and Fence Posts clips right onto the post and reads two directions at once, which is a lot faster than holding a regular level against two sides over and over. Small tool, but it saved me from redoing a post that would’ve thrown off the whole roof line.
Roofing: Where the Real Protection Happens
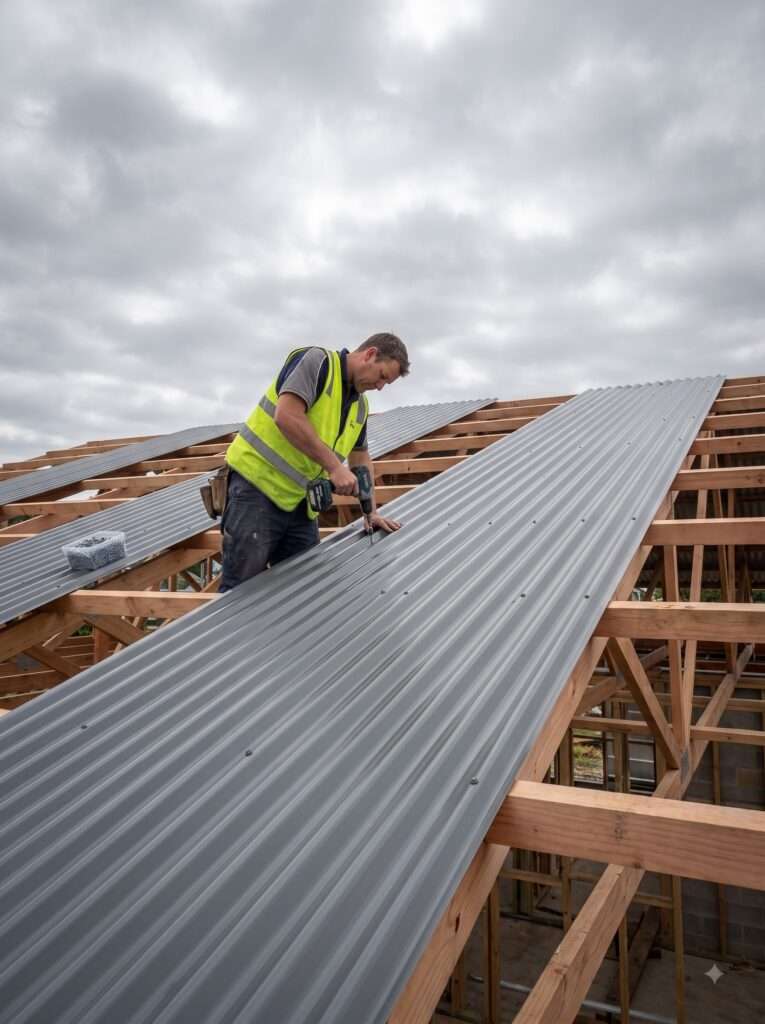
The roof is genuinely the part that matters most. Wood doesn’t care much about wind exposure on the sides — it cares about staying dry from above. I went with corrugated metal panels because they’re lightweight, cheap, and shed water fast, which matters a lot more than looks in this case.
But wait, there’s a catch: metal roofing panels expand and contract with temperature swings, so you need to leave a little wiggle room in your screw holes rather than driving them in dead tight. I didn’t know this the first time around, and by the second summer I had a few panels buckling slightly at the edges.
For the actual panels, I’ve had good results with Corrugated Galvanized Steel Roofing Panels. They’re easy to cut with basic tin snips, light enough for one person to install solo, and they’ve held up through hail without denting, which surprised me honestly.
Most gardening blogs never mention this: pitch your roof at least 15 to 20 degrees, even on a small lean-to. A flatter roof looks fine on paper but collects standing water after heavy rain, and that water eventually finds its way through even a well-installed panel.
Protecting the Wood Structure Itself
Once the frame and roof are done, don’t skip sealing the exposed wood, especially the posts and any cut ends where the pressure treatment doesn’t fully penetrate. I use Thompson’s WaterSeal Advanced Exterior Wood Stain and Sealer on the frame every couple of years, and it’s genuinely extended the life of the structure. Pressure-treated lumber resists rot, but it’s not invincible, and cut ends are the weak point everyone forgets about.
Simple Fix: any time you cut a pressure-treated board, dab a little end-cut sealant on the fresh cut before assembly. Takes thirty seconds and prevents the most common rot point in the entire structure.
Airflow and Stacking Method
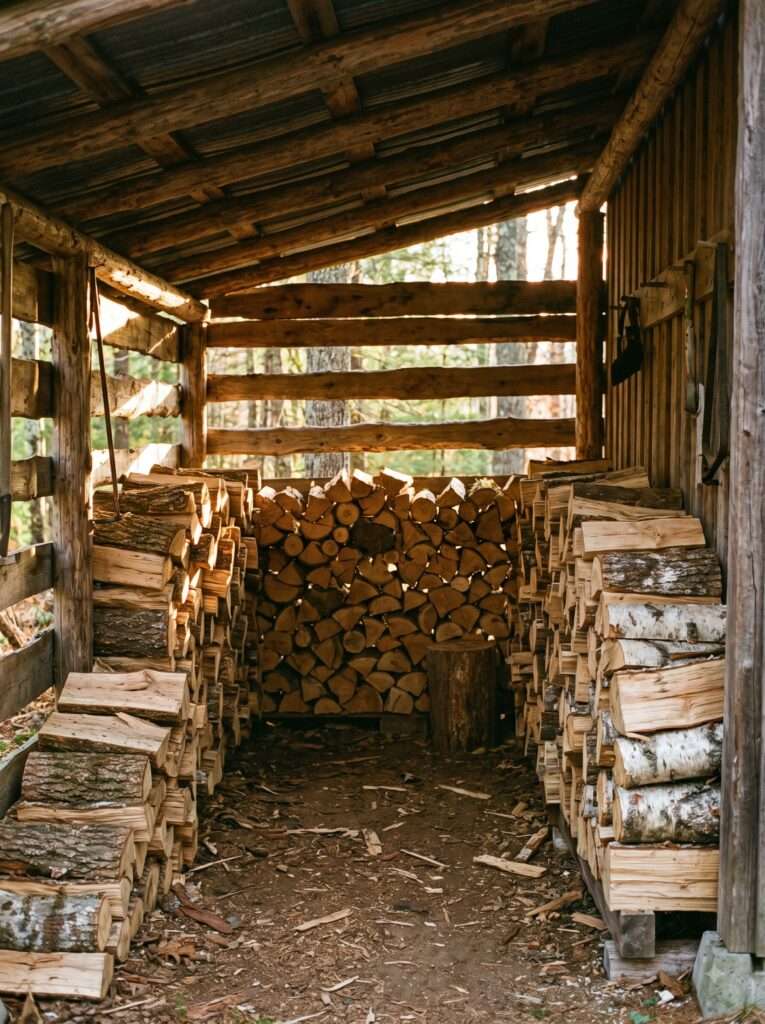
This is the part that actually determines whether your firewood seasons properly or just sits there getting moldy. Stack your wood with the bark side up if it’s freshly split, and always leave gaps between rows rather than jamming everything in tight. I space mine about a hand’s width apart between stacked rows.
One thing I noticed over the years: wood seasons faster with good side-to-side airflow than it does from sun exposure alone. My shed doesn’t get direct sun until late afternoon, and the wood still seasons within about six months because air moves freely through the open front and sides.
If you’re curious whether your wood is actually ready to burn, a moisture meter takes the guesswork out completely. I picked up a General Tools Digital Pin-Type Wood Moisture Meter a few years back, and it’s honestly changed how I manage my whole wood supply. Anything under 20% moisture burns clean; anything higher just smokes and creosotes up your chimney.
What Actually Works
If you want the short version without all my side notes, here’s the setup that’s worked for three winters straight:
- Choose a wall with at least 10 feet of clear space and good airflow nearby.
- Set 4×4 posts in concrete footings, roughly 4 feet out from the wall.
- Frame 2×4 rafters sloping from the wall down to the front posts at a 15–20 degree pitch.
- Install corrugated metal roofing panels, leaving slight expansion gaps at fastener holes.
- Seal all exposed wood and cut ends before final assembly.
- Stack wood with gaps for airflow, bark side up on fresh splits.
That’s genuinely most of it. People overcomplicate this project constantly.
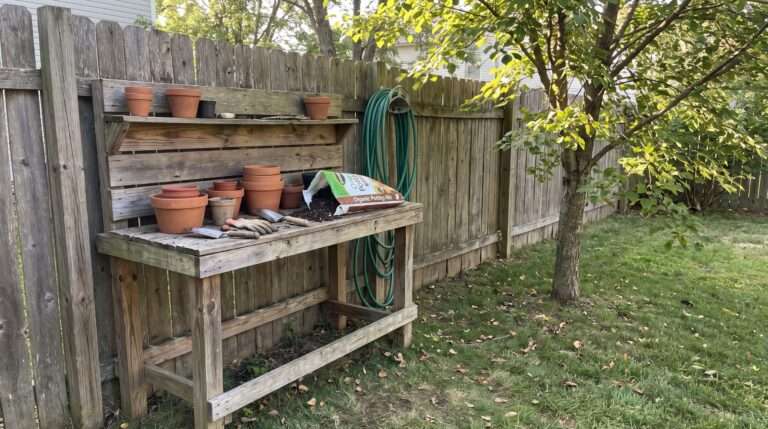
This same “keep it simple, respect the materials” approach is basically what worked when I put together a heavy-duty potting bench with hidden soil bins last year — same idea of solving a real backyard clutter problem without overbuilding it.
Budget Breakdown (US-Friendly)
Realistic price ranges based on what I’ve actually spent, not manufacturer estimates:
- Pressure-treated 4×4 posts (4-6 pieces): $12–18 each
- 2×4 rafters and framing lumber: $80–150 total depending on shed length
- Corrugated metal roofing panels: $150–300 depending on coverage
- Concrete for footings: $30–50
- Exterior wood sealant: $25–35 per gallon
- Screws, fasteners, hardware: $30–50
- Cordless drill (if you don’t already own one): $100–180
All in, most people land somewhere between $400 and $700 for a mid-sized lean-to shed, assuming you’re not paying anyone for labor. That’s considerably cheaper than most prefab firewood sheds, which run $600 and up before you even factor in assembly.
Mistakes I Made
Nobody talks about this part enough, so here’s my honest list:
Building it too close to the wall. My first attempt had almost no gap, and I ended up with mildew streaks on the siding within a year.
Skipping concrete on the posts. Learned this after one windy season left my frame leaning noticeably off plumb.
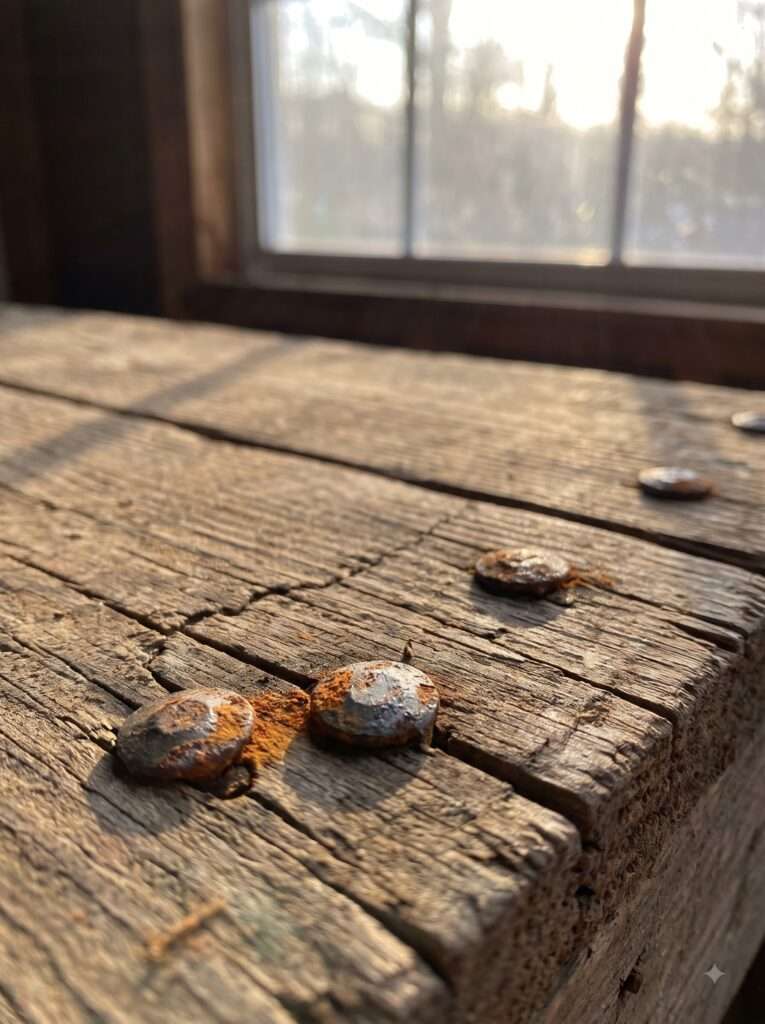
Using regular screws instead of exterior-rated ones. They rusted within the first winter and left ugly streaks down the wood.
Not leaving expansion gaps in the metal roofing. Two panels buckled slightly by the second summer because I drove the screws in too tight.
Underestimating how much wood I actually burn. Had to extend the shed the following spring because I built it about 30% too small.
None of these mistakes were disasters, honestly. Just annoying enough that I figured I’d save you the trouble.
A Few Extra Notes on Placement
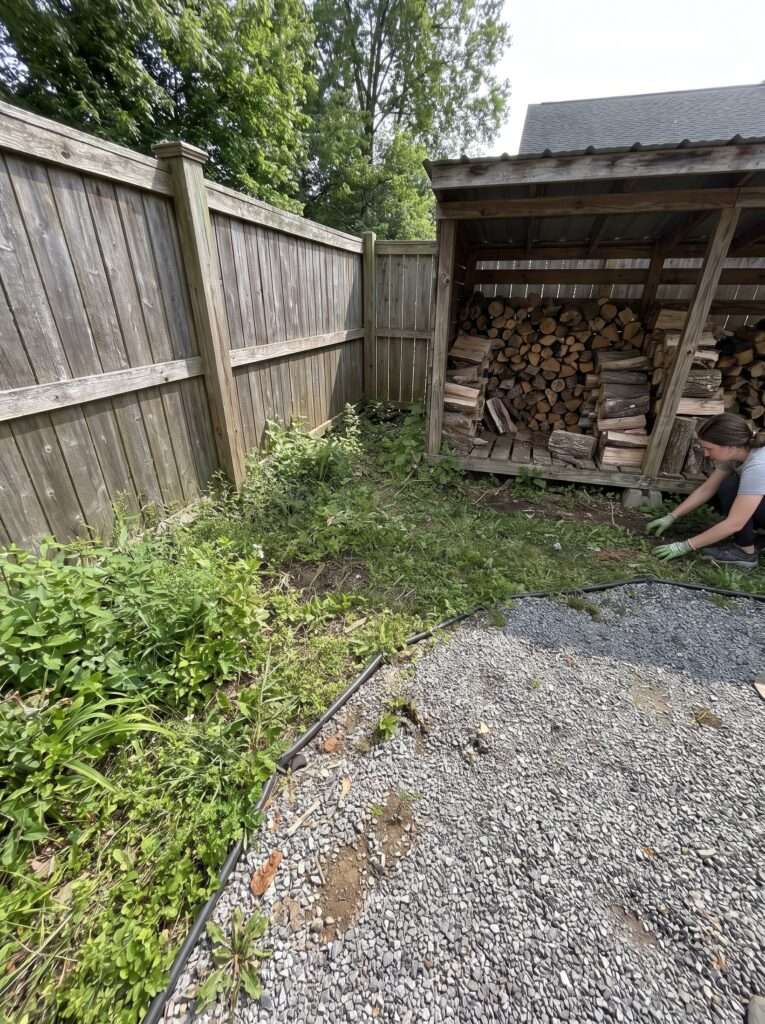
If you’re dealing with a smaller yard, the corner where a fence meets a garage wall usually works best — you get support from two directions instead of one, which cuts down on how much framing you actually need. This is similar logic to how I approached the corner treatment on my DIY wooden trash can enclosure, where using an existing fence line saved a whole side of framing.
If your yard leans more toward a cottage-style layout with gravel paths and framed beds, you’ll want the shed to feel intentional rather than tacked-on. I took some cues from how those cottage garden gravel paths framed with wood tie different structures together visually — matching your shed’s wood tone to nearby hardscaping makes a real difference in how “planned” the whole yard feels.
And if you’ve got a covered patio or swing area nearby, it’s worth thinking about how the shed’s roofline relates to it. When I built my A-frame swing stand, I made sure the angles roughly matched other structures in the yard so nothing looked randomly placed.
Long-Term Maintenance
Once it’s built, maintenance is minimal. Reseal the exposed wood every two to three years, check the roofing screws for any that have backed out after freeze-thaw cycles, and clear out any debris that collects along the back edge where airflow is weakest.
Water management matters more here than people expect, too. Any runoff from the roof panels needs somewhere to go that isn’t pooling against your posts. I dealt with a similar drainage headache when I set up my pondless waterfall using the POPOSOAP kit — same underlying lesson: water always finds the lowest point, so plan the grading around your shed before you finish the build, not after you notice a puddle forming.
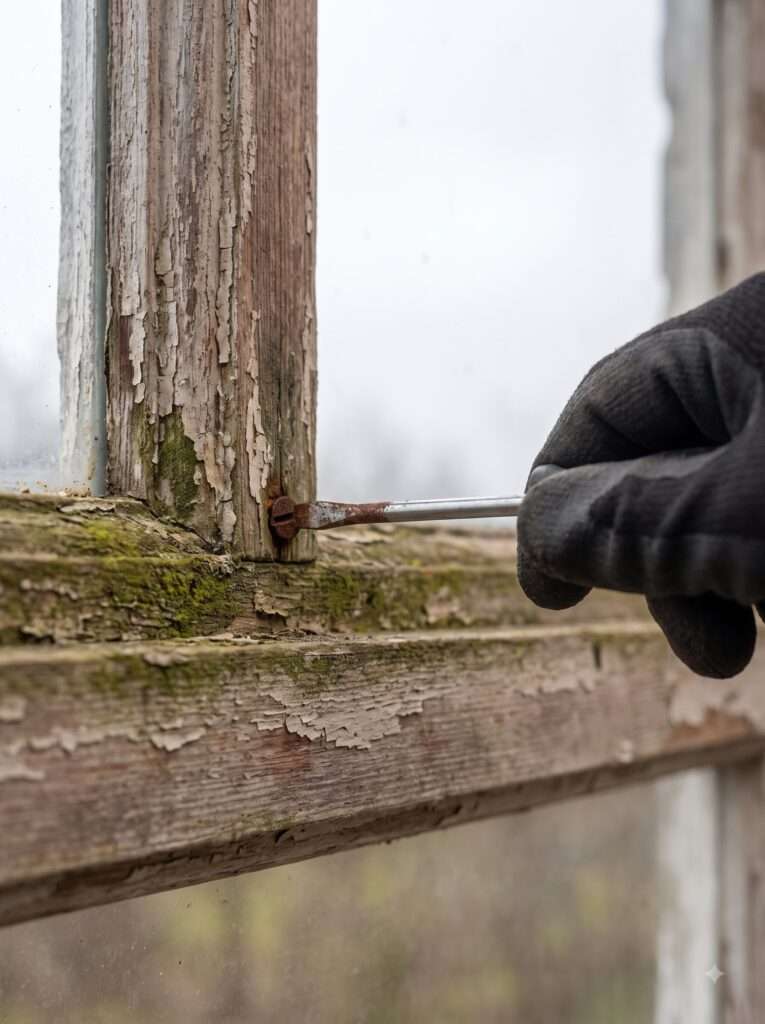
I also recommend a quick fastener check each fall before wood-burning season really kicks in. A handful of GRK Fasteners Exterior Structural Screws on hand makes it easy to swap out anything that’s started rusting or backing out, rather than waiting until something actually fails.
FAQ
Base it on actual usage. One cord of wood needs roughly 4x4x8 feet of stacking space, so plan around how many cords you burn per season.
Not necessarily. A gravel base works fine for drainage and keeps wood off direct soil contact, which matters more than a full slab.
Usually four to six months with good airflow, longer in humid climates or if wood is stacked too tightly.
You can, but check local codes first — some areas have restrictions on combustible storage directly against a house wall.
Corrugated metal is hard to beat for cost and durability. Asphalt shingles work too but add weight and cost for a structure this small.
No, every two to three years is usually enough for exterior sealant, depending on your climate and sun exposure.
With a steeper pitch and closer rafter spacing, yes. Standard spacing may need adjusting in high snow-load regions.
Not really — that’s the whole advantage of a lean-to. Without a support wall, you’re better off building a small free-standing shed instead.
Wrapping This Up
Once you understand the basic logic — airflow over enclosure, concrete footings over guesswork, a proper roof pitch over a flat one — this project stops feeling complicated. It’s a weekend build for most people, maybe a bit longer if you’re doing it solo like I did.
My shed isn’t pretty. It’s got a slightly uneven roofline on one end where I measured wrong, and I’ve never bothered fixing it. But it’s kept three winters’ worth of firewood bone dry, and at the end of the day, that’s really all it needs to do.
Most advice in this article comes from personal gardening and DIY experience over the years. Results can vary slightly depending on climate, local codes, soil conditions, and the materials available in your area. This post contains affiliate links to products I’ve personally used and recommend; if you purchase through them, it may support this site at no extra cost to you.

Aagam – Founder of SpruceTouch
Hi, I’m Aagam — the creator behind SpruceTouch. I’m a home and garden enthusiast who shares practical ideas for backyard design, garden projects, patio decor, and small outdoor spaces. Through SpruceTouch, I focus on simple and budget-friendly ways to improve outdoor living spaces.