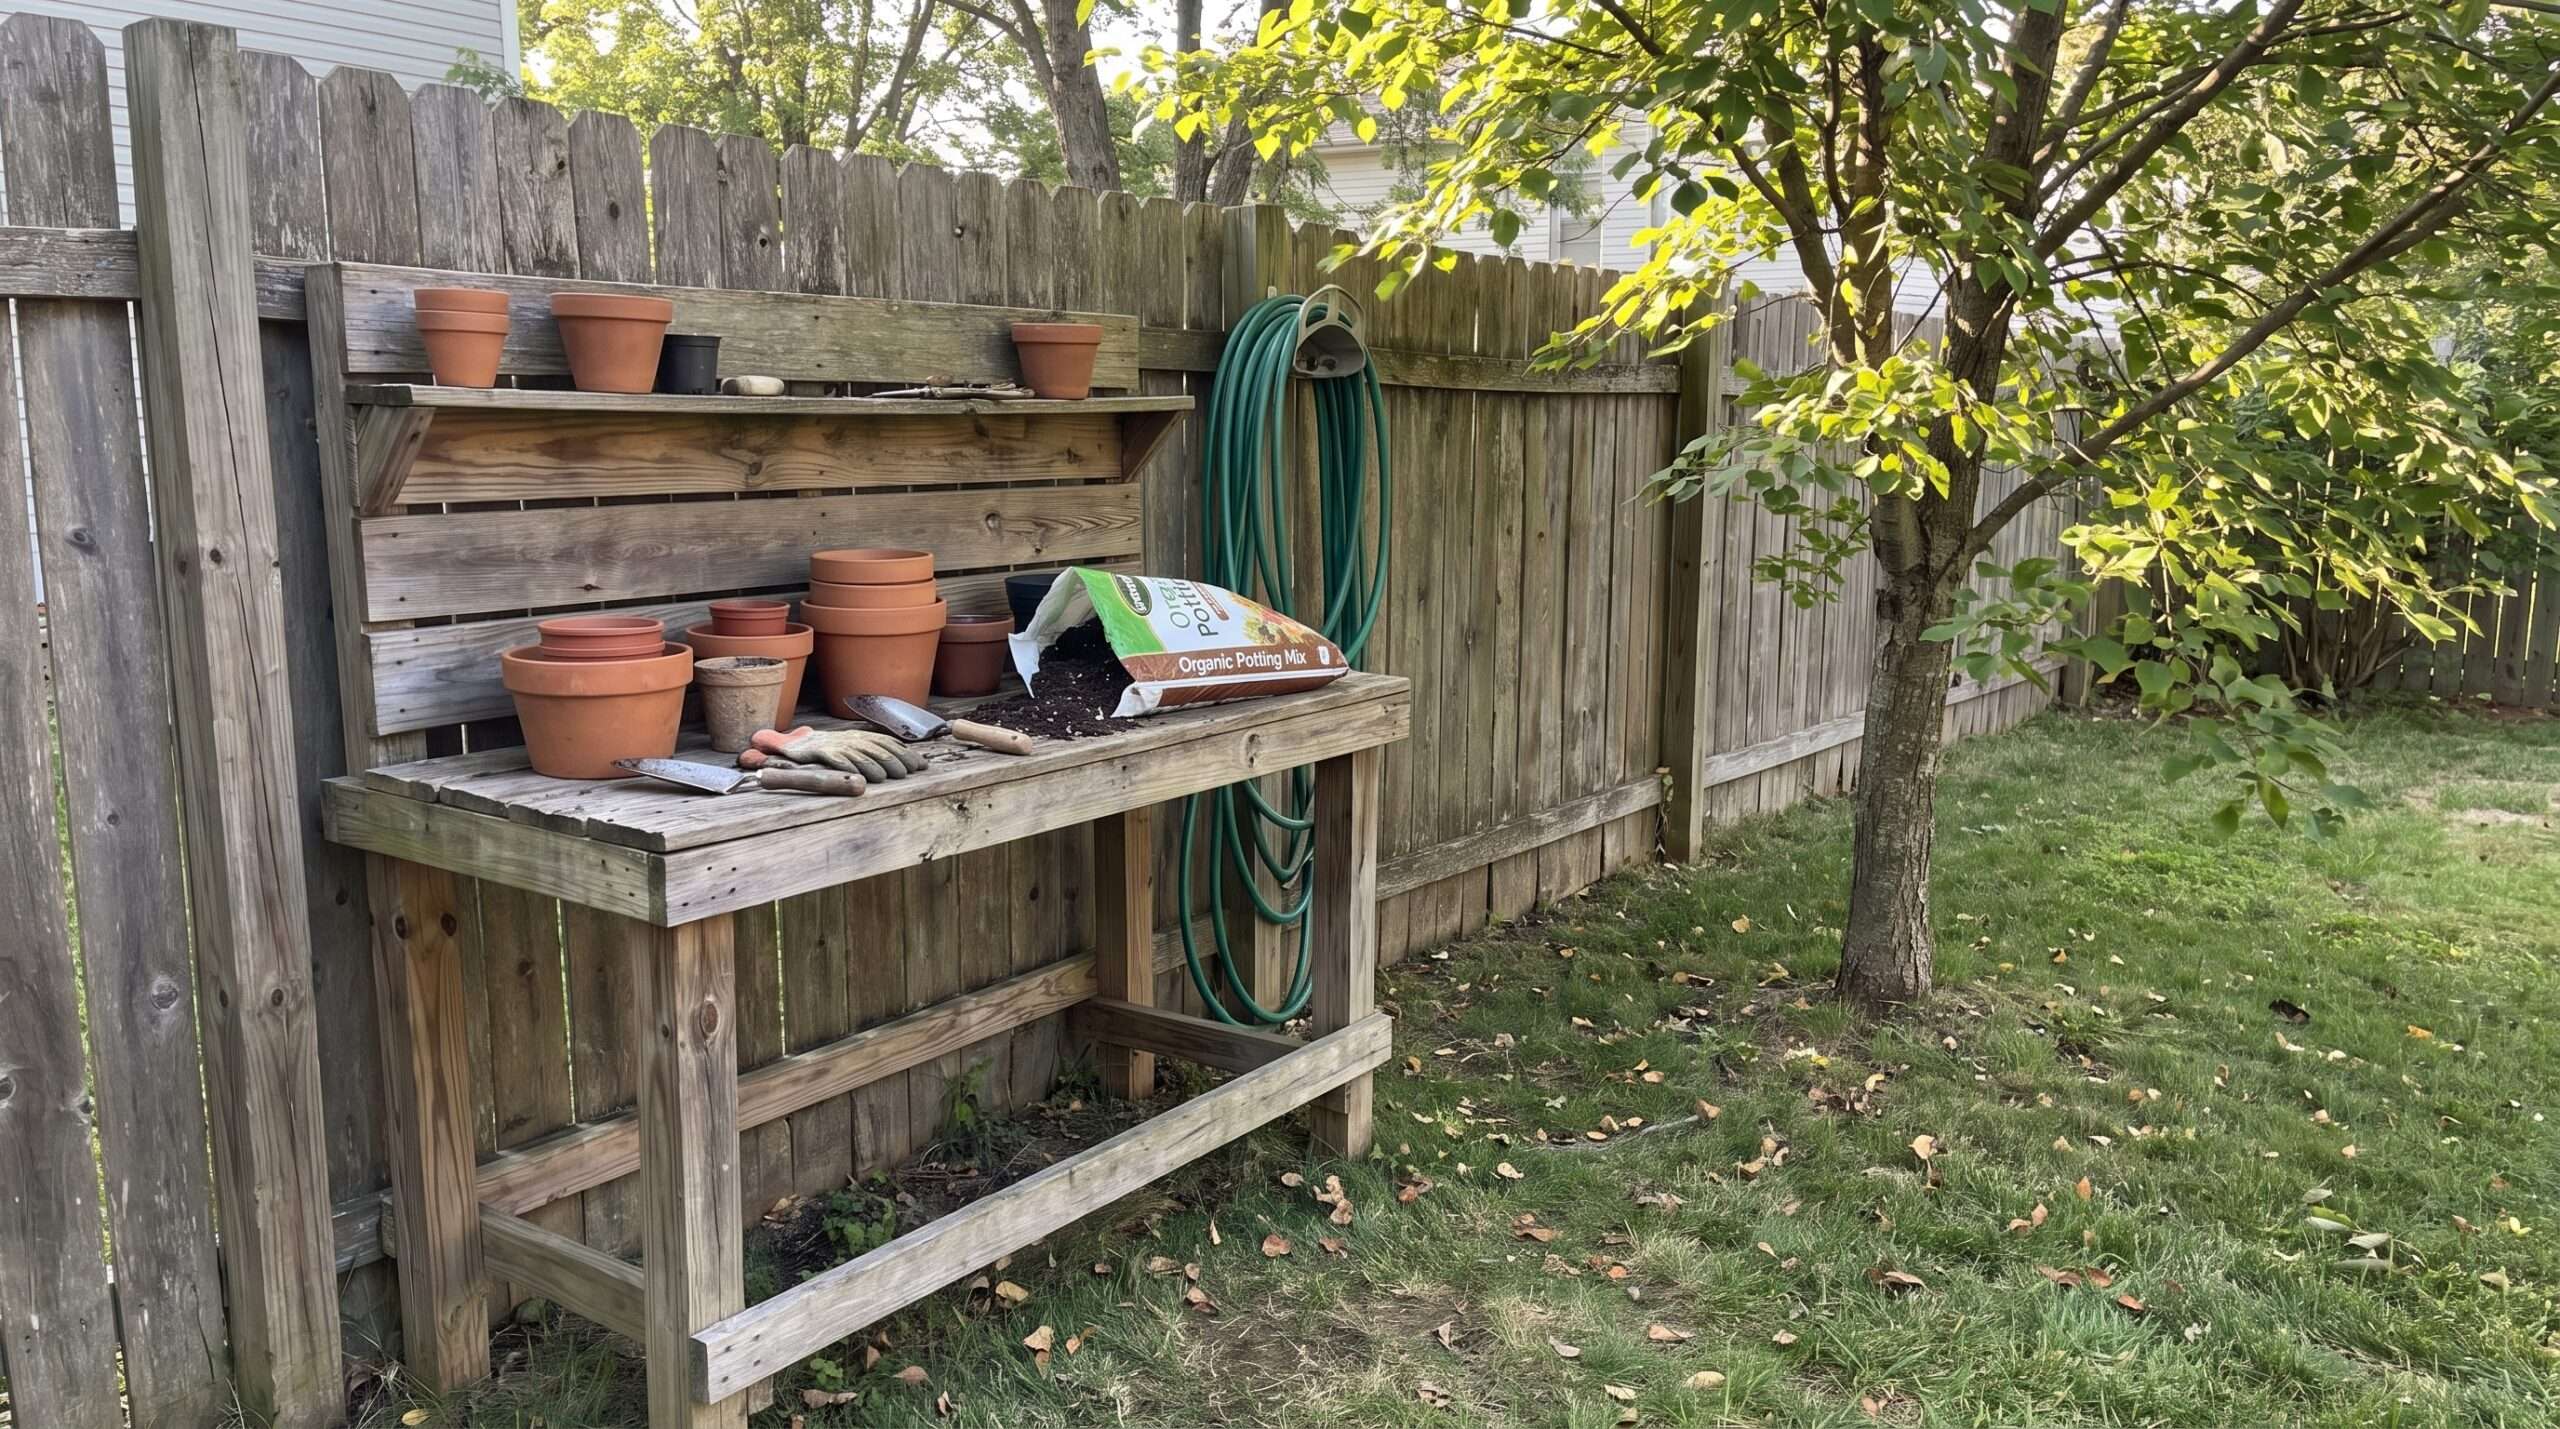
Heavy-Duty Potting Bench with Hidden Soil Bins: The Build That Finally Fixed My Cluttered Garden Corner
After ruining more plants than I’d like to admit — and tripping over open bags of potting mix more times than I can count — I finally figured out what actually works for a real, functional potting station. This isn’t a Pinterest fantasy bench that looks pretty for five minutes before it’s buried under empty seed packets. This is the setup I built after almost two decades of hands-in-the-dirt gardening, and it’s still standing (and still useful) years later.
What you’ll get out of this article is simple: a realistic, sturdy potting bench design with soil storage built right into the base, so your bags of potting mix, compost, and perlite stop cluttering up your shed floor. I’ll walk you through what worked, what didn’t, and the exact mistakes that cost me a weekend and a sore back.
I’ve built three different versions of this bench over the years. The first one lasted about eight months before the legs started wobbling. The second one was better, but I forgot to plan for drainage and ended up with a moldy mess under the soil bins by midsummer. The third one — the one I’m walking you through today — has held up for going on four years now, through two moves and one very determined family of voles trying to get into the compost bin.
Here’s where most people go wrong: they build the bench first and figure out storage later. That backwards approach is exactly why so many potting benches end up with random totes shoved underneath, going soggy in the rain. Before I even cut a single board this time around, I mapped out where the soil bins would sit, and that decision shaped literally every other measurement. If you’re shopping for the actual drill you’ll use to assemble the frame, I’ve been consistently happy with a DEWALT 20V MAX Cordless Drill/Driver Kit — it’s the same one I’ve dragged to three different builds now and it hasn’t quit on me yet.
Quick Check: Signs Your Current Setup Needs a Real Potting Bench
Before we get into the build, a few honest signs it’s time:
- You’re kneeling on concrete to pot up seedlings (your knees will thank you later)
- Bags of soil are sitting open in your garage collecting bugs
- You’ve lost a trowel in the “mess pile” more than twice this season
- Your potting mix gets rained on because there’s no proper cover
- You keep saying “I’ll organize this someday” — and someday never comes
If two or more of these sound familiar, keep reading.
Why Hidden Soil Bins Actually Matter (Not Just Aesthetics)
I used to think soil storage was just about keeping things tidy. Turns out it’s about moisture control, pest prevention, and honestly just saving your back. When soil sits exposed in a bag, it dries out unevenly, attracts gnats, and — in my case one particularly bad July — attracted a family of field mice that I did not enjoy discovering.
Building the bins into the bench base solves this in one shot. The soil stays covered, off the ground, and within arm’s reach while you’re working. No more walking back and forth to the shed with a scoop.
But here’s the kicker: the bins also double as extra counter support once they’re full. A loaded bin of compost is heavy, and that weight actually stabilizes the whole bench structure. I didn’t plan that on purpose the first time — I just got lucky. On the second build, I engineered it that way intentionally.
Choosing the Right Wood (Lessons from a Rotted Frame)
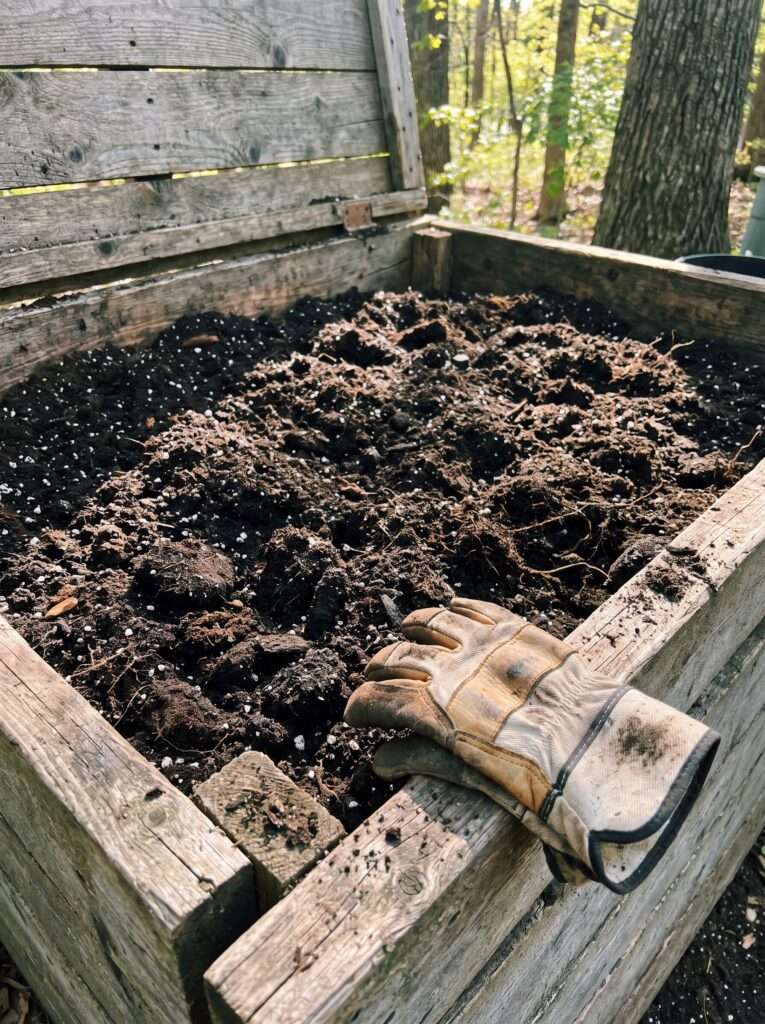
My first bench used untreated pine because it was cheap and available at the local lumber yard. Big mistake. Within a year, the legs were soft near the bottom where soil moisture had wicked up from the ground. I had to rebuild the entire lower frame.
For the current version, I used pressure-treated lumber for anything touching the ground or holding soil, and regular cedar for the tabletop and sides where I wanted a nicer look. Cedar naturally resists rot better than pine anyway, so it was a reasonable splurge for the visible parts.
One thing I noticed over the years: sealing the wood properly matters just as much as the wood species you pick. I’ve had good results treating every cut edge and joint with Thompson’s WaterSeal Advanced Wood Sealer before assembly — not after. Sealing after the fact means you miss all those hidden joints where water actually gets in.
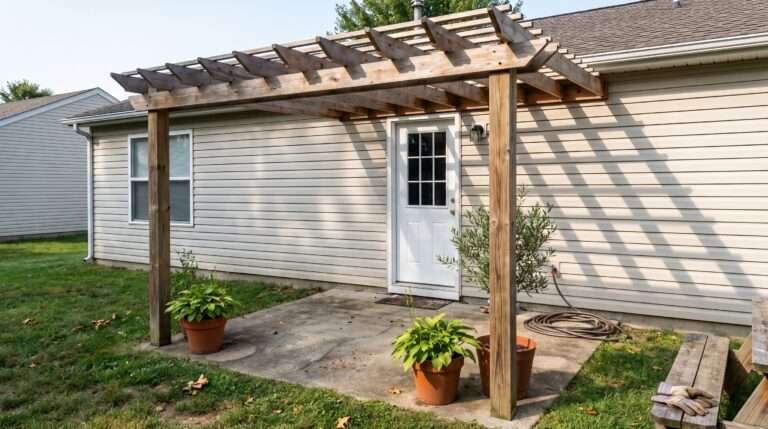
If you’re doing a similar outdoor build, my notes on a related structure over in the attached pergola shade project go into more depth on weatherproofing joints, if you want a deeper dive.
The Actual Frame: What I’d Do Differently
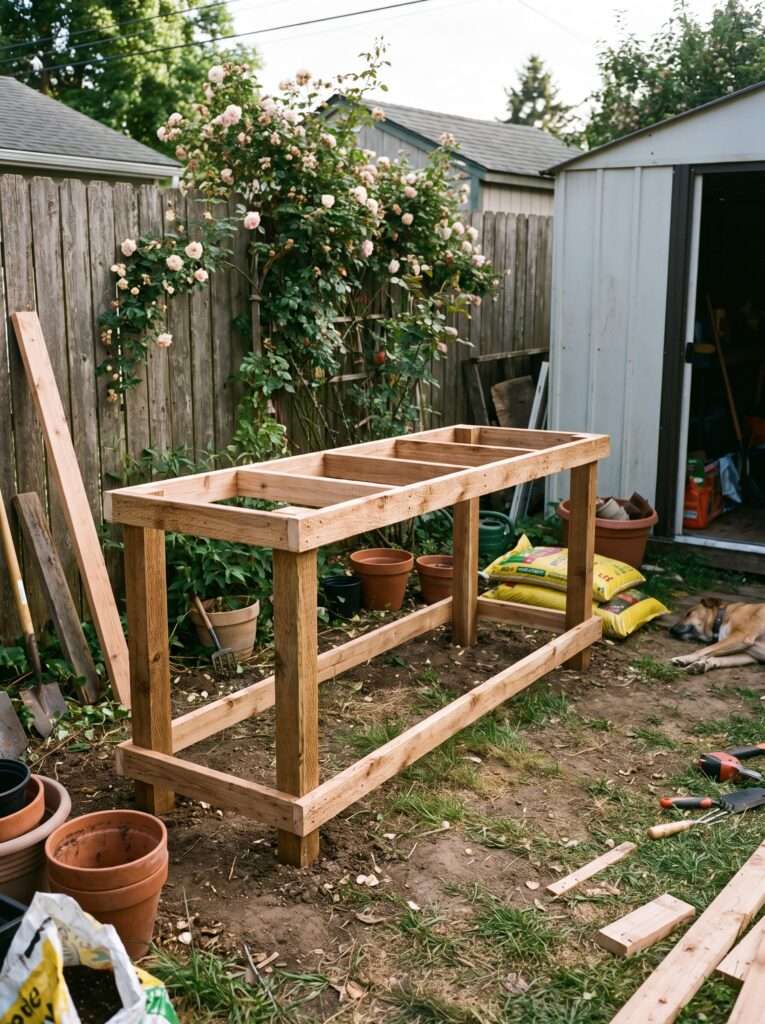
Most gardening blogs never mention this, but the biggest structural failure point on a DIY bench isn’t the legs — it’s the joint where the leg meets the tabletop frame. That’s where all the weight transfers, and it’s where cheap screws or weak joinery gives out first.
I learned this the hard way on bench number one, when a corner joint split after about six months of regular use. For bench number three, I over-built that connection with corner braces and longer screws than felt necessary. It felt like overkill at the time. It wasn’t.
For fasteners, I switched to GRK Fasteners Exterior Wood Screws partway through this build because the standard deck screws I’d used before kept stripping out under torque, especially in the cedar. The difference was noticeable immediately — cleaner drives, no stripped heads, no snapped screws in humid weather.
Here’s a rough breakdown of the frame dimensions that worked well for me:
- Overall length: 60 inches (fits two soil bins plus a small tool drawer)
- Depth: 24 inches (deep enough to work comfortably, not so deep you’re reaching)
- Working height: 36 inches (I’m 5’9″ — adjust based on your own height)
- Leg thickness: 4×4 pressure-treated posts, not 2x4s
That leg thickness point matters more than people expect. I tried 2×4 legs on my second build to save money, and the bench had a noticeable wobble whenever I leaned on it while transplanting.
Building the Soil Bins Themselves
This part surprised me. I originally planned to just use plastic totes shoved under the bench, but they cracked in the cold within one winter. So instead, I framed in wooden bin compartments with removable lids, lined with a scrap piece of pond liner material I had left over from an unrelated backyard project (more on that another time).
The lid matters more than you’d think. Without one, soil dries out fast in summer heat, and rain gets in during storms even under a covered patio. I ended up hinging mine so I could flip them open one-handed while holding a trowel in the other.
For scooping soil out of the bins without making a mess, I switched to a Fiskars Steel Garden Trowel a couple seasons back, mostly because the plastic scoop I was using before kept cracking whenever it hit a compacted clump of soil. Small change, but it’s the kind of thing you notice every single time you use it.
The best part? Once the bins were built and lined, moisture stopped being an issue entirely. No more soggy compost clumping at the bottom of the bin.
Storage Bins for Overflow Supplies
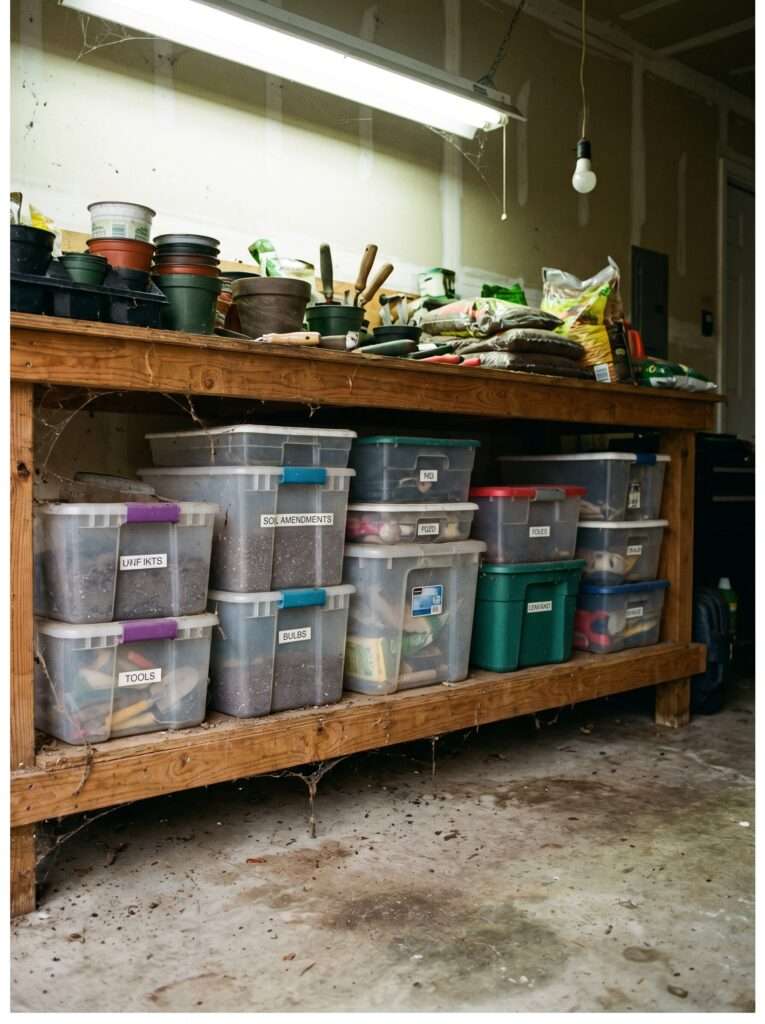
Even with the built-in soil bins, I still needed somewhere for smaller supplies — plant tags, twine, extra fertilizer packets, that kind of thing. Rather than building more wooden compartments, I picked up a set of IRIS USA Airtight Storage Containers that slide neatly onto a shelf I added under the main worktop. They’re not glamorous, but they keep moisture and pests out of anything I’m not using daily.
This is also where I’ll admit a mistake: I initially tried using cardboard boxes for this purpose “temporarily.” They lasted about three weeks before a rainy week turned them into mush. Lesson learned.
Making It Mobile (Because I Regretted Not Doing This Sooner)
My first two benches were fixed in place, bolted to a corner of the patio. That seemed smart until I needed to move the whole thing to make room for a new raised bed. Dragging a fully loaded potting bench across a yard is not something I recommend to anyone.
For this build, I added a set of Shepherd Hardware Heavy Duty Rubber Casters to the base — locking casters on the front two legs, fixed on the back two, so it rolls but doesn’t wander off on its own on a slight slope. This one change alone made seasonal reorganizing so much easier.
But wait, there’s a catch: adding wheels means the weight distribution changes slightly, so I had to add an extra brace along the bottom rail to keep things from flexing when the bins are full and the bench is rolling over uneven ground. Worth the extra hour of work.
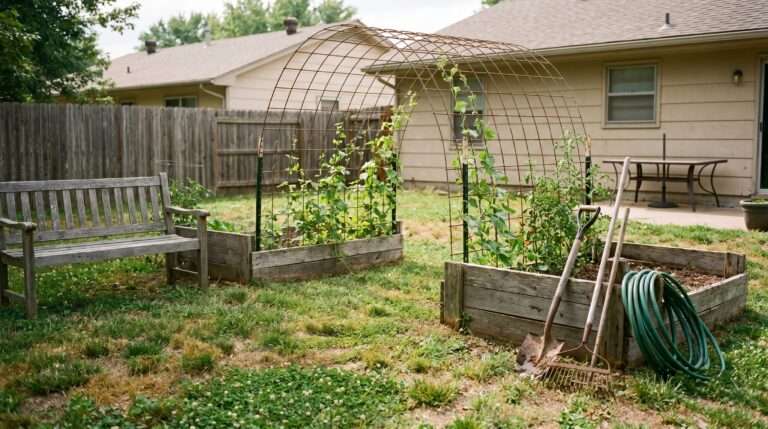
If you’re also reorganizing your outdoor layout this season, I did something similar with a simple wooden enclosure build that uses the same mobility trick for a completely different purpose.
What Actually Works: A Realistic Setup Guide
If you want the short version without all my backstory, here’s the practical rundown:
- Frame the base first using 4×4 pressure-treated posts, sized to your working height.
- Build in two soil bins along the bottom with hinged lids and a liner.
- Seal every cut edge and joint before final assembly, not after.
- Add a shelf above the bins for smaller storage containers.
- Attach locking casters to the front legs if you want mobility.
- Finish the tabletop with a food-safe sealant if you’ll be handling edible plants.
- Let everything cure for at least 24 hours before loading it with soil.
That’s genuinely most of it. The details matter, but the sequence above is the backbone of the whole project.
Realistic Budget Breakdown (US Pricing)
I want to be upfront here because a lot of “DIY” content pretends these builds cost nothing. They don’t.
- Pressure-treated lumber for the frame: $60–$90
- Cedar boards for tabletop and sides: $70–$120
- Screws, hinges, and hardware: $25–$40
- Wood sealant: $15–$25
- Casters (4-pack): $20–$35
- Storage containers for overflow supplies: $20–$30
- Optional liner material for bins: $10–$20
All told, expect somewhere between $220 and $360 depending on wood prices in your area, which have honestly been all over the place the last couple of years.
Mistakes I Made (So You Don’t Have To)
- Used untreated pine on my first build and had to rebuild the base within a year.
- Didn’t plan for drainage under the soil bins, which led to a mold problem I didn’t catch until it smelled bad.
- Skipped sealing the hidden joints, thinking the visible surfaces were enough.
- Used regular deck screws that stripped constantly in the cedar boards.
- Forgot to account for the weight of full soil bins when I first tried adding wheels, and the frame flexed uncomfortably until I added extra bracing.
None of these were disasters, just annoying enough that I remember them clearly years later.
A Few Small Details That Made a Bigger Difference Than Expected
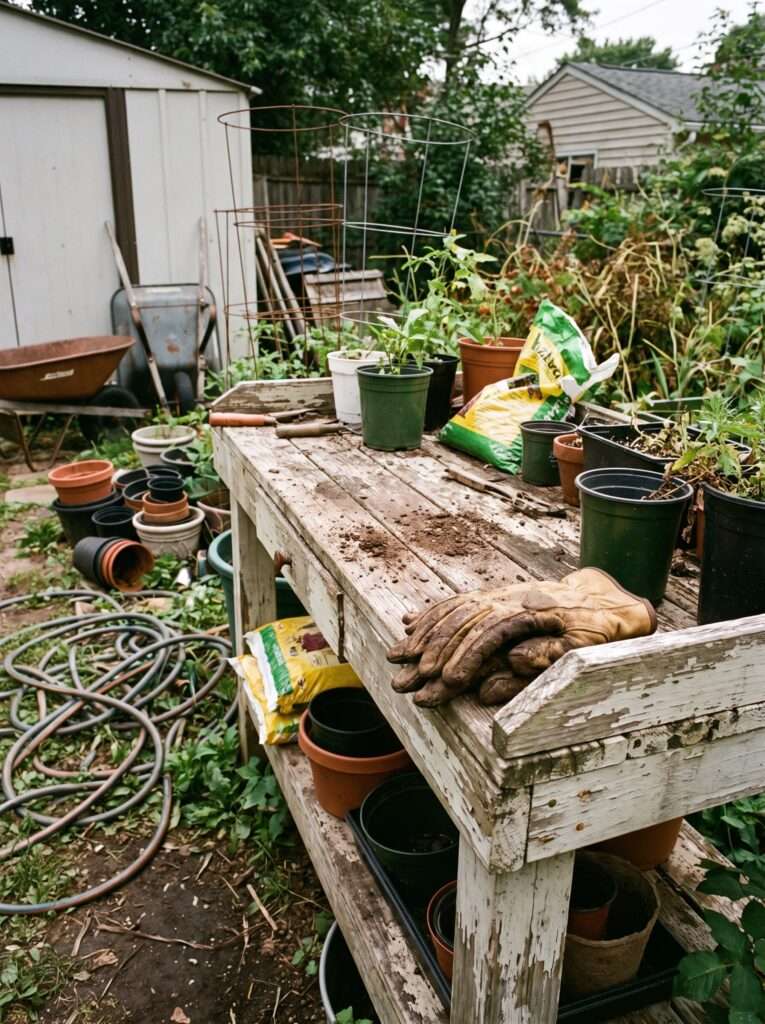
I didn’t plan this originally, but adding a lip around the edge of the tabletop kept soil from spilling onto the ground below while I was potting up transplants. It’s a two-inch strip of scrap cedar, nothing fancy, but it’s saved me a lot of sweeping.
I also angled the shelf under the bench very slightly, maybe a half-inch over its length, so water runs off instead of pooling. Small thing. Nobody notices it unless it rains.
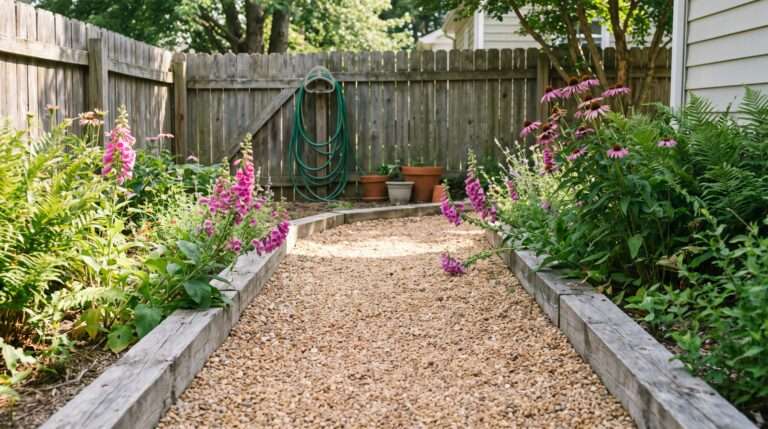
For anyone building something similar near a patio or walkway, the framing lessons from this cottage garden pathway project actually cross over nicely, especially around weatherproofing exposed wood edges.
What I’d Change on a Fourth Build
Honestly, not much. If I did this again, I’d probably add a small hook rail along one side for hanging hand tools, since I still end up setting my trowel down and losing track of it mid-project. Small annoyance, easy fix next time.
I’d also consider a slightly wider bin on one side for larger bags of mulch, since I go through more of that than I expected when I originally sized the compartments.
Frequently Asked Questions
Not the whole thing — just anything touching soil or close to the ground. The tabletop and sides can be a nicer wood species if you seal it well.
Drainage and a liner help a lot. Also avoid packing soil in wet, since trapped moisture is usually the real culprit.
You can, but it’s much slower and harder to get clean joints. A basic cordless drill makes this project far more manageable in a weekend.
With two full soil bins, expect somewhere around 150–200 pounds, which is part of why I recommend heavy-duty casters if you want it mobile.
Yes, but you may need to shim one or two legs slightly. I had to do this on my current setup since my patio has a slight slope toward the yard.
In my experience, about once a year in a climate with real winters. Drier climates can stretch closer to eighteen months.
Yes, just make sure any sealant on the tabletop is food-safe rated, and keep raw soil separate from surfaces where you’re handling produce.
For me, absolutely. It keeps everything in one spot and cuts down on trips back and forth to the shed constantly.
Wrapping This Up
Once you understand the basic sequence — frame first, bins second, sealing throughout — this project stops feeling complicated. It’s a weekend build for most people with basic tool experience, maybe two weekends if you’re taking your time with the finish work like I did.
I still use this bench almost daily during the growing season, and honestly, it’s held up better than I expected when I first sketched the design on the back of a receipt in my kitchen. If you build your own version, expect a few small surprises along the way. That’s just how these projects go.
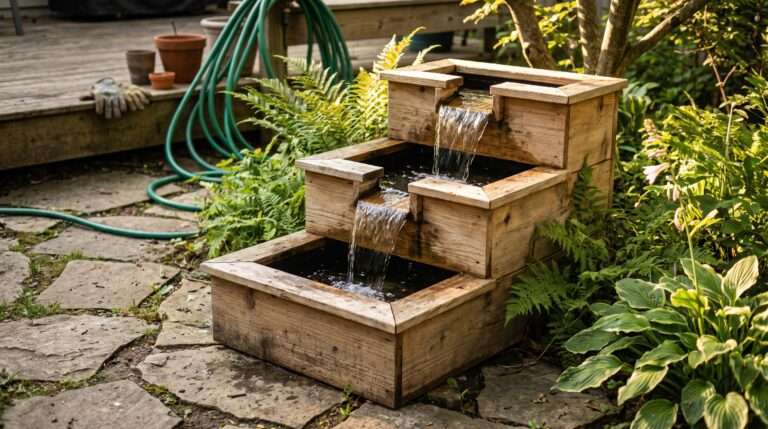
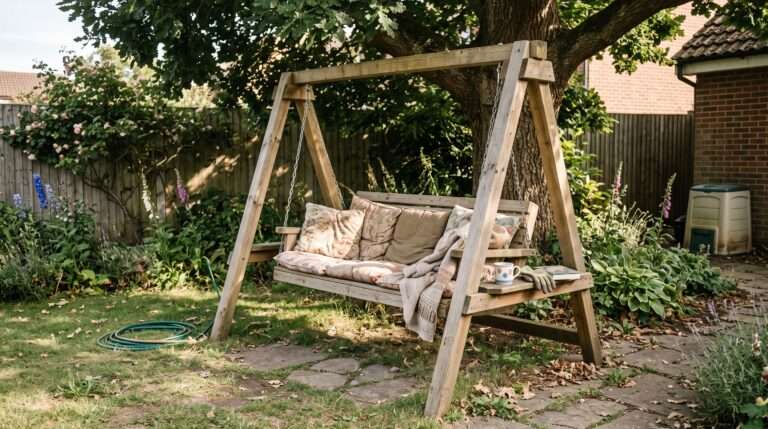
For anyone tackling a similar backyard upgrade this season, you might also enjoy the process behind this cozy garden swing stand build or this pondless waterfall project, both of which share some of the same weatherproofing lessons covered here.
Transparency Note
Most advice in this article comes from personal gardening experience over the years. Results can vary slightly depending on climate, soil, and growing conditions. Some product mentions above are ones I’ve personally used and would recommend based on that experience.

Aagam – Founder of SpruceTouch
Hi, I’m Aagam — the creator behind SpruceTouch. I’m a home and garden enthusiast who shares practical ideas for backyard design, garden projects, patio decor, and small outdoor spaces. Through SpruceTouch, I focus on simple and budget-friendly ways to improve outdoor living spaces.