How I Built a DIY Wooden Trash Can Enclosure That Actually Holds Up
After ruining more plants than I’d like to admit over the years, I eventually branched out into the “other” side of yard work — the stuff nobody puts on a mood board. Trash can storage is one of those projects. It’s not glamorous, but it’s the kind of build that quietly makes your whole backyard feel more put-together.
In this post I’m walking you through exactly how I built my own wooden trash can enclosure, including what worked, what I’d change, and the couple of mistakes that cost me an extra Saturday. I’ve been doing hands-on yard and garden projects for close to two decades now, mostly self-taught, mostly through trial and error.
I’ll be honest — my first attempt at this exact project sagged on one side within four months because I skipped a step I thought didn’t matter. It mattered. That mistake is actually why this guide exists.
So if you’ve got a couple of trash cans sitting exposed by the garage or side yard and you’re tired of looking at them, stick around. This gets a lot easier once you understand the basic structure of what you’re building.
As an Amazon Associate, I earn from qualifying purchases. Some links in this post are affiliate links, which means I may earn a small commission at no extra cost to you if you decide to buy something through them.
Quick Check Before You Start
- Measure your cans with lids on and handles up — this trips up almost everyone
- Decide if you want a roof/lid on top or an open-top enclosure
- Check your local HOA or city rules on fence height near the street
- Pick a spot with at least 6 inches of clearance on each side for airflow
- Think about whether you’ll wheel the cans out weekly — hinges matter more than people think
Why I Even Started This Project
My reason was boring, honestly. Raccoons. They’d been getting into our cans for two summers straight, and I got tired of cleaning up the mess every trash day.
I’d used a DEWALT 20V MAX Cordless Drill/Driver Combo Kit on a fence repair the year before and it was still sitting in the garage, so this project felt like a natural next use for it. That’s usually how my projects start — not with a plan, but with tools I already own and a problem I’m sick of looking at.
The first version I built was basically four posts and some fence boards nailed on. It looked fine for about a season. Then Ohio winter happened, and one side leaned like it was trying to escape.
But here’s the kicker: the lean wasn’t from the wood rotting. It was from the posts never being set deep enough in the first place. Lesson learned the expensive way.
Planning the Enclosure — Size, Style, Placement
Most people jump straight to buying wood, and honestly I get it, that’s the fun part. But planning saves you an entire trip back to the hardware store.
Start by measuring your actual cans. Not the “standard” size you assume they are — the real dimensions, lids on, handles up. I’ve seen so many people build a box that’s technically the right width but two inches too short because they measured the can body and forgot the lid dome.
For placement, you want somewhere with decent airflow and, ideally, close enough to your pickup point that you’re not dragging cans across the whole yard on trash day. That sounds obvious, but I’ve made this mistake myself — my first enclosure was gorgeous and about 40 feet from the curb. Nobody wants to build hauling into their weekly routine.
One thing I noticed over the years: enclosures placed against a fence line settle less and need fewer support posts, since the fence itself does some of the structural work.
If you’re framing this near an existing gravel path or garden bed, it’s worth checking out how the gravel path framing techniques described in these cottage garden pathway ideas handle wood-to-ground transitions — the same logic applies at the base of an enclosure.
Tools and Materials I Actually Used
I’m not going to give you some fantasy list of tools you’ll never touch again. Here’s what actually got used, repeatedly, on this build.
For cutting posts and panel boards to length, a decent circular saw is non-negotiable. I also leaned hard on a Kreg Pocket-Hole Jig 720PRO for joining the frame corners — pocket screws hold up better than toe-nailing in my experience, and they’re far more forgiving for someone who isn’t a trained carpenter.
For fasteners, skip regular interior screws entirely. I used GRK Fasteners RSS Exterior Wood Screws on both the frame and the panel boards, and four years later they haven’t rusted or backed out, which is more than I can say for the cheap deck screws I used on my first attempt.
You’ll also want a basic post level — not fancy, just accurate — to make sure your corner posts are plumb before you commit to concrete. I skipped this on version one. See above, re: leaning enclosure.

Building the Frame
This is the part that actually takes the longest, even though it looks simple on paper.
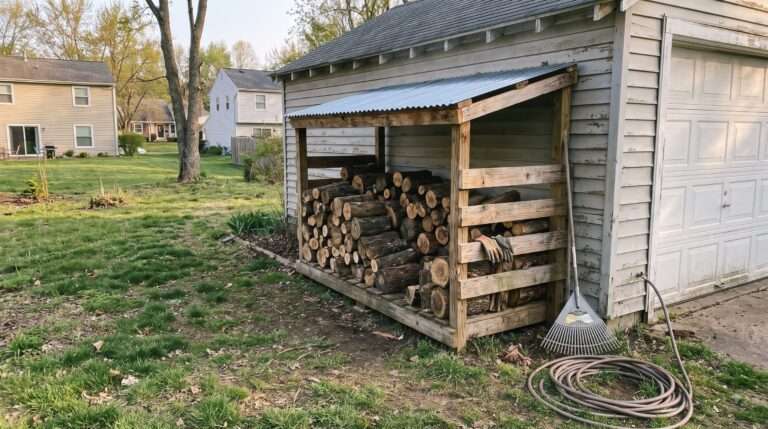
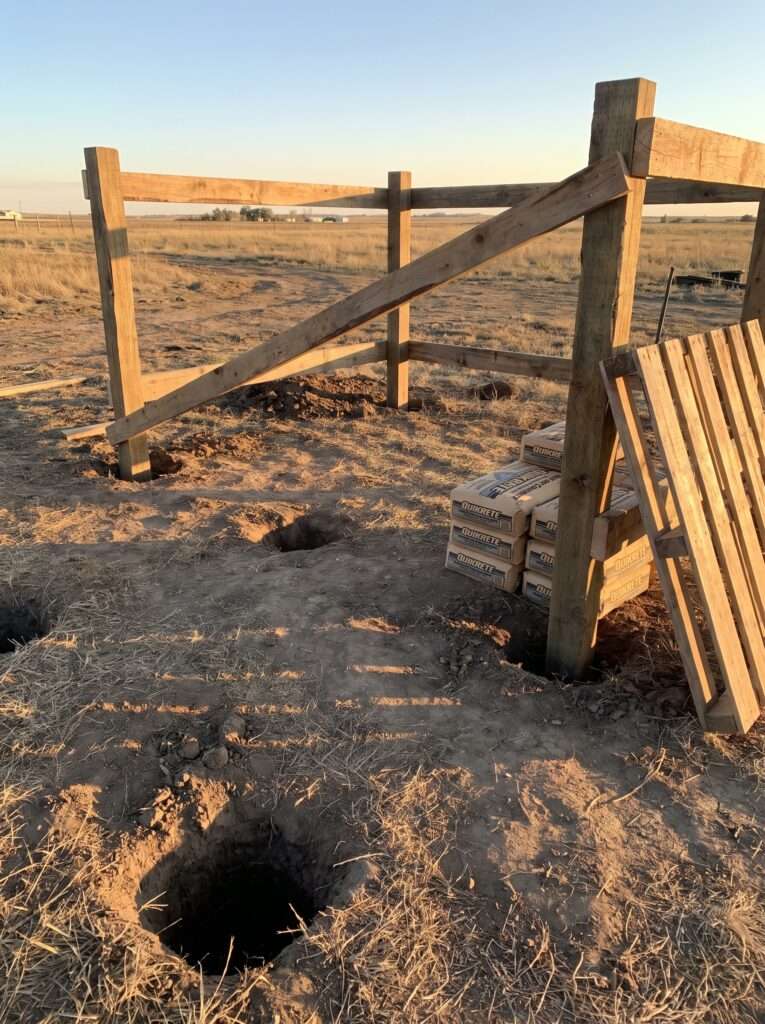
Start with your four corner posts. I used 4×4 pressure-treated lumber, set about 18 inches into the ground with concrete, though if you’re not comfortable digging post holes, surface-mount post brackets work fine on a patio or concrete pad.
Here’s where most people go wrong: they build the top rails before the posts have properly cured or set. Give concrete at least 24 hours, ideally 48, before you start attaching anything heavy to those posts. I know it’s tempting to power through in one weekend. I’ve paid for that impatience before.
Once your posts are set, frame the top and bottom rails using your pocket-hole jig. Keep the whole structure a few inches wider than your cans on each side — trust me, you’ll want the wiggle room when you’re pulling cans in and out on a cold morning with your hands full.
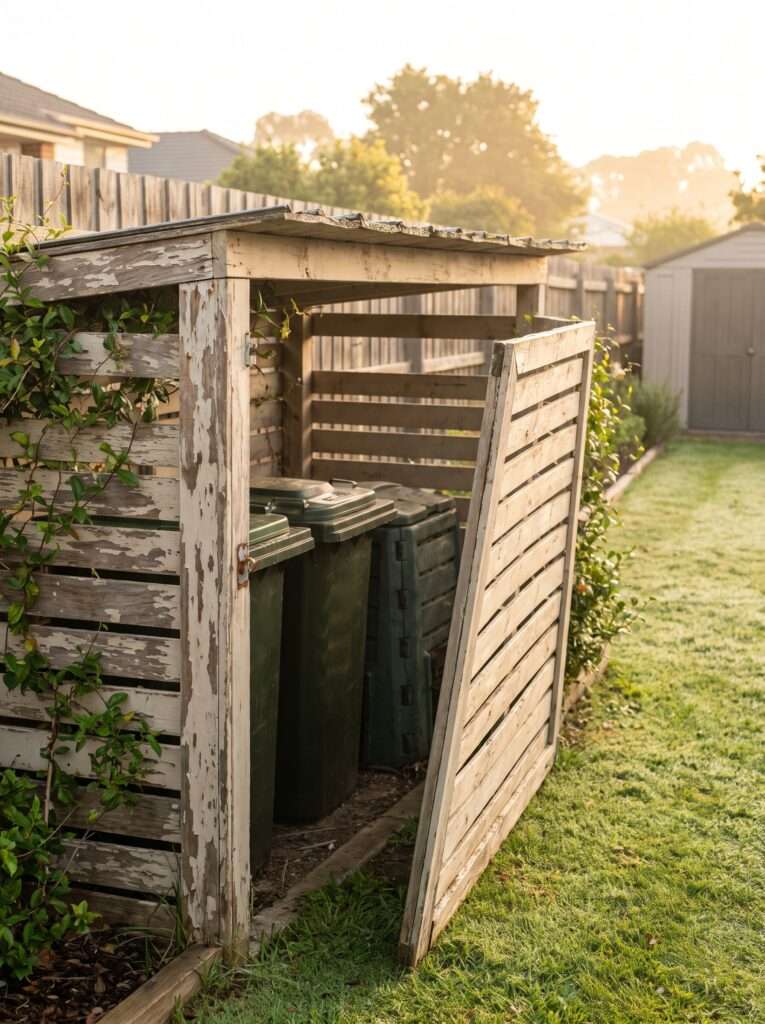
For the side and back panels, I went with simple vertical fence boards, roughly an inch of gap between each for airflow. Solid panels trap moisture and smell, and nobody wants that.
Doors, Hinges, and Latches — The Part Everyone Underestimates
Most gardening blogs never mention this, but the doors are honestly where most of these projects fail long-term. A pretty enclosure with a door that sags or won’t latch is just a pretty problem.
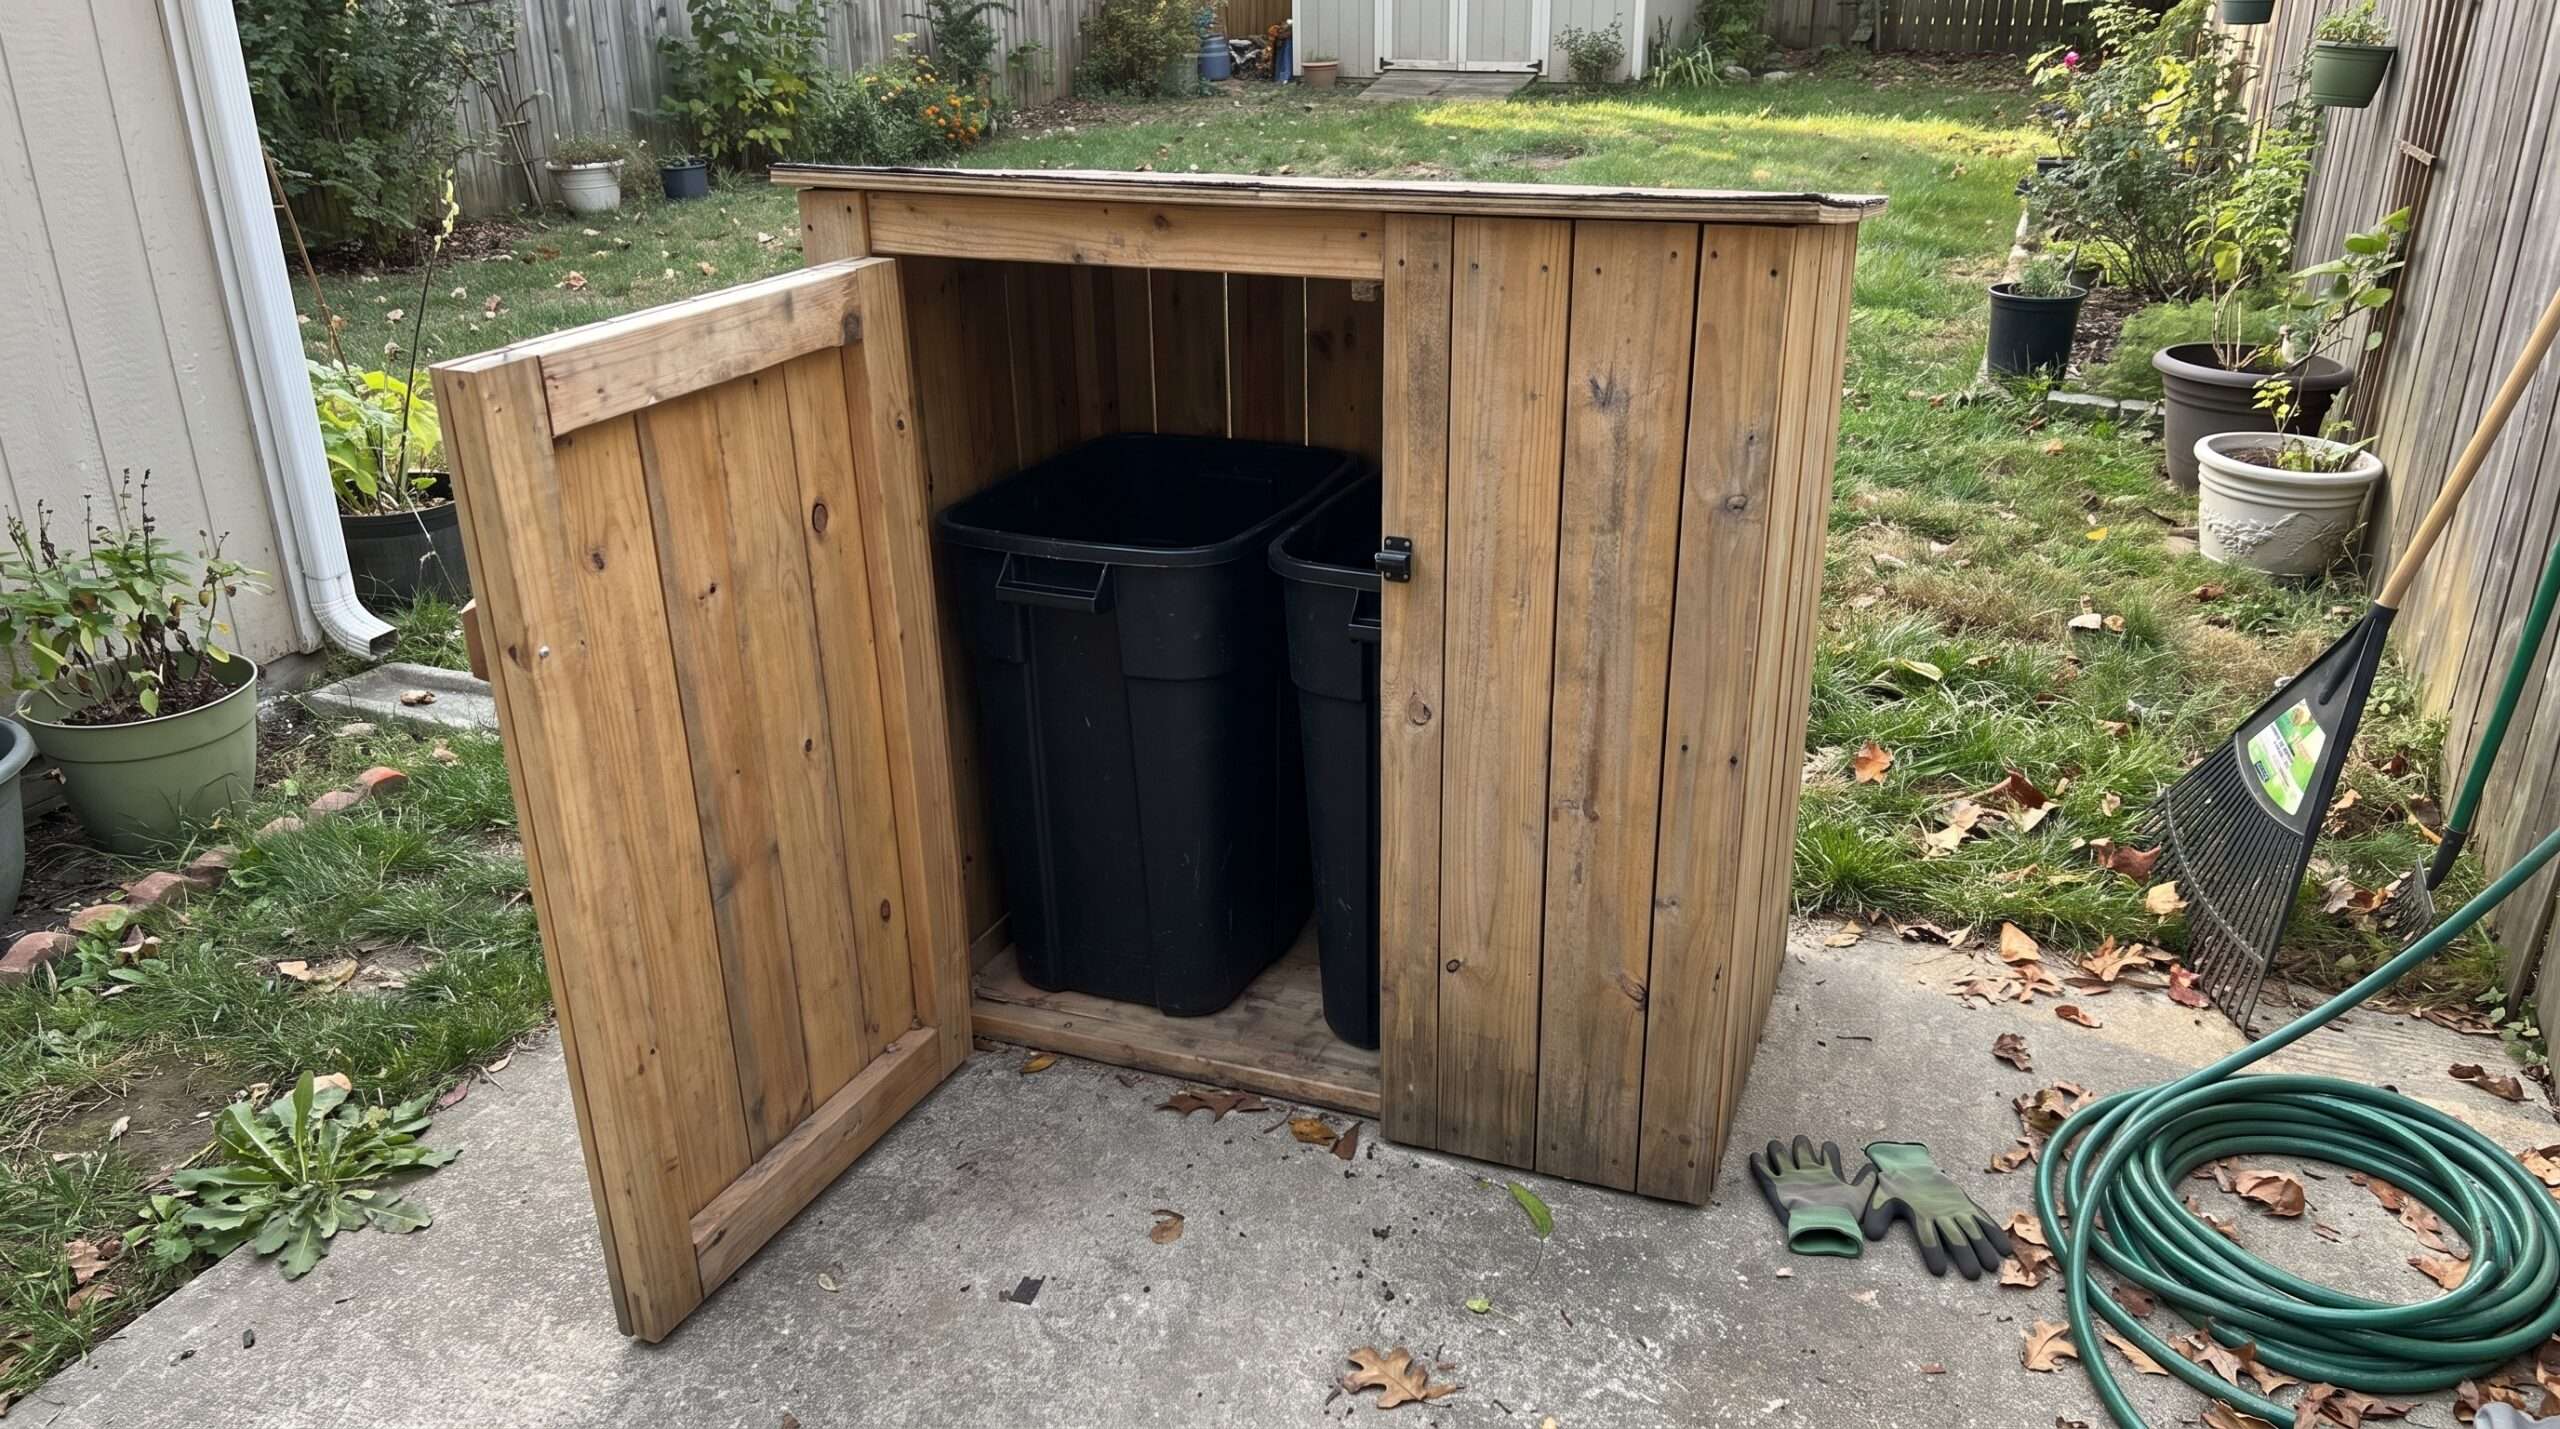
I used a set of National Hardware Heavy Duty T-Hinges rated for gate use, not cabinet-grade hinges. Trash can doors get opened and slammed far more than people expect, especially by kids or whoever’s rushing to make trash pickup.
For the latch, don’t overthink it. A simple National Hardware Gate Latch Kit with a magnetic catch keeps the door shut in wind without needing a padlock system unless raccoons are genuinely a problem for you, in which case you’ll want something with a bit more resistance.
But wait, there’s a catch: if your door is any wider than about 24 inches, a single set of hinges isn’t enough. I learned this after my first door slowly twisted itself out of square over about a year. Two full-length hinges per door, spaced top and bottom, keeps everything square much longer.
If you’re already comfortable with hinged garden structures, the framing logic is nearly identical to what’s used in these attached pergola doorway plans — same weight distribution principles, just on a smaller scale.
Weatherproofing and Finishing
Once the structure was solid, I let it sit unfinished for about two weeks just to make sure nothing shifted before sealing it. That’s a personal habit more than a rule, but it’s saved me from sealing over a mistake before.
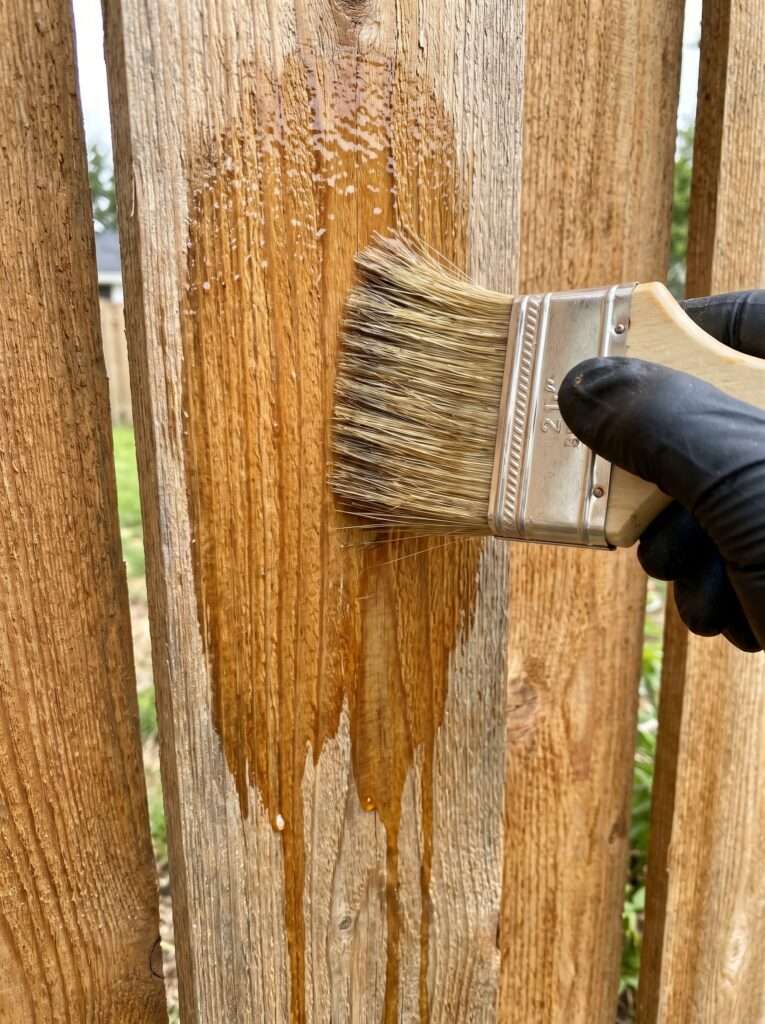
For the actual finish, I went with a Thompson’s WaterSeal Advanced Natural Wood Protector rather than a full paint job. It soaks into the grain instead of sitting on top like paint does, which matters a lot if your enclosure is going to see direct rain and sun most of the year.
The best part? Wood sealant like this only needs reapplying every couple of years if your enclosure has decent airflow underneath. I check mine every spring alongside my usual garden bed cleanup.
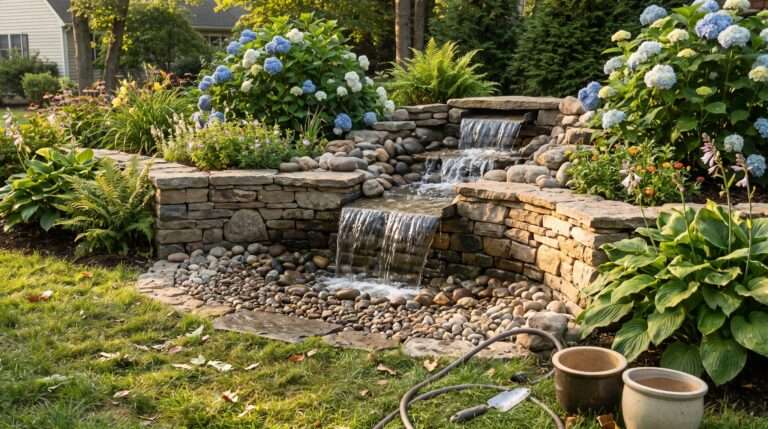
If you want a roof or partial lid on top, keep the pitch slight — even a couple degrees of slope keeps water from pooling. I added a simple sloped lid using leftover fence boards, similar in concept to the water-shedding designs I used on a completely different multi-level wooden water cascade build, where runoff control mattered just as much.
Small Details That Made a Big Difference
A few things I didn’t plan for, but ended up mattering more than expected.
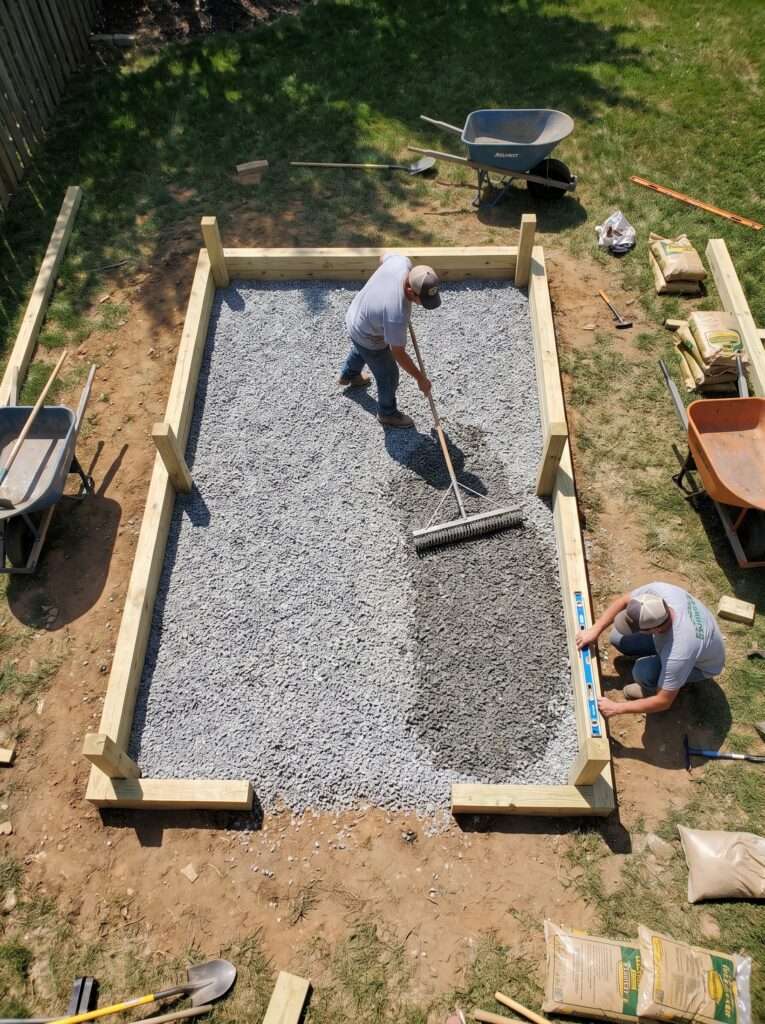
Gravel base. I added about two inches of gravel under the whole footprint after seeing standing water collect the first rainy season. It’s a small fix that solved a recurring problem instantly.
Leaving a gap at the bottom of the panels — even just an inch — helps a surprising amount with smell and moisture buildup, especially in summer.
And honestly, painting or staining the inside too, not just the outside. I skipped this originally and the untreated interior wood started graying faster than the exterior did.
What Actually Works
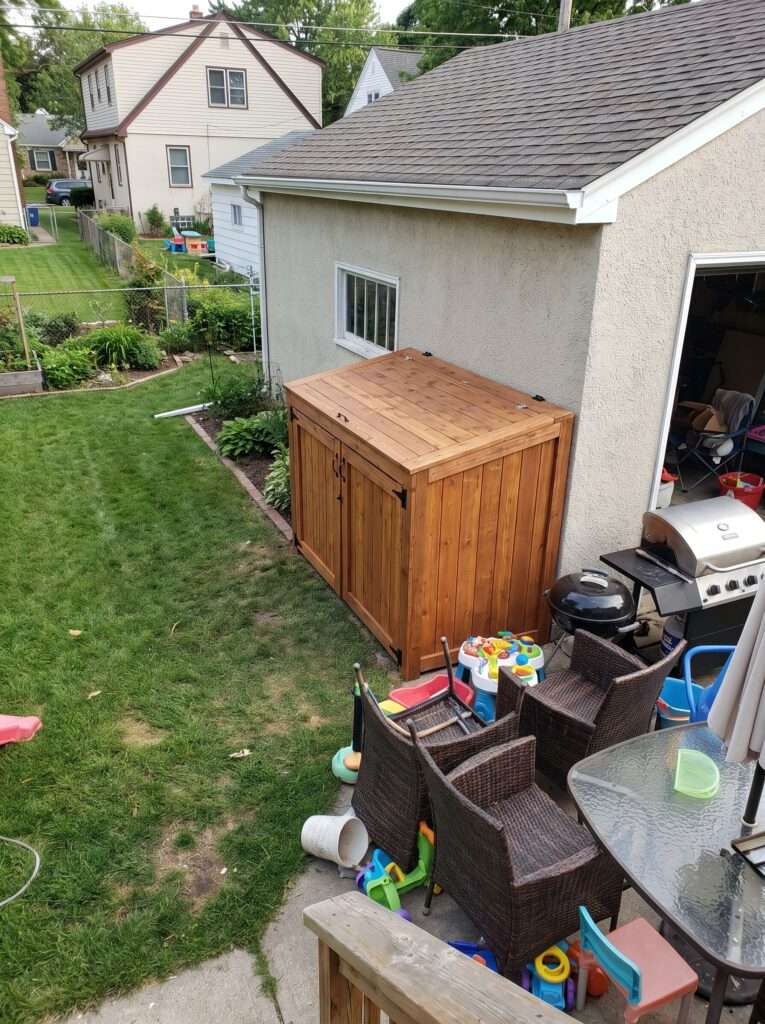
If you want the short version without wading through my whole build story, here’s the setup that’s actually held up for me:
- Measure cans with lids on, add 4-6 inches of clearance on each side
- Set 4×4 posts in concrete, minimum 18 inches deep, let cure 48 hours
- Frame top and bottom rails with pocket screws, not just nails
- Use vertical fence boards with airflow gaps for panels
- Install two heavy-duty gate hinges per door, plus a magnetic latch
- Seal with a penetrating wood protector, inside and out
- Add a gravel base if drainage is even slightly a concern
This isn’t the fanciest way to do it, but it’s the version that’s still standing four years later.
Budget Breakdown (US Pricing)
Realistic ranges based on what I’ve spent building a couple of versions of this over the years:
- Pressure-treated 4×4 posts (4): $12-20 each
- Fence boards for panels: $3-6 per board, typically need 12-20
- Exterior wood screws (box): $12-18
- Pocket-hole jig (one-time tool cost): $40-100
- Heavy-duty hinges and latch hardware: $20-35
- Quick-set concrete (per post): $5-8
- Wood sealant (one gallon): $25-35
- Gravel (small bags): $5-10 each, need 4-8 depending on footprint
Total realistic range for a standard two-can enclosure: roughly $180-320 if you’re buying most tools new. Noticeably cheaper if you already own basic tools.
Mistakes I Made
- Set my first posts too shallow, and the whole thing leaned within one winter
- Used interior-grade screws on the first build, which rusted and stained the wood within a year
- Built solid panels with no airflow gap, which trapped odor badly in summer
- Skipped sealing the inside faces of the boards, so they grayed faster than the outside
- Didn’t account for lid height when measuring, so the door barely closed on the first version
None of these were disasters, just annoying enough that fixing them took longer than doing it right the first time would have.
FAQ
Most standard 32-35 gallon cans need about 40-44 inches of enclosure height including lid clearance. Measure yours with the lid on to be safe.
Usually not for a small freestanding structure like this, but check local codes if it’s near a property line or over a certain height, especially with an HOA.
Pressure-treated pine is the most budget-friendly and durable for this type of build. Cedar looks nicer and resists rot naturally but costs more.
Yes, surface-mount post brackets work well on concrete pads or patios, though in-ground concrete posts are more stable for uneven yards.
Airflow gaps between panel boards make the biggest difference, along with keeping cans clean and lids fully closed.
Not required, but a simple sloped lid keeps rain off the cans and looks more finished. It’s optional depending on your climate.
Wide enough to pull a can straight out without turning it sideways, usually 24-30 inches per can works well.
Not necessarily, but matching stain color or board style does help it blend in rather than stand out.
A Few Final Thoughts
Once you understand the basic structure — posts, frame, panels, doors — this project stops feeling intimidating pretty quickly. It’s mostly repetition after the first corner is square.
I’d rather someone build a slightly imperfect version of this that actually holds up than a perfect-looking one that leans by next spring. Take your time on the posts especially. Everything else is more forgiving than you’d think.
Transparency Note
Most advice in this article comes from personal, hands-on building experience over the years. Results can vary slightly depending on your climate, soil conditions, local codes, and the specific materials available near you.
Amazon Associates Disclosure: Sprucetouch.com is a participant in the Amazon Services LLC Associates Program, an affiliate advertising program designed to provide a means for sites to earn advertising fees by advertising and linking to Amazon.com. As an Amazon Associate, I earn from qualifying purchases. Product links in this article are to items I’ve personally used or would genuinely recommend, and using them doesn’t cost you anything extra — it just helps support the free content on this site.

Aagam – Founder of SpruceTouch
I’m Aagam, a home and garden enthusiast who enjoys growing, building, and improving outdoor spaces. I focus on practical backyard projects, garden ideas, and simple DIY solutions that are useful in real homes. Through SpruceTouch, I share what I’ve learned, what worked, what didn’t, and the small details that can make an outdoor project easier.