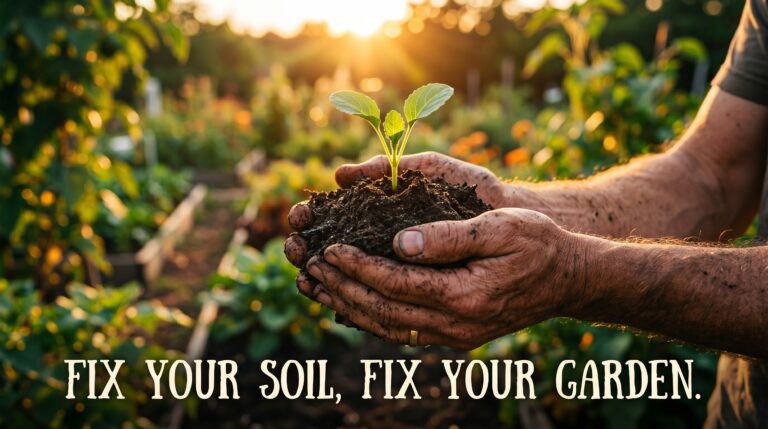
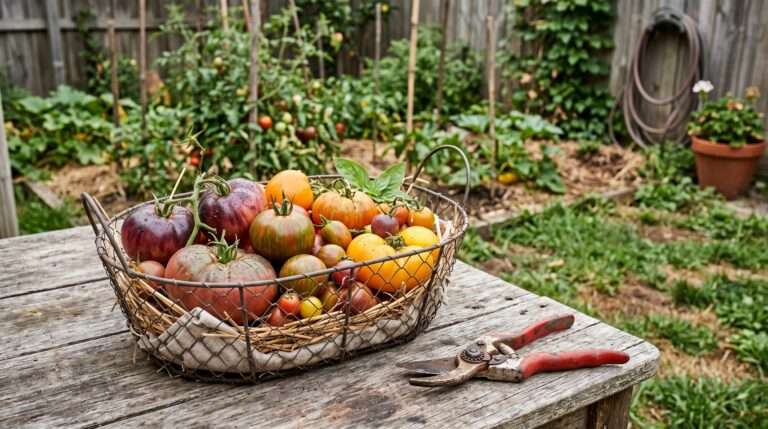
May Strategy: Why this month decides your US harvest success (August Prep).
May is usually the month where everyone rushes out to the local nursery, buys everything in sight, and shoves it into the dirt with high hopes. We see those long, sunny days ahead and assume nature will just do the rest of the heavy lifting.
But after twenty years of getting my hands dirty, ruining more tomato crops than I care to admit, and staring blankly at withered yellow leaves in July, I learned the hard way. May isn’t just about planting; it’s the ultimate pivot point for your entire summer survival strategy.
What you do right now determines whether you’ll be harvesting baskets of crisp peppers and juicy tomatoes come August, or just staring at a patch of heat-fried weeds. Let’s talk about how to set up your plot so it actually survives the brutal summer wall ahead.
Quick Check
Before we dive into the dirt, let’s look for a few subtle signs that your dirt is actually ready for the big summer push.
- The Squeeze Test: Grab a handful of dirt from your bed. If it forms a rock-hard brick, it needs compost immediately; if it crumbles like a fresh brownie, you are good to go.
- Weed Watch: If the wild dandelion and crabgrass are suddenly exploding overnight, your soil temperature has officially crossed the threshold for warm-weather crops.
- The Evening Chill: Check your local night temperatures; if they are consistently staying above fifty-five degrees, your peppers can safely go outside without stalling.
- Mulch Check: Peek under any old straw or leaves from last year to see if the soil underneath feels moist or bone-dry.
The Great May Illusion
Every single spring, I used to fall into the exact same trap. The weather warms up in the United States, the morning air smells incredible, and you think every plant you touch is going to thrive. You see those lush, green starts at the big-box stores and think you’re already winning.
But here’s the kicker: those nursery plants have been pampered in climate-controlled greenhouses with perfect liquid feeding schedules. The moment they hit your backyard soil and face the real world, they experience massive shock. May is about cushioning that transition, not just digging a hole and hoping for the best.
One thing I noticed over the years is that people focus way too much on the top of the plant. They want to see flowers, fast height, and instant gratification. I used to be the exact same way. I’d brag about my two-foot-tall tomato plants in late May, only to watch them completely collapse the moment the July humidity hit.
I spent years making these mistakes because I wanted quick vertical height. In fact, looking back at why my vertical garden failed, it all came down to forcing too many plants into small spots without checking if they had the support they needed. The secret to a massive August harvest isn’t building a massive plant right now; it’s building a massive root system that can find water when the surface soil turns into a dust bowl.
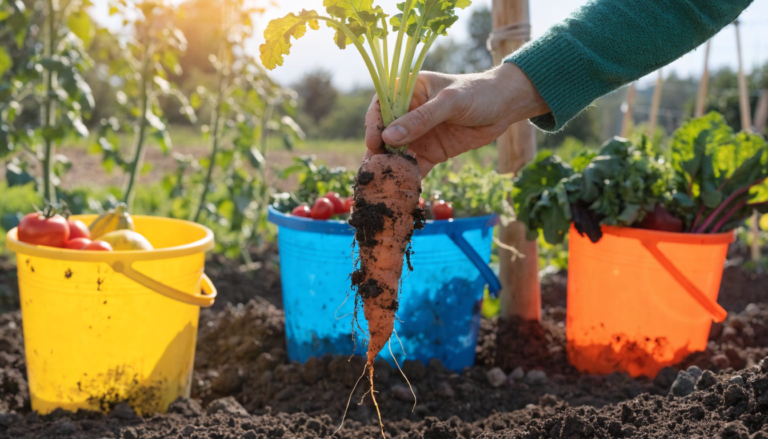
The Root Rules the Fruits
If your roots aren’t happy right now, your August is going to be incredibly disappointing. When you flip those plastic starter pots upside down this month, don’t just drop the root ball straight into the ground.
Most gardening blogs never mention this, but those roots have been circling the inside of that plastic cup for weeks. If you don’t gently break them apart, they will keep growing in that tight little circle even after you bury them. They won’t spread out to find deep water.
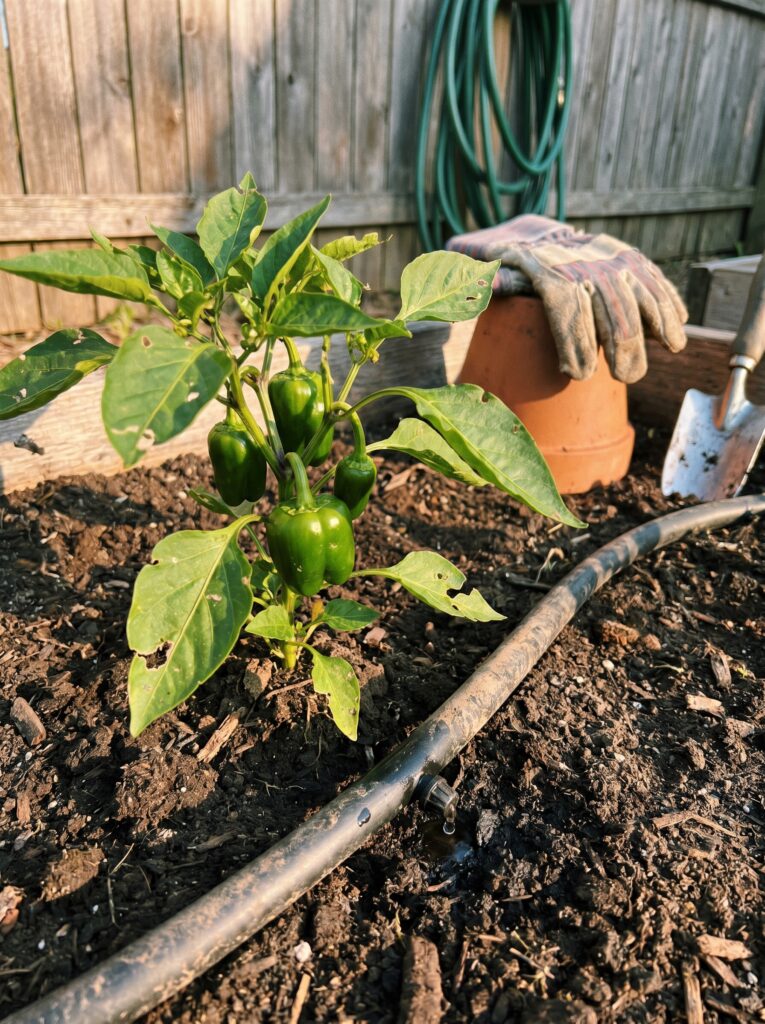
I learned this the hard way with a row of bell peppers about ten years ago. They looked decent all through June, but by August, they just stopped growing. When I finally pulled them up in October out of frustration, the roots were still shaped exactly like the small square plastic pots they came in. They never moved an inch into my actual garden bed.
Now, I make sure to gently tease those bottom roots loose until they hang down freely. It feels like you’re breaking the plant, but you’re actually saving its life.
To make sure those roots can actually move through your native dirt, you need to think about your overall soil health guide long before the heat hits. If your dirt is too packed down, those tender new roots will just hit a wall and quit.
The Mid-Summer Water Blueprint
Here’s where most people go wrong with irrigation: they wait until it gets hot to start watering deeply. By then, it’s already too late. If you only water the top inch of your soil during May, your plants will keep all their roots right near the surface because that’s where the moisture is.
Then, when August rolls around and cooks that top layer of dirt, those shallow roots get absolutely baked.
Instead, you want to water deeply and less frequently right now. Give the bed a really thorough soaking, and then don’t water again until the top two inches feel dry. This forces the roots to stretch downward, searching for that deeper moisture pocket.
You are essentially training your plants to be tough. When the dog days of summer hit, the surface might be dry as a bone, but six inches down, your plants will still be drinking happily.
It’s also a fantastic time to think about long-term moisture retention strategies, like setting up a solid system for composting at home to naturally improve how much water your dirt can hold over time.
The Truth About Mulch Timing
We need to talk about mulching because there is a massive misconception about when to do it. Everyone tells you to mulch early, but if you put down a thick, heavy layer of wood chips or straw too early in May, you are actually trapping the winter cold inside the ground.
The sun can’t warm up the soil particles if it’s blocked by three inches of shredded bark.
But wait, there’s a catch: if you wait too long and mulch in late June, the ground has already lost half its moisture to the air. The sweet spot is right around mid-May for most US zones. Wait until you’ve had a few genuinely hot days where the soil feels warm to the touch when you poke your bare finger into it.
Once that dirt is warm, lay down your barrier. I prefer clean, weed-free straw or shredded leaves over heavy dyed wood chips for vegetable beds. It breaks down nicer and doesn’t steal nitrogen from the dirt as it decomposes.
Feeding the Soil, Not the Plant
When people see their plants stalling a bit in late May, their immediate instinct is to grab a bottle of chemical liquid fertilizer and drench the whole plot. It gives the plant a massive jolt of synthetic nitrogen, turning the leaves a bright, beautiful green almost overnight.
But here’s the problem: that fast, forced growth is incredibly weak and watery. It’s like feeding a kid nothing but sugar.
Those bloated, soft green leaves are absolute magnets for pests like aphids and hornworms. Plus, the roots can’t grow fast enough to support that sudden explosion of top growth.
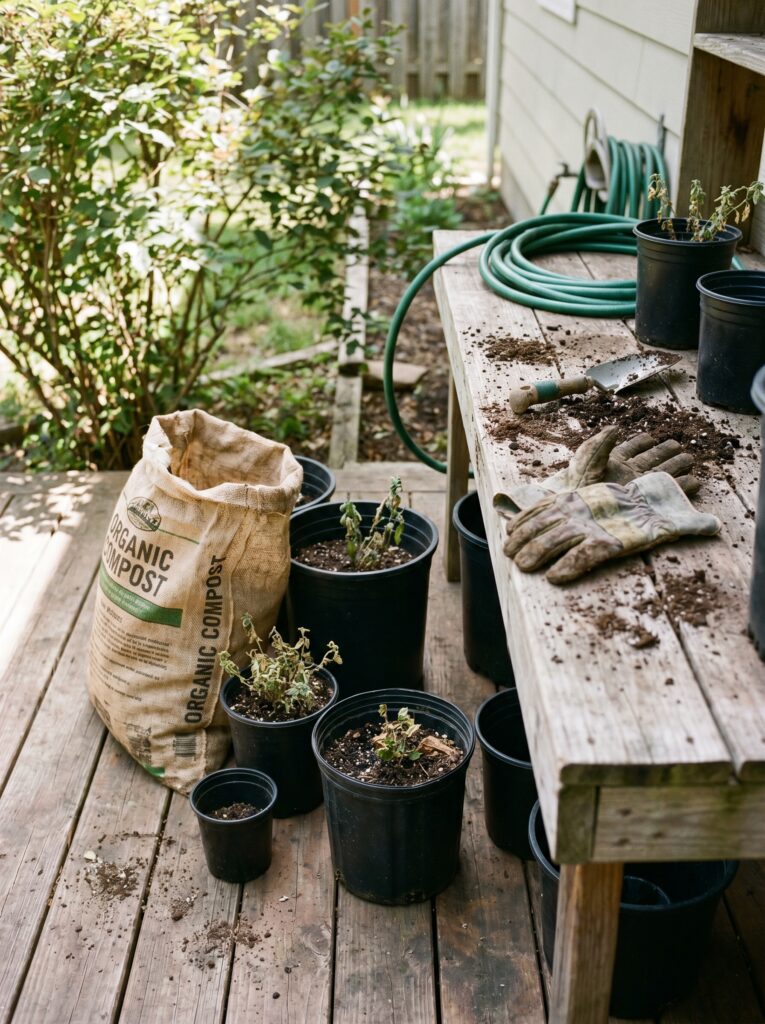
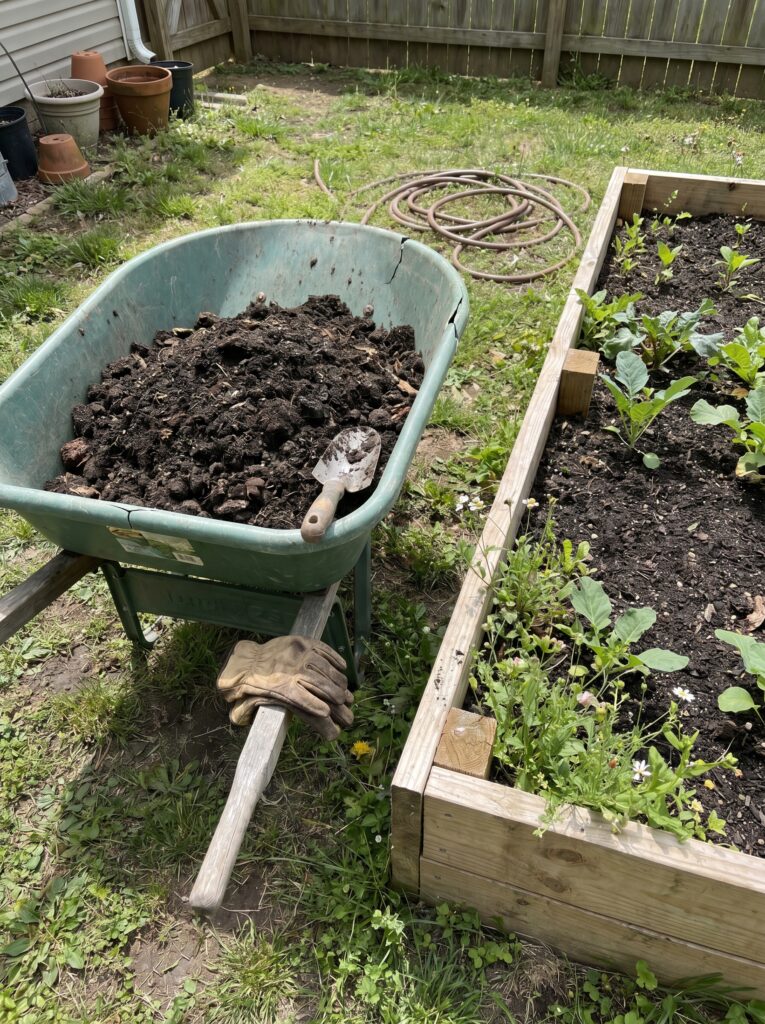
Instead of relying on quick synthetic fixes, running a quick soil testing 101 check at home will show you exactly what nutrients your dirt is missing. Usually, simply topping your beds with a rich layer of organic compost or aged manure is always a safer, smarter bet. It releases nutrients slowly and naturally over months, rather than weeks.
Dealing with the May Pest Wave
Right as your young plants are trying to establish themselves, the first real wave of bugs wakes up. Cutworms are the absolute worst this month. You’ll go out to your garden in the morning and find a perfectly healthy tomato plant clipped completely off at the base, lying on the ground like a fallen tree.
I used to get so incredibly angry about this.
A simple fix I learned from an old neighbor is to wrap a tiny piece of aluminum foil or a cardboard toilet paper roll around the stem right where it meets the dirt. Cutworms need to wrap their bodies around the stem to chew through it. If they hit metal or thick cardboard, they just give up and move on. It takes an extra ten seconds per plant during setup, but it saves you massive heartbreak later on.
It’s these simple habits that keep you from constantly replacing ruined plants. Learning how to manage these early headaches is just as crucial as watering plants correctly throughout the rest of the season.
What Actually Works: The May Planting Setup
Instead of overcomplicating your routine, here is a highly dependable, straightforward method for getting your warm-weather transplants into the ground safely this month.
1. The Deep Hole Dig
Dig your planting hole twice as wide and slightly deeper than the starter pot your plant is currently in. Toss a handful of well-rotted compost right into the bottom of the empty hole to give the roots an immediate destination.
2. The Stem Burial (For Tomatoes Only)
If you are planting tomatoes, pinch off the lowest set of leaves and bury the plant deep—right up to the remaining leaves. Tomatoes can grow brand-new roots all along their buried stems, which creates a massive, stable anchor for the summer heat.
3. The Root Fluff
Gently squeeze the sides of your starter pot to release the plant. If the roots are matted or wrapped tightly around the base, use your fingers to carefully loosen them up so they point outward and downward.
4. The Gentle Firm
Fill the native dirt back into the hole around your plant. Press down firmly with the flats of your hands to eliminate any hidden air pockets around the roots, but don’t stomp on it with your boots—you don’t want to pack it down like concrete.
5. The Slow Soak
Water the base of the new transplant slowly until the ground can’t hold any more water. This settles the dirt around the roots immediately. Avoid wetting the leaves to prevent early fungal issues.
Space Is Your Best Friend
When you are placing your small plants out in May, it’s easy to crowd them. A tiny pepper seedling looks ridiculous sitting all by itself in the middle of a four-foot space. You think, “Oh, I can definitely fit three more in here.”
But by mid-July, those tiny seedlings turn into absolute monsters.
If they are planted too close together, their leaves will touch and create a massive zone of trapped humidity. In most parts of the US, that trapped moisture leads directly to early blight and powdery mildew.
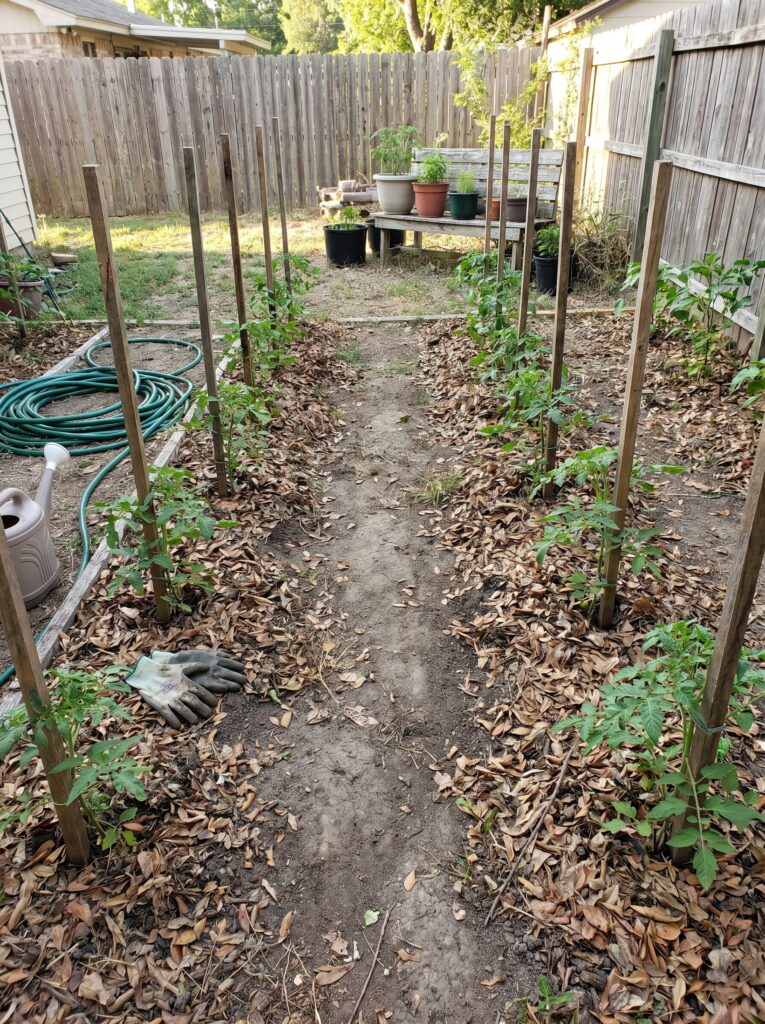
Give your plants the space the tag recommends, even if it looks empty right now. I keep my rows separated by clear DIY garden paths so I can walk through comfortably without trampling the delicate root zones. That open space allows the summer wind to blow through the leaves, drying them out quickly after morning rains and keeping fungal spores from taking over your entire crop.
If you like a more crowded look, save that for your flower patches where you can focus on a beautiful cottage garden privacy layout with structural blooming plants rather than a high-yield vegetable plot.
Budget Breakdown: Real US Gardening Costs
You do not need to spend thousands of dollars to build a functional summer garden. Here is a realistic look at what you actually need to spend as a homeowner in the US to get started properly this month.
| Item | Realistic Price Range (USD) | Where to Save / What to Look For |
| Bagged Organic Compost | $6 – $12 per bag | Look for local municipal sites; many US cities give away screened compost completely free if you haul it yourself. |
| Clean Straw / Leaf Mulch | $8 – $15 per bale | Buy from local farm supply stores rather than boutique garden centers to get double the amount for less money. |
| Basic Tomato Cages / Stakes | $4 – $8 each | Avoid flimsy plastic rings. Buy heavy-duty wooden stakes or cattle panels that will last you ten seasons. |
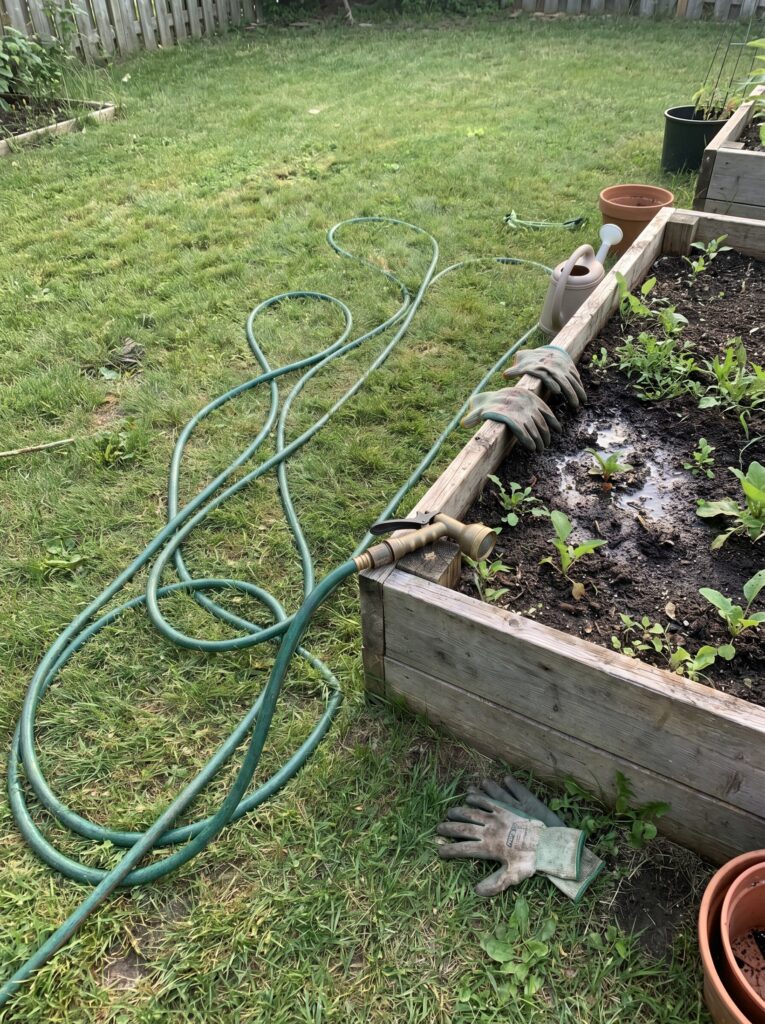
| Quality Garden Hose | $25 – $45 | Do not buy the cheapest ten-dollar hose; it will kink constantly, crack in the July sun, and drive you insane. |
| Starter Fertilizer | $12 – $20 per bag | Grab a balanced, slow-release organic granular fertilizer. One bag usually lasts an average yard the entire year. |
Mistakes I Made (So You Don’t Have To)
Buying the Biggest Plants at the Store
I used to always hunt for the starter pots that already had tiny flowers or even a little green pepper growing on them. I thought I was getting a head start. In reality, those plants are already stressed out from being root-bound. They spend all their energy trying to keep that single fruit alive instead of building a strong framework. Always buy the shorter, stockier plants with zero flowers yet. They will outgrow the flowering ones within three weeks of hitting the dirt.
Trusting the Calendar Over the Dirt
Just because the calendar says it’s past your region’s average frost-free date doesn’t mean the ground is actually warm enough for tropical plants like eggplants or basil. I once planted my entire garden on May 1st because the internet said it was safe, only to have a cold, rainy week stall my plants for a month. Watch your local weather app, not a static calendar.
Watering from Above
I spent years standing in my garden with a spray nozzle, watering the tops of my plants every evening. It felt relaxing, but it was disastrous. Wetting the foliage constantly in the evening creates a perfect breeding ground for disease. Now, I always keep the water low, directing it straight at the dirt level where the roots actually need it.
FAQ
This is almost always a sign of a temporary phosphorus deficiency caused by cold soil. When the ground is chilly, the roots simply can’t absorb phosphorus properly, even if it’s abundant in the dirt. Don’t panic or add tons of fertilizer; once the soil warms up naturally in late May, the leaves will turn green on their own. While you wait, you can use the empty bed space around them to plan out your fast-growing fall flowers so your yard stays vibrant long after the summer crops fade.
Instead of following a rigid schedule, check the soil with your finger. If the top two inches are completely dry, give them a deep, slow soaking. In May, this might only mean watering once or twice a week depending on your local rain. As the heat builds toward August, you will naturally increase the frequency.
Yes, but you have to be careful. Only use them if you haven’t applied any chemical weed-killers or fertilizers to your lawn recently. Also, lay them out in thin layers to dry first; if you pile thick, wet grass clippings around your plants, they will mats together, smell terrible, and trap too much heat.
Peppers are notorious divas about soil temperature. If the ground is anywhere below sixty-five degrees, they will essentially go into a holding pattern and refuse to grow. Be patient; once the true summer heat kicks in around June, they will suddenly take off.
Should I pinch off the first flowers on my tomato plants?
Yes, absolutely. If your young transplants try to bloom in May when they are still small, pinch those early flowers right off. You want the plant focusing 100% of its limited energy on building a massive root system and a strong stalk right now, not making tiny early fruit.
How do I know if my backyard soil is ready for planting?
Grab a handful of soil from your garden bed and squeeze it gently in your fist. If it stays in a wet, muddy ball that doesn’t break apart when you poke it, the ground is still too wet to work. Working wet soil ruins its internal structure; wait until it crumbles easily.
Once you understand that May is about patience and preparation rather than instant results, the whole process gets a lot more enjoyable. Stop stressing over how big your plants look today, focus entirely on building healthy soil and deep roots, and let the summer sun do the rest of the work.
Aagam – Founder of SpruceTouch
Hi, I’m the creator behind SpruceTouch. i am a home and garden enthusiast who shares practical ideas for backyard design, garden projects, patio decor, and small outdoor spaces. Through SpruceTouch, he focuses on simple and budget-friendly ways to improve outdoor living spaces.