Heirloom Tomato Secrets: The Harvesting Guide For Home Gardeners
If you’ve spent any time scrolling through social media lately, you’ve probably seen those picture-perfect images of heirloom tomatoes. Huge, flawless, deep red and purple fruits sitting in immaculate woven baskets under pristine morning sunlight.
But if you’ve actually tried growing them in your own backyard, you know the reality is usually a bit messier. For years, I did what everyone else did: I waited for my tomatoes to look exactly like those photos before I picked them.
And you know what happened? Most of them split open down the sides, got eaten by birds, or turned to mush right on the vine before I could even get my salad bowl ready.
I learned the hard way that harvesting heirloom tomatoes like a pro actually means picking them before they look completely ripe. It sounds totally backward, but once you understand how these old-school varieties actually behave, you’ll never lose a prize tomato to a sudden thunderstorm or a hungry squirrel again.
Quick Check: Is It Ready to Pick?
Before we dive into the deep end, here is a fast checklist I use every single morning when I’m walking through my rows with my coffee.
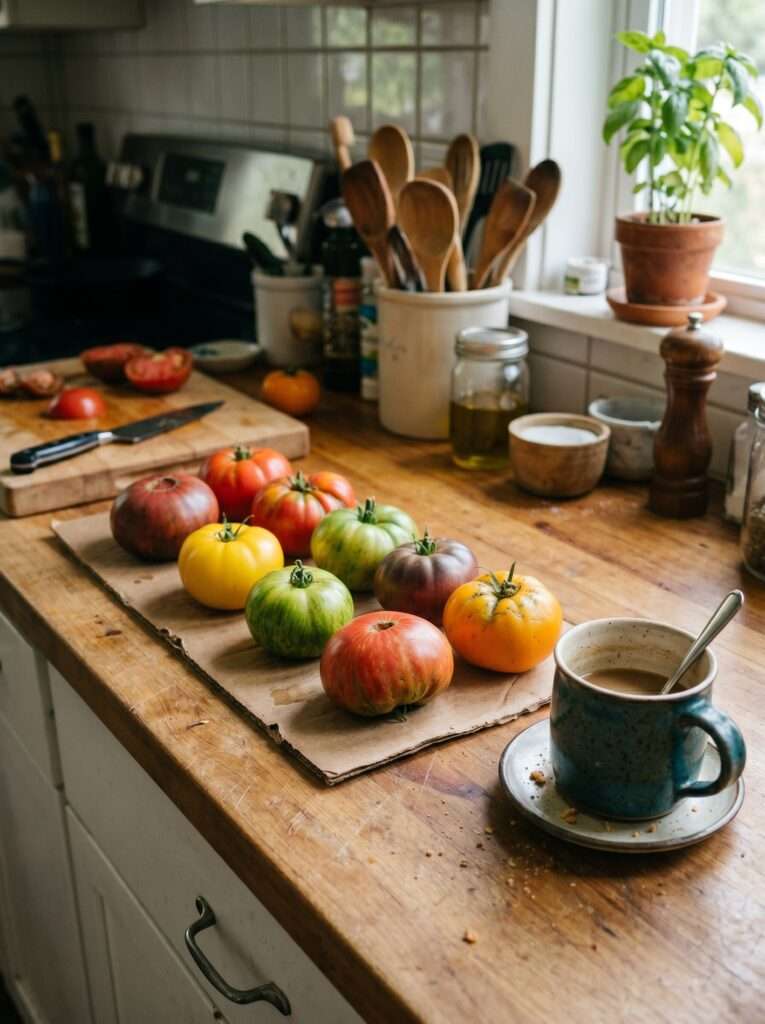
- The Color Break: The bottom of the tomato has shifted from solid green to a faint blush of orange, yellow, or pink.
- The Squeeze Test: The fruit feels slightly yielding, like a tennis ball, rather than rock-hard like a cricket ball.
- The Gloss: The skin has lost its dull, chalky green appearance and looks slightly shiny.
- The Weight: The tomato feels heavy for its size, pulling down naturally on the branch.
The Big Myth About Vine-Ripened Tomatoes
We have been conditioned by grocery store labels to believe that “vine-ripened” is the gold standard of flavor.
But here’s the kicker: with heirloom tomatoes, letting them finish ripening completely on the vine is actually a recipe for disaster.
Heirlooms haven’t been genetically modified to have thick, rubbery skins like the hybrids you find in the supermarket. Their skins are thin, delicate, and prone to stretching.
One thing I noticed over the years is that if a fully ripe heirloom gets hit with a sudden evening downpour, it absorbs too much water too fast. The inside swells, the thin skin can’t handle the pressure, and boom—you wake up to a split, watery mess that attracts fruit flies within minutes.
That’s why professional growers use a trick called harvesting at the “breaker stage.”
The breaker stage is simply the exact moment a tomato changes from solid green to showing its first blush of color.
Once a tomato reaches this stage, it has technically stopped drawing sugars from the mother plant. The flavor profile is already locked in.
If you pick it right then and bring it inside to sit on your kitchen counter, it will finish ripening to absolute perfection. It will taste identical to a vine-ripened tomato, but without any of the outdoor risks.
Understanding Your Heirloom Varieties
Every heirloom behaves a little differently, and you can’t treat a Brandywine the same way you treat a Green Zebra.
I remember the first year I grew Paul Robeson tomatoes, which are a gorgeous, dark purplish-maroon variety. I kept waiting for them to turn bright red because that’s what I thought tomatoes were supposed to do.
By the time I realized they were dark varieties, half of them had rotted on the vine.
Let’s look at the three main categories you’ll likely deal with in an average US backyard.
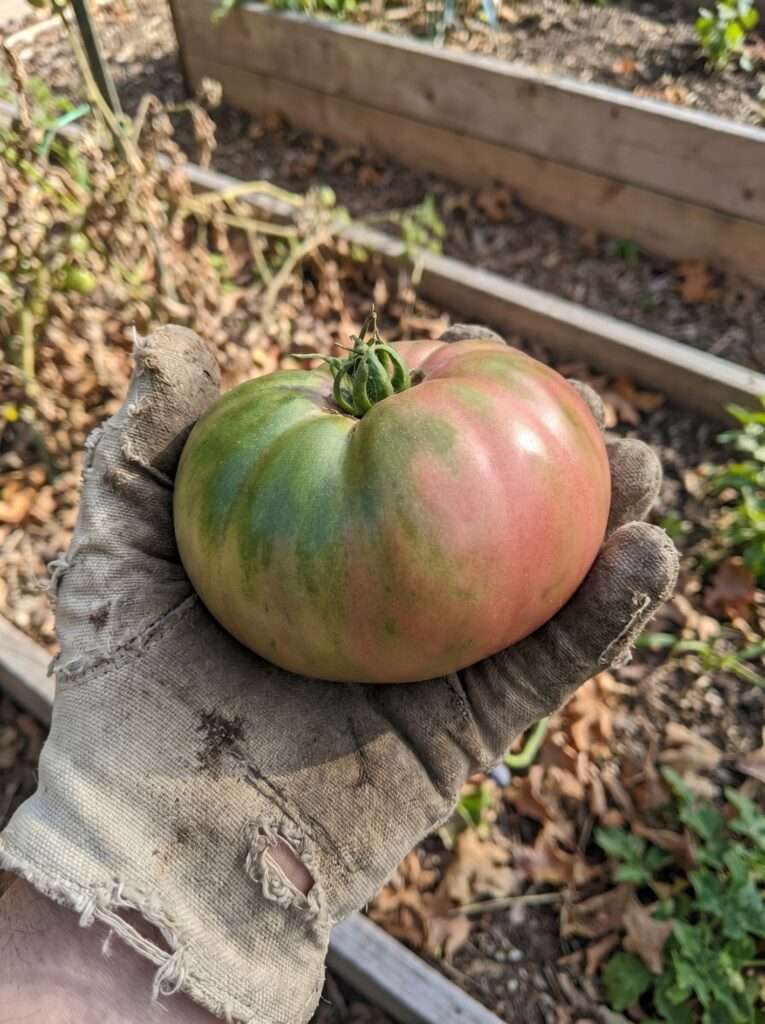
The Dark and Moody Ones
Varieties like Cherokee Purple, Black Krim, and Paul Robeson are famous for their rich, smoky flavor.
But wait, there’s a catch: these varieties often keep their shoulders entirely green even when they are perfectly ripe inside.
If you wait for the top of a Cherokee Purple to turn completely dark maroon, the bottom will be overripe and mushy. Look for a deep pinkish-purple color on the bottom half, and give the bottom a gentle squeeze. If it gives slightly, it’s time to harvest.
This ties back nicely to my overall May gardening strategy for summer harvest success, where getting your timing right early in the season dictates exactly how these finicky varieties perform when the heat hits.
The Classic Big Reds and Pinks
Brandywines and Mortgage Lifters are the giants of the heirloom world. They take a long time to mature, which makes harvesting them safely even more critical.
Most gardening blogs never mention this, but these giant fruits are heavy enough to snap their own stems if the vine gets dry and brittle.
For these big beauties, look for a uniform shift in color across the bottom third of the fruit. Don’t wait for the deep crimson red to reach the stem.
The Mysteries: Green-When-Ripe Varieties
Growing something like a Green Zebra or Aunt Ruby’s German Green can be incredibly frustrating for beginners. How on earth do you know when a green tomato is ripe?
You have to rely entirely on touch and a very subtle color shift.
Green Zebras will develop a slight yellowish undertone between their dark green stripes when they are ready.
Aunt Ruby’s will get a faint amber blush on the very bottom. If you rely on your eyes alone here, you’ll end up with a crop of rock-hard, sour fruit or fermented mush.
The Daily Harvest Routine
Harvesting isn’t something you should just do on Saturday mornings when you have free time. During the peak of July and August, it needs to be a daily habit.
The best time of day to pick your heirlooms is early in the morning, right after the dew has evaporated but before the intense afternoon heat hits.
When tomatoes sit in the hot afternoon sun, they undergo a lot of heat stress. If you pick them when they are warm, they tend to soften much faster on your counter and lose that crisp, clean bite.
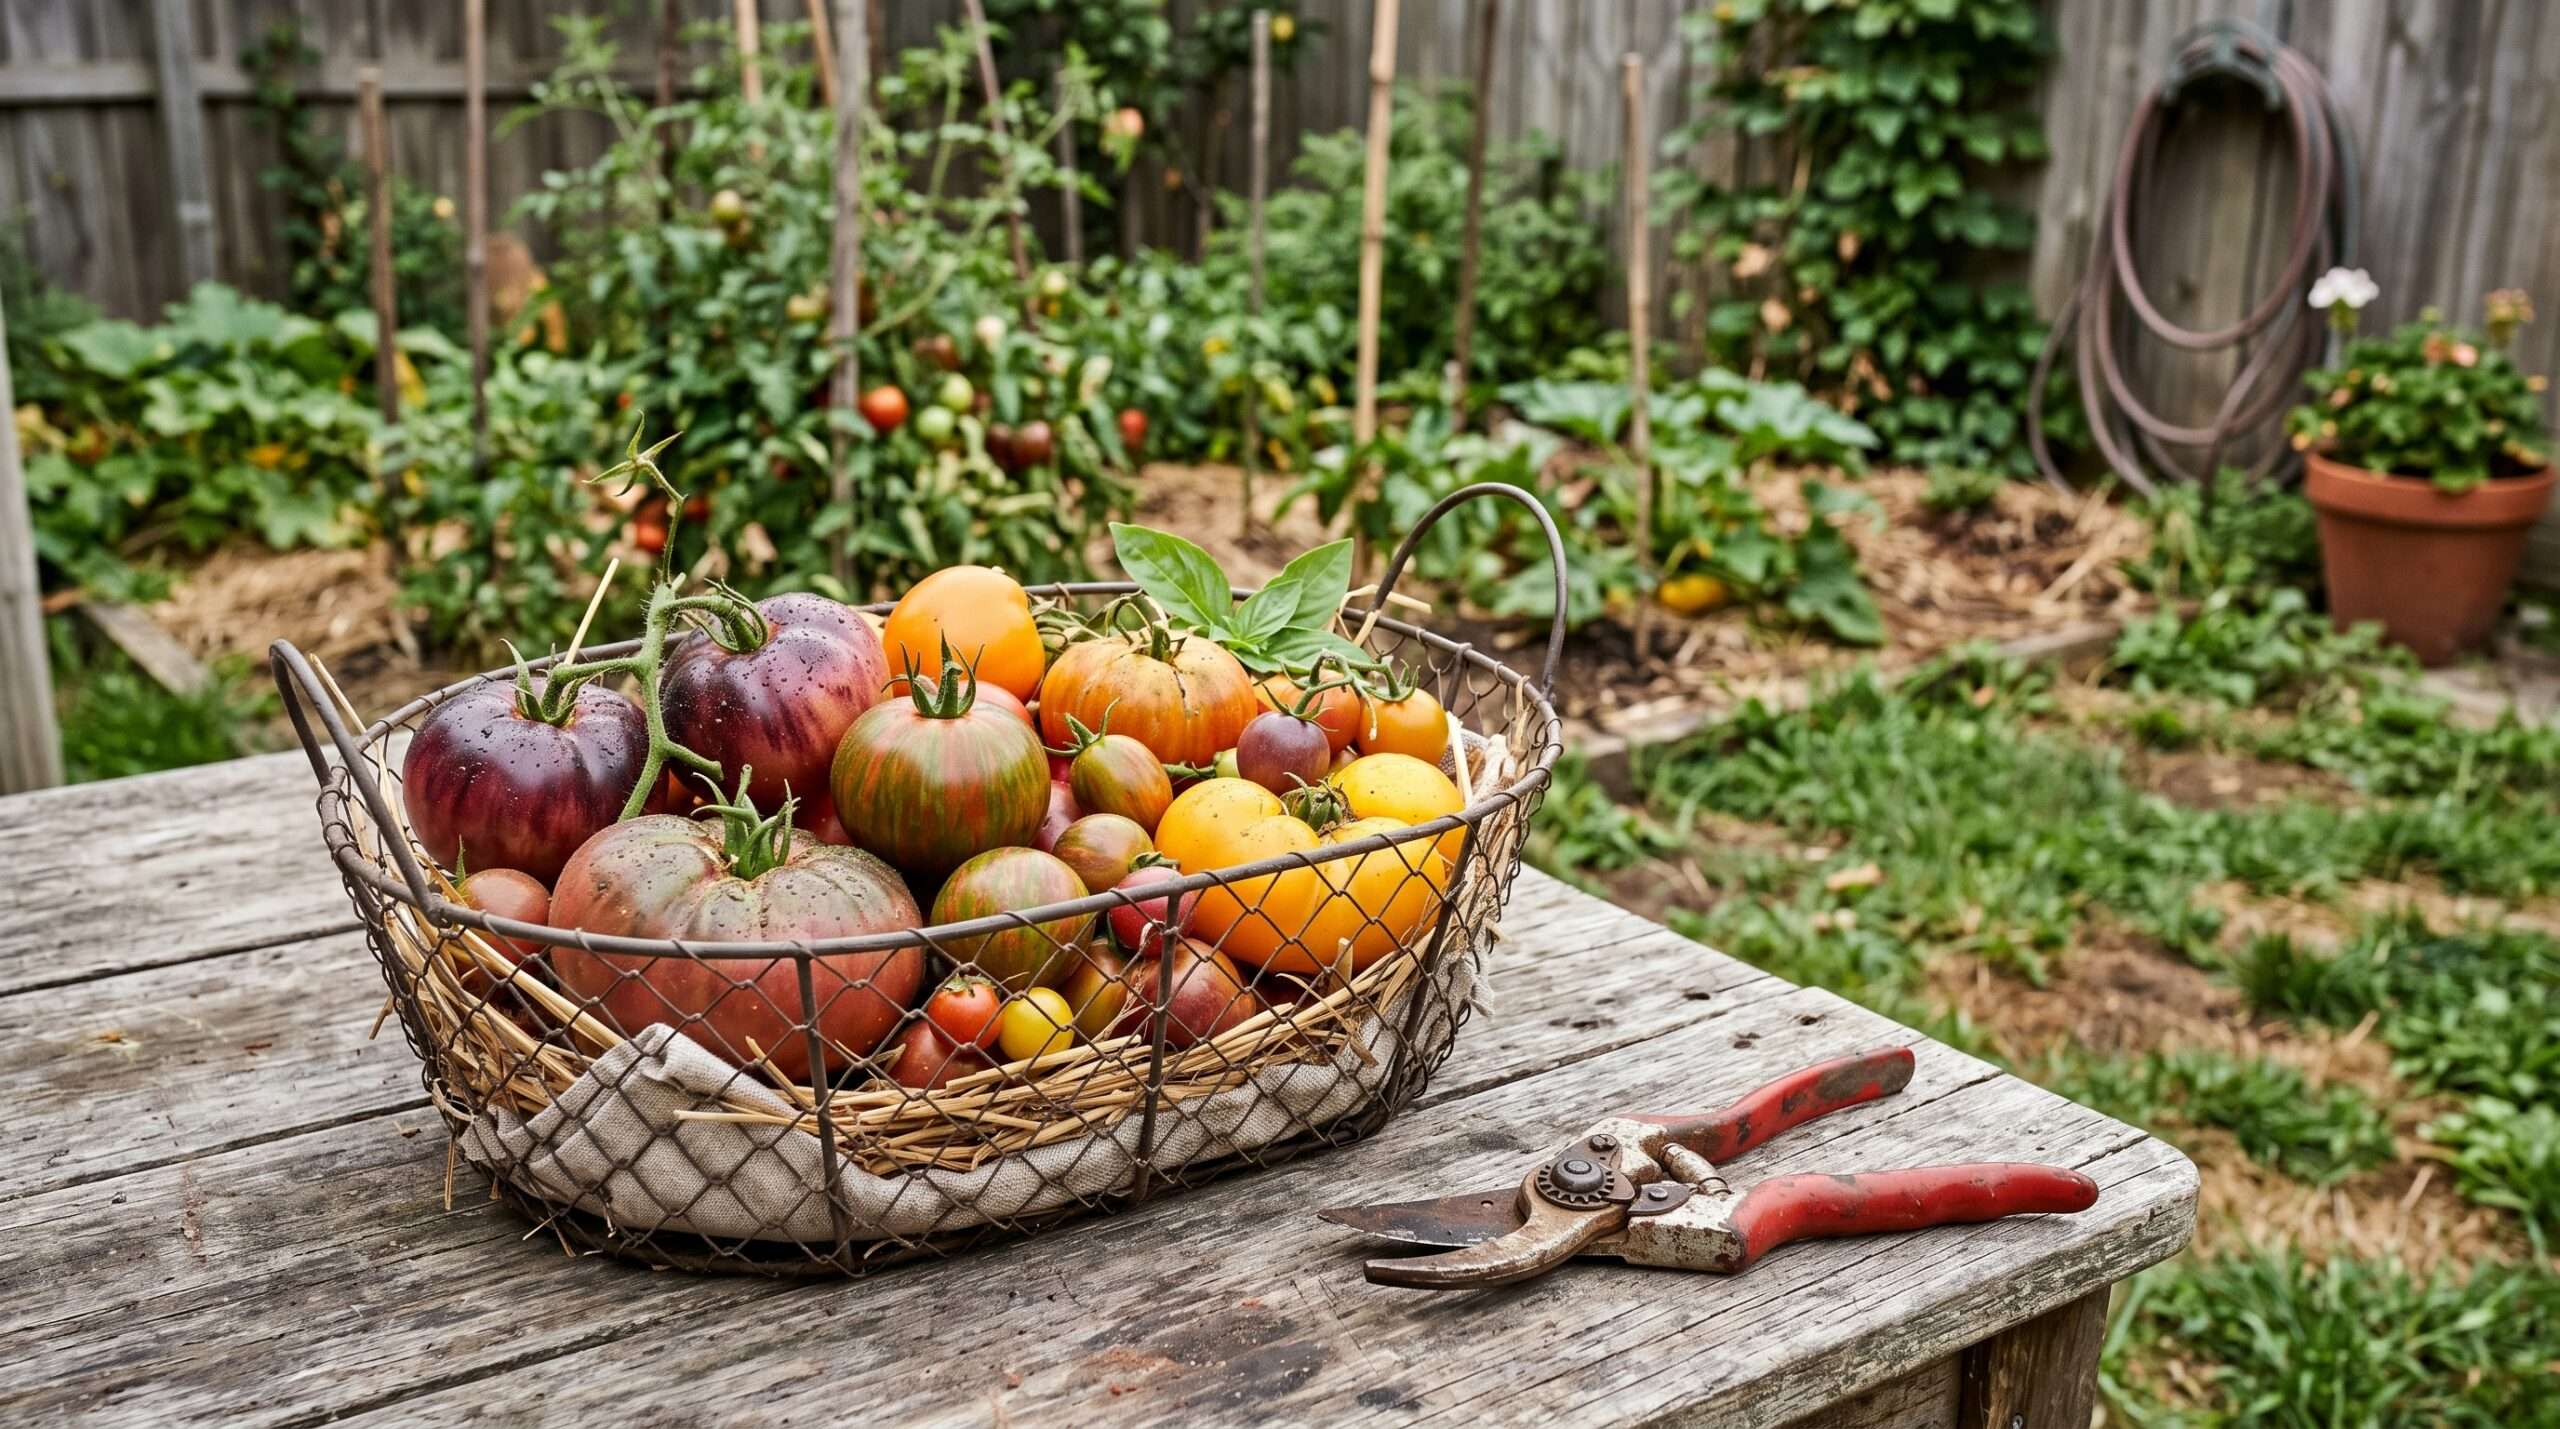
I always carry a sharp pair of pruners or heavy-duty kitchen shears with me.
Never just pull a heavy heirloom off the vine. Because their skins are so delicate, pulling can easily tear the skin right around the stem, creating an open wound where bacteria can enter.
Cut the stem about a quarter-inch above the fruit, leaving the green cap (the calyx) intact. This little green cap actually helps keep the tomato fresh for a few days longer by regulating moisture loss.
What Actually Works: The Countertop Ripening Station
You don’t need fancy ripening gas or expensive equipment to finish your heirlooms indoors. Here is the simple, cheap setup I’ve used in my kitchen for over a decade.
1. The Surface
Find a flat spot away from direct sunlight. A corner of your kitchen counter or a basic wooden utility shelf works perfectly. Never put them on a sunny windowsill; the direct sun will cook the skin and cause uneven ripening.
2. The Placement
Line your counter with a plain, clean brown paper bag or a layer of unprinted newspaper. This absorbs any excess moisture that might seep from the stems.
3. The Position
Always place your tomatoes upside down (stem side down) on the surface. The shoulders of a tomato are the sturdiest part, while the blossom end (the bottom) is the softest and most easily bruised. Placing them upside down prevents the weight of the fruit from bruising its own base.
4. The Spacing
Leave at least an inch of space between each tomato. Air circulation is your best friend here. If they are piled on top of each other, trapped moisture will cause mold to grow overnight.
Managing the Mid-Season Chaos
By the time late summer rolls around, your plants are going to look less like a tidy garden and more like a jungle.
Branches will sag, pests will show up, and the weather can change on a dime. This is where real experience saves your harvest.
The Heat Wave Dilemma
When temperatures consistently stay above 90°F (32°C), tomato plants often stop producing the pigments that make them turn red or purple.
The fruit will just sit there looking pale, dull yellowish-green for weeks.
I learned this the hard way during a particularly brutal July a few years back. I left my tomatoes on the vine waiting for them to color up, but they just ended up getting sunscalded and soft.
If you’re facing a massive spike in temperature, check out my notes on heat-wave recovery for scorched plants to keep your garden alive, and start picking those tomatoes even earlier than usual.
Bring them into your air-conditioned house at the very first sign of a color shift, or they will literally bake on the vine.
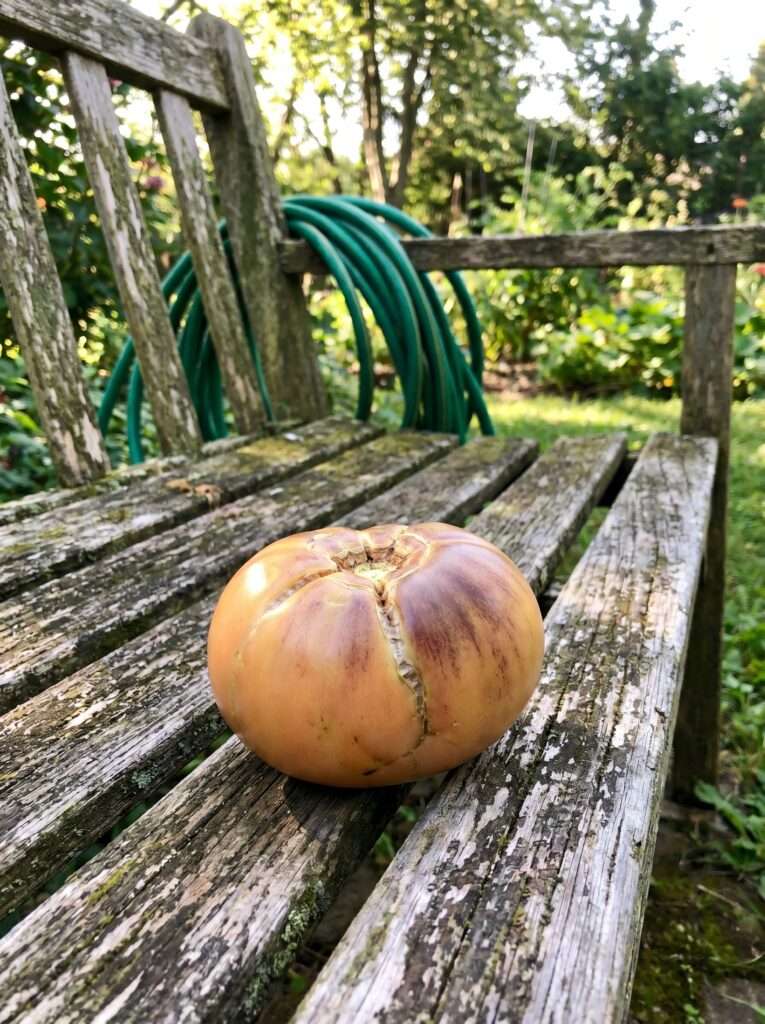
Dealing with Cracks and Scars
You are going to get concentric rings and deep cracks around the tops of your heirlooms. It’s not a sign of failure; it’s just character.
If a crack is dry and woody, the tomato is perfectly fine to eat. Just slice around it.
But if you notice a fresh, deep split that looks wet or slimy, harvest that tomato immediately, cut out the bad spot, and use it in a sauce that night. Do not let it sit on your counter, or it will ruin the rest of your harvest.
This kind of natural weathering is very common if you use traditional mulches that retain erratic amounts of water. It’s actually one of the reasons I eventually looked at changing how I design my garden traffic areas entirely, switching my focus toward more stable ground setups like I talk about in my guide on replacing mulch with repurposed stones for garden paths.
The Real Cost of Growing Heirlooms
Let’s talk about money for a second, because a lot of beginner guides make it sound like you need to spend hundreds of dollars at a luxury garden center to get a good crop. You don’t.
Here is a realistic breakdown of what you actually need to spend for a basic, successful backyard setup of about 4-5 heirloom plants.
| Item | Realistic Price Range (USD) | My Practical Advice |
| Heirloom Seedlings | $15 – $25 | Buy from a local small nursery, not a big-box store. Look for sturdy stems, not tall, spindly ones. |
| Heavy-Duty Tomato Cages | $30 – $50 | Skip the flimsy $5 cone cages. Heirlooms get huge. Buy heavy cattle panels or build sturdy stakes. |
| Soil Amendments | $10 – $20 | A single bag of good quality composted manure or worm castings mixed into the planting hole is plenty. |
| Pruning Shears | $15 – $25 | A basic, sharp pair of bypass pruners will last you five years if you keep them clean and dry. |
| Total Estimated Budget | $70 – $120 | This will easily yield 40-50 pounds of premium heirlooms over the summer season. |
Mistakes I Made (So You Don’t Have To)
Over nearly two decades of growing these temperamental plants, I have made every single mistake in the book. Here are the ones that hurt the most.
Putting Tomatoes in the Refrigerator
I used to think that putting my harvested tomatoes in the fridge would make them last longer.
Here’s where most people go wrong: cold temperatures completely destroy the volatile flavor compounds in heirlooms and turn the texture dry and mealy.
Keep them on your counter at room temperature. If you have too many to eat, freeze them whole for winter sauces or give them to your neighbors. Never let them touch a refrigerator shelf.
Overwatering Right Before Harvest
When you see a big cluster of almost-ripe Brandywines, it’s tempting to keep soaking the soil to help them cross the finish line.
Don’t do it.
Too much water at this stage dilutes the sugars in the fruit, making them taste bland and watery.
Cut back on your watering slightly as the fruit begins to color up. This concentrates the sugars and gives you that rich, intense, old-fashioned tomato flavor everyone wants.
It’s similar to how you manage water in a mixed landscape—if you’ve spent time working through a cottage garden layout that balances flowers and vegetables, you know that zoning your plants by water need is the only way to keep your tomatoes dry while your thirsty flowers stay happy.

Waiting for the Perfect “Catalog Look”
I spent years losing my best fruits to birds and hornworms because I wanted them to look completely perfect on the vine before I snapped a picture.
Nature doesn’t care about your photo collection.
If a tomato is 50% colored, pick it. The birds will spot a bright red tomato from a mile away, and once they peck a hole in it, the fruit is ruined. Beat them to the punch.
The Late Season Clean-Up
As September rolls in, your heirloom plants will start to look pretty tired. The lower leaves will likely have some spotting or yellowing, and the evening temperatures will start dropping into the 50s.
This is when you need to change your harvesting strategy again.
When the forecast shows the first consistent chilly nights, your plants will realize their time is limited. They will try to push out dozens of tiny, new green tomatoes.
But here’s the kicker: those late-season tomatoes will never have enough time or warmth to ripen before the first frost hits.
To save your existing harvest, go through your plants with your pruners and top them. This means cutting off the very top growing tips and any new flower clusters.
By removing these new, hopeless growths, you force the plant to redirect all its remaining energy and sugars into ripening the larger tomatoes that are already hanging on the lower branches.
If you still have a massive flush of solid green heirlooms on the vine when the first true frost is predicted, don’t leave them to freeze.
Cut the entire cluster off, stem and all, and bring them into a warm garage or basement. Hang the whole branch from a rafter, or wrap the individual green fruits loosely in sheets of newspaper inside a cardboard box.
You’ll be surprised to find yourself eating fresh, home-grown heirlooms on Thanksgiving morning this way. They won’t be quite as sweet as your July harvest, but they will still beat anything you can buy at a grocery store in the winter.
And if you are looking to change up your garden’s aesthetic for the upcoming year while planning your beds, you might want to look at how different varieties fit into modern trends. For example, incorporating deep purples like the Indigo Rose tomato fits perfectly into the popular dark cottagecore curb appeal styles that are catching on lately.
Frequently Asked Questions
Yes, absolutely. Leaving the green calyx attached helps support the structural integrity of the top of the tomato and prevents moisture from escaping through the stem scar. Just be careful when stacking them so the sharp stems don’t puncture neighboring fruits.
Mealy texture is almost always caused by improper storage temperatures. If the tomatoes were exposed to temperatures below 55°F (13°C)—either in a refrigerator or during a cold snap late in the autumn season—the cell walls inside the fruit break down, resulting in that unappealing texture.
Birds are usually looking for water, not food, when they peck at your fruit. The easiest fix is to place a birdbath or a simple shallow bowl of water on the opposite side of your yard. Alternatively, harvesting at the early breaker stage eliminates the problem entirely.
If the tomato has reached its mature size but hasn’t started changing color yet, place it in a brown paper bag with a ripe banana or apple. These fruits emit ethylene gas, which will help stimulate the green tomato to start its ripening process indoors.
This is a genetic trait common in many yellow and orange heirloom varieties, often referred to as “green shoulders.” It doesn’t mean the tomato is unripe. Feel the bottom of the fruit; if it’s soft to a gentle touch, it is ready to eat regardless of the green top.
How long can a harvested heirloom sit on the counter?
An heirloom picked at the breaker stage will typically take 3 to 5 days to fully ripen on your counter and can sit for another 2 to 3 days after that before it starts getting too soft. Plan to eat or process them within a week of harvest.
Once you understand the basic mechanics of how these heritage plants work, the whole process gets a lot less stressful. Stop waiting for that elusive, perfect image on the vine. Look for the color break, trust your sense of touch, protect them from the elements on your kitchen counter, and you’ll enjoy the best tasting tomatoes you’ve ever grown.
Most advice in this article comes from personal gardening experience over the years. Results can vary slightly depending on your specific regional climate, soil quality, and local growing conditions. Always pay close attention to your local weather patterns and adapt your garden care routines accordingly.
Aagam – Founder of SpruceTouch
Hi, I’m the creator behind SpruceTouch. i am a home and garden enthusiast who shares practical ideas for backyard design, garden projects, patio decor, and small outdoor spaces. Through SpruceTouch, he focuses on simple and budget-friendly ways to improve outdoor living spaces.